
Installing an LG air conditioner vent kit for a sliding glass door is a smart way to cool your space without permanent modifications. This guide walks you through the entire process—from measuring and preparing to sealing and testing—using simple tools and clear steps. Perfect for renters or homeowners seeking efficient, reversible AC solutions.
Key Takeaways
- Measure twice, cut once: Accurate measurements of your sliding door and AC unit ensure a proper fit and prevent air leaks.
- Use the right tools: A drill, screwdriver, measuring tape, and weatherstripping are essential for a secure installation.
- Follow LG’s instructions: Always refer to the included manual for model-specific details and safety guidelines.
- Seal all gaps: Proper sealing with foam tape or silicone prevents hot air from entering and reduces energy loss.
- Test before finalizing: Run your AC briefly after installation to check for airflow issues or unusual noises.
- Maintain regularly: Clean the vent and filters monthly to keep your unit running efficiently.
- Safety first: Turn off power to the AC during installation and avoid overloading electrical circuits.
Introduction: Cool Comfort Without the Construction
Living in a warm climate doesn’t mean you have to suffer through summer—even if you’re renting or don’t want to drill permanent holes in your walls. In 2026, portable and window air conditioners remain popular, but installing them in homes with sliding glass doors can be tricky. That’s where the LG air conditioner vent kit for sliding glass door comes in. Designed specifically for LG portable AC units, this kit allows you to vent hot air outside without damaging your door or compromising security.
In this guide, you’ll learn how to install the LG vent kit step by step. Whether you’re a DIY beginner or a seasoned home improver, we’ll walk you through everything from unpacking the kit to testing your newly installed system. By the end, you’ll have a cool, comfortable space and the peace of mind that comes with a job well done.
What You’ll Need
Before you start, gather these tools and materials. Most are common household items, but double-check your LG kit to ensure you have all included parts.
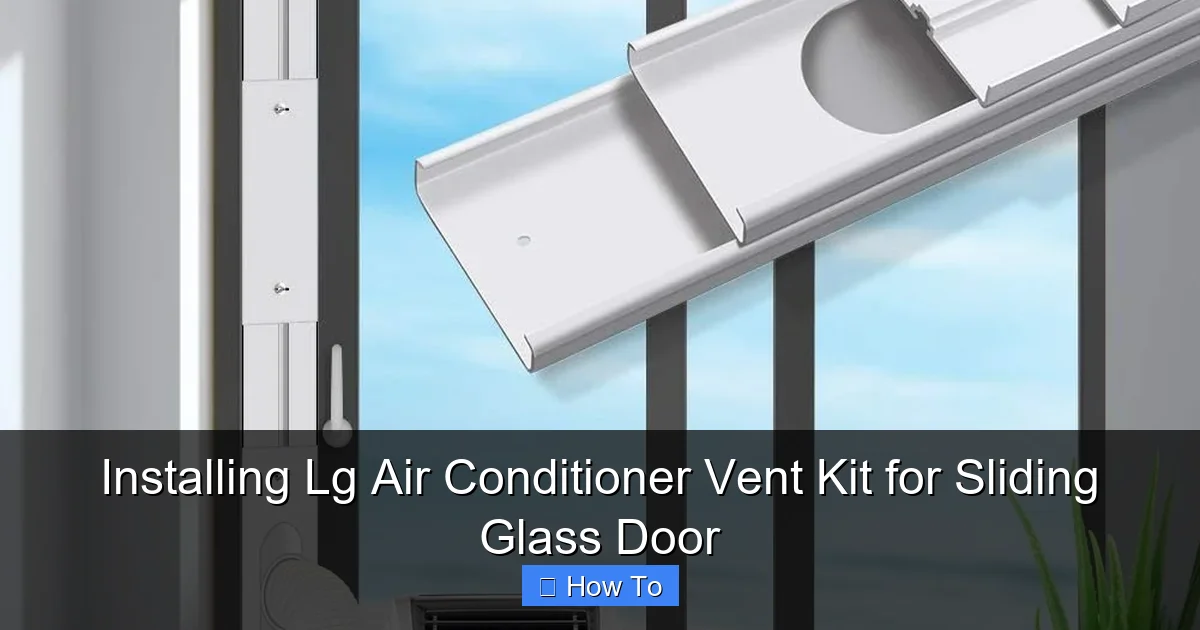
Visual guide about Installing Lg Air Conditioner Vent Kit for Sliding Glass Door
Image source: images-na.ssl-images-amazon.com
- LG air conditioner vent kit (model-specific, usually includes vent panel, brackets, screws, and weatherstripping)
- Measuring tape
- Pencil or marker
- Drill with drill bits (typically 1/8″ and 1/4″)
- Screwdriver (Phillips and flathead)
- Utility knife or scissors
- Silicone sealant or foam weatherstripping (optional, for extra sealing)
- Level
- Safety glasses and gloves
Pro Tip: If your kit doesn’t include weatherstripping, pick up a roll of self-adhesive foam tape from your local hardware store. It’s cheap and makes a big difference in preventing air leaks.
Step 1: Prepare Your Space
Start by clearing the area around your sliding glass door. Move furniture, rugs, or decorations that might get in the way. Open the door slightly to assess how much space you have to work with.
Check Your AC Unit Compatibility
Not all LG portable ACs use the same vent kit. Check your AC’s model number (usually on a label on the side or back) and confirm it’s compatible with the sliding door vent kit. Most LG models from 2020–2026 are compatible, but it’s always best to verify.
Inspect the Sliding Door
Look at the door track and frame. Make sure there’s enough vertical space to install the vent panel—typically at least 6–8 inches of clearance when the door is partially open. Also, check for any damage or warping that could affect the seal.
Step 2: Measure and Mark
Precision is key here. A poorly measured cut can lead to gaps, reduced efficiency, and even damage to your door.
Measure the Door Opening
Close the sliding door completely. Use your measuring tape to find the height from the bottom of the door track to the top of the door frame. Then, measure the width of the door panel that moves (not the fixed side).
Determine Vent Panel Placement
Most LG vent kits include a plastic or aluminum panel that fits into the door track. Decide whether you want to install it on the left or right side—whichever is more convenient. Mark the area where the panel will go using a pencil. Use a level to ensure your lines are straight.
Example: If your door is 80 inches tall and the vent panel is 7 inches tall, you’ll install it about 6–8 inches from the top or bottom, depending on your preference and AC hose length.
Step 3: Install the Vent Panel
Now it’s time to secure the vent panel into the door track. This step varies slightly depending on your kit, but the general process is the same.
Attach the Mounting Brackets
Most LG kits come with two L-shaped brackets. Slide them into the door track at the marked height. Use your drill to secure them with the provided screws. Make sure they’re tight but don’t over-tighten—this can crack the track or strip the screws.
Insert the Vent Panel
Place the vent panel between the brackets. It should fit snugly. If it’s too tight, gently sand the edges. If it’s too loose, add a thin strip of weatherstripping to the sides for a tighter seal.
Secure the Panel
Once the panel is in place, use screws to attach it to the brackets. Again, avoid over-tightening. The goal is a secure fit, not a permanent weld.
Step 4: Connect the Exhaust Hose
Your LG portable AC comes with an exhaust hose that vents hot air outside. Now you’ll connect it to the vent panel.
Attach the Hose to the AC Unit
Slide the hose connector onto the exhaust port on your AC unit. Most models use a twist-lock or clamp system—follow the arrows or instructions on the hose.
Connect the Hose to the Vent Panel
Take the other end of the hose and attach it to the vent panel’s outlet. It should click or lock into place. If your kit includes a hose adapter, use it to ensure a tight fit.
Pro Tip: Keep the hose as straight as possible. Bends and kinks reduce airflow and make your AC work harder.
Step 5: Seal All Gaps
Even small gaps can let hot air back in, reducing efficiency. This step is crucial for performance.
Apply Weatherstripping
Use self-adhesive foam tape around the edges of the vent panel where it meets the door frame. Press firmly to ensure a good bond. For extra protection, apply a thin bead of silicone sealant along the top and sides.
Check the Door Seal
Close the sliding door and make sure it still moves smoothly. If the door rubs against the vent panel, adjust the brackets slightly or add more weatherstripping to fill the gap.
Step 6: Test the System
Before you call it a day, test your setup to make sure everything works.
Turn On the AC
Plug in your LG portable AC and turn it on. Set it to cool mode and let it run for 5–10 minutes. Listen for unusual noises and feel the airflow from the vent.
Check for Leaks
Feel around the vent panel and hose connections. If you feel warm air escaping, tighten the connections or add more sealant. Use a flashlight to inspect dark corners for gaps.
Monitor Performance
After 30 minutes, check the temperature in the room. If it’s cooling effectively, you’re all set! If not, revisit the sealing steps or check if the hose is kinked.
Troubleshooting Common Issues
Even with careful installation, problems can happen. Here’s how to fix the most common ones.
Air Leaking Around the Vent Panel
This is usually due to poor sealing. Remove the panel, clean the area, and reapply weatherstripping or silicone. Make sure the door closes fully without forcing it.
Hose Won’t Stay Connected
If the hose keeps popping off, check the connectors for damage. Some kits include rubber gaskets—make sure they’re in place. You can also use zip ties for extra security (just don’t overtighten).
AC Not Cooling Effectively
First, check the filter—clean or replace it if dirty. Next, ensure the exhaust hose isn’t blocked or bent. Finally, verify that the room isn’t too large for your AC’s BTU rating.
Door Won’t Slide Smoothly
If the vent panel is too tight, it can jam the door. Loosen the brackets slightly or trim the panel edges with a utility knife. Always test the door movement before finalizing.
Maintenance Tips for Long-Term Use
To keep your LG air conditioner and vent kit working efficiently, follow these simple maintenance steps.
- Clean the filter monthly: A dirty filter restricts airflow and reduces cooling power.
- Inspect the vent panel every season: Look for cracks, loose screws, or worn weatherstripping.
- Wipe down the hose: Dust and debris can build up inside the hose—use a damp cloth to clean it.
- Store the kit properly: If you remove the AC in winter, store the vent panel in a dry place to prevent damage.
Conclusion: Enjoy Cool Air with Confidence
Installing an LG air conditioner vent kit for a sliding glass door is a practical, renter-friendly solution that delivers real comfort. With the right tools, careful measurements, and attention to sealing, you can complete this project in under an hour. Not only will you enjoy a cooler home, but you’ll also save energy by preventing air leaks.
Remember, the key to success is preparation and patience. Follow the steps in this guide, refer to your LG manual, and don’t rush the sealing process. In 2026, smart cooling solutions like this make staying comfortable easier than ever—no construction required.
Now go enjoy that cool, refreshing air!

