
Installing an LG 12000 BTU portable air conditioner is simpler than you think. This guide walks you through every step—from unboxing to final setup—so you can enjoy cool, refreshing air in no time.
Key Takeaways
- Choose the right location: Place the unit near a window and power outlet, away from heat sources and direct sunlight for optimal performance.
- Prepare tools and parts: Gather a screwdriver, measuring tape, and the included window kit before starting the installation.
- Install the window venting kit correctly: A secure seal prevents hot air from re-entering and improves cooling efficiency.
- Ensure proper drainage: Most LG portable ACs use self-evaporative technology, but check the water tank regularly during heavy use.
- Test the unit after setup: Run a quick cooling cycle to confirm airflow, temperature drop, and remote control functionality.
- Maintain regularly: Clean filters monthly and inspect hoses and seals to keep your AC running smoothly all season.
- Safety first: Always plug into a grounded outlet and avoid extension cords to prevent electrical hazards.
How to Install LG 12000 BTU Portable Air Conditioner
If you’ve just bought an LG 12000 BTU portable air conditioner, congratulations! You’re about to enjoy powerful, energy-efficient cooling without the hassle of permanent installation. These units are perfect for apartments, bedrooms, home offices, or any room up to 400–500 square feet. Unlike window or central AC systems, portable air conditioners are easy to move, require no construction, and can be set up in under an hour.
In this comprehensive guide, we’ll walk you through the entire process of installing your LG 12000 BTU portable air conditioner—from unboxing and preparation to final testing and troubleshooting. Whether you’re a DIY beginner or a seasoned home improver, you’ll find clear, step-by-step instructions, helpful tips, and practical advice to ensure a smooth and successful setup.
By the end of this guide, you’ll know exactly where to place your unit, how to install the window venting kit, how to connect the exhaust hose, and how to maintain your AC for long-term performance. Let’s get started!
What You’ll Need Before You Begin
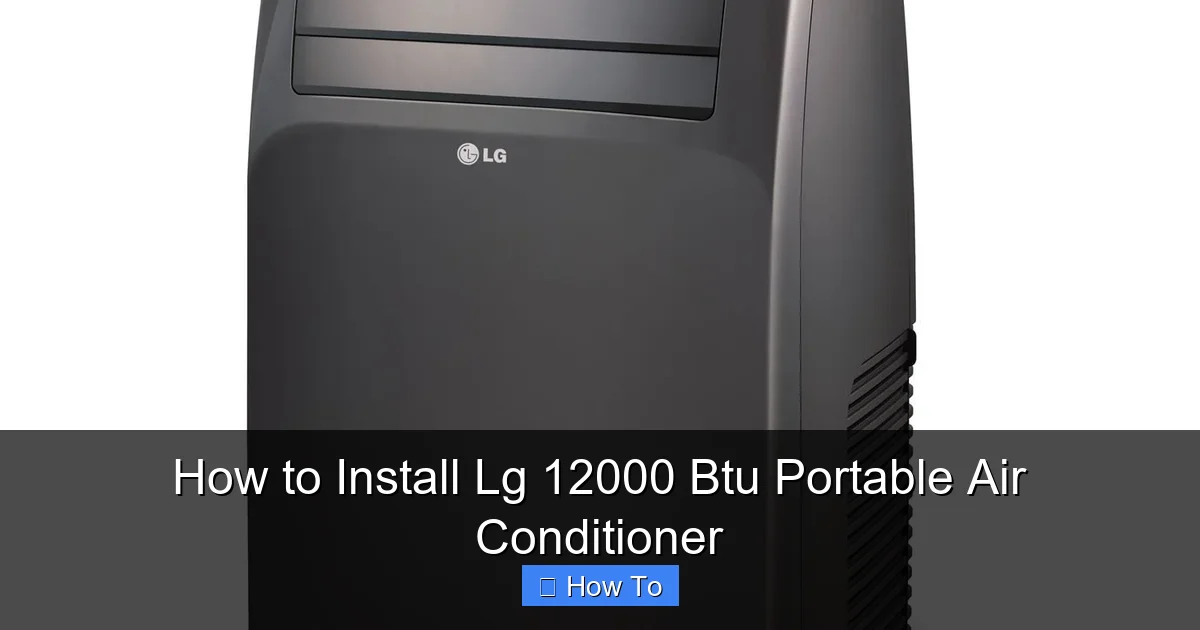
Visual guide about How to Install Lg 12000 Btu Portable Air Conditioner
Image source: buytechzone.com
Before you unbox your LG portable air conditioner, it’s important to gather the right tools and materials. Having everything ready will save you time and prevent frustration during installation.
Tools and Materials
- Measuring tape
- Screwdriver (usually Phillips head)
- Scissors or utility knife
- Pencil or marker
- Level (optional, but helpful)
- Extension cord (only if absolutely necessary—see safety note below)
Included Components
Most LG 12000 BTU portable air conditioners come with the following parts:
- Portable air conditioner unit
- Exhaust hose (typically 5–6 feet long)
- Window venting kit (includes adjustable panels, foam seals, and mounting brackets)
- Hose connector and adapters
- Remote control and batteries
- User manual and quick start guide
- Drain hose (for manual drainage, if needed)
Safety Precautions
- Always unplug the unit before handling any components.
- Do not use an extension cord unless it’s a heavy-duty, grounded cord rated for at least 15 amps. LG recommends plugging directly into a wall outlet.
- Ensure the outlet is on a dedicated circuit to avoid overloading.
- Keep the unit away from water sources and flammable materials.
- Never block the air intake or exhaust vents.
Step 1: Choose the Best Location for Your AC Unit
The placement of your portable air conditioner is crucial for performance and efficiency. A poor location can lead to weak cooling, high energy use, and even overheating.
Ideal Placement Tips
- Near a window: The exhaust hose must vent hot air outside, so the unit should be within 5–6 feet of a window.
- Close to a power outlet: Avoid long power cords or extension cords. Plug directly into a grounded outlet.
- On a flat, stable surface: Place the unit on a level floor to prevent vibration and ensure proper drainage.
- Away from heat sources: Keep it away from stoves, ovens, radiators, or direct sunlight, which can interfere with temperature sensors.
- In the center of the room: For even cooling, position the unit so air can circulate freely in all directions.
Room Size Considerations
The LG 12000 BTU portable air conditioner is designed for rooms up to 450–500 square feet. If your room is larger, you may notice reduced cooling efficiency. For best results:
- Close doors to adjacent rooms to contain cool air.
- Use ceiling fans to help circulate cooled air.
- Avoid placing the unit in a corner where airflow is restricted.
Window Type Matters
Most window kits work with single-hung, double-hung, or sliding windows. If you have a casement (crank-out) window, you may need a special adapter or a different venting solution. Check your window type before installation.
Step 2: Unbox and Inspect the Unit
Now that you’ve chosen the perfect spot, it’s time to unbox your LG portable air conditioner.
Unboxing Tips
- Open the box carefully using scissors or a box cutter. Avoid damaging internal components.
- Remove all packaging materials, including foam inserts, plastic wraps, and zip ties.
- Check for any visible damage to the unit, hose, or window kit.
- Locate the user manual and quick start guide—keep them handy.
Inspect Key Components
- Exhaust hose: Ensure it’s not kinked or torn. It should be flexible and about 5–6 feet long.
- Window kit: Confirm all panels, seals, and brackets are included.
- Drain port: Locate the drainage hole on the back or bottom of the unit. Most LG models use self-evaporative technology, so manual draining is rare—but good to know.
- Air filter: Pull out the front panel and check that the washable filter is clean and properly seated.
Initial Setup
- Remove the protective film from the display panel and vents.
- Insert the batteries into the remote control.
- Place the unit in your chosen location, leaving at least 18–24 inches of clearance on all sides for airflow.
Step 3: Install the Window Venting Kit
The window venting kit is the most important part of the installation. It allows hot air to escape while keeping cool air inside.
Step-by-Step Window Installation
1. Measure Your Window Opening
Use a measuring tape to determine the height or width of your window opening (depending on window type). Most LG kits are adjustable from 24 to 48 inches.
2. Assemble the Window Panel
- Take the adjustable window panel from the kit.
- Slide the extension panels out to match your window size.
- Secure them with the included screws or locking knobs.
- Attach foam seals to the top and sides of the panel to create a tight seal.
3. Install the Exhaust Hose Adapter
- Connect one end of the exhaust hose to the back of the AC unit. It should click into place.
- Attach the other end to the hose adapter (usually a plastic ring or flange).
- Secure the adapter to the window panel using the provided bracket or tape.
4. Insert the Panel into the Window
- Open your window slightly (usually 4–6 inches).
- Place the window panel into the opening.
- Close the window firmly onto the panel to hold it in place.
- Use the included support bracket or foam wedges to stabilize the panel and prevent gaps.
Sealing Gaps for Maximum Efficiency
Even small gaps can let hot air back in, reducing cooling power. To seal properly:
- Use weatherstripping or foam tape around the edges of the window panel.
- If using a sliding window, install the vertical panel and secure it with the bracket.
- For extra security, use zip ties or duct tape (temporarily) to hold the hose in place.
Troubleshooting Window Installation
- Panel too short? Extend the adjustable sections fully. If still too short, contact LG for an extension kit.
- Hose too long? Coil the excess hose neatly behind the unit—don’t cut it.
- Wind or rain getting in? Use a window seal cover or install a storm window panel over the vent.
Step 4: Connect the Exhaust Hose and Power Up
With the window kit in place, it’s time to connect the exhaust hose and prepare the unit for operation.
Connecting the Exhaust Hose
- Ensure the hose is straight and not kinked. Kinks restrict airflow and reduce efficiency.
- Attach one end to the back of the AC unit and the other to the window adapter.
- Secure connections with the included clamps or zip ties.
- Check that the hose slopes slightly downward toward the window to prevent condensation buildup.
Powering the Unit
- Plug the power cord directly into a grounded wall outlet.
- Do not use extension cords unless absolutely necessary. If you must, use a 14-gauge or thicker cord rated for 15 amps.
- Turn on the circuit breaker if the outlet is controlled by a switch.
Initial Power-On Test
- Press the power button on the unit or remote.
- Set the mode to “Cool” and adjust the temperature.
- Listen for the compressor and fan to start. You should feel cool air within a few minutes.
- Check that the exhaust hose is venting warm air outside.
Step 5: Configure Settings and Test Performance
Now that your LG 12000 BTU portable air conditioner is running, it’s time to fine-tune the settings for comfort and efficiency.
Using the Control Panel and Remote
- Mode: Choose Cool, Fan, Dry (dehumidify), or Auto.
- Temperature: Set between 68–78°F for comfort and energy savings.
- Fan Speed: Use High for quick cooling, Low for quiet operation.
- Timer: Set the unit to turn on or off automatically.
- Sleep Mode: Gradually increases temperature for energy-efficient overnight cooling.
Testing Cooling Performance
- Wait 10–15 minutes for the room to cool.
- Use a thermometer to check the temperature drop.
- Feel the air coming from the front vent—it should be noticeably cooler than room temperature.
- Listen for unusual noises like rattling or grinding—these may indicate loose parts.
Checking for Leaks or Drafts
- Run your hand around the window seal and hose connections.
- Feel for warm air entering the room—this means the seal is not tight.
- If you detect leaks, reapply foam tape or adjust the window panel.
Step 6: Maintenance and Troubleshooting
To keep your LG portable air conditioner running smoothly, regular maintenance is essential.
Monthly Maintenance Checklist
- Clean the air filter: Remove the front panel, take out the filter, and rinse it with warm water. Let it dry completely before reinserting.
- Inspect the exhaust hose: Check for cracks, kinks, or blockages.
- Check the water tank: Most LG models use self-evaporation, but during high humidity, the tank may fill. Empty it if the “Full” indicator lights up.
- Wipe down the exterior: Use a damp cloth to clean the unit and prevent dust buildup.
Common Issues and Fixes
- Unit not cooling: Check if the filter is dirty, the hose is blocked, or the room is too large. Also, ensure the temperature is set lower than the room temperature.
- Water leaking: Empty the drain tank. If it continues, check the drain hose for clogs.
- Strange noises: Tighten loose screws, ensure the unit is level, and check for foreign objects in the fan.
- Remote not working: Replace the batteries and ensure there’s no obstruction between the remote and unit.
- Error codes: Refer to the user manual. Common codes include E1 (sensor issue) or PF (power failure).
Seasonal Storage Tips
If you’re not using the unit during winter:
- Clean the filter and interior.
- Drain all water from the tank and hose.
- Coil the hose neatly and store it indoors.
- Cover the unit with a breathable cloth to prevent dust buildup.
- Store in a dry, cool place away from direct sunlight.
Conclusion
Installing your LG 12000 BTU portable air conditioner is a straightforward process that can be completed in under an hour with the right preparation. By choosing the ideal location, properly installing the window venting kit, and following the setup steps carefully, you’ll enjoy powerful, efficient cooling all summer long.
Remember to maintain your unit regularly—cleaning the filter, checking the hose, and monitoring the water tank—to ensure peak performance and longevity. With proper care, your LG portable AC will keep you comfortable for many seasons to come.
Whether you’re cooling a bedroom, home office, or living space, this guide has equipped you with everything you need to install and enjoy your new air conditioner with confidence. Stay cool!

