
Keeping your LG room air conditioner clean ensures better air quality, improved efficiency, and a longer lifespan. This guide walks you through the entire cleaning process—from safety prep to reassembly—so your unit runs smoothly all season long.
Key Takeaways
- Turn off and unplug the unit before cleaning to prevent electrical hazards and protect internal components.
- Clean or replace the air filter monthly to maintain airflow and reduce allergens in your home.
- Use mild soap and water for washing removable parts—avoid harsh chemicals that can damage plastic or coatings.
- Inspect the evaporator and condenser coils regularly; dust buildup reduces cooling efficiency and increases energy use.
- Clear the drain line to prevent clogs, water leaks, and mold growth inside the unit.
- Wipe down the exterior and vents with a soft cloth to keep the unit looking fresh and functioning well.
- Schedule professional maintenance annually for deep cleaning and system checks, especially before peak summer months.
How to Clean LG Room Air Conditioner: A Complete Step-by-Step Guide
Is your LG room air conditioner not cooling as well as it used to? Or maybe you’ve noticed a musty smell when you turn it on? These are common signs that your unit needs a good cleaning. Over time, dust, dirt, pet dander, and moisture can build up inside your air conditioner, reducing its efficiency and even affecting your indoor air quality.
The good news? Cleaning your LG room air conditioner is easier than you might think—and doing it regularly can save you money on energy bills, extend the life of your unit, and keep your home healthier. In this comprehensive guide, we’ll walk you through every step of the cleaning process, from safety precautions to reassembly. Whether you’re a first-time cleaner or just need a refresher, you’ll learn how to clean your LG room air conditioner like a pro.
We’ll cover everything: removing and washing the air filter, cleaning the coils, clearing the drain line, wiping down the exterior, and even troubleshooting common issues. Plus, we’ll share practical tips to make maintenance quick and stress-free. By the end of this guide, you’ll have a spotless, high-performing air conditioner ready to keep you cool all summer long.
Why Cleaning Your LG Room Air Conditioner Matters
Before we dive into the how-to, let’s talk about why cleaning your LG room air conditioner is so important. Many people underestimate the impact of regular maintenance, but a dirty unit can cause a host of problems.
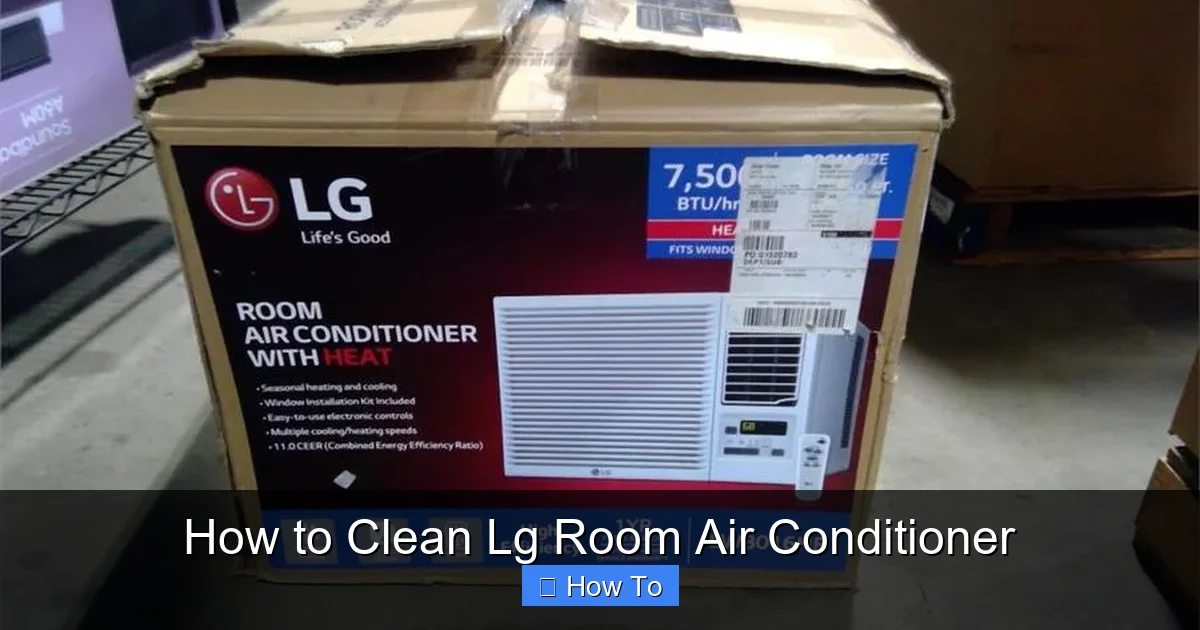
Visual guide about How to Clean Lg Room Air Conditioner
Image source: content.propertyroom.com
First, dust and debris buildup on the air filter and coils restricts airflow. This forces your air conditioner to work harder to cool your room, which increases energy consumption and drives up your electricity bill. In fact, a clogged filter can reduce efficiency by up to 15%, according to the U.S. Department of Energy.
Second, moisture and organic matter inside the unit create the perfect environment for mold and bacteria to grow. When you turn on the AC, these contaminants can be blown into your living space, triggering allergies, asthma, or other respiratory issues—especially in children and seniors.
Third, neglecting maintenance can shorten the lifespan of your unit. Components like the compressor and fan motor are sensitive to dirt and overheating. Regular cleaning helps prevent premature wear and costly repairs.
Finally, a clean air conditioner simply works better. You’ll enjoy faster cooling, quieter operation, and more consistent temperatures. So, whether you’re preparing for summer or doing seasonal upkeep, cleaning your LG room air conditioner is a smart, simple way to protect your investment and your health.
Tools and Supplies You’ll Need
Before you start cleaning, gather all the necessary tools and supplies. Having everything ready will make the process faster and more efficient. Here’s what you’ll need:
- Soft cloths or microfiber towels – for wiping down surfaces without scratching
- Mild dish soap – gentle enough for plastic and metal parts
- Warm water – for rinsing and cleaning
- Vacuum cleaner with a brush attachment – to remove loose dust and debris
- Soft-bristle brush (like a toothbrush) – for scrubbing tight spaces and coils
- Spray bottle – for applying cleaning solution
- Garden hose (optional) – for rinsing the exterior or coils if accessible
- Compressed air (optional) – for blowing out dust from hard-to-reach areas
- Replacement air filter (if needed) – check your model’s specifications
- Screwdriver (if required) – some LG models have screws holding the front panel
- Gloves and safety glasses – to protect your hands and eyes during cleaning
Most of these items are household staples, so you likely already have them on hand. If you’re missing something, a quick trip to the hardware store or pharmacy should cover it. Once you’ve gathered your supplies, you’re ready to begin.
Step 1: Safety First – Turn Off and Unplug the Unit
Before you touch any part of your LG room air conditioner, safety must come first. Air conditioners are electrical appliances, and even when turned off, they can still pose a risk if not properly disconnected.
Turn Off the Air Conditioner
Start by using the remote control or the unit’s control panel to turn off the air conditioner. Make sure it’s completely powered down—don’t just switch it to “fan” or “dry” mode. You want the system to be in full off mode.
Unplug the Power Cord
Next, locate the power cord and unplug it from the wall outlet. This is the most important step. Even if the unit is off, electricity can still flow through the cord, and accidental startup during cleaning could cause injury or damage.
Wait 10–15 Minutes
After unplugging, wait at least 10 to 15 minutes before starting any cleaning. This allows any residual electrical charge in the capacitors to dissipate, reducing the risk of electric shock.
Check for Obstructions
While you’re waiting, take a quick look around the unit. Make sure there’s nothing blocking the front or back—like furniture, curtains, or plants. You’ll need clear access to remove panels and clean thoroughly.
By following these safety steps, you protect yourself and your appliance. Never skip this part—even if you’re in a hurry. A few minutes of caution can prevent serious accidents.
Step 2: Remove and Clean the Air Filter
The air filter is one of the most important parts of your LG room air conditioner. It traps dust, pollen, pet hair, and other airborne particles, keeping them from circulating in your home. But when it gets clogged, it restricts airflow and reduces efficiency.
Locate the Air Filter
Most LG room air conditioners have a front panel that opens to reveal the air filter. Look for a latch or release button on the top or side of the unit. Press or slide it to open the panel. On some models, you may need to remove a few screws with a screwdriver—check your user manual if you’re unsure.
Remove the Filter
Gently pull the filter out of its slot. It should slide out easily. Take note of how it’s positioned so you can reinstall it correctly later. Some filters are reversible, but most have a specific direction (usually marked with arrows).
Vacuum Loose Debris
Use your vacuum cleaner with a brush attachment to remove loose dust and hair from the filter. This quick step removes the bulk of the dirt and prepares the filter for a deeper clean.
Wash the Filter
Fill a sink or basin with warm water and add a few drops of mild dish soap. Submerge the filter and gently agitate it to loosen embedded dirt. Use your hands or a soft brush to scrub both sides, especially the pleated areas where dust tends to accumulate.
Rinse Thoroughly
Rinse the filter under cool running water until all soap and debris are gone. Make sure water flows through the filter in the same direction as normal airflow (usually from the front to the back). This helps prevent dirt from being pushed deeper into the material.
Let It Dry Completely
Place the filter on a clean towel and let it air dry completely—this usually takes 1–2 hours. Do not use a hairdryer or place it in direct sunlight, as heat can warp or damage the filter. Never reinstall a damp filter, as moisture can promote mold growth.
Reinstall the Filter
Once dry, slide the filter back into its slot, making sure it’s oriented correctly. Close the front panel and secure it with screws if needed. Your air filter should now be clean and ready to improve air quality and efficiency.
Pro Tip: Clean your air filter every 1–2 months during heavy use (like summer) and every 3 months during lighter use. If you have pets or allergies, consider cleaning it more frequently.
Step 3: Clean the Front Panel and Exterior
While the filter dries, take the opportunity to clean the front panel and exterior of your LG room air conditioner. Dust and grime on the outside not only look unsightly but can also be drawn into the unit over time.
Wipe Down the Front Panel
Use a soft, damp cloth to wipe the front panel, including the control buttons and display. Avoid spraying water directly on the unit—instead, lightly dampen the cloth and wipe gently. For stubborn spots, add a drop of mild soap to the cloth.
Clean the Air Vents
The horizontal and vertical louvers (air vents) can collect dust and pet hair. Use a soft brush or the brush attachment on your vacuum to remove loose debris. Then, wipe them with a damp cloth. Be careful not to bend or damage the fins.
Wipe the Exterior Casing
Use a clean, dry microfiber cloth to wipe down the sides and top of the unit. If the casing is particularly dirty, you can use a slightly damp cloth, but make sure no water seeps into seams or openings. Dry immediately with a second cloth.
Check the Remote Control
Don’t forget the remote! Wipe it down with a disinfectant wipe or a cloth dampened with rubbing alcohol. Remove the batteries occasionally to clean the contacts and prevent corrosion.
A clean exterior not only looks better but also helps the unit operate more efficiently by allowing proper airflow and preventing dirt from entering the system.
Step 4: Clean the Evaporator and Condenser Coils
The evaporator and condenser coils are critical components that transfer heat to cool your room. Over time, they collect dust and debris, which insulates the coils and reduces their ability to absorb and release heat. Cleaning them is essential for maintaining cooling performance.
Access the Coils
To reach the coils, you’ll need to remove the front panel and possibly the top or side covers, depending on your LG model. Refer to your user manual for specific instructions. Some models have removable grilles or access panels that make this easier.
Vacuum Loose Dust
Use your vacuum cleaner with a brush attachment to gently remove loose dust and debris from the coils. Be careful not to bend the delicate aluminum fins—they’re thin and easily damaged.
Apply Coil Cleaner (Optional)
For a deeper clean, use a commercial coil cleaner spray (available at hardware stores). Spray it evenly over the coils and let it sit for 5–10 minutes. The foam will break down grease and stubborn dirt. Avoid using water-based cleaners unless specified—some can cause corrosion.
Rinse (If Recommended)
If your cleaner instructions say to rinse, use a garden hose on a low setting to gently spray the coils. Do not use high pressure, as it can damage the fins. Make sure the unit is still unplugged and dry completely before reassembly.
Straighten Bent Fins
Use a fin comb (a special tool for AC coils) or a soft brush to gently straighten any bent fins. This improves airflow and efficiency. You can find fin combs online or at HVAC supply stores.
Note: If you’re uncomfortable accessing the coils or notice significant corrosion or damage, consider calling a professional. Improper handling can void your warranty or cause further issues.
Step 5: Clean the Drain Line and Pan
The drain line and drain pan remove condensation produced during cooling. If they become clogged, water can back up, causing leaks, mold growth, or even water damage to your walls or floor.
Locate the Drain Pan
The drain pan is usually located at the bottom of the unit, beneath the evaporator coils. You may need to remove the front panel or base cover to access it.
Check for Standing Water
Look inside the pan for standing water or sludge. If you see any, it’s a sign the drain line is clogged.
Clean the Drain Pan
Use a sponge or cloth to wipe out the pan. For stubborn residue, mix a solution of warm water and mild soap, or use a 50/50 mix of vinegar and water to kill mold and bacteria. Rinse thoroughly and dry.
Clear the Drain Line
The drain line is a small tube that carries water outside. To clear it, use a wet/dry vacuum to suck out any clogs. Alternatively, you can use a pipe cleaner or a long, flexible brush to gently push through debris. Pour a cup of vinegar or a commercial drain cleaner down the line to dissolve organic buildup.
Test the Drain
After cleaning, pour a small amount of water into the drain pan to ensure it flows freely out the drain line. If it pools, the line may still be partially blocked.
Regular drain maintenance prevents water damage and keeps your unit running smoothly. Do this every 3–6 months, especially in humid climates.
Step 6: Reassemble and Test the Unit
Once all parts are clean and dry, it’s time to put your LG room air conditioner back together and test it.
Reinstall All Components
Carefully reassemble the unit in reverse order: replace the drain pan, reattach any panels or covers, and reinstall the air filter. Make sure everything is securely in place and no screws are loose.
Plug In the Unit
Once reassembled, plug the power cord back into the wall outlet. Make sure the outlet is functioning and the cord isn’t damaged.
Turn On and Test
Use the remote or control panel to turn on the air conditioner. Set it to “Cool” mode and a low temperature. Listen for unusual noises and check that air is blowing strongly from the vents. Feel the air—it should be noticeably cooler within a few minutes.
Check for Leaks
Monitor the unit for the first 30 minutes to ensure there are no water leaks around the drain line or base. If you notice dripping, double-check the drain pan and line.
If everything works properly, your LG room air conditioner is clean, efficient, and ready to keep you comfortable.
Troubleshooting Common Cleaning Issues
Even with careful cleaning, you might run into a few problems. Here’s how to handle common issues:
Unit Won’t Turn On After Cleaning
Double-check that the power cord is securely plugged in and the outlet is working. Ensure all panels are properly closed—some LG models have safety switches that prevent operation if the front panel isn’t latched.
Weak Airflow
This usually means the air filter is still dirty or not installed correctly. Recheck the filter and make sure it’s clean and seated properly. Also, verify that the vents aren’t blocked.
Water Leaking Inside
If water is dripping inside the room, the drain line is likely still clogged or the drain pan is misaligned. Re-clean the drain line and ensure the pan is level and securely in place.
Unusual Noises
Rattling or grinding sounds may indicate loose parts or debris in the fan. Turn off the unit, unplug it, and inspect the fan blades and motor area. Remove any obstructions and tighten loose screws.
Reduced Cooling Performance
If the unit isn’t cooling well even after cleaning, the coils may still be dirty, or there could be a refrigerant issue. In this case, contact LG customer support or a licensed HVAC technician.
Maintenance Tips for Long-Term Performance
Cleaning your LG room air conditioner isn’t a one-time task—it’s an ongoing process. Here are some tips to keep it running smoothly year after year:
- Clean the filter monthly during peak usage seasons.
- Wipe down the exterior weekly to prevent dust buildup.
- Check the drain line every 3 months and clear any clogs.
- Inspect the coils twice a year—once before summer and once in fall.
- Keep the area around the unit clear of furniture, curtains, and plants.
- Schedule professional maintenance annually for a thorough inspection and deep clean.
- Use a surge protector to protect the unit from power fluctuations.
By following these habits, you’ll extend the life of your air conditioner, save on energy costs, and enjoy cleaner, cooler air all season long.
Conclusion
Cleaning your LG room air conditioner may seem like a chore, but it’s one of the best things you can do for your home and your health. A clean unit runs more efficiently, lasts longer, and delivers fresher, cooler air. With the step-by-step instructions in this guide, you now have everything you need to tackle the job confidently and correctly.
Remember: safety first, clean the filter regularly, don’t skip the coils and drain line, and test the unit after reassembly. A little maintenance goes a long way. So grab your supplies, follow the steps, and enjoy the comfort of a spotless, high-performing air conditioner.
Your LG room air conditioner works hard for you—now it’s time to give it the care it deserves.

