
Installing an LG air conditioner doesn’t have to be overwhelming. This guide walks you through every step—from choosing the right model to final testing—so you can enjoy cool, efficient comfort at home.
Key Takeaways
- Choose the right LG model: Match your AC’s capacity (BTUs) to your room size for optimal performance and energy efficiency.
- Prioritize safety first: Always turn off power at the circuit breaker and wear protective gear like gloves and goggles during installation.
- Use the right tools: A drill, level, screwdrivers, tape measure, and vacuum pump (for split systems) are essential for a professional-grade install.
- Follow the manual closely: LG provides detailed instructions tailored to your specific model—don’t skip this step.
- Seal and insulate properly: Prevent air leaks and moisture buildup by sealing wall holes and insulating refrigerant lines.
- Test before finishing: Run a full cooling cycle and check for leaks, noise, or error codes before closing up walls or trim.
- Consider professional help: If you’re unsure about electrical work or refrigerant handling, hire a certified technician.
Installing LG Air Conditioner: A Complete 2026 Guide
Welcome to your go-to guide for installing an LG air conditioner in 2026! Whether you’re upgrading your home cooling system or setting up a new unit, this step-by-step walkthrough will help you get it done safely and efficiently. LG offers a wide range of air conditioners—from window units to sleek ductless mini-splits—and while each type has its own quirks, the core principles of installation remain consistent.
By the end of this guide, you’ll know how to choose the right LG model, gather the necessary tools, prepare your space, install the unit correctly, and troubleshoot common issues. We’ll keep things simple, practical, and jargon-free so even first-time DIYers can feel confident. Let’s get started!
Step 1: Choose the Right LG Air Conditioner
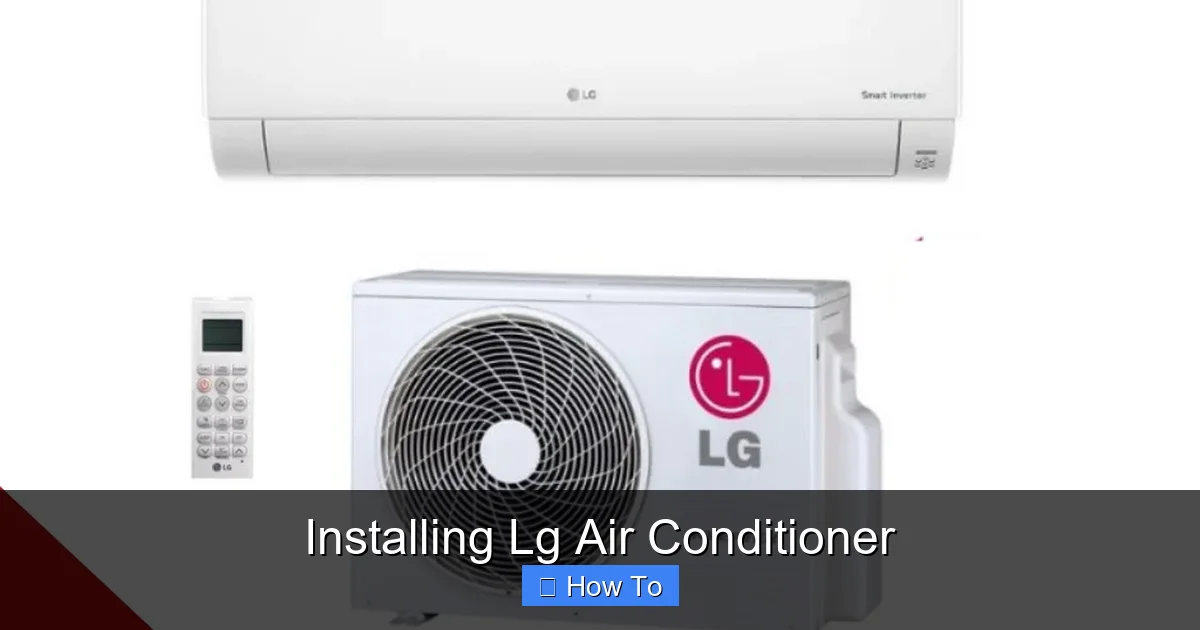
Visual guide about Installing Lg Air Conditioner
Image source: srtechnicool.co.za
Before you even think about installation, make sure you’ve picked the perfect LG air conditioner for your needs. In 2026, LG continues to lead with energy-efficient, smart-enabled models like the LG Dual Inverter Window AC and the LG Art Cool Mirror Mini-Split.
Start by measuring your room. A common rule of thumb: you need about 20 BTUs per square foot. So a 300-square-foot room needs roughly 6,000 BTUs. But don’t stop there—consider factors like ceiling height, sun exposure, and insulation. LG’s online BTU calculator (available on their official website) can help fine-tune your choice.
Also, decide between a window unit and a split system. Window ACs are easier to install and more affordable, ideal for single rooms. Mini-splits offer quieter operation, better aesthetics, and zoned cooling but require more complex installation, including drilling through walls and handling refrigerant lines.
Step 2: Gather Your Tools and Materials
Having the right tools on hand saves time and prevents frustration. Here’s what you’ll typically need:
- Power drill and drill bits
- Level
- Tape measure
- Screwdrivers (Phillips and flathead)
- Adjustable wrench
- Vacuum pump (for mini-split installations)
- Refrigerant line insulation
- Wall sleeve or mounting bracket (depending on model)
- Sealant (silicone or foam)
- Safety gear: gloves, goggles, and closed-toe shoes
If you’re installing a window unit, you might also need wood or metal brackets for extra support, especially in older windows. For mini-splits, check if your model includes a mounting plate and line set—most LG kits do, but it’s good to confirm.
Step 3: Prepare the Installation Site
For Window Units:
Choose a window that’s centrally located and can support the weight of the AC. Clear away curtains, blinds, or furniture that might block airflow. Measure the window opening to ensure your LG unit fits—most window models require a minimum width of 23–26 inches and a height of 14–18 inches.
If your window opens vertically (double-hung), make sure the lower sash can support the unit. You may need to reinforce it with a support bracket.
For Mini-Split Systems:
Pick a spot on an exterior wall for the indoor unit—ideally high on the wall, away from direct sunlight and heat sources. The outdoor condenser should be placed on a stable, level surface with at least 12 inches of clearance on all sides for airflow.
Use a stud finder to locate wall studs and avoid drilling into electrical wires or plumbing. Mark the drill points for the refrigerant line hole (usually 3–4 inches in diameter) and the mounting plate.
Step 4: Install the Mounting Hardware
Window Unit Installation:
Slide the LG window AC into the open window. Close the window sash down onto the top of the unit. Extend the side panels (if included) to fill gaps. Use screws to secure the unit to the window frame—never rely solely on the window sash for support.
Install a support bracket underneath the unit if recommended by LG. This prevents sagging and reduces strain on the window.
Mini-Split Installation:
Mount the indoor unit’s bracket to the wall using a level to ensure it’s straight. Drill pilot holes and secure with heavy-duty screws into wall studs.
For the outdoor unit, place it on a concrete pad or wall-mounted bracket. Use rubber vibration pads to reduce noise. Connect the refrigerant lines, drain hose, and electrical wiring through the pre-drilled wall hole.
Step 5: Connect Electrical and Refrigerant Lines
Electrical Setup:
Turn off power at the main circuit breaker. Window units typically plug into a dedicated 120V or 240V outlet. Mini-splits require hardwiring by a licensed electrician in most areas—especially in 2026, as electrical codes have become stricter for safety.
Never attempt to wire a mini-split yourself unless you’re qualified. Incorrect wiring can cause fires, damage the unit, or void your warranty.
Refrigerant Line Connection:
For mini-splits, connect the copper refrigerant lines between the indoor and outdoor units. Flare the ends properly and tighten with a wrench—don’t over-tighten. Use line insulation to cover the pipes and prevent condensation.
Evacuate the lines using a vacuum pump to remove air and moisture. This step is critical—skipping it can reduce efficiency and damage the compressor.
Step 6: Seal and Insulate
Once everything is connected, seal the wall hole with silicone caulk or expanding foam. This prevents drafts, insects, and moisture from entering your home.
Insulate the refrigerant lines thoroughly, especially if they run through unconditioned spaces like attics or crawl spaces. LG recommends using foam insulation with a vapor barrier.
For window units, use weatherstripping around the edges to block air leaks. This improves efficiency and keeps bugs out.
Step 7: Power On and Test
Restore power at the breaker. Turn on the LG air conditioner using the remote or control panel. Set it to cooling mode and let it run for 10–15 minutes.
Listen for unusual noises like grinding, rattling, or hissing. Check for cool air output and ensure the drain line (if applicable) is dripping water—this means condensation is being removed properly.
Use the LG ThinQ app (available in 2026) to connect your smart AC to Wi-Fi. You can monitor performance, adjust settings remotely, and receive maintenance alerts.
Troubleshooting Common Issues
- Unit won’t turn on: Check the power source, breaker, and remote batteries. Ensure the unit is properly plugged in or wired.
- Not cooling effectively: Clean or replace the air filter. Check for blocked airflow or low refrigerant (requires professional service).
- Water leaking indoors: Clear a clogged drain line or ensure the unit is level. Improper slope can cause water backup.
- Error codes on display: Refer to your LG manual for code meanings. Common codes include E1 (sensor issue) or F1 (communication error).
- Loud noises: Tighten loose screws, check for debris in the fan, or ensure the unit is level and secure.
If problems persist, contact LG customer support or a certified HVAC technician. Attempting complex repairs yourself can be dangerous and may void your warranty.
Final Tips for Long-Term Success
Once your LG air conditioner is up and running, keep it in top shape with regular maintenance. Clean the filters monthly, especially during peak usage seasons. Inspect the outdoor unit for debris and trim nearby vegetation.
In 2026, many LG models come with self-cleaning functions and AI-powered diagnostics—take advantage of these features to extend your unit’s lifespan.
And remember: while DIY installation is possible for window units, mini-splits often require professional help. Don’t hesitate to call a certified technician if you’re unsure. Your safety and the unit’s performance are worth the investment.
Conclusion
Installing an LG air conditioner in 2026 is totally doable with the right preparation and care. From selecting the perfect model to testing the final setup, this guide has covered everything you need to know. By following these steps, you’ll enjoy reliable, energy-efficient cooling all summer long.
Whether you’re cooling a cozy bedroom or a spacious living room, LG’s innovative technology makes staying comfortable easier than ever. So grab your tools, stay safe, and get ready to beat the heat like a pro!

