
Installing a LG window air conditioner doesn’t have to be overwhelming. This guide walks you through every step—from choosing the right model to securing it safely in your window. Save time and avoid common mistakes with our clear, expert-backed instructions.
Key Takeaways
- Choose the right size: Match your AC unit’s BTU rating to your room size for optimal cooling and energy efficiency.
- Check window compatibility: Ensure your window is double-hung or sliding, and can support the unit’s weight.
- Use proper tools: A drill, level, screwdriver, and measuring tape are essential for a secure installation.
- Seal gaps to prevent leaks: Use foam weatherstripping or side panels to block air leaks and improve efficiency.
- Secure the unit safely: Always use support brackets or L-brackets to prevent the AC from falling.
- Test before finalizing: Run the unit briefly to check for vibrations, noise, or improper drainage.
- Maintain regularly: Clean filters monthly and inspect seals seasonally to keep your LG AC running smoothly.
Installing a LG Window Air Conditioner: A Step-by-Step Guide for 2026
Welcome to your complete guide on installing a LG window air conditioner in 2026. Whether you’re upgrading your cooling system or installing your first window unit, LG offers reliable, energy-efficient models designed for easy setup. This guide will walk you through every step—from preparation to final testing—so you can enjoy cool, comfortable air without the stress.
In this guide, you’ll learn how to safely and correctly install your LG window AC unit, avoid common pitfalls, and ensure long-term performance. We’ll cover everything from measuring your window to securing the unit and sealing gaps. By the end, you’ll have a properly installed air conditioner that keeps your home cool and your energy bills low.
Step 1: Choose the Right LG Window Air Conditioner
Before you even think about installation, make sure you’ve selected the right model. LG offers a range of window AC units with varying BTU (British Thermal Unit) ratings, smart features, and energy-saving modes. In 2026, many LG models come with Wi-Fi connectivity, voice control via Google Assistant or Alexa, and inverter technology for quieter operation.
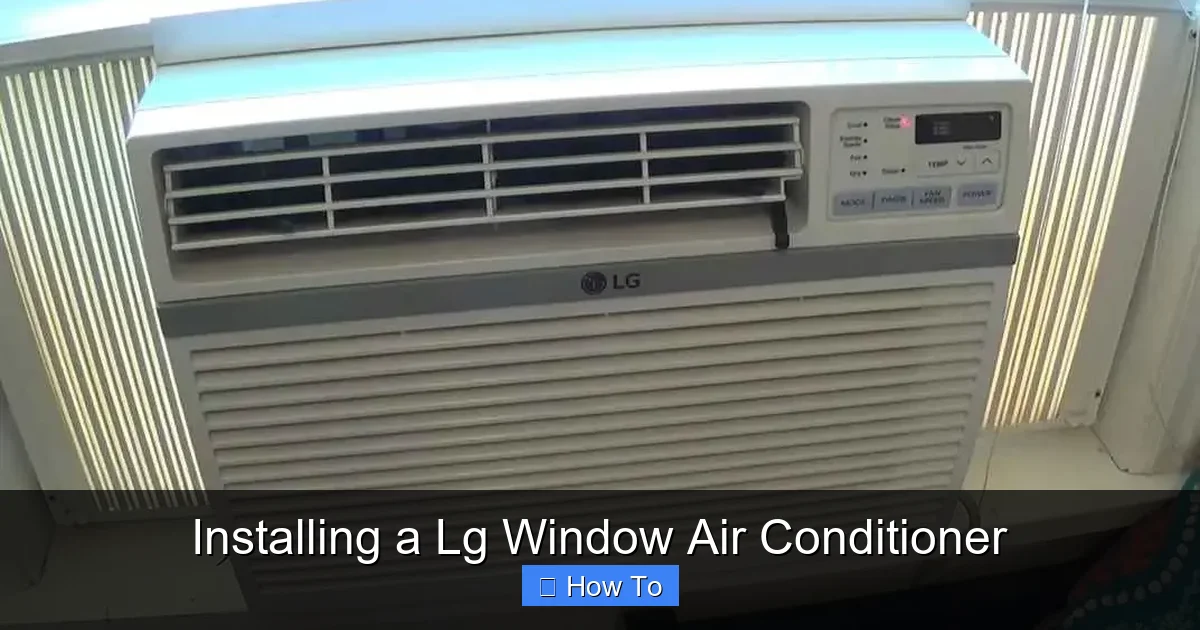
Visual guide about Installing a Lg Window Air Conditioner
Image source: smartacsolutions.com
Match BTU to Room Size
The key to efficient cooling is choosing a unit with the right BTU rating. Too small, and it won’t cool effectively; too large, and it will cycle on and off too frequently, wasting energy. Use this quick guide:
- 150–250 sq. ft.: 6,000 BTU
- 250–300 sq. ft.: 7,000–8,000 BTU
- 300–350 sq. ft.: 8,000–10,000 BTU
- 350–450 sq. ft.: 10,000–12,000 BTU
- 450–550 sq. ft.: 12,000–14,000 BTU
For example, if your bedroom is 320 square feet, a 9,000 BTU LG model would be ideal. Check the product label or LG’s online sizing tool for confirmation.
Check for Smart Features
In 2026, many LG window ACs support the LG ThinQ app, allowing you to control temperature, set schedules, and receive maintenance alerts from your smartphone. If you want remote access, look for models labeled “Smart” or “Wi-Fi Enabled.”
Step 2: Gather Your Tools and Materials
Having the right tools on hand will make installation faster and safer. Here’s what you’ll need:
- Measuring tape
- Level
- Drill and drill bits
- Screwdriver (Phillips and flathead)
- Adjustable wrench
- Foam weatherstripping or side panels (usually included)
- Support brackets or L-brackets (optional but recommended)
- Silicone caulk (for sealing)
- Gloves and safety glasses
Tip: Most LG window AC units come with an installation kit that includes side panels, screws, and foam strips. Double-check the box before buying extra materials.
Step 3: Prepare the Window and Area
Safety and preparation are crucial. Follow these steps to get your window ready:
Measure the Window Opening
Measure the width and height of your window opening. Your LG AC unit should fit snugly—typically, there should be no more than 2–3 inches of gap on each side. If the gap is larger, you may need to customize the side panels or use additional weatherstripping.
Check Window Type and Strength
LG window air conditioners are designed for double-hung or sliding windows. Make sure your window can support the weight—most units weigh between 50 and 80 pounds. Avoid installing in old, rotting, or weak frames.
Clear the Area
Remove any curtains, blinds, or furniture blocking the window. Ensure there’s at least 12 inches of clearance on all sides of the unit once installed for proper airflow.
Step 4: Install the Window AC Unit
Now it’s time to install your LG window air conditioner. Follow these steps carefully:
Step 4.1: Attach the Side Panels
Most LG models come with extendable side panels. Slide them into the grooves on the sides of the AC unit. Adjust them to match your window width. Secure them with the provided screws.
Step 4.2: Open the Window
Carefully raise the lower sash of your window. Place the AC unit on the windowsill, centered and level. Make sure the front of the unit is inside the room and the back (with the exhaust fan) is outside.
Step 4.3: Lower the Window onto the Unit
Gently lower the upper window sash until it rests on top of the AC unit. Do not force it—this could damage the unit or window. The sash should sit securely on the top of the AC casing.
Step 4.4: Secure the Unit
Use the included screws to attach the top of the AC unit to the upper window sash. Drill pilot holes first to avoid splitting the wood. This prevents the unit from shifting or falling.
Step 4.5: Install Support Brackets (Recommended)
For added safety, especially in windy areas or upper floors, install support brackets beneath the unit. These L-shaped metal brackets attach to the windowsill and support the bottom of the AC. Follow the manufacturer’s instructions for drilling and securing.
Step 5: Seal Gaps and Prevent Air Leaks
Even small gaps can let hot air in and cool air out, reducing efficiency. Here’s how to seal your installation:
Use Foam Weatherstripping
Apply the included foam strips along the sides and top where the window meets the AC unit. Press firmly to create a tight seal. For larger gaps, use additional foam tape or cut custom pieces from a weatherstripping kit.
Seal the Bottom Gap
If there’s a gap between the AC unit and the windowsill, fill it with silicone caulk. This prevents insects, rain, and drafts from entering. Let the caulk dry completely before testing the unit.
Check for Drafts
Once sealed, run your hand around the edges to feel for air leaks. If you detect drafts, add more weatherstripping or caulk as needed.
Step 6: Plug In and Test the Unit
Before you celebrate, make sure everything works properly:
Plug Into a Dedicated Outlet
Window AC units draw a lot of power. Plug your LG unit into a dedicated 120V or 240V outlet (depending on the model). Avoid using extension cords, which can overheat and pose a fire risk.
Turn On and Test
Power on the unit and set it to “Cool” mode. Listen for unusual noises like rattling or grinding. Check that air is blowing from the front and that the exhaust fan is running outside.
Check for Vibration
If the unit vibrates excessively, it may not be level. Use a level tool to check and adjust the placement if needed. You can also place rubber pads under the unit to reduce vibration.
Test the Drainage
Run the unit for 15–20 minutes and check for water leaks. Some condensation is normal, but if water pools inside or drips into the room, the unit may not be tilted correctly. The back should slope slightly outward (about 1/4 inch) to allow drainage.
Troubleshooting Common Installation Issues
Even with careful installation, you might run into problems. Here’s how to fix the most common issues:
Unit Won’t Turn On
Check the power cord and outlet. Make sure the circuit breaker hasn’t tripped. If the unit has a reset button, press it. Also, verify that the remote or control panel is set correctly.
Not Cooling Properly
This could be due to dirty filters, blocked airflow, or incorrect thermostat settings. Clean the air filter and ensure nothing is blocking the front or rear vents. Also, confirm the unit is the right size for the room.
Water Leaking Inside
If water drips into the room, the unit may be tilted too far inward. Adjust the angle so the back slopes slightly outward. Also, check that the drain hole (if present) isn’t clogged.
Excessive Noise or Vibration
Secure all screws and brackets. Make sure the unit is level and not touching the window frame. Use anti-vibration pads if needed.
Maintenance Tips for Long-Term Performance
To keep your LG window air conditioner running efficiently in 2026 and beyond, follow these maintenance tips:
- Clean the filter monthly: Remove and wash the air filter with mild soap and water. Let it dry completely before reinstalling.
- Inspect seals seasonally: Check weatherstripping and caulk for wear and replace as needed.
- Clear debris from the exterior: Remove leaves, dirt, or snow from the back of the unit to maintain airflow.
- Schedule professional servicing: Once a year, have a technician check refrigerant levels and electrical components.
Conclusion
Installing a LG window air conditioner in 2026 is a straightforward process when you follow the right steps. From choosing the correct size to sealing gaps and testing performance, this guide ensures a safe, efficient, and long-lasting installation. With proper care, your LG AC will keep your home cool and comfortable for years to come.
Remember, safety comes first—always use support brackets, avoid overloading circuits, and never force the unit into place. If you’re unsure at any point, consult the user manual or contact LG customer support. Stay cool and enjoy your new window air conditioner!

