
This guide walks you through the complete installation of an LG window air conditioner in 2026, from choosing the right model to final testing. Follow our clear, safety-first steps to cool your space efficiently and avoid common mistakes.
Key Takeaways
- Choose the right size: Match your AC’s BTU rating to your room size for optimal cooling and energy efficiency.
- Check window compatibility: Ensure your window is double-hung or sliding and can support the unit’s weight.
- Use proper tools: A drill, level, measuring tape, and screwdriver are essential for a secure install.
- Seal gaps to prevent leaks: Use foam insulation strips and weatherstripping to keep cool air in and hot air out.
- Prioritize safety: Always disconnect power before handling electrical components and never install alone.
- Test before finalizing: Run the unit briefly before securing all panels to confirm it works properly.
- Maintain regularly: Clean filters monthly and inspect seals annually to extend your AC’s lifespan.
Introduction: Why Proper Installation Matters
Installing an LG window air conditioner might seem straightforward, but doing it correctly ensures maximum cooling, energy efficiency, and safety. In 2026, LG continues to lead the market with smart, eco-friendly models like the LG Dual Inverter Window AC and LG SmartThinQ-enabled units. Whether you’re upgrading from an older model or installing your first window AC, this guide will walk you through every step—so you can enjoy a cool, comfortable home without the hassle.
By the end of this guide, you’ll know how to safely install your LG window air conditioner, avoid common pitfalls, and keep it running smoothly for years. We’ll cover everything from pre-installation prep to final testing, with practical tips tailored to 2026 models and modern home setups.
Step 1: Choose the Right LG Window Air Conditioner
Before you even think about installation, make sure you’ve picked the right unit. LG offers a range of window ACs with varying BTU (British Thermal Unit) ratings, features, and sizes. The key is matching the AC’s cooling power to your room size.
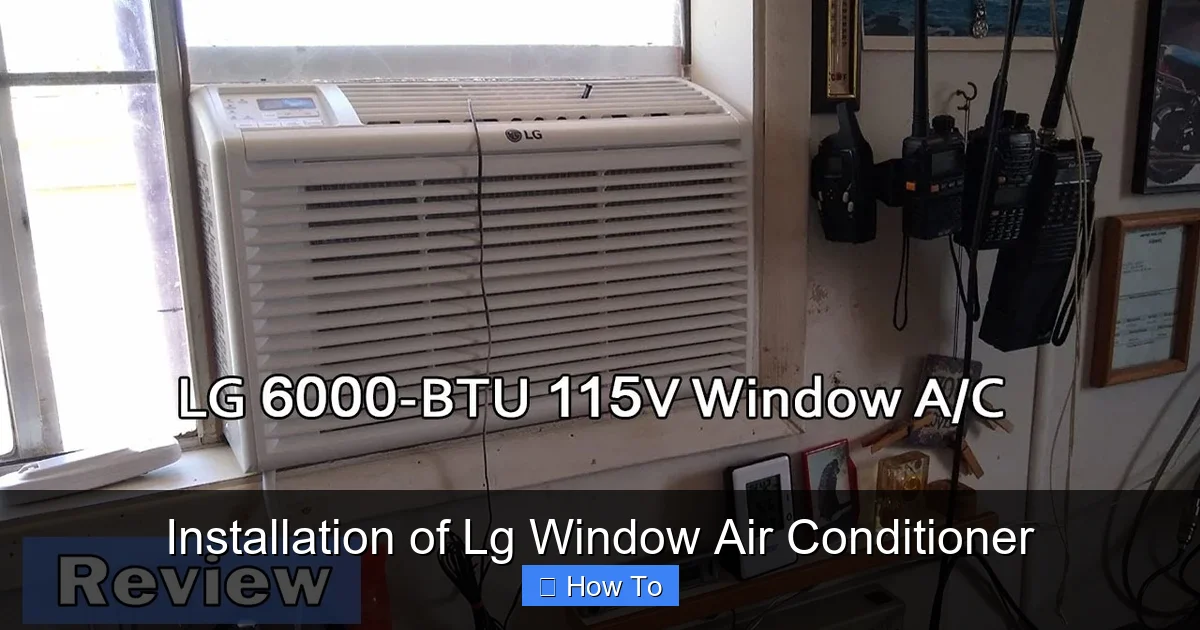
Visual guide about Installation of Lg Window Air Conditioner
Image source: i.ytimg.com
Calculate the Right BTU for Your Room
As a general rule:
- 150–250 sq. ft. → 6,000 BTU
- 250–300 sq. ft. → 7,000–8,000 BTU
- 300–400 sq. ft. → 10,000 BTU
- 400–500 sq. ft. → 12,000–14,000 BTU
Use LG’s online BTU calculator or consult their 2026 product guide for precise recommendations. Oversized units cycle on and off too quickly, wasting energy. Undersized units struggle to cool, running constantly.
Consider Smart Features
Many 2026 LG models come with Wi-Fi connectivity, voice control via Alexa or Google Assistant, and energy-saving modes. If you want remote control via the LG ThinQ app, choose a SmartThinQ-enabled model. These features add convenience but don’t affect installation steps.
Step 2: Gather Tools and Materials
Having the right tools on hand saves time and prevents frustration. Here’s what you’ll need:
- Measuring tape
- Drill with drill bits
- Screwdriver (Phillips and flathead)
- Level
- Pencil or marker
- Foam insulation strips (usually included with the unit)
- Support brackets (optional, but recommended for heavy units)
- Gloves and safety goggles
Most LG window ACs come with an installation kit that includes side panels, screws, and insulation foam. Double-check the box before starting.
Step 3: Prepare the Window and Area
Safety and preparation are crucial. A poorly prepared site can lead to air leaks, water damage, or even unit failure.
Check Window Type and Size
LG window ACs are designed for double-hung or sliding windows. Measure the window opening width and height to ensure the unit fits with at least 2–3 inches of clearance on each side for the side panels.
Clear the Area
Remove curtains, blinds, or furniture blocking the window. Ensure there’s at least 20 inches of clearance in front of the unit for proper airflow. Also, check that the window can support the weight—most LG units weigh between 50–80 pounds.
Inspect for Structural Integrity
Look for cracks, rot, or loose frames. If your window is damaged, repair it first. For added stability, consider installing a support bracket under the window sill—especially for heavier models or second-story installations.
Step 4: Install the Window Mounting Bracket (If Included)
Some LG models come with a mounting bracket that attaches to the window frame to support the unit’s weight. This is especially helpful for larger ACs.
Position the Bracket
Place the bracket on the outside windowsill, centered under where the AC will sit. Use a level to ensure it’s straight. Mark the screw holes with a pencil.
Secure the Bracket
Drill pilot holes, then screw the bracket into place using the provided hardware. Make sure it’s tightly secured and can hold the unit’s weight without wobbling.
Step 5: Install the Side Panels and Insulation
LG window ACs come with extendable side panels that fill the gap between the unit and the window frame. Proper sealing prevents air leaks and improves efficiency.
Attach the Side Panels
Slide the side panels into the grooves on the sides of the AC unit. Extend them to match your window width. Most panels have adjustable lengths—lock them in place using the built-in clips or screws.
Seal the Gaps
Use the included foam insulation strips to fill any gaps between the panels and the window frame. Press the foam firmly into place. For extra protection, apply weatherstripping tape along the edges.
Step 6: Position and Secure the Air Conditioner
Now it’s time to place the unit in the window. This step requires two people for safety—never attempt it alone.
Lift and Position the Unit
With a helper, carefully lift the AC and slide it into the window opening. The front of the unit should sit slightly lower than the back (about a 5-degree tilt) to allow condensation to drain outside.
Secure the Unit
Close the window sash down onto the top of the AC unit. Use the provided screws to secure the window frame to the unit’s top rail. This prevents the unit from falling out.
Attach the Side Panels to the Window
Once the unit is in place, secure the side panels to the window frame using the included screws. This locks everything in place and improves insulation.
Step 7: Seal and Insulate the Exterior
Even small gaps can let in hot air and reduce efficiency. Take time to seal the exterior properly.
Apply Exterior Caulking
Use outdoor-grade silicone caulk to seal the gap between the window frame and the side panels. This prevents drafts and water intrusion.
Check for Air Leaks
On a windy day, hold a lit candle or incense stick near the edges. If the flame flickers, you’ve got a leak. Reapply foam or caulk as needed.
Step 8: Connect Power and Test the Unit
Before plugging in, double-check that the unit is secure and level. Then, it’s time to power up.
Use a Dedicated Circuit
Window ACs draw a lot of power. Plug the unit into a dedicated 120V outlet on its own circuit. Avoid using extension cords—they can overheat and cause fires.
Turn On and Test
Plug in the unit and turn it on using the remote or control panel. Set it to “Cool” mode and choose a low fan speed. Listen for unusual noises and feel for cool air within 5–10 minutes.
Check for Proper Drainage
Look outside to see if condensation is dripping from the back. If not, the unit may be level—adjust the tilt slightly.
Troubleshooting Common Installation Issues
Even with careful installation, problems can arise. Here’s how to fix the most common ones:
Unit Won’t Turn On
Check the circuit breaker and ensure the outlet has power. Test the outlet with another device. If the unit still doesn’t start, the internal fuse may be blown—contact LG support.
Vibrations or Loud Noises
This usually means the unit isn’t level or is touching the window frame. Adjust the tilt and ensure there’s no contact between the AC and the window.
Poor Cooling Performance
Check the air filter—if it’s dirty, clean or replace it. Also, ensure the room isn’t too large for the unit’s BTU rating. Close curtains and blinds to reduce heat gain.
Water Leaking Inside
This often happens if the unit isn’t tilted correctly. Adjust the angle so the back is slightly lower than the front. Also, check that the drain hole isn’t blocked.
Maintenance Tips for Long-Term Performance
Proper maintenance keeps your LG window AC running efficiently for years.
- Clean the filter monthly: Remove the front panel and wash the filter with mild soap and water. Let it dry completely before reinstalling.
- Inspect seals annually: Check foam and caulk for cracks or gaps. Replace as needed.
- Clear debris from the exterior: Remove leaves or dirt from the back coils to maintain airflow.
- Schedule professional service: Every 2–3 years, have a technician check refrigerant levels and electrical components.
Conclusion: Enjoy Cool, Efficient Comfort
Installing an LG window air conditioner in 2026 is easier than ever—thanks to improved designs, smart features, and clear instructions. By following this guide, you’ve ensured a safe, secure, and efficient setup that will keep your home cool all summer long. Remember to choose the right size, seal all gaps, and maintain your unit regularly. With a little effort now, you’ll enjoy reliable cooling and lower energy bills for years to come.

