
This guide walks you through diagnosing and fixing common LG air conditioner problems, from cleaning filters to resetting error codes. Save time and money with easy-to-follow steps and expert tips to restore cooling performance quickly.
Key Takeaways
- Clean or replace air filters regularly: Dirty filters restrict airflow and reduce cooling efficiency, so check them monthly.
- Check the thermostat settings: Ensure the AC is set to “Cool” mode with a temperature lower than the room temperature.
- Clear blocked vents and coils: Dust and debris on evaporator or condenser coils can cause overheating and poor performance.
- Reset the unit after power outages: A simple power cycle can resolve temporary glitches and restore normal operation.
- Identify and clear water leaks: Clogged drain lines or improper installation often cause water buildup—clean the drain pan and line.
- Use the LG ThinQ app for diagnostics: Smart models allow remote monitoring and error code alerts for faster troubleshooting.
- Know when to call a professional: If refrigerant leaks, electrical issues, or compressor failure are suspected, seek expert help.
How to Fix a LG Air Conditioner: A Complete Step-by-Step Guide
If your LG air conditioner isn’t cooling properly, making strange noises, or showing error codes, don’t panic. Many common issues can be resolved at home with a few simple steps. This comprehensive guide will walk you through diagnosing and fixing the most frequent problems with LG air conditioners—whether you have a window unit, portable AC, or ductless mini-split system.
You’ll learn how to clean filters, reset the unit, clear blocked components, interpret error codes, and perform basic maintenance to keep your AC running efficiently. With a little patience and the right tools, you can save hundreds of dollars on service calls and extend the life of your appliance.
Let’s get started by identifying the most common issues and how to fix them.
Step 1: Check the Power and Basic Settings
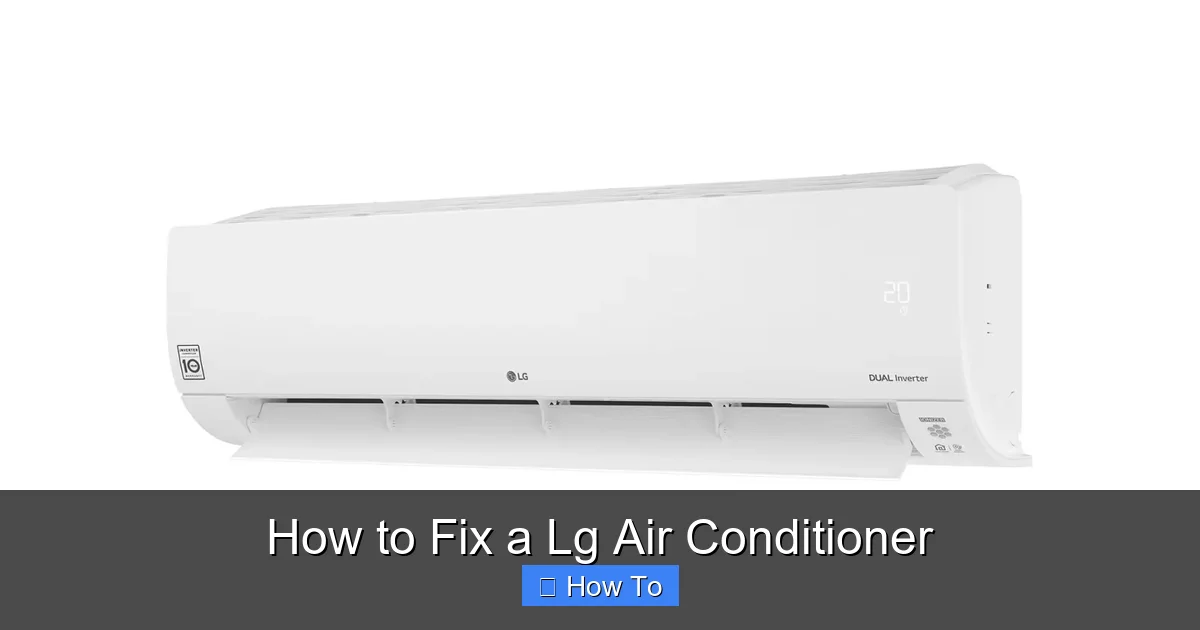
Visual guide about How to Fix a Lg Air Conditioner
Image source: storables.com
Before diving into complex repairs, always start with the basics. Many AC problems are caused by simple oversights.
Verify the Power Supply
Make sure your LG air conditioner is properly plugged in and receiving power. Check the outlet by plugging in another device, like a lamp or phone charger. If the outlet isn’t working, reset the circuit breaker or replace a blown fuse.
For window or portable units, ensure the power cord isn’t damaged or frayed. If you see exposed wires, stop using the unit immediately and contact a technician.
Confirm Thermostat and Mode Settings
Open the control panel and verify that the AC is set to “Cool” mode—not “Heat,” “Fan,” or “Dry.” Also, check that the temperature is set lower than the current room temperature. For example, if it’s 78°F in your home, set the thermostat to 72°F.
If you’re using a remote control, replace the batteries. Weak batteries can cause erratic behavior or prevent the unit from responding.
Use the LG ThinQ App (Smart Models)
If your LG air conditioner is Wi-Fi enabled, download the LG ThinQ app (available for iOS and Android). This app lets you control your AC remotely and receive real-time alerts about performance issues or error codes.
Open the app and check if the unit is online. If it shows an error message, note the code—this will help with troubleshooting later.
Step 2: Clean or Replace the Air Filter
One of the most common reasons for poor cooling is a dirty air filter. LG recommends checking the filter every two weeks during heavy use and cleaning it monthly.
Locate the Air Filter
The filter is usually behind the front panel of the unit. On window and portable models, gently pull the front grille forward to access it. For mini-split systems, the filter is behind the indoor unit’s front cover.
Remove and Inspect the Filter
Take out the filter and hold it up to the light. If you can’t see through it, it’s time to clean or replace it.
Clean the Filter
Rinse the filter under lukewarm water. Use a soft brush to gently remove dust and debris. Avoid using hot water or harsh chemicals, as they can damage the filter.
Let the filter air dry completely before reinserting it. Never reinstall a wet filter—this can lead to mold growth and reduced airflow.
Replace the Filter (If Needed)
If the filter is torn, warped, or more than a year old, replace it with a compatible LG filter. You can find the correct model number on the old filter or in your user manual.
A clean filter improves airflow, enhances cooling, and reduces strain on the compressor.
Step 3: Clean the Evaporator and Condenser Coils
Dust and dirt buildup on the coils can significantly reduce efficiency. Over time, this can cause the unit to overheat or freeze up.
Access the Coils
For window and portable units, remove the front panel and outer casing (if necessary). On mini-split systems, you’ll need to access the indoor unit’s coils behind the front cover.
Clean the Evaporator Coils (Indoor)
Use a soft brush or vacuum with a brush attachment to remove loose dust. Then, spray a coil cleaner (available at hardware stores) onto the coils. Let it sit for 5–10 minutes to dissolve grime, then wipe it off with a clean cloth.
Never use high-pressure water or metal tools—this can bend the delicate fins.
Clean the Condenser Coils (Outdoor Unit)
If you have a mini-split or central AC, the outdoor unit also has condenser coils. Turn off the power at the breaker before cleaning.
Use a garden hose to gently spray the coils from the inside out. This removes dirt without damaging the fins. Avoid using a pressure washer.
After cleaning, inspect the fins. If they’re bent, use a fin comb (available online or at HVAC supply stores) to straighten them.
Step 4: Clear Blocked Vents and Airflow Obstructions
Restricted airflow is a major cause of poor cooling. Check both the intake and discharge vents.
Inspect Indoor Vents
Make sure furniture, curtains, or rugs aren’t blocking the front grille of your LG air conditioner. For mini-splits, ensure the indoor unit’s vents are unobstructed.
Check Outdoor Unit Clearance
The outdoor unit (condenser) needs at least 2 feet of clearance on all sides. Trim back plants, remove debris, and clear away leaves or dirt.
Poor airflow forces the compressor to work harder, increasing energy use and the risk of failure.
Step 5: Fix Water Leaks and Drainage Issues
Water dripping from your AC is a sign of a clogged drain line or improper installation.
Locate the Drain Pan and Line
The drain pan is usually at the bottom of the indoor unit. The drain line runs from the pan to the outside or into a floor drain.
Check for Clogs
Remove the drain line cap (if present) and inspect for algae, mold, or debris. Use a wet/dry vacuum to suck out clogs, or flush the line with a mixture of water and vinegar.
For stubborn clogs, use a pipe cleaner or flexible brush to clear the line.
Clean the Drain Pan
Wipe the drain pan with a cloth and mild detergent. Rinse it thoroughly and dry it before reassembling.
Ensure Proper Slope
The drain line should slope downward toward the exit point. If it’s level or uphill, water can back up and leak. Adjust the line if necessary.
Step 6: Reset the Air Conditioner
Sometimes, a simple reset can fix electronic glitches or software errors.
Power Cycle the Unit
Turn off the AC using the remote or control panel. Unplug it from the wall for at least 5 minutes. This allows the internal capacitors to discharge.
Plug it back in and turn it on. Wait a few minutes to see if normal operation resumes.
Use the Reset Button (If Available)
Some LG models have a small reset button on the control board or near the power cord. Press and hold it for 3–5 seconds.
Refer to your user manual for the exact location.
Step 7: Interpret and Clear Error Codes
LG air conditioners display error codes to help diagnose problems. Here are the most common ones:
CH 01 – Indoor Temperature Sensor Error
This means the sensor isn’t reading the room temperature correctly. Try resetting the unit. If the error persists, the sensor may need replacement.
CH 02 – Outdoor Temperature Sensor Error
Similar to CH 01, but for the outdoor unit. Check connections and wiring. Call a technician if needed.
CH 03 – Communication Error Between Units
Common in mini-split systems. Ensure all cables are securely connected. Power cycle both units.
CH 05 – Drain Float Switch Activated
This indicates a water level issue. Check the drain pan and line for clogs.
CH 07 – Overcurrent Protection
The compressor is drawing too much power. Turn off the unit and wait 30 minutes. If it happens again, the compressor or capacitor may be faulty.
CH 09 – Indoor Fan Motor Error
The fan isn’t spinning properly. Clean the fan blades and check for obstructions. If the motor is damaged, it needs professional repair.
CH 10 – Outdoor Fan Motor Error
Same as CH 09, but for the outdoor unit. Clean the fan and inspect the motor.
Always refer to your model’s manual for specific error code meanings.
Step 8: Address Unusual Noises
Strange sounds can indicate mechanical problems.
Rattling or Vibrating
This is often caused by loose panels or screws. Tighten all external screws and ensure the unit is level.
Banging or Clunking
Could mean the compressor is failing or internal parts are loose. Turn off the unit and contact a technician.
Hissing or Bubbling
May indicate a refrigerant leak. This is dangerous and requires immediate professional attention.
Whistling or Squealing
Usually a sign of a worn fan motor or belt. Clean the fan and inspect for damage.
Step 9: Prevent Ice Buildup
If your AC is freezing up, it’s usually due to low airflow or refrigerant issues.
Turn Off the Unit
Switch to “Fan” mode and let the ice melt completely. Do not use sharp objects to chip away ice.
Check Airflow
Ensure filters are clean and vents are unblocked. Low airflow causes the evaporator coil to get too cold and freeze.
Inspect Refrigerant Levels
Low refrigerant can cause freezing. Only a licensed technician should check or refill refrigerant.
Step 10: Perform Regular Maintenance
Prevention is the best fix. Follow this maintenance schedule:
- Monthly: Clean or replace air filters.
- Every 3 Months: Inspect coils, drain line, and vents.
- Annually: Schedule a professional tune-up, especially before summer.
Keep a maintenance log to track cleaning dates and any issues.
When to Call a Professional
While many issues can be fixed at home, some problems require expert help:
- Refrigerant leaks (hissing sounds, ice buildup)
- Electrical issues (burning smells, tripped breakers)
- Compressor or fan motor failure
- Persistent error codes after troubleshooting
- Warranty-covered repairs (DIY may void warranty)
Always turn off the power before calling a technician.
Conclusion
Fixing your LG air conditioner doesn’t have to be overwhelming. By following these steps—cleaning filters, clearing drains, resetting the unit, and interpreting error codes—you can resolve most common problems quickly and safely.
Regular maintenance is key to long-term performance. A little effort now can prevent costly repairs later.
If you’ve tried everything and your AC still isn’t working, don’t hesitate to contact LG customer support or a certified HVAC technician. Stay cool and comfortable all season long!

