
Struggling with water buildup in your LG air conditioner? This guide walks you through the complete process of draining water, identifying common causes, and preventing future leaks. Keep your AC running efficiently and avoid water damage with these simple steps.
Key Takeaways
- Regular maintenance prevents water buildup: Cleaning filters and checking drainage systems monthly helps avoid clogs and leaks.
- Turn off power before draining: Always disconnect the unit from electricity to ensure safety during the process.
- Use a wet/dry vacuum for stubborn clogs: If the drain line is blocked, a vacuum can help remove debris and restore flow.
- Check the drain pan for cracks or rust: Damaged pans can cause leaks even if the drain line is clear.
- Ensure proper unit leveling: An uneven AC can cause water to pool instead of draining correctly.
- Schedule professional inspections annually: HVAC experts can spot hidden issues and maintain optimal performance.
- Use a condensate pump if needed: In some installations, a pump helps move water out when gravity drainage isn’t sufficient.
How to Drain Water Out of LG Air Conditioner
Is your LG air conditioner dripping water inside your home or leaving puddles around the unit? You’re not alone. Water buildup is one of the most common issues homeowners face with air conditioners, especially during hot, humid months. While it might seem alarming, draining water from your LG air conditioner is usually a straightforward process—once you know what to do.
In this comprehensive guide, you’ll learn exactly how to drain water out of LG air conditioner units safely and effectively. We’ll cover everything from identifying the source of the problem to step-by-step drainage instructions, troubleshooting tips, and long-term maintenance strategies. Whether you have a window unit, a portable AC, or a split-system model, this guide applies to most LG air conditioners. By the end, you’ll have the confidence to handle water drainage like a pro and keep your cooling system running smoothly all season long.
Why Does Water Build Up in LG Air Conditioners?
Before diving into the drainage process, it’s important to understand why water collects in your air conditioner in the first place. Air conditioners don’t just cool the air—they also remove moisture. As warm, humid air passes over the cold evaporator coils inside your LG unit, condensation forms. This water normally drips into a drain pan and flows out through a drain line, exiting your home safely.
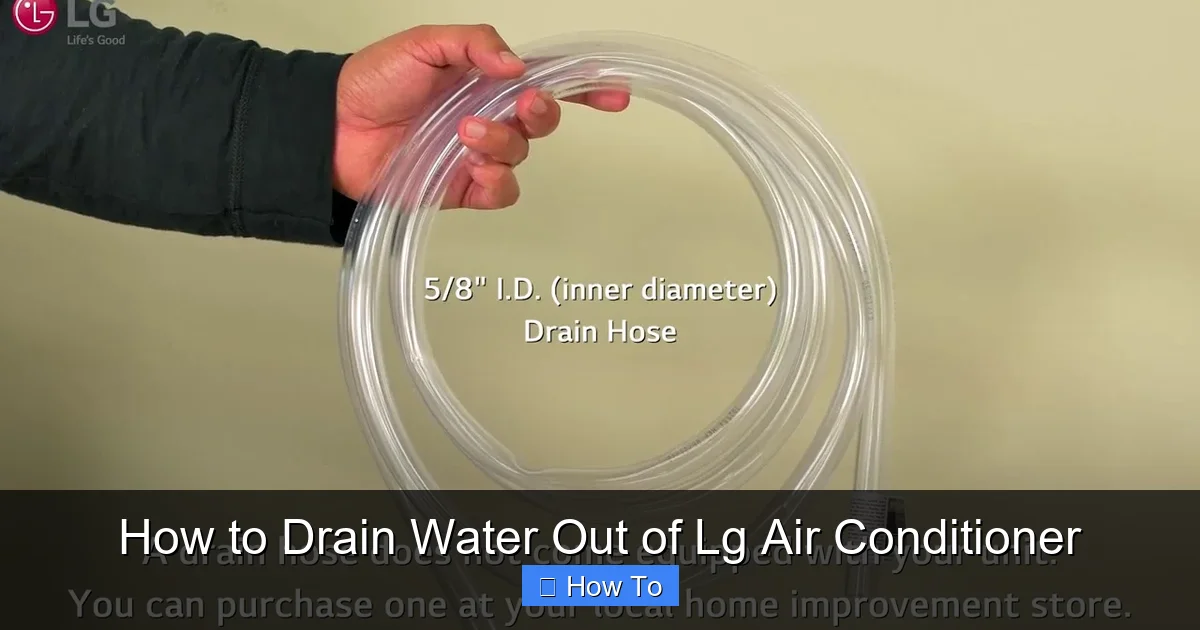
Visual guide about How to Drain Water Out of Lg Air Conditioner
Image source: i.ytimg.com
However, when something goes wrong—like a clogged drain line, dirty filter, or damaged pan—the water can’t escape. Instead, it builds up inside the unit, leading to leaks, overflow, or even mold growth. In some cases, the internal float switch may detect excess water and shut off the AC to prevent damage. That’s your unit’s way of saying, “Help! I’m full!”
Common causes of water buildup include:
- Clogged or blocked drain lines
- Dirty or clogged air filters
- Frozen evaporator coils (which melt and overflow)
- Cracked or rusted drain pans
- Improper installation or leveling
- High indoor humidity levels
Understanding these causes helps you not only fix the immediate problem but also prevent it from happening again. Let’s move on to the actual steps for draining water from your LG air conditioner.
Safety First: Preparing to Drain Your LG Air Conditioner
Before you start any maintenance on your air conditioner, safety should be your top priority. Water and electricity don’t mix, so it’s crucial to take the right precautions.
Turn Off the Power
The first and most important step is to turn off the power to your LG air conditioner. For window or portable units, unplug the power cord from the wall outlet. For split-system or central AC units, locate the circuit breaker that controls the air conditioner and switch it off. This prevents any risk of electric shock while you’re working near water and internal components.
Wear Protective Gear
While draining water isn’t typically dangerous, it’s smart to wear gloves and safety goggles. You may come into contact with mold, mildew, or debris inside the unit, especially if the drain pan has been sitting with stagnant water. Gloves also protect your hands from sharp edges inside the AC casing.
Gather Your Tools
You don’t need a lot of fancy equipment to drain water from your LG air conditioner. Here’s a quick checklist of what you’ll likely need:
- A bucket or container to catch water
- A sponge or towel for cleanup
- A wet/dry vacuum (optional, for stubborn clogs)
- A stiff brush or pipe cleaner
- A flashlight (to see inside the unit)
- A screwdriver (if you need to remove panels)
Having these tools ready will make the process faster and more efficient. Now that you’re prepared, let’s get into the actual drainage steps.
Step-by-Step Guide to Draining Water from Your LG Air Conditioner
The exact steps may vary slightly depending on your LG air conditioner model—whether it’s a window unit, portable AC, or split system—but the core principles remain the same. Follow these steps carefully to drain water safely and completely.
Step 1: Locate the Drain Pan and Drain Line
The drain pan is usually located at the bottom of the indoor unit, beneath the evaporator coils. In window and portable units, it’s often accessible from the back or side. In split systems, it’s inside the indoor air handler unit.
To find it:
- Remove the front panel or access cover (if applicable). Most LG units have clips or screws holding the panel in place.
- Look for a shallow tray or pan at the base of the unit. This is where condensation collects.
- Trace the small plastic or rubber tube connected to the pan—this is the drain line that carries water outside.
If you’re unsure where the drain pan is, consult your LG air conditioner’s user manual. You can usually download a copy from the LG website using your model number.
Step 2: Check for Standing Water
Once you’ve located the drain pan, inspect it for standing water. Use a flashlight if needed. If the pan is full or overflowing, that’s a clear sign the drain line is blocked or not functioning properly.
Important: Do not attempt to remove the pan unless you’re certain how to reassemble it. In most cases, you can drain the water without removing the pan entirely.
Step 3: Remove Excess Water
If the pan is full, you’ll need to remove the water before addressing the clog. Here are two effective methods:
Method A: Use a Wet/Dry Vacuum
Attach the vacuum hose to the drain line opening (usually outside your home). Turn on the vacuum to suck out water and debris from the line and pan. This method is especially useful if the clog is deep in the drain line.
Method B: Siphon or Soak Up Water
If you don’t have a vacuum, use a sponge or towel to soak up the water in the pan. You can also use a small cup or turkey baster to remove water. Be thorough—any remaining water can lead to mold or further clogs.
Once the pan is empty, place a bucket under the drain line outlet (usually on the exterior of your home) to catch any water that flows out during cleaning.
Step 4: Clear the Drain Line
A clogged drain line is the most common reason water can’t escape. Over time, algae, mold, dust, and mineral deposits can build up inside the tube, blocking the flow.
To clean it:
- Locate the drain line exit point outside your home. It’s often a small hole near the foundation or wall.
- Use a stiff brush, pipe cleaner, or a length of wire to gently push through the clog. Be careful not to damage the tube.
- Flush the line with a mixture of warm water and mild vinegar (1:1 ratio). This helps dissolve algae and mineral buildup.
- Alternatively, pour a cup of distilled white vinegar directly into the drain line from the indoor side. Let it sit for 30 minutes, then flush with water.
If the clog is severe, you may need to disconnect the drain line (if possible) and clean it thoroughly. Reattach it securely afterward.
Step 5: Check the Air Filter
A dirty air filter can restrict airflow, causing the evaporator coils to freeze. When the ice melts, it can overwhelm the drain pan. So even if you’ve drained the water, a clogged filter could cause the problem to return.
To check and clean the filter:
- Remove the front panel of your LG unit.
- Slide out the air filter (usually a rectangular mesh panel).
- Hold it up to the light—if you can’t see through it, it’s time to clean or replace it.
- Rinse it under warm water or replace it with a new one (LG recommends replacing filters every 1–3 months).
Clean filters improve airflow, reduce strain on the system, and help prevent future water issues.
Step 6: Inspect the Drain Pan and Coils
While the unit is open, take a moment to inspect the drain pan and evaporator coils.
- Look for cracks, rust, or warping in the pan. A damaged pan won’t hold water properly and may need replacement.
- Check the coils for frost or excessive dirt. If they’re frozen, turn off the AC and let them thaw completely before restarting.
- Use a soft brush or coil cleaner to gently remove dust and debris from the coils. Dirty coils reduce efficiency and can lead to freezing.
If you notice significant damage, consider contacting an LG-certified technician for repair or replacement.
Step 7: Ensure Proper Leveling
Your LG air conditioner should be slightly tilted backward (about 1/4 inch) to allow water to flow toward the drain line. If the unit is level or tilted forward, water can pool in the pan instead of draining.
To check and adjust:
- Use a level tool on the base of the unit.
- If it’s not tilted correctly, adjust the mounting brackets or use shims under the front legs (for window units).
- For portable units, make sure they’re on a flat, slightly sloped surface.
Proper leveling is a simple fix that can prevent recurring drainage problems.
Step 8: Test the System
Once you’ve drained the water, cleaned the components, and made adjustments, it’s time to test your LG air conditioner.
- Reassemble any panels you removed.
- Restore power to the unit.
- Turn on the AC and let it run for 15–20 minutes.
- Check the drain line outside to confirm water is flowing freely.
- Monitor the indoor unit for any leaks or unusual sounds.
If everything looks good, you’ve successfully drained the water and restored proper function. If water continues to build up, move on to the troubleshooting section below.
Troubleshooting Common Drainage Issues
Even after following all the steps, some LG air conditioners may still have drainage problems. Here’s how to handle the most common issues.
Water Still Leaking After Draining
If your unit continues to leak, the problem may be more complex. Possible causes include:
- Cracked drain pan: Over time, plastic pans can become brittle and crack. Replacement is usually necessary.
- Improper installation: If the unit wasn’t installed level or the drain line was kinked, it can cause persistent leaks.
- High humidity: During extremely humid weather, the AC may produce more condensation than usual. Ensure your home is well-ventilated and consider using a dehumidifier.
Drain Line Keeps Clogging
Frequent clogs suggest a recurring issue, such as algae growth or poor drainage design. Solutions include:
- Install a condensate drain line cleaner or in-line filter to trap debris.
- Use a condensate pump if your unit is installed in a basement or below ground level, where gravity drainage isn’t effective.
- Schedule regular maintenance every 3–6 months to prevent buildup.
Unit Shuts Off Automatically
Many LG air conditioners have a built-in float switch that turns off the unit when water levels are too high. If your AC keeps shutting off, it’s likely due to a drainage problem. After draining and cleaning, the switch should reset automatically. If not, consult your manual or contact LG support.
Frozen Coils
If the evaporator coils are frozen, the AC will stop cooling and may leak when the ice melts. Causes include low refrigerant, dirty filters, or restricted airflow. Turn off the unit, let it thaw, and address the underlying issue. If refrigerant levels are low, a professional technician is required.
Preventing Future Water Buildup
Draining water is a temporary fix. To avoid repeat problems, adopt a regular maintenance routine.
Monthly Maintenance
- Clean or replace the air filter.
- Check the drain line for clogs.
- Inspect the drain pan for standing water.
Seasonal Maintenance
- Deep-clean the coils and drain line.
- Verify proper unit leveling.
- Check for signs of wear or damage.
Annual Professional Service
Even with regular DIY care, it’s wise to have your LG air conditioner inspected by a licensed HVAC technician once a year. They can check refrigerant levels, test electrical components, and ensure the entire system is functioning efficiently.
When to Call a Professional
While most drainage issues can be resolved at home, some situations require expert help. Contact an LG-certified technician if:
- The drain pan is cracked or damaged.
- The unit continues to leak after thorough cleaning.
- You suspect a refrigerant leak.
- The AC isn’t cooling properly despite maintenance.
- You’re uncomfortable performing any of the steps above.
Professional service ensures your unit is repaired safely and correctly, protecting your warranty and home.
Conclusion
Draining water out of your LG air conditioner doesn’t have to be a stressful experience. With the right knowledge and tools, you can resolve most drainage issues quickly and prevent them from recurring. Remember to always prioritize safety, follow the step-by-step process, and perform regular maintenance to keep your unit in top condition.
By understanding why water builds up and how to address it, you’ll extend the life of your air conditioner, improve indoor air quality, and avoid costly repairs. Whether you’re dealing with a simple clog or a more complex issue, this guide gives you everything you need to take control of your cooling system.
Stay cool, stay dry, and enjoy the comfort your LG air conditioner is designed to deliver.

