
Cleaning the coils on your LG portable air conditioner is essential for maintaining optimal performance and energy efficiency. This guide walks you through the entire process—from preparation to reassembly—so you can keep your unit running smoothly all summer long.
Key Takeaways
- Regular coil cleaning improves cooling efficiency: Dirty coils reduce airflow and force the compressor to work harder, increasing energy use and wear.
- Turn off and unplug the unit before cleaning: Safety is critical—always disconnect power to avoid electrical hazards.
- Use a soft brush and coil cleaner for best results: Harsh chemicals or abrasive tools can damage delicate fins and reduce coil lifespan.
- Clean both evaporator and condenser coils: Most LG portable ACs have two coil sets—don’t forget the condenser side, often hidden behind panels.
- Inspect and clean the air filter first: A clogged filter contributes to coil dirt buildup, so replace or clean it regularly.
- Reassemble carefully and test the unit: Ensure all panels are securely fastened before powering on to prevent leaks or malfunctions.
- Schedule cleaning every 3–6 months: Frequency depends on usage and environment—homes with pets or high dust need more frequent maintenance.
Why Cleaning the Coils on Your LG Portable Air Conditioner Matters
If your LG portable air conditioner isn’t cooling as well as it used to, or if it’s running longer than usual to reach the desired temperature, dirty coils could be the culprit. Over time, dust, pet hair, and debris accumulate on the evaporator and condenser coils, acting like a blanket that traps heat and reduces heat transfer efficiency. This forces your AC to work harder, increases energy consumption, and can shorten the lifespan of critical components.
LG portable air conditioners are designed for convenience and mobility, but like all HVAC systems, they require regular maintenance to perform at their best. The coils are the heart of the cooling process—they absorb heat from indoor air (evaporator coil) and release it outside (condenser coil). When these coils are coated in grime, the entire system suffers.
Cleaning the coils isn’t just about performance—it’s also about safety and cost savings. A well-maintained unit uses less electricity, reduces the risk of overheating, and helps prevent costly repairs down the line. Plus, clean coils mean cleaner air. Dust and mold can grow on dirty coils, leading to unpleasant odors and poor indoor air quality.
In this guide, you’ll learn exactly how to clean the coils on your LG portable air conditioner safely and effectively. Whether you’re a first-time user or a seasoned DIYer, these step-by-step instructions will help you restore your unit’s efficiency and keep it running smoothly for years to come.
Tools and Supplies You’ll Need
Before you begin, gather all the necessary tools and cleaning supplies. Having everything ready will make the process faster and more efficient.
- Soft-bristle brush or coil brush: A specialized coil brush is ideal, but a clean, soft paintbrush or toothbrush works in a pinch.
- Compressed air (optional): Useful for blowing out loose dust from tight spaces.
- Coil cleaner spray (foaming type recommended): Choose a non-corrosive, biodegradable cleaner designed for HVAC coils. Avoid harsh chemicals like bleach or ammonia.
- Garden hose with spray nozzle (for outdoor rinsing): Only use low pressure—high pressure can bend or damage coil fins.
- Microfiber cloths or soft towels: For wiping down surfaces and drying components.
- Screwdriver (Phillips or flathead, depending on your model): Needed to remove access panels.
- Gloves and safety goggles: Protect your hands and eyes from dust and cleaning chemicals.
- Vacuum cleaner with brush attachment: Helps remove surface dust before deep cleaning.
- Bucket of warm, soapy water (optional): For cleaning removable panels or filters.
Pro tip: Check your LG portable AC model number (usually found on a label on the back or side) before purchasing supplies. Some models have unique panel configurations or coil placements.
Step 1: Turn Off and Unplug the Unit
Safety always comes first. Before you touch any part of your LG portable air conditioner, make sure it’s completely powered down.
Power Down the AC
Press the power button on the unit or remote control to turn off the air conditioner. Wait a few minutes to allow the internal components to cool down, especially if the unit has been running recently.
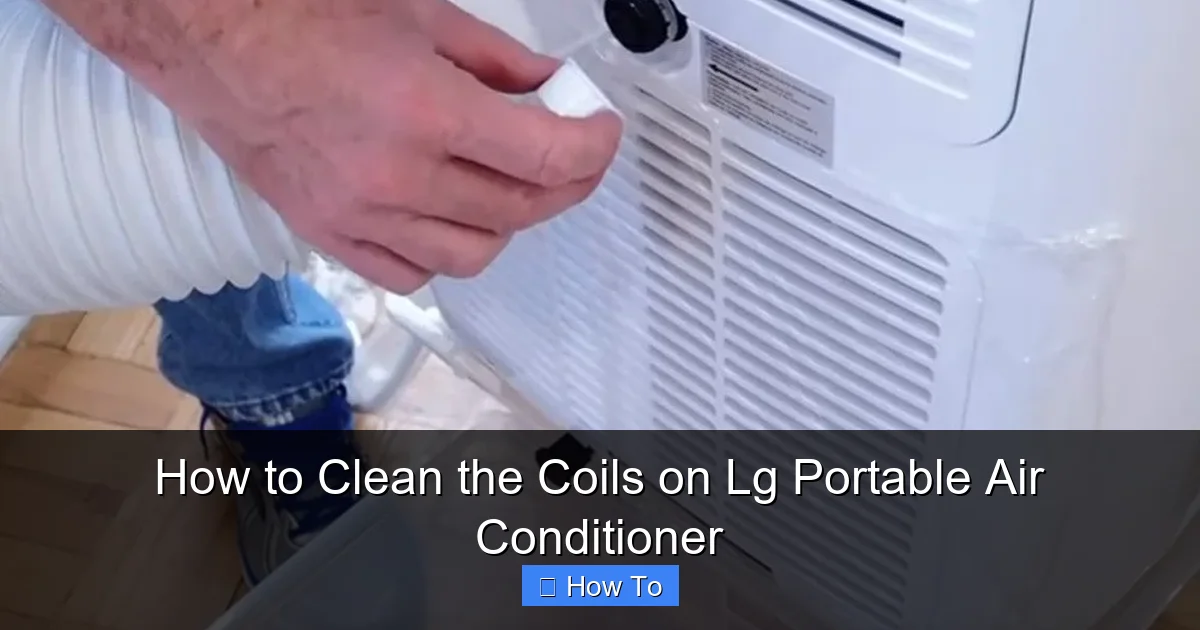
Visual guide about How to Clean the Coils on Lg Portable Air Conditioner
Image source: i.pinimg.com
Unplug from the Outlet
Locate the power cord and unplug it from the wall outlet. Do not skip this step—even if the unit is off, it can still pose an electrical hazard during disassembly.
Move the Unit to a Suitable Workspace
If possible, move the portable AC to a well-ventilated area like a garage, patio, or driveway. This gives you room to work and makes cleanup easier. Place it on a flat, stable surface and lay down a towel or tarp to protect the floor from water or cleaning solution.
Step 2: Remove the Air Filter
The air filter is the first line of defense against dust and debris, but it also contributes to coil contamination when clogged. Cleaning or replacing it is a crucial first step.
Locate the Filter
On most LG portable air conditioners, the air filter is behind a front or side panel. Look for a removable grille or cover—usually held in place by clips or screws.
Remove the Filter
Gently pull the filter out of its housing. If it’s a reusable mesh filter, tap it lightly to remove loose dust. For washable filters, rinse it under warm water and let it air dry completely before reinstalling. If the filter is damaged or excessively dirty, replace it with a new one.
Clean the Filter Housing
Use a vacuum with a brush attachment to remove dust from the filter compartment. Wipe the area with a damp cloth if needed. A clean filter housing prevents recontamination of the coils.
Step 3: Access the Evaporator Coil
The evaporator coil is located inside the unit, usually behind the front or top panel. This coil absorbs heat from indoor air, so it’s prone to dust buildup.
Remove the Front or Top Panel
Use a screwdriver to remove any screws securing the panel. On some LG models, the panel may snap into place—gently pry it open with your hands or a plastic prying tool to avoid cracking the plastic.
Locate the Evaporator Coil
Once the panel is off, look for a series of thin, closely spaced metal fins. This is the evaporator coil. It’s typically positioned behind the air filter and may be partially covered by a plastic shroud.
Inspect for Dirt and Debris
Check the coil for visible dust, pet hair, or mold. If the fins are bent, use a fin comb (available at hardware stores) to gently straighten them. Bent fins restrict airflow and reduce efficiency.
Step 4: Clean the Evaporator Coil
Now it’s time to clean the evaporator coil thoroughly.
Vacuum Loose Debris
Use a vacuum cleaner with a brush attachment to remove surface dust and loose particles. Work from top to bottom, moving the brush gently across the fins. Avoid pressing too hard—coil fins are delicate.
Apply Coil Cleaner
Shake the coil cleaner can well and spray it evenly across the coil surface. Use a foaming cleaner for best results—it clings to the fins and penetrates deep into the buildup. Follow the manufacturer’s instructions for dwell time (usually 5–10 minutes).
Rinse (If Applicable)
Some coil cleaners are no-rinse, while others require rinsing. If your cleaner requires water, use a garden hose with a gentle spray setting. Hold the nozzle at least 12 inches away to avoid damaging the fins. Never use a pressure washer.
Dry the Coil
Allow the coil to air dry completely before reassembly. You can speed up the process with a clean, dry microfiber cloth, but avoid wiping aggressively.
Step 5: Access and Clean the Condenser Coil
The condenser coil releases heat to the outside air and is often located at the back or side of the unit. It’s equally important to clean.
Locate the Condenser Coil
On most LG portable ACs, the condenser coil is behind a rear or side panel. You may need to remove additional screws or panels to access it. Refer to your user manual if unsure.
Remove Obstructions
Check for dirt, leaves, or debris around the coil and exhaust vent. Use compressed air or a vacuum to clear loose material.
Clean the Condenser Coil
Follow the same cleaning process as the evaporator coil: vacuum, apply cleaner, rinse (if needed), and dry. Pay extra attention to the outer edges, where dirt tends to accumulate.
Check the Exhaust Hose Connection
While you’re at the back, inspect the exhaust hose where it connects to the unit. Make sure it’s securely attached and free of kinks or blockages. A blocked hose reduces airflow and strains the condenser.
Step 6: Reassemble the Unit
Once both coils are clean and dry, it’s time to put everything back together.
Replace All Panels
Carefully reattach the front, side, or rear panels. Secure them with screws or clips as needed. Make sure all parts fit snugly to prevent air leaks.
Reinstall the Air Filter
Slide the clean or new filter back into its housing. Ensure it’s seated properly and the cover is closed securely.
Double-Check Connections
Verify that all hoses, panels, and electrical connections are in place. Loose parts can cause noise, leaks, or performance issues.
Step 7: Test the Unit
Before declaring the job done, test your LG portable air conditioner to ensure everything is working correctly.
Plug In and Power On
Reconnect the power cord and plug the unit into a grounded outlet. Turn it on using the control panel or remote.
Set to Cooling Mode
Set the temperature a few degrees below room temperature and select cooling mode. Listen for normal operation—no unusual noises or vibrations.
Check Airflow and Cooling
Feel the air coming from the vent. It should be noticeably cooler and stronger than before cleaning. If not, double-check for reassembly errors or remaining blockages.
Monitor for Leaks
Watch for water leaks around the base or hose connections. A small amount of condensation is normal, but pooling water indicates a problem with drainage or reassembly.
Troubleshooting Common Issues
Even with careful cleaning, you might encounter issues. Here’s how to handle them.
Unit Won’t Turn On After Cleaning
Check that the power cord is securely plugged in and the outlet is working. Ensure all panels are properly closed—some LG models have safety switches that prevent operation if panels are open.
Reduced Cooling Performance
If the AC still isn’t cooling well, the coils may not be fully clean, or the refrigerant level could be low. Also, check the exhaust hose for kinks or blockages.
Water Leaking from the Unit
Leaks can result from improper reassembly, a clogged drain, or a tilted unit. Make sure the AC is level and the drain plug (if present) is secure.
Unusual Noises
Rattling or grinding sounds may indicate loose parts or debris inside the unit. Turn off the AC and inspect for obstructions or loose screws.
Coil Fins Are Bent
Use a fin comb to gently straighten bent fins. Work slowly and avoid over-bending, which can restrict airflow further.
Maintenance Tips to Keep Coils Clean Longer
Regular maintenance prevents heavy buildup and extends the time between deep cleanings.
- Clean or replace the air filter monthly: This reduces the amount of dust reaching the coils.
- Keep the area around the unit clean: Vacuum or sweep the floor near the AC to minimize airborne debris.
- Use a cover when not in use: If storing the unit for the season, cover it to protect against dust and pests.
- Schedule professional servicing annually: A technician can check refrigerant levels, inspect electrical components, and perform deep cleaning if needed.
- Avoid running the AC in extremely dusty environments: If possible, close windows and doors during high-pollen or construction periods.
How Often Should You Clean the Coils?
The frequency of coil cleaning depends on several factors:
- High usage (daily in summer): Clean every 3 months.
- Moderate usage (a few times a week): Clean every 4–6 months.
- Low usage (seasonal): Clean before and after each cooling season.
- Homes with pets or smokers: Clean every 2–3 months due to increased dander and residue.
- Dusty or humid environments: More frequent cleaning may be needed to prevent mold and clogging.
Set a calendar reminder to check the coils and filter regularly. A little prevention goes a long way.
Conclusion
Cleaning the coils on your LG portable air conditioner is a simple yet powerful way to maintain performance, save energy, and extend the life of your unit. By following this step-by-step guide, you’ve learned how to safely access, clean, and reassemble both the evaporator and condenser coils—ensuring your AC runs efficiently all season long.
Remember, regular maintenance is key. Don’t wait until your unit struggles to cool—stay proactive with filter changes and coil inspections. With just a few tools and a little time, you can keep your LG portable air conditioner in top shape, enjoy cleaner air, and lower your energy bills.
Now that you’re equipped with the knowledge and confidence to tackle this task, make coil cleaning a part of your seasonal home care routine. Your air conditioner—and your comfort—will thank you.

