
Installing an LG window air conditioner is easier than you think with the right tools and guidance. This guide walks you through every step—from measuring your window to securing the unit and testing performance—ensuring a safe, energy-efficient setup in under an hour.
Key Takeaways
- Measure your window accurately: Ensure your window opening matches the AC unit’s dimensions before purchase or installation.
- Use the included mounting hardware: LG kits come with brackets, screws, and side panels—use them for a secure fit.
- Seal gaps to prevent air leaks: Proper insulation with foam or weatherstripping improves efficiency and reduces energy bills.
- Check electrical requirements: Most LG window units need a dedicated 120V outlet; avoid extension cords.
- Test the unit before finalizing: Run a quick cooling cycle to confirm proper function and airflow.
- Maintain regularly for longevity: Clean filters monthly and inspect seals seasonally to keep performance optimal.
- Follow safety protocols: Always unplug the unit during installation and wear gloves to protect your hands.
How to Install an LG Window Air Conditioner in 2026: A Complete Step-by-Step Guide
If you’re looking to beat the summer heat with a reliable, energy-efficient cooling solution, installing an LG window air conditioner is a smart choice. Known for their quiet operation, smart features, and sleek designs, LG window AC units are a top pick for homes and apartments in 2026. Whether you’re replacing an old unit or installing one for the first time, this guide will walk you through the entire process—safely, efficiently, and correctly.
In this comprehensive how-to guide, you’ll learn how to install an LG window air conditioner from start to finish. We’ll cover everything from pre-installation prep and tool requirements to securing the unit, sealing gaps, and testing performance. By the end, you’ll have a properly installed AC that keeps your space cool and your energy bills low.
What You’ll Need Before Starting
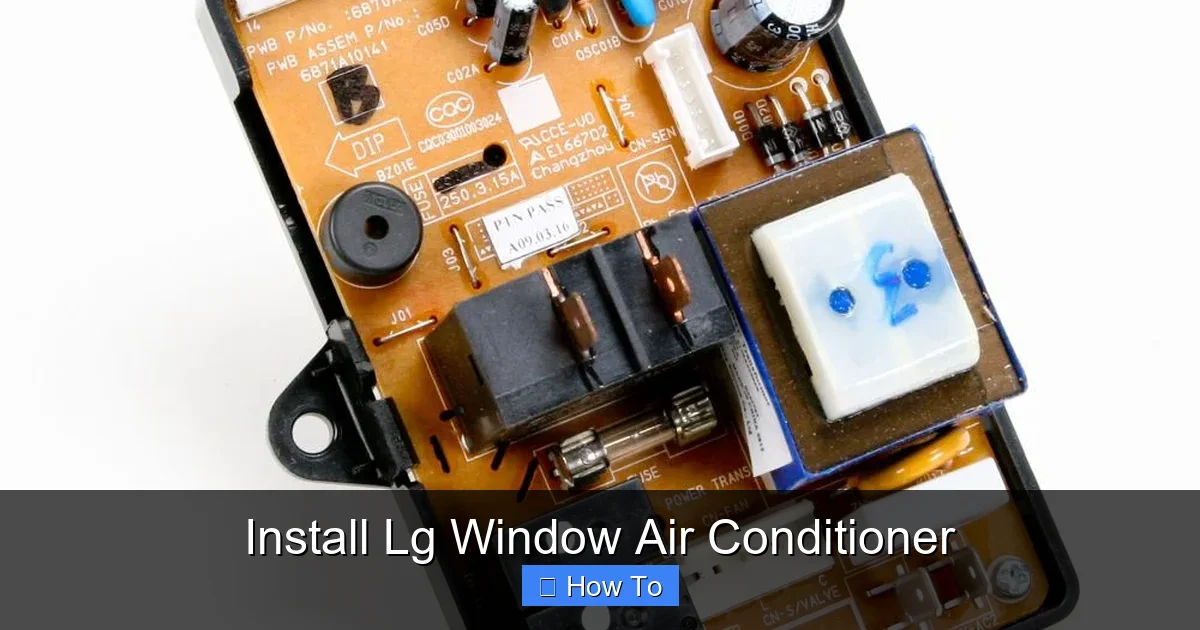
Visual guide about Install Lg Window Air Conditioner
Image source: images.ctfassets.net
Before you begin, gather all necessary tools and materials. Having everything ready will save time and prevent mid-installation delays.
Tools and Materials
- LG window air conditioner unit (correct size for your window)
- Measuring tape
- Screwdriver (Phillips and flathead)
- Drill (optional, for heavy-duty brackets)
- Level
- Foam weatherstripping or insulation panels (included in most LG kits)
- Safety gloves and goggles
- Assistant (recommended for heavier units)
- Vacuum or brush (for cleaning the window frame)
Check Your Window Compatibility
Not all windows are created equal. LG window air conditioners are designed for double-hung or sliding windows. Make sure your window:
- Opens vertically (for double-hung)
- Has a minimum width and height that matches your AC model (check the user manual)
- Can support the weight of the unit (typically 50–80 lbs)
- Is near a grounded electrical outlet
Pro tip: If your window is unusually narrow or wide, consider using an LG-approved extension bracket or consult LG’s 2026 compatibility tool online.
Step 1: Prepare the Window and Area
Clean the Window Frame
Remove any dirt, debris, or old weatherstripping from the window sill and frame. A clean surface ensures a tight seal and prevents air leaks.
Measure the Opening
Use your measuring tape to confirm the width and height of the window opening. Compare these dimensions to your LG AC unit’s specifications. Most LG models include a measurement guide in the box.
Remove the Window Sash
Carefully lift the lower sash of the window and set it aside. Some models may require you to remove screws or pins—refer to your window’s manual if unsure.
Step 2: Install the Support Bracket (If Required)
Many LG window air conditioners in 2026 come with an L-shaped support bracket to prevent the unit from tipping outward. This is especially important for heavier models or second-story installations.
Position the Bracket
Place the bracket on the outside windowsill, aligning it with the bottom of the AC unit’s footprint. Use a level to ensure it’s straight.
Secure the Bracket
Drill pilot holes into the sill (if needed), then screw the bracket into place using the provided hardware. Avoid over-tightening, which can crack vinyl or wood sills.
Test Stability
Gently press down on the bracket to confirm it’s firmly attached. It should not wobble or shift.
Step 3: Attach the Side Panels
LG window AC units include adjustable side panels (also called accordion panels) that fill the gaps on either side of the unit.
Extend the Panels
Slide the side panels out from the sides of the AC unit. Adjust them to match the width of your window opening.
Secure with Screws
Once extended, use the included screws to attach the panels to the window frame. This prevents drafts and improves insulation.
Tip: If your window is very wide, you may need to purchase extension panels from LG or a third-party supplier. Check compatibility before buying.
Step 4: Install the Air Conditioner Unit
This is the most critical step—handling the AC unit safely and correctly.
Lift the Unit with Help
Window AC units are heavy. Always have a friend assist you. Wear gloves to protect your hands and avoid dropping the unit.
Position the Unit in the Window
Carefully slide the AC into the window opening from the inside. The bottom of the unit should rest on the windowsill or support bracket.
Lower the Window Sash
Gently lower the upper window sash until it rests on top of the AC unit. Do not force it—this could damage the unit or window.
Secure the Unit
Use the provided screws to attach the top of the AC unit to the window sash. This prevents the unit from falling outward.
Step 5: Seal Gaps and Insulate
Even small gaps can let in hot air and reduce efficiency. Proper sealing is essential.
Apply Weatherstripping
Use the included foam tape or purchase high-density weatherstripping. Apply it along the top, sides, and bottom where the unit meets the window frame.
Fill Large Gaps
For larger spaces, cut rigid foam board to size and insert it between the side panels and window frame. Secure with tape or small screws.
Check for Drafts
Turn on the AC and feel around the edges for air leaks. If you feel warm air entering, add more insulation.
Step 6: Connect to Power
Use a Dedicated Outlet
Plug the AC into a grounded 120V outlet. Never use an extension cord—it can overheat and pose a fire risk.
Check Circuit Capacity
Most LG window units draw 10–15 amps. Ensure the circuit isn’t overloaded with other high-wattage appliances.
Test the Power
Turn on the unit using the remote or control panel. Listen for the compressor to start and feel cool air within a few minutes.
Step 7: Test and Adjust Settings
Run a Cooling Cycle
Set the thermostat to a low temperature (e.g., 68°F) and let the unit run for 10–15 minutes. Check that cold air is blowing evenly.
Adjust Fan Speed and Mode
Experiment with fan speeds (low, medium, high) and modes (cool, energy saver, sleep) to find your comfort level.
Use Smart Features (If Applicable)
Many 2026 LG models include Wi-Fi connectivity. Download the LG ThinQ app to control your AC remotely, set schedules, and monitor energy use.
Troubleshooting Common Installation Issues
Unit Won’t Turn On
- Check the power outlet with another device.
- Ensure the circuit breaker hasn’t tripped.
- Verify the remote has working batteries.
Vibrations or Loud Noises
- Make sure the unit is level and securely mounted.
- Check that side panels are tightly fitted.
- Remove any loose objects near the fan.
Water Leaking Inside
- Ensure the unit is tilted slightly backward (about 1/4 inch) to allow condensation to drain outside.
- Clean the drain hole at the back of the unit.
Poor Cooling Performance
- Replace or clean the air filter.
- Check for blocked vents or dirty coils.
- Ensure curtains or furniture aren’t blocking airflow.
Maintenance Tips for Long-Term Performance
To keep your LG window air conditioner running efficiently in 2026 and beyond:
- Clean the filter monthly: Rinse with warm water and let dry.
- Inspect seals seasonally: Replace worn weatherstripping to maintain insulation.
- Clear debris from the exterior: Remove leaves or dirt from the back vents.
- Schedule professional servicing: Have a technician check refrigerant levels and electrical components annually.
Conclusion
Installing an LG window air conditioner in 2026 doesn’t have to be stressful. With the right preparation, tools, and attention to detail, you can complete the job safely and effectively in under an hour. From measuring your window to sealing gaps and testing performance, each step ensures your unit operates at peak efficiency, keeping your home cool and comfortable all summer long.
Remember: safety first—always unplug the unit during installation, use proper lifting techniques, and consult the user manual for model-specific instructions. And don’t forget to take advantage of LG’s smart features and energy-saving modes to maximize comfort and minimize costs.
By following this guide, you’re not just installing an air conditioner—you’re investing in a smarter, cooler, and more efficient home. Stay cool, stay safe, and enjoy the breeze!

