
This guide walks you through how to install LG 10000 BTU window air conditioner units with clear, easy-to-follow steps. You’ll learn about tools, safety, sealing, and maintenance for optimal cooling performance.
Key Takeaways
- Measure your window correctly: Ensure the window opening matches the AC unit’s dimensions before purchase or installation.
- Use proper tools and safety gear: A drill, level, screwdriver, gloves, and safety glasses are essential for a safe and secure setup.
- Secure the unit with brackets and seals: Prevent air leaks and improve efficiency by using foam seals and support brackets.
- Check electrical requirements: LG 10000 BTU units typically need a dedicated 115V or 230V circuit—never overload outlets.
- Test and maintain regularly: Run a test cycle after installation and clean filters monthly for peak performance.
- Follow the manual: Always refer to your specific LG model’s user guide for model-specific instructions.
- Consider professional help if unsure: If the window is high, heavy, or you’re uncomfortable with electrical work, hire a pro.
How to Install LG 10000 BTU Window Air Conditioner: A Complete Step-by-Step Guide
Installing an LG 10000 BTU window air conditioner doesn’t have to be intimidating. Whether you’re cooling a bedroom, home office, or small living room, this powerful unit can make a big difference in comfort—especially during hot summer months. The good news? With the right tools, a little patience, and this detailed guide, you can install it safely and efficiently yourself.
In this comprehensive how-to, you’ll learn everything from measuring your window and gathering tools to securing the unit, sealing gaps, and performing a final test. We’ll also cover common mistakes, troubleshooting tips, and maintenance advice to keep your AC running smoothly all season long. By the end, you’ll feel confident that your LG 10000 BTU window air conditioner is installed correctly, safely, and ready to deliver cool, refreshing air.
Why Choose an LG 10000 BTU Window Air Conditioner?
LG is known for reliable, energy-efficient appliances, and their 10000 BTU window air conditioners are no exception. These units are ideal for rooms between 350 and 450 square feet, offering strong cooling power without the complexity of central air systems. Many models come with smart features like Wi-Fi connectivity, remote control, and programmable timers, making them convenient and user-friendly.
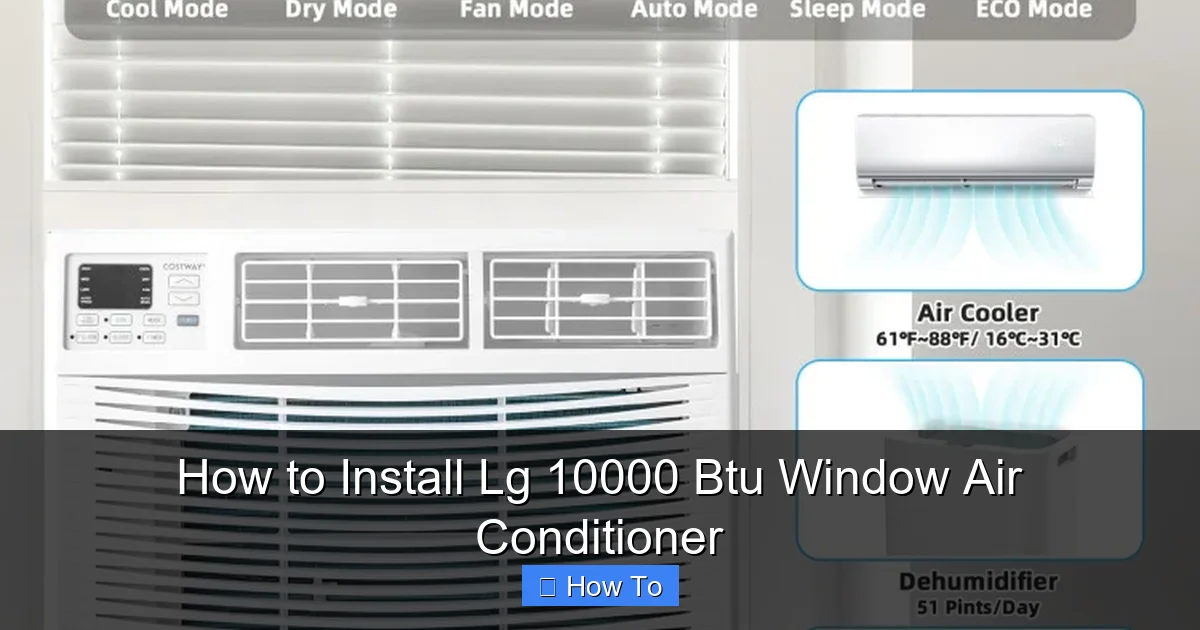
Visual guide about How to Install Lg 10000 Btu Window Air Conditioner
Image source: assets.costway.com
Additionally, LG units often include energy-saving modes, quiet operation, and easy-to-clean filters. The 10000 BTU size strikes a great balance—powerful enough for most medium-sized rooms but not so large that it’s difficult to install or overly expensive to run. Whether you’re replacing an old unit or installing your first AC, LG’s design and build quality make the process smoother.
Tools and Materials You’ll Need
Before you begin, gather all the necessary tools and materials. Having everything ready will save time and prevent frustration during installation. Here’s a checklist:
- LG 10000 BTU window air conditioner unit
- Measuring tape
- Level
- Drill and drill bits
- Screwdriver (Phillips and flathead)
- Adjustable wrench
- Safety gloves and safety glasses
- Pencil or marker
- Foam weather stripping or side panels (usually included)
- Support bracket (optional but recommended)
- Wooden or metal support board (if needed)
- Caulk or silicone sealant
- Electrical tape (for wire connections, if applicable)
Most LG window AC units come with installation hardware, including side panels, screws, and foam seals. Always check the box contents against the manual to ensure nothing is missing. If your model includes a support bracket, make sure it’s compatible with your window type.
Step 1: Choose the Right Window and Location
Not every window is suitable for a window air conditioner. Before you buy or install, evaluate your options carefully. The ideal window should:
- Be a double-hung or sliding window (most common for AC units)
- Open wide enough to accommodate the unit (check your model’s dimensions)
- Be structurally sound and able to support the weight (LG 10000 BTU units typically weigh 60–80 pounds)
- Have access to an electrical outlet nearby
- Be free of obstructions like trees, awnings, or outdoor furniture
Tip: Avoid installing the AC in a window that gets direct afternoon sun if possible. While the unit can handle it, extra heat exposure can reduce efficiency and increase energy use.
Measure the Window Opening
Use a measuring tape to check the width and height of the window opening. Measure from the inside of the frame where the AC will sit. Compare these dimensions to the specifications in your LG user manual. Most LG 10000 BTU models require a minimum window width of 23–26 inches and a height of 15–18 inches, but exact requirements vary by model.
If your window is slightly smaller than the unit, you may need to install a support board or modify the frame. Never force the AC into a window that’s too small—this can damage the unit or the window and create safety hazards.
Step 2: Prepare the Window and Area
Once you’ve confirmed the window is suitable, it’s time to prepare the area for installation. This step ensures a clean, safe, and stable setup.
Clear the Window and Surrounding Area
Remove any curtains, blinds, or decorations from the window. Clear the floor and window sill of clutter. If there’s outdoor furniture or plants near the window, move them aside to give yourself room to work.
Inspect the Window Frame and Sill
Check for cracks, rot, or damage in the window frame and sill. A weak or damaged frame may not support the AC safely. If you notice issues, consider reinforcing the area with wood or consulting a contractor before proceeding.
Install a Support Bracket (Recommended)
While not always required, a support bracket adds stability and reduces strain on the window. LG often includes a bracket with their units, or you can purchase one separately. Here’s how to install it:
- Position the bracket under the window sill, centered below where the AC will sit.
- Use a drill to secure the bracket to the exterior wall or window frame with screws.
- Ensure the bracket is level and firmly attached. It should extend far enough to support the front of the AC unit.
Note: If you’re installing on an upper floor, a support bracket is highly recommended for safety. Never rely solely on the window frame to hold the unit.
Step 3: Install the Side Panels and Foam Seals
Most LG window AC units come with adjustable side panels and foam weather stripping. These components seal gaps between the unit and the window frame, preventing hot air from entering and cool air from escaping.
Attach the Side Panels to the AC Unit
Open the side panels that came with your LG unit. Slide them into the grooves on the sides of the air conditioner. Adjust the length to match your window width. Secure them in place using the provided screws or clips.
Apply Foam Weather Stripping
Cut the foam weather stripping to fit the top and sides of the window opening. Stick it to the inside of the window frame where the AC will rest. This creates a tight seal when the unit is installed.
Tip: Use high-density foam for better insulation. If the included foam is thin, consider upgrading to a thicker type from a hardware store.
Step 4: Position and Secure the Air Conditioner
Now it’s time to place the AC unit into the window. This step requires caution—window ACs are heavy, and dropping one can cause injury or damage.
Lift the Unit Safely
With the help of a friend, lift the LG 10000 BTU unit carefully. Never lift it by the front grille or control panel. Use both hands to grip the sides or bottom. Wear gloves to protect your hands.
Slide the Unit into the Window
Open the window sash to the recommended height (usually marked in the manual). Tilt the front of the AC slightly upward and slide it into the opening. Lower the window sash onto the top of the unit to hold it in place.
Make sure the unit sits level. Use a level tool to check. If it’s tilted, adjust the position or add shims under the front or back.
Secure the Unit with Screws
Once the AC is in place, secure it to prevent movement. Use the provided screws to attach the top of the unit to the window sash. Drill pilot holes first to avoid splitting the wood.
Also, secure the side panels to the window frame using screws. This prevents the unit from shifting or falling.
Step 5: Seal Gaps and Prevent Air Leaks
A poorly sealed AC unit wastes energy and reduces cooling efficiency. Take time to seal all gaps thoroughly.
Seal the Top and Sides
Use the foam weather stripping or additional insulation tape to fill any gaps between the unit and the window frame. Pay special attention to the top and sides, where air leaks are most common.
Seal the Bottom
If there’s a gap under the unit, use a piece of wood or a custom-cut board to fill it. Secure it with screws and seal with caulk or silicone. This prevents pests and drafts from entering.
Apply Caulk or Silicone Sealant
For extra protection, apply a bead of exterior-grade caulk or silicone around the outside edges of the unit where it meets the wall. This seals out moisture and improves insulation.
Warning: Don’t seal the drainage holes on the back of the unit. These are necessary for condensation to escape.
Step 6: Connect to Power and Test the Unit
Before plugging in your LG 10000 BTU air conditioner, ensure the electrical setup is safe and correct.
Check Electrical Requirements
Most LG 10000 BTU units require a dedicated 115V or 230V circuit. Check the label on the unit or the manual for exact voltage and amperage. Never plug the AC into an extension cord or power strip—this can cause overheating or fire.
If your outlet doesn’t match the plug, consult an electrician. Do not modify the plug yourself.
Plug In and Test
Plug the unit into the wall outlet. Turn it on using the control panel or remote. Set the temperature lower than the room temperature and select “Cool” mode.
Listen for the compressor to start and feel for cool air coming from the vents. Check for unusual noises, vibrations, or leaks.
Verify Proper Operation
Let the unit run for 10–15 minutes. The room should begin to cool. If it doesn’t, check the settings, filters, and seals. Also, ensure the exhaust fan is working and hot air is being expelled outside.
Troubleshooting Common Installation Issues
Even with careful installation, problems can occur. Here are some common issues and how to fix them:
Unit Won’t Turn On
Check the power source. Make sure the outlet is working and the circuit breaker hasn’t tripped. Verify the plug is fully inserted. If the unit still doesn’t start, consult the manual or contact LG support.
Not Cooling Enough
This could be due to poor sealing, a dirty filter, or incorrect settings. Clean the air filter, check for air leaks, and ensure the thermostat is set correctly. Also, make sure the room isn’t too large for the unit’s capacity.
Water Leaking Inside
Condensation should drain outside through the back of the unit. If water is leaking indoors, the unit may be tilted incorrectly or the drainage holes are blocked. Adjust the level and clean the drainage path.
Excessive Noise or Vibration
Loose parts or an unlevel unit can cause noise. Tighten all screws and ensure the AC is level. Place rubber pads under the unit to reduce vibration.
Air Leaking Around the Unit
Reapply foam seals or caulk to close gaps. Check that side panels are fully extended and secured.
Maintenance Tips for Long-Term Performance
To keep your LG 10000 BTU window air conditioner running efficiently, follow these maintenance tips:
- Clean the filter monthly: Remove the front panel and wash the filter with warm, soapy water. Let it dry completely before reinstalling.
- Inspect seals seasonally: Check foam strips and caulk for wear. Replace if cracked or compressed.
- Clear debris from the exterior: Remove leaves, dirt, or snow from the back of the unit to ensure proper airflow.
- Check for ice buildup: If ice forms on the coils, turn off the unit and let it thaw. This may indicate a refrigerant issue or dirty filter.
- Schedule professional service: Have a technician inspect the unit every 2–3 years for refrigerant levels and electrical components.
When to Call a Professional
While many homeowners can install a window AC themselves, some situations call for professional help:
- The window is on a high floor or hard to reach
- You’re unsure about electrical requirements
- The window frame is damaged or weak
- You’re uncomfortable lifting heavy objects
- The unit requires hardwiring or a new circuit
A licensed HVAC technician or electrician can ensure safe, code-compliant installation and peace of mind.
Conclusion
Installing an LG 10000 BTU window air conditioner is a manageable DIY project when you follow the right steps. From measuring your window and preparing the area to securing the unit and sealing gaps, each phase is crucial for safety, efficiency, and performance. With proper installation and regular maintenance, your LG AC will keep you cool and comfortable for years to come.
Remember to prioritize safety, use the correct tools, and consult your user manual for model-specific guidance. And if you ever feel unsure, don’t hesitate to seek professional assistance. Stay cool, save energy, and enjoy the refreshing comfort of your newly installed air conditioner.

