
Installing an LG mini split air conditioner may seem complex, but with the right tools and guidance, it’s manageable for DIYers. This guide walks you through every step—from planning and mounting to wiring and testing—to ensure a safe, efficient setup.
Key Takeaways
- Plan carefully: Choose the right location for both indoor and outdoor units, ensuring proper clearance and accessibility.
- Use the correct tools: A hole saw, vacuum pump, flaring tool, and multimeter are essential for a professional-grade installation.
- Follow electrical safety: Always turn off power at the breaker and verify with a voltage tester before handling wires.
- Seal and insulate properly: Prevent air leaks and moisture buildup by using quality insulation and sealing around the wall penetration.
- Evacuate the refrigerant lines: A proper vacuum ensures no moisture or air enters the system, protecting compressor health.
- Test the system thoroughly: Run the unit in cooling and heating modes to confirm performance and check for leaks or errors.
- Consult a professional if unsure: Complex electrical or refrigerant work should be handled by a licensed HVAC technician.
How to Install an LG Mini Split Air Conditioner
Installing an LG mini split air conditioner can significantly improve your home’s comfort and energy efficiency. Unlike traditional window units or central HVAC systems, mini splits offer zoned cooling and heating with minimal ductwork. LG’s models are known for their quiet operation, smart features, and sleek design. While professional installation is always recommended, many homeowners with basic DIY skills and the right tools can successfully install their own LG mini split system.
This comprehensive guide will walk you through the entire process—from planning and preparation to final testing. You’ll learn how to choose the best location, mount the units, run refrigerant lines, connect electrical wiring, and ensure everything operates safely and efficiently. We’ll also cover common pitfalls and troubleshooting tips so you can avoid costly mistakes.
By the end of this guide, you’ll have the knowledge and confidence to install your LG mini split air conditioner correctly. Whether you’re cooling a single room or adding comfort to a new addition, this step-by-step approach ensures a professional-quality result.
What You’ll Need Before Starting
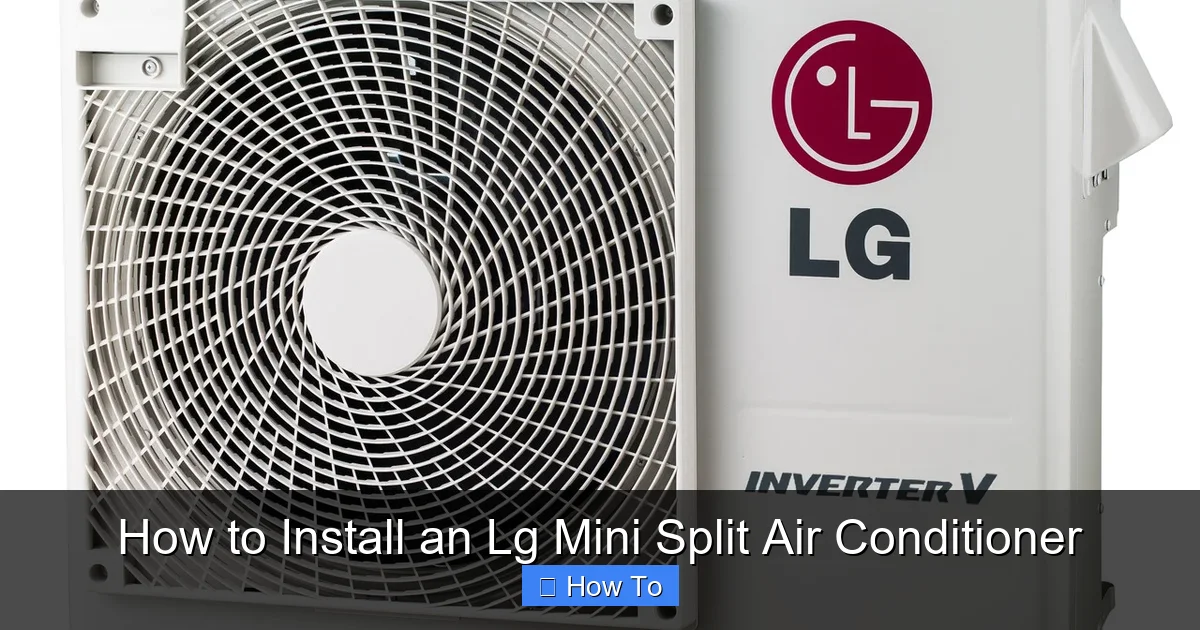
Visual guide about How to Install an Lg Mini Split Air Conditioner
Image source: cdn11.bigcommerce.com
Before you begin, gather all the necessary tools and materials. Having everything on hand will save time and prevent mid-installation delays.
Essential Tools
- Drill and drill bits: For creating holes in walls and mounting brackets.
- Hole saw (3-inch recommended): To cut the wall opening for refrigerant lines and wiring.
- Flaring tool: For creating secure connections on copper refrigerant lines.
- Vacuum pump: To remove air and moisture from the refrigerant lines.
- Manifold gauge set: Helps monitor pressure during evacuation and charging.
- Multimeter: For testing electrical connections and voltage.
- Level: Ensures the indoor unit is mounted straight.
- Wrench set: For tightening flare nuts and fittings.
- Screwdrivers (Phillips and flathead): For mounting brackets and electrical panels.
- Wire strippers and crimping tool: For preparing electrical connections.
- Insulation tape and foam: To seal and insulate the wall penetration.
- Measuring tape and pencil: For accurate placement and marking.
Materials and Supplies
- Refrigerant line set (pre-insulated recommended): Typically 1/4″ and 3/8″ copper lines.
- Electrical cable: 14/3 or 12/3 NM-B wire, depending on unit requirements.
- Mounting brackets and screws: Usually included with the LG unit.
- Wall sleeve or escutcheon: To protect lines and improve appearance.
- Sealant (silicone or foam): To prevent air and water leaks.
- Refrigerant (if not pre-charged): Check your LG model—many are pre-charged for up to 25 feet of line.
- Drain hose (if needed): For condensate drainage.
Safety Gear
- Safety glasses
- Work gloves
- Hard hat (if working overhead)
- Steel-toed boots (optional but recommended)
Always read the LG installation manual that comes with your unit. It contains model-specific instructions, electrical requirements, and safety warnings.
Step 1: Plan the Installation
Proper planning is the foundation of a successful mini split installation. Rushing this step can lead to poor performance, noise issues, or even system failure.
Choose the Indoor Unit Location
The indoor unit should be mounted high on an interior wall, ideally 7–8 feet above the floor. Avoid placing it:
- Near heat sources (ovens, heaters, direct sunlight)
- In areas with poor airflow (behind furniture or curtains)
- Above electrical panels or water pipes
- In rooms with high humidity unless the unit is rated for it
Look for a spot with at least 6 inches of clearance on all sides and 12 inches above the unit. This ensures proper airflow and makes maintenance easier.
Select the Outdoor Unit Location
The outdoor condenser should be placed on a stable, level surface—like a concrete pad or wall-mounted bracket. Ideal locations include:
- A shaded area to improve efficiency
- At least 12 inches from walls or fences for airflow
- Away from windows, doors, and neighbors’ property lines to reduce noise
- Accessible for future servicing
Avoid placing the outdoor unit in areas prone to flooding, debris, or direct exposure to corrosive elements.
Measure the Distance Between Units
Check the maximum allowable distance between the indoor and outdoor units in your LG manual. Most models support up to 50 feet, but longer runs may require larger line sets or additional refrigerant.
Also, count the number of bends in the refrigerant line. Excessive bends can restrict refrigerant flow and reduce efficiency.
Check Electrical Requirements
LG mini splits typically require a dedicated 208/240V circuit. Check your model’s specifications for amperage and wire size. For example:
- A 9,000 BTU unit may need a 15-amp circuit
- A 12,000 BTU unit may require 20 amps
If your electrical panel doesn’t have space or capacity, consult an electrician before proceeding.
Step 2: Mount the Indoor Unit
With planning complete, it’s time to mount the indoor unit.
Mark the Mounting Location
Use a level and measuring tape to mark the position of the mounting bracket. The bracket should be level and centered on the wall. Most LG units include a paper template—tape it to the wall to guide your drilling.
Drill the Wall Hole
Using a 3-inch hole saw, drill from the inside out at a slight downward angle (about 1/4 inch per foot). This slope allows condensate to drain properly. Wear safety glasses and secure the drill to avoid slipping.
Install the Mounting Bracket
Secure the bracket to the wall using appropriate anchors or lag screws. For wood studs, use wood screws. For concrete or brick, use masonry anchors. Double-check that the bracket is level.
Run the Refrigerant Lines and Wiring
Feed the pre-insulated line set, electrical cable, and drain hose (if applicable) through the wall hole. Leave enough slack inside for connections. Use a wall sleeve to protect the lines and improve appearance.
Mount the Indoor Unit
Lift the indoor unit and hook it onto the mounting bracket. Ensure it’s secure and level. Connect the refrigerant lines, drain hose, and electrical wiring according to the LG manual. We’ll cover these connections in detail later.
Step 3: Mount the Outdoor Unit
The outdoor unit must be stable and well-ventilated.
Prepare the Base
If using a concrete pad, ensure it’s level and extends at least 6 inches beyond the unit on all sides. For wall mounting, use heavy-duty brackets rated for the unit’s weight (typically 70–150 lbs).
Position the Unit
Place the outdoor unit on the pad or attach it to the brackets. Use a level to confirm it’s even. Leave adequate clearance around the unit for airflow and service access.
Secure the Unit
Bolt the unit to the pad or brackets using anti-vibration pads to reduce noise. This also prevents movement during storms or high winds.
Step 4: Connect the Refrigerant Lines
This is one of the most critical steps. Improper connections can lead to leaks, reduced efficiency, or compressor damage.
Prepare the Copper Lines
Cut the refrigerant lines to length using a tubing cutter—never use a saw, as it can create burrs. Deburr the ends and clean them with a wire brush.
Flare the Line Ends
Use a flaring tool to create a precise flare on each end. A proper flare ensures a tight, leak-free seal. Practice on scrap copper if you’re new to flaring.
Connect to the Indoor Unit
Attach the flared ends to the indoor unit’s service valves. Hand-tighten first, then use two wrenches (one to hold the valve, one to tighten the flare nut) to avoid twisting the line. Do not overtighten.
Connect to the Outdoor Unit
Repeat the process at the outdoor unit. Ensure all connections are snug and secure.
Insulate the Lines
Wrap the refrigerant lines with foam insulation. Seal any gaps with insulation tape. This prevents condensation and improves efficiency.
Step 5: Connect the Electrical Wiring
Electrical work must be done safely and according to local codes.
Turn Off Power
Shut off the main breaker and verify with a multimeter that no voltage is present at the disconnect box.
Run the Electrical Cable
Feed the 14/3 or 12/3 NM-B cable from the indoor unit through the wall to the outdoor unit. Use conduit if required by local code.
Connect at the Indoor Unit
Open the indoor unit’s electrical panel. Connect the wires as follows (refer to your LG manual):
- Black (L1) to terminal L1
- Red (L2) to terminal L2
- White (neutral) to N
- Green or bare (ground) to ground terminal
Secure connections with wire nuts or terminal screws. Close the panel.
Connect at the Outdoor Unit
Repeat the wiring process at the outdoor unit. Ensure all connections match the diagram in the manual.
Install the Disconnect Box
Mount a 240V disconnect box near the outdoor unit (within 6 feet). Connect the power supply to the disconnect and run a short conduit to the unit. This allows safe servicing.
Step 6: Evacuate the Refrigerant Lines
Moisture and air in the lines can damage the compressor. Evacuation removes these contaminants.
Attach the Manifold Gauge
Connect the manifold gauge to the service ports on the outdoor unit. Attach the yellow hose to the vacuum pump.
Open the Valves
Open the low-pressure valve on the manifold. Start the vacuum pump and let it run for at least 30–60 minutes. Monitor the gauge—it should reach and hold at 500 microns or lower.
Close Valves and Disconnect
Close the valve on the manifold, then turn off the pump. Wait 10–15 minutes to ensure no pressure rise (indicating a leak). If pressure increases, check connections and re-evacuate.
Break the Vacuum
Open the service valves on the outdoor unit to allow refrigerant to flow into the lines. This completes the evacuation process.
Step 7: Test the System
Now it’s time to power up and test your LG mini split.
Turn On Power
Restore power at the breaker and turn on the disconnect box.
Set Up the Remote or App
Follow the LG manual to pair the remote or connect the unit to Wi-Fi using the LG ThinQ app.
Run in Cooling Mode
Set the temperature low and let the unit run for 15–20 minutes. Check for:
- Cool air from the indoor unit
- Condensation on the outdoor unit (normal)
- Unusual noises or vibrations
- Error codes on the display
Test Heating Mode (if applicable)
Switch to heating mode and verify warm air output. Listen for the reversing valve clicking—this is normal.
Check for Leaks
Use a leak detector or soapy water to check all flare connections. Bubbles indicate a leak that must be repaired.
Troubleshooting Common Issues
Even with careful installation, problems can occur.
Unit Won’t Turn On
- Check the breaker and disconnect box
- Verify remote batteries and signal
- Look for error codes and consult the manual
Insufficient Cooling or Heating
- Ensure filters are clean
- Check for blocked airflow (indoor or outdoor)
- Verify refrigerant levels (low charge = poor performance)
Water Leaking Indoors
- Check drain hose for clogs or improper slope
- Ensure the wall hole is angled downward
- Inspect condensate pump (if equipped)
Strange Noises
- Gurgling: Normal during startup
- Banging: Loose mounting or refrigerant slugging
- Hissing: Possible refrigerant leak
Error Codes
LG units display error codes on the indoor unit or remote. Common codes include:
- CH 01: Indoor temperature sensor issue
- CH 02: Outdoor temperature sensor issue
- CH 09: Communication error between units
Refer to your manual or contact LG support for specific troubleshooting.
Final Tips and Maintenance
To keep your LG mini split running efficiently:
- Clean or replace filters every 1–2 months
- Keep the outdoor unit clear of leaves and debris
- Schedule annual professional maintenance
- Use the auto-clean function (if available) to prevent mold
Conclusion
Installing an LG mini split air conditioner is a rewarding project that can save money and improve comfort. While it requires careful planning, the right tools, and attention to detail, many homeowners can complete it successfully. Always prioritize safety, follow the manufacturer’s instructions, and don’t hesitate to call a professional for complex tasks like electrical work or refrigerant handling.
With proper installation and maintenance, your LG mini split will deliver reliable, energy-efficient cooling and heating for years to come. Enjoy your new comfort zone!

