
This guide walks you through the complete process of installing an LG portable air conditioner, from unboxing to final setup. You’ll learn how to choose the right location, install the window kit, connect the exhaust hose, and ensure safe, efficient operation. Whether you’re a first-time user or upgrading your unit, this step-by-step tutorial ensures a hassle-free installation.
Key Takeaways
- Choose the right location: Place your LG portable AC near a window and power outlet, away from heat sources and direct sunlight for maximum efficiency.
- Use the included window kit: Most LG portable units come with a sliding window bracket or hose adapter—follow the manual to install it securely.
- Properly connect the exhaust hose: Ensure the hose is straight, not kinked, and tightly sealed to prevent hot air from re-entering the room.
- Check for level placement: Use a spirit level to make sure the unit sits flat; this prevents water leakage and improves drainage.
- Test the unit before full use: Run a short test cycle to confirm cooling, airflow, and noise levels are normal.
- Maintain regular cleaning: Clean filters and check the drain system monthly to keep your AC running efficiently.
- Consult the manual for model-specific steps: LG models vary slightly—always refer to your user guide for exact instructions.
How to Install an LG Portable Air Conditioner: A Complete Step-by-Step Guide
If you’ve just bought an LG portable air conditioner, congratulations! You’re about to enjoy cool, comfortable air without the hassle of permanent installation. LG portable ACs are known for their energy efficiency, quiet operation, and smart features like Wi-Fi connectivity and remote control. But before you can relax in cool comfort, you need to install it properly.
This comprehensive guide will walk you through every step of installing your LG portable air conditioner—from unboxing to final testing. Whether you’re setting it up in a bedroom, living room, or home office, we’ll cover everything you need to know to get your unit running safely and efficiently. We’ll also share practical tips, troubleshooting advice, and maintenance reminders to help you get the most out of your investment.
By the end of this guide, you’ll be confident in your ability to install and operate your LG portable AC like a pro. Let’s get started!
What You’ll Need Before You Begin
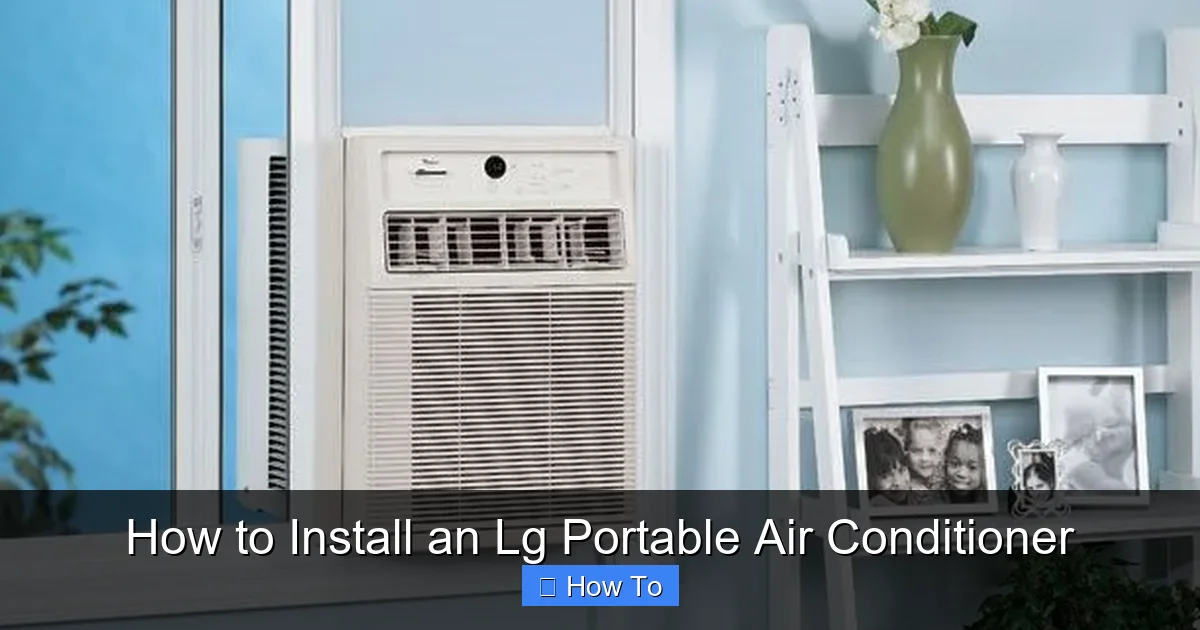
Visual guide about How to Install an Lg Portable Air Conditioner
Image source: i.pinimg.com
Before you start installing your LG portable air conditioner, it’s important to gather all the necessary tools and materials. Most of what you need comes included with the unit, but having a few extras on hand can make the process smoother.
Here’s a checklist of items you’ll need:
- Your LG portable air conditioner unit – Make sure it’s unopened and all components are present.
- Window installation kit – Usually included; contains a hose adapter, window bracket, and sealing foam or tape.
- Measuring tape – To measure your window opening and ensure the kit fits.
- Screwdriver (Phillips or flathead) – For tightening screws on the window bracket.
- Spirit level – To ensure the unit is level during installation.
- Scissors or utility knife – For trimming sealing materials if needed.
- Clean cloth or paper towels – For wiping down surfaces and cleaning filters.
- Power outlet nearby – Your unit needs a dedicated 120V outlet (check your model’s requirements).
It’s also a good idea to read the user manual that came with your specific LG model. While most portable ACs follow similar installation steps, some features—like drainage options or smart controls—may vary.
Step 1: Choose the Right Location
The first and most important step in installing your LG portable air conditioner is choosing the right spot. A poor location can lead to inefficient cooling, increased energy use, and even damage to the unit.
Here’s what to look for:
Proximity to a Window
Your portable AC needs to vent hot air outside through an exhaust hose. That means it must be placed near a window—preferably one that opens horizontally (like a sliding or double-hung window). Casement windows can work too, but may require a custom adapter.
Avoid placing the unit far from the window. The exhaust hose should be as short and straight as possible to maintain airflow efficiency. LG recommends keeping the hose under 5 feet if possible.
Access to a Power Outlet
Your LG portable AC will need a dedicated electrical outlet. Most models use a standard 120V plug, but some larger units may require a 240V circuit. Check your model’s specifications.
Never use an extension cord unless it’s a heavy-duty, UL-listed cord rated for your unit’s wattage. Extension cords can overheat and pose a fire risk.
Avoid Heat Sources and Direct Sunlight
Don’t place your AC near ovens, radiators, lamps, or other heat sources. These can trick the thermostat into thinking the room is warmer than it is, causing the unit to run longer and use more energy.
Similarly, avoid direct sunlight on the unit. Heat from the sun can reduce cooling efficiency and increase wear on the compressor.
Ensure Proper Ventilation Around the Unit
Leave at least 12–18 inches of clearance around the sides and top of the unit. This allows for proper airflow and prevents overheating.
Also, make sure the area is free of clutter, curtains, or furniture that could block the intake or exhaust vents.
Consider Noise Levels
Portable air conditioners can be noisy, especially on high fan settings. If you’re installing the unit in a bedroom or quiet space, consider placing it on a soft mat or rubber feet to reduce vibration noise.
Some LG models feature “Quiet Mode” or “Sleep Mode” that lowers fan speed and noise at night—great for light sleepers.
Step 2: Unbox and Inspect Your LG Portable Air Conditioner
Now that you’ve chosen the perfect spot, it’s time to unbox your unit. Handle it carefully—portable ACs can be heavy, often weighing 50–80 pounds.
Open the Box Carefully
Use scissors or a box cutter to open the top of the packaging. Remove any tape, foam inserts, or plastic wrap. Lift the unit out slowly, using your legs—not your back—to avoid injury.
Check for All Components
Inside the box, you should find:
- The main air conditioner unit
- Exhaust hose (usually 5–6 feet long)
- Window installation kit (bracket, adapter, screws)
- Drain hose (for models with manual drainage)
- Remote control and batteries
- User manual and warranty card
- Filter (usually pre-installed)
If anything is missing or damaged, contact LG customer support or the retailer immediately. Don’t proceed with installation until all parts are accounted for.
Inspect the Unit
Look over the exterior for any dents, scratches, or loose parts. Check the control panel, vents, and hose connections. Make sure the wheels (if included) spin freely.
Open the front panel and remove the air filter. It should be clean and undamaged. If it’s dirty, rinse it with lukewarm water and let it dry completely before reinstalling.
Step 3: Install the Window Kit
The window kit is essential for venting hot air outside. Most LG portable ACs use a sliding window bracket system, but some models may use a hose adapter that fits into a window crack.
Here’s how to install it properly:
Measure Your Window Opening
Use a measuring tape to determine the width of your window opening. Most LG window kits are adjustable and can fit openings from 20 to 48 inches wide.
If your window is too narrow or too wide, you may need to purchase an extension panel or a custom adapter.
Assemble the Window Bracket
The window kit typically includes:
- A main bracket panel
- Two extension panels (left and right)
- Screws and mounting hardware
- Sealing foam or weatherstripping
Slide the extension panels into the main bracket to match your window width. Secure them with the provided screws using a screwdriver.
Install the Bracket in the Window
Close the window sash onto the bracket. Make sure it sits snugly and doesn’t allow air leaks. If there’s a gap, use the included sealing foam or weatherstripping to fill it.
For extra security, you can screw the bracket into the window frame (if allowed by your building rules). Be careful not to damage the window or frame.
Attach the Hose Adapter
Most LG kits include a plastic adapter that connects the exhaust hose to the window bracket. Insert the adapter into the slot on the bracket and secure it with screws if needed.
Make sure the adapter is tightly sealed to prevent hot air from leaking back into the room.
Step 4: Connect the Exhaust Hose
The exhaust hose is what carries hot air from your portable AC to the outside. A poorly connected hose can reduce cooling efficiency and cause the unit to overheat.
Attach the Hose to the Unit
Locate the exhaust port on the back or side of your LG portable AC. It’s usually labeled “Exhaust” or marked with an arrow.
Push one end of the hose onto the port until it clicks or feels secure. Some models use a twist-lock mechanism—rotate the hose clockwise to lock it in place.
Connect the Hose to the Window Adapter
Take the other end of the hose and attach it to the adapter on the window bracket. Again, push it firmly until it’s secure.
Avoid bending or kinking the hose. A bent hose restricts airflow and can cause the unit to shut down due to overheating.
Seal Any Gaps
Use the included foam tape or weatherstripping to seal gaps around the hose connections. This prevents hot air from escaping back into the room.
You can also use duct tape for a temporary fix, but foam tape is more durable and heat-resistant.
Keep the Hose Straight
If possible, keep the hose as straight as possible. Coiling or looping the hose reduces airflow and puts extra strain on the fan.
If you must bend the hose, use a gentle curve—never a sharp kink.
Step 5: Level the Unit and Check Drainage
Proper leveling is crucial for the internal drainage system to work correctly. If the unit is tilted, water may not drain properly and could leak inside.
Use a Spirit Level
Place a spirit level on top of the unit. Adjust the wheels or use small shims (like cardboard or rubber pads) under the legs to level it.
Most LG portable ACs have self-evaporating systems that recycle condensation into the exhaust air. However, in very humid conditions, excess water may collect in an internal tank.
Check the Drain Plug
Some models have a drain plug at the bottom. Make sure it’s tightly closed before use.
If your model has a drain hose, connect it to the drain port and route it to a floor drain or bucket. This is especially important if you live in a humid climate or plan to run the unit continuously.
Monitor the Water Tank
Check your user manual to see if your model has a water tank indicator. Some LG units will beep or display a warning when the tank is full.
If the tank fills up, the unit may shut off automatically to prevent leaks. Empty the tank and restart the AC.
Step 6: Plug In and Power On
Now that everything is connected, it’s time to power up your LG portable air conditioner.
Plug Into a Dedicated Outlet
Plug the power cord directly into a grounded 120V outlet. Avoid power strips or surge protectors unless they’re rated for high-wattage appliances.
Turn off other high-power devices (like microwaves or space heaters) to prevent tripping the circuit.
Turn On the Unit
Press the power button on the control panel or use the remote. The unit should start with a beep and the display should light up.
Set your desired temperature using the up/down arrows. Most LG portable ACs can cool rooms down to 60–64°F (15–18°C).
Select the Right Mode
Choose the appropriate mode:
- Cool Mode: Standard cooling with fan.
- Fan Mode: Circulates air without cooling.
- Dry Mode: Reduces humidity (great for damp days).
- Auto Mode: Adjusts fan speed based on room temperature.
If your model has Wi-Fi, download the LG ThinQ app to control the AC from your phone.
Step 7: Test the Unit and Adjust Settings
Before settling in, run a quick test to make sure everything is working properly.
Listen for Unusual Noises
A normal portable AC will make a gentle hum and whooshing sound from the fan. If you hear grinding, rattling, or loud banging, turn it off and check for loose parts or obstructions.
Feel the Airflow
Place your hand near the front vent. You should feel cool, steady airflow. If the air is weak or warm, check the filter, hose, and settings.
Check for Leaks
Look around the window and hose connections for signs of water or air leaks. Tighten connections or add more sealing material if needed.
Adjust Fan Speed and Direction
Use the remote or control panel to adjust fan speed (low, medium, high) and louver direction. Point the airflow toward the center of the room for even cooling.
Troubleshooting Common Installation Issues
Even with careful installation, you might run into a few problems. Here’s how to fix the most common issues:
The Unit Won’t Turn On
- Check the power cord and outlet. Try a different outlet.
- Make sure the water tank isn’t full (if applicable).
- Reset the circuit breaker or GFCI outlet.
Weak Cooling or Warm Air
- Clean or replace the air filter.
- Ensure the exhaust hose isn’t kinked or blocked.
- Close windows and doors to prevent hot air from entering.
- Lower the thermostat setting.
Water Leaking Inside
- Check if the unit is level.
- Ensure the drain plug is closed.
- Empty the water tank if full.
- Inspect the drain hose for clogs.
Loud or Unusual Noises
- Tighten loose screws or panels.
- Make sure the unit isn’t vibrating against a wall or furniture.
- Check for debris in the fan or vents.
Remote Control Not Working
- Replace the batteries.
- Make sure nothing is blocking the IR sensor on the unit.
- Re-pair the remote if it’s a smart model.
Maintenance Tips for Long-Term Performance
To keep your LG portable air conditioner running efficiently, follow these maintenance tips:
Clean the Air Filter Monthly
A dirty filter restricts airflow and reduces cooling. Remove the filter, rinse it with lukewarm water, and let it dry completely before reinstalling.
Wipe Down the Exterior
Use a damp cloth to clean the outer surface. Avoid harsh chemicals that could damage the plastic.
Inspect the Exhaust Hose
Check the hose every few months for cracks, kinks, or blockages. Replace it if damaged.
Check the Window Seal
Over time, the window seal may loosen. Re-tighten screws and add fresh weatherstripping if needed.
Store Properly Off-Season
When not in use (e.g., winter), clean the unit, drain all water, and store it in a dry, covered area. Cover it with a breathable cloth to prevent dust buildup.
Conclusion
Installing an LG portable air conditioner is a straightforward process when you follow the right steps. From choosing the best location to connecting the exhaust hose and testing the unit, this guide covers everything you need to know for a successful setup.
Remember: proper installation not only ensures efficient cooling but also extends the life of your appliance. Always refer to your model’s user manual for specific instructions, and don’t hesitate to contact LG support if you run into issues.
With your LG portable AC up and running, you can enjoy cool, comfortable air all summer long—without the cost and hassle of central air conditioning. Stay cool, stay comfortable, and enjoy the peace of mind that comes with a job well done.

