
Installing a LG window air conditioner is easier than you think with the right tools and guidance. This guide walks you through every step—from measuring your window to testing your unit—so you can enjoy cool, comfortable air in no time.
Key Takeaways
- Measure your window first: Ensure your window opening matches the AC unit’s size requirements to avoid gaps or instability.
- Use the right tools: A drill, level, measuring tape, and screwdriver are essential for a secure and level installation.
- Follow LG’s instructions: Always refer to the included manual for model-specific details and safety warnings.
- Seal gaps properly: Use foam weatherstripping or side panels to prevent air leaks and improve energy efficiency.
- Check electrical safety: Plug into a dedicated outlet and avoid extension cords to prevent overheating or fire hazards.
- Test before finalizing: Run the unit briefly to confirm it’s cooling and draining properly before securing all parts.
- Maintain regularly: Clean filters monthly and inspect seals seasonally to keep your LG AC running efficiently.
How to Install a LG Window Air Conditioner
Summer heat can be relentless, but a reliable air conditioner makes all the difference. If you’ve just purchased a LG window air conditioner, you’re in luck—LG units are known for their energy efficiency, quiet operation, and smart features. But before you can enjoy that cool breeze, you need to install it properly. Don’t worry—this guide will walk you through the entire process, step by step.
Whether you’re a DIY beginner or a seasoned home improver, installing a LG window air conditioner is totally doable with the right preparation. In this comprehensive guide, you’ll learn how to safely and correctly install your unit, avoid common mistakes, and ensure optimal performance all season long.
We’ll cover everything from measuring your window and gathering tools to securing the unit and testing it for leaks. Plus, we’ll share expert tips and troubleshooting advice to help you get the most out of your new AC. Let’s get started!
Why Choose a LG Window Air Conditioner?
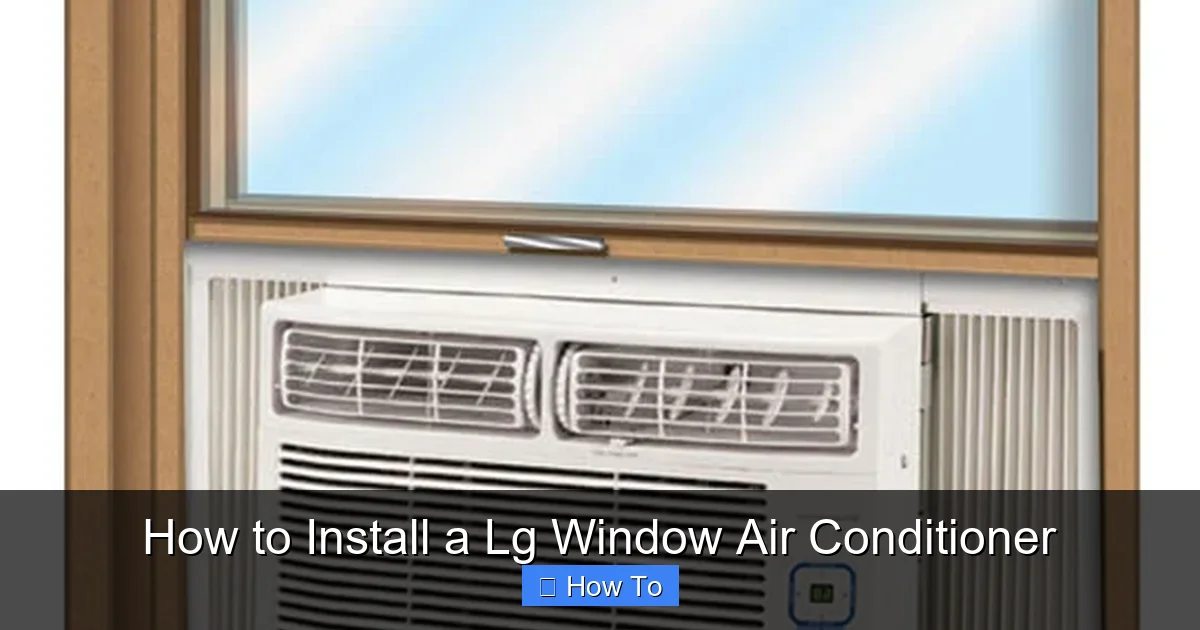
Visual guide about How to Install a Lg Window Air Conditioner
Image source: ajmadison.com
Before diving into the installation, it’s worth understanding why LG window air conditioners are a top choice for many homeowners. LG offers a range of models with features like Wi-Fi connectivity, inverter technology for energy savings, and ultra-quiet operation. Many units also come with washable filters, programmable timers, and remote controls for added convenience.
LG designs their window ACs with user-friendly installation in mind. Most models include built-in side panels that expand to fit standard window widths, and they’re engineered to sit securely without requiring major modifications to your window frame. Plus, LG provides detailed installation manuals and customer support, making the process smoother for first-time installers.
What You’ll Need Before You Start
Preparation is key to a successful installation. Rushing in without the right tools or information can lead to mistakes, safety hazards, or poor performance. Here’s a checklist of what you’ll need:
- Your LG window air conditioner unit – Make sure it’s the correct size for your room and window.
- Measuring tape – To confirm window dimensions and unit fit.
- Level – Ensures the unit sits evenly to prevent water leakage.
- Drill and drill bits – For securing brackets and screws.
- Screwdriver (Phillips and flathead) – For tightening screws and adjusting parts.
- Pencil or marker – To mark drill points and measurements.
- Safety gloves and goggles – Protect your hands and eyes during installation.
- Foam weatherstripping or side panels – Usually included with the unit to seal gaps.
- Support brackets (if needed) – Optional for extra stability, especially in larger units.
- Assistant (recommended) – Window ACs can be heavy and awkward to handle alone.
Having these items ready will save you time and frustration. It’s also a good idea to read the user manual that came with your LG unit—it contains model-specific instructions and safety warnings.
Step 1: Choose the Right Location
Not all windows are created equal. Before you start installing, you need to pick the best spot for your air conditioner. Here’s what to consider:
Window Type and Size
LG window air conditioners are designed for double-hung or sliding windows. Make sure your window opens vertically (up and down) and has enough clearance for the unit. Measure the width and height of the opening carefully. Most LG models require a minimum window width of 23–26 inches and a height of at least 14–16 inches, but check your specific model’s requirements.
Avoid installing the unit in a window that’s too small—it won’t fit properly. And don’t force it into a window that’s too large without proper sealing, or you’ll lose cool air and let warm air in.
Sun Exposure and Airflow
Choose a window that gets moderate sun exposure. Too much direct sunlight can make your AC work harder and increase energy bills. Also, avoid placing the unit near heat sources like ovens or radiators.
Good airflow is essential. Make sure there’s at least 12–18 inches of clearance on all sides of the unit once installed. This allows air to circulate freely and prevents overheating.
Electrical Access
Your LG window air conditioner needs a dedicated electrical outlet. Most units require a 115V or 230V circuit, depending on the model. Never plug the unit into an extension cord or power strip—this can cause overheating or electrical fires. If the outlet is more than a few feet away, consider hiring an electrician to install a new one nearby.
Step 2: Measure and Prepare the Window
Now that you’ve chosen the right window, it’s time to measure and prepare it for installation.
Measure the Window Opening
Use your measuring tape to check the width and height of the window opening. Measure at the top, middle, and bottom—windows aren’t always perfectly square. Record the smallest width and height to ensure a snug fit.
Compare these measurements to the dimensions listed in your LG air conditioner’s manual. The unit should fit with at least 1/2 inch of space on each side for the side panels to expand.
Clean the Window Area
Remove any dirt, dust, or debris from the window sill and frame. A clean surface helps the unit sit flat and prevents gaps. If there’s old paint or caulk, gently scrape it away.
Check for Obstructions
Look for anything that might interfere with installation—like window locks, screens, or exterior shutters. Remove or adjust these as needed. If you have a window screen, you may need to cut a hole for the unit or remove it entirely.
Step 3: Install the Side Panels (If Included)
Most LG window air conditioners come with adjustable side panels that expand to fill the gap between the unit and the window frame. These panels help seal the space and improve efficiency.
Attach the Side Panels to the Unit
Lay the air conditioner on its side (on a soft surface to avoid scratches). Locate the side panel brackets on the sides of the unit. Slide the panels into the brackets and secure them with the provided screws. Don’t tighten them all the way yet—you’ll need to adjust the panels later.
Adjust the Panels to Fit Your Window
Once the panels are attached, extend them to match the width of your window opening. They should fit snugly but not be forced. If the panels are too long, you can trim them with a utility knife (check the manual first—some models allow this).
Step 4: Position the Air Conditioner in the Window
This is the trickiest part—lifting and placing the unit. LG window ACs can weigh 50–80 pounds, so safety is crucial.
Get Help
Ask a friend or family member to assist you. One person should lift from the bottom while the other guides the unit into place. Never try to install a heavy AC alone—it’s dangerous and could damage the unit or window.
Open the Window
Raise the bottom sash of the window to the height recommended in your manual (usually about 12–14 inches). This gives you enough room to slide the unit in.
Slide the Unit Into Place
Carefully lift the air conditioner and slide it into the window opening from the outside. The front of the unit should face inward, and the back should extend slightly outside. Make sure the unit sits level—use your level tool to check.
The bottom of the unit should rest securely on the window sill. If it wobbles, you may need support brackets (see next step).
Step 5: Secure the Unit and Close the Window
Once the unit is in place, it’s time to secure it and close the window.
Lower the Window Sash
Gently lower the top of the window sash until it rests on top of the air conditioner. Don’t force it—if it doesn’t close smoothly, adjust the unit’s position slightly.
Secure with Window Locks or Brackets
Most LG units come with L-shaped brackets that attach to the window frame and the AC unit. Drill pilot holes if needed, then screw the brackets into place. This prevents the unit from shifting or falling.
If your model doesn’t include brackets, you can use metal window locks or wooden blocks to hold the sash in place.
Check for Level
Use your level again to ensure the unit is perfectly horizontal. If it’s tilted, water may not drain properly and could leak inside. Adjust the unit or add shims under one side if necessary.
Step 6: Seal Gaps and Prevent Air Leaks
Even small gaps around the unit can let warm air in and cool air out, reducing efficiency. Sealing these gaps is essential.
Install Foam Weatherstripping
Use the foam weatherstripping included with your LG unit to seal the space between the window sash and the AC. Cut it to size and press it into place. For larger gaps, you may need additional foam tape from a hardware store.
Adjust the Side Panels
Now that the unit is secure, tighten the screws on the side panels. Make sure they’re snug against the window frame. If there are still gaps, add extra weatherstripping or use expanding foam (sparingly—don’t block airflow).
Check the Exterior
From outside, inspect the area around the unit. There should be no large gaps. If you see daylight around the edges, add more sealing material. This not only improves efficiency but also keeps pests out.
Step 7: Connect to Power and Test the Unit
With the unit installed and sealed, it’s time to plug it in and test it.
Plug Into a Dedicated Outlet
Connect the power cord directly to a grounded outlet. Never use an extension cord—LG specifically warns against this. If the cord doesn’t reach, hire an electrician to install a new outlet.
Turn On the Unit
Set the thermostat to a cool setting and turn on the AC. Listen for unusual noises and check that air is blowing from the front vents. Feel the air—it should be noticeably cooler within a few minutes.
Check for Leaks
Look for water dripping inside the room. A small amount of condensation is normal, but if water pools on the floor, the unit may not be level or the drain hole could be blocked. Turn off the unit and adjust as needed.
Test the Remote and Features
If your LG model has a remote, test it to ensure it works. Try adjusting the temperature, fan speed, and timer. Some models also have Wi-Fi features—download the LG ThinQ app to connect and control your AC from your phone.
Troubleshooting Common Installation Issues
Even with careful installation, problems can arise. Here’s how to fix the most common issues:
Unit Won’t Turn On
Check the power connection. Make sure the outlet has power and the circuit breaker hasn’t tripped. If the unit still doesn’t start, consult the manual or contact LG support.
Water Leaking Inside
This usually means the unit isn’t level. Use a level to check and adjust the position. Also, ensure the drain hole (usually on the back or bottom) isn’t clogged.
Air Not Cooling
Check the filter—it may be dirty and blocking airflow. Clean or replace it. Also, make sure the thermostat is set correctly and the room isn’t too hot initially.
Unit Vibrates or Makes Noise
Loose parts can cause rattling. Tighten all screws and brackets. If the noise persists, the unit may be unbalanced or the fan could be damaged.
Gaps Around the Unit
Reapply weatherstripping or side panels. For larger gaps, use foam sealant, but avoid blocking ventilation.
Maintenance Tips for Long-Term Performance
Installing your LG window air conditioner is just the first step. Regular maintenance keeps it running efficiently and extends its lifespan.
Clean the Filter Monthly
A dirty filter reduces airflow and makes the unit work harder. Remove the filter, rinse it with water, and let it dry before reinstalling.
Inspect Seals Seasonally
Check weatherstripping and side panels for wear. Replace them if they’re cracked or compressed.
Clean the Exterior Coils
Once a year, turn off the unit and gently clean the outdoor coils with a soft brush or vacuum. This improves heat exchange and efficiency.
Store Properly in Winter
If you remove the unit for winter, clean it thoroughly, cover it, and store it in a dry place. If you leave it in place, cover the outside with a waterproof AC cover to protect it from snow and ice.
Conclusion
Installing a LG window air conditioner doesn’t have to be overwhelming. With the right tools, preparation, and this step-by-step guide, you can have your unit up and running in under an hour. Remember to measure your window, secure the unit properly, seal all gaps, and test everything before calling it a day.
A well-installed air conditioner not only keeps you cool but also saves energy and reduces wear on the unit. By following LG’s recommendations and maintaining your AC regularly, you’ll enjoy reliable performance for years to come.
So go ahead—beat the heat with confidence. Your cool, comfortable summer starts now.

