
Keeping your LG split system air conditioner clean improves efficiency, extends lifespan, and ensures healthier air. This guide walks you through a complete cleaning process—from safety prep to reassembly—so you can maintain peak performance year-round.
Key Takeaways
- Turn off power before cleaning: Always disconnect the unit from the power source to avoid electrical hazards.
- Clean or replace filters monthly: Dirty filters reduce airflow and strain the system, increasing energy use.
- Use gentle cleaning tools: Soft brushes, microfiber cloths, and mild detergent prevent damage to delicate fins and coils.
- Inspect the outdoor unit regularly: Clear debris like leaves and dirt to maintain proper airflow and cooling efficiency.
- Schedule professional servicing annually: While DIY cleaning helps, a technician should check refrigerant levels and internal components yearly.
- Avoid high-pressure water on indoor unit: Excess moisture can damage electronics; use damp cloths instead.
- Check drainage regularly: A clogged drain line causes water leaks and mold growth—flush it during each cleaning.
How to Clean LG Split System Air Conditioner: A Complete Step-by-Step Guide
Your LG split system air conditioner keeps your home cool, comfortable, and energy-efficient—but only if it’s properly maintained. Over time, dust, pollen, pet dander, and mold can build up inside the unit, reducing airflow, increasing energy bills, and even affecting indoor air quality. The good news? Cleaning your LG split system is simpler than you might think, and doing it regularly can save you money and prevent costly repairs.
In this comprehensive guide, we’ll walk you through everything you need to know about how to clean LG split system air conditioner units—both the indoor and outdoor components. You’ll learn essential safety steps, the right tools and cleaning solutions to use, and how often to perform each task. Whether you’re a first-time cleaner or just need a refresher, this guide will help you keep your LG air conditioner running smoothly all year long.
Why Cleaning Your LG Split System Matters
Many homeowners underestimate the importance of regular air conditioner maintenance. But a dirty AC doesn’t just look unappealing—it can seriously impact performance. When filters, coils, and fins get clogged with dirt, the system has to work harder to cool your home. This leads to higher electricity bills, uneven cooling, and even system breakdowns.
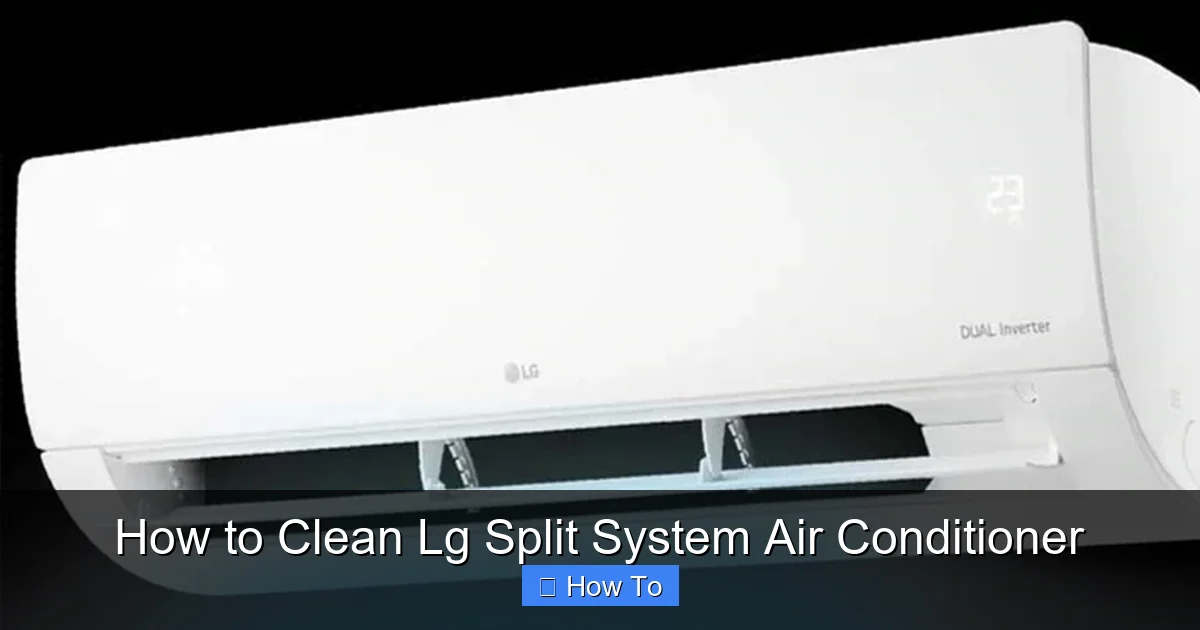
Visual guide about How to Clean Lg Split System Air Conditioner
Image source: lg.com
LG split systems are designed for efficiency and durability, but they still require care. The indoor unit houses the air filter, evaporator coil, and fan, while the outdoor unit contains the condenser coil and compressor. Both need attention. Neglecting either can result in poor airflow, refrigerant leaks, or compressor failure.
Regular cleaning also improves indoor air quality. Dust and mold trapped in the system can circulate through your home, triggering allergies or respiratory issues. By cleaning your LG split system every 1–3 months (depending on usage and environment), you ensure cleaner, healthier air for your family.
Tools and Supplies You’ll Need
Before you start, gather the right tools and cleaning supplies. Using the wrong products can damage sensitive components, so it’s important to choose wisely. Here’s what you’ll need:
- Soft-bristle brush or vacuum with brush attachment
- Microfiber cloths
- Mild dish soap or coil cleaner (non-corrosive)
- Garden hose (for outdoor unit only)
- Fin comb (to straighten bent fins)
- Screwdriver (to remove front panel)
- Spray bottle with water
- Bucket of warm water
- Safety gloves and goggles
- Old toothbrush (for tight spaces)
- Wet/dry vacuum (optional, for drain line cleaning)
You can find most of these items at your local hardware store or online. Avoid using harsh chemicals, abrasive scrubbers, or high-pressure washers on the indoor unit—they can damage coils, fins, or electrical parts.
Safety First: Preparing to Clean Your LG Split System
Safety should always come first when working with any electrical appliance. Air conditioners, even when turned off, can retain electrical charge or pose shock risks if not properly disconnected.
Turn Off the Power
The most important step is to turn off the power to your air conditioner. Locate the circuit breaker for your AC unit—usually labeled “AC” or “Air Conditioner”—and switch it off. For added safety, unplug the indoor unit if it has a direct power cord. This ensures no electricity flows to the system while you’re cleaning.
Wait Before Starting
After turning off the power, wait at least 10–15 minutes before beginning. This allows any residual charge to dissipate and gives the system time to cool down if it was recently running.
Wear Protective Gear
Put on safety gloves and goggles to protect your hands and eyes from dust, debris, and cleaning solutions. If you have allergies or asthma, consider wearing a dust mask as well.
Clear the Area
Make sure the area around both the indoor and outdoor units is clear. Remove furniture, plants, or clutter that might block access. For the outdoor unit, trim back any overgrown bushes or vines that could restrict airflow.
Step 1: Cleaning the Indoor Unit
The indoor unit is where most of the visible dirt accumulates. It contains the air filter, evaporator coil, and fan blades—all of which need regular attention.
Remove the Front Panel
Start by opening the front cover of your LG indoor unit. Most models have a latch or clips that release when you gently pull the panel downward. Use a screwdriver if needed, but be careful not to force it. Once open, you’ll see the air filter.
Take Out the Air Filter
Slide the filter out carefully. LG filters are usually made of washable mesh or pleated fabric. Check your user manual to confirm the type. If it’s a reusable filter, you can clean it. If it’s disposable, replace it with a new one (typically every 1–3 months).
Clean the Filter
Rinse the filter under lukewarm water. Use a mild detergent if it’s very dirty—just a few drops of dish soap in a bucket of water works well. Gently scrub with a soft brush or your hands to remove dust and grime. Avoid twisting or wringing the filter, as this can damage the mesh.
After washing, let the filter air dry completely—usually 1–2 hours. Never reinstall a wet filter, as it can promote mold growth and restrict airflow.
Vacuum the Interior
While the filter is out, use a vacuum with a brush attachment to clean the inside of the unit. Focus on the evaporator coil, fan blades, and drain pan. Dust and debris here can reduce efficiency and cause odors.
Be gentle—coils and fins are delicate. If you see bent fins, use a fin comb to straighten them. This improves airflow and prevents future blockages.
Wipe Down Surfaces
Use a damp microfiber cloth to wipe the interior surfaces, including the front panel and housing. Avoid spraying water directly into the unit. If there’s stubborn grime, dip the cloth in soapy water, wring it out well, and wipe gently.
Clean the Drain Pan and Drain Line
The drain pan collects condensation and can become a breeding ground for mold and bacteria. Wipe it clean with a cloth and mild detergent. Then, check the drain line—a small plastic tube that exits the unit.
To clean the drain line, use a wet/dry vacuum to suck out any clogs. Alternatively, flush it with a mixture of water and vinegar (1:1 ratio) using a funnel. This prevents algae buildup and ensures proper drainage.
Reassemble the Indoor Unit
Once everything is dry, reinsert the filter and close the front panel. Make sure it clicks securely into place. Turn the power back on and test the unit to ensure it’s working properly.
Step 2: Cleaning the Outdoor Unit
The outdoor unit, or condenser, is exposed to the elements and can collect leaves, dirt, and debris. Cleaning it improves heat exchange and prevents overheating.
Turn Off Power to the Outdoor Unit
Just like the indoor unit, make sure the power is off at the breaker. This is critical for safety, especially when working with water near electrical components.
Remove Debris from Around the Unit
Clear away leaves, grass, twigs, and dirt from the base and sides of the unit. Keep at least 2 feet of clearance on all sides for proper airflow. Trim any nearby vegetation that could block ventilation.
Remove the Top Grill or Cover
Most LG outdoor units have a top cover held in place by screws or clips. Use a screwdriver to remove it carefully. Set it aside in a safe place.
Clean the Condenser Coils
The condenser coils are located beneath the top cover. They’re made of thin aluminum fins and can easily bend or clog. Use a soft brush to gently remove loose dirt and debris.
For deeper cleaning, spray the coils with a coil cleaner (available at hardware stores). Let it sit for 5–10 minutes to break down grime, then rinse with a garden hose on low pressure. Never use high-pressure water—it can damage the fins.
Straighten Bent Fins
If you notice bent or crushed fins, use a fin comb to gently straighten them. Insert the comb between the fins and pull it through to restore alignment. This helps maintain proper airflow.
Clean the Fan Blades
The fan blades can accumulate dirt and affect performance. Wipe them with a damp cloth or use a brush to remove buildup. Be careful not to bend the blades or damage the motor.
Check the Base and Drain Holes
Make sure the base of the unit is free of standing water or debris. Check the drain holes at the bottom—they should be clear to allow condensation to escape. Use a wire or pipe cleaner to unclog if necessary.
Reassemble the Outdoor Unit
Once everything is clean and dry, replace the top cover and secure it with screws. Turn the power back on and run the unit to ensure it’s operating correctly.
How Often Should You Clean Your LG Split System?
Cleaning frequency depends on usage, environment, and season. Here’s a general guide:
- Air filters: Clean or replace every 1–2 months during peak use (summer/winter). In mild climates or low usage, every 3 months may suffice.
- Indoor unit interior: Clean every 3–6 months, or if you notice reduced airflow or odors.
- Outdoor unit: Clean every 3–6 months, or after storms or heavy pollen seasons.
- Drain line: Flush every 3–6 months to prevent clogs and mold.
If you have pets, live in a dusty area, or suffer from allergies, consider cleaning more frequently. Always inspect the unit after extreme weather events.
Troubleshooting Common Cleaning Issues
Even with careful cleaning, you might encounter problems. Here’s how to handle common issues:
Unit Won’t Turn On After Cleaning
If your LG split system doesn’t start after cleaning, double-check that the power is restored at the breaker. Also, ensure the front panel is fully closed and the filter is properly inserted. A loose connection or safety switch may prevent operation.
Water Leaking Indoors
Leaks often indicate a clogged drain line or dirty drain pan. Re-clean the drain line and pan. If the problem persists, the drain hose may be disconnected or damaged—check the connection at the indoor unit.
Reduced Cooling Performance
If the unit isn’t cooling well after cleaning, the evaporator or condenser coils may still be dirty. Re-clean both units thoroughly. Also, check for refrigerant leaks—these require a professional.
Unusual Noises
Rattling or grinding sounds may mean a loose panel, bent fan blade, or debris in the fan. Turn off the unit and inspect the components. Tighten screws or remove obstructions as needed.
Mold or Mildew Smell
A musty odor suggests mold growth in the drain pan or on the evaporator coil. Clean these areas with a mixture of water and vinegar or a commercial mold cleaner. Consider using an air purifier or UV light for ongoing prevention.
When to Call a Professional
While DIY cleaning is effective for routine maintenance, some tasks require a licensed HVAC technician. Call a professional if you notice:
- Refrigerant leaks (oily residue or hissing sounds)
- Frequent system shutdowns or error codes
- Ice buildup on coils
- Electrical issues or burning smells
- Compressor or fan motor problems
LG recommends annual professional servicing to check refrigerant levels, inspect electrical connections, and perform deep cleaning. This ensures your system runs efficiently and extends its lifespan.
Tips for Maintaining Your LG Split System Year-Round
Cleaning is just one part of AC care. Follow these tips to keep your LG split system in top shape:
- Use a programmable thermostat: Set it to raise the temperature when you’re away to save energy.
- Keep vents unobstructed: Don’t block indoor vents with furniture or curtains.
- Upgrade to a high-efficiency filter: HEPA or MERV 11+ filters trap more allergens.
- Schedule seasonal checks: Clean before summer and winter for peak performance.
- Monitor energy bills: A sudden increase may indicate a problem with your AC.
By combining regular cleaning with smart habits, you’ll enjoy cooler air, lower bills, and fewer repairs.
Conclusion
Learning how to clean LG split system air conditioner units doesn’t have to be complicated. With the right tools, safety precautions, and a little time, you can keep your system running efficiently and your home comfortable. Regular maintenance not only improves performance but also extends the life of your investment.
Remember to clean filters monthly, inspect both indoor and outdoor units every few months, and schedule professional servicing once a year. By staying proactive, you’ll avoid costly breakdowns and enjoy cleaner, healthier air all year long.
Your LG split system works hard to keep you cool—give it the care it deserves. Start cleaning today and feel the difference in comfort and efficiency.

