
Cleaning your LG split air conditioner filter is essential for efficient cooling, better air quality, and lower energy bills. This guide walks you through the entire process—from turning off the unit to reassembling it—with easy-to-follow steps and expert tips to keep your AC running smoothly all year.
Key Takeaways
- Turn off the power first: Always switch off the AC at the remote and circuit breaker to prevent electrical hazards during cleaning.
- Clean filters every 2–4 weeks: Regular cleaning prevents dust buildup, improves airflow, and maintains optimal performance.
- Use mild soap and lukewarm water: Harsh chemicals can damage the filter material; gentle cleaning preserves its structure and efficiency.
- Let the filter dry completely: Never reinstall a damp filter—it can cause mold growth and reduce indoor air quality.
- Check for damage during cleaning: Look for tears or warping; replace the filter if it’s worn out to avoid strain on the system.
- Schedule professional maintenance annually: While DIY cleaning helps, a technician should inspect coils, refrigerant, and internal components yearly.
- Improved efficiency = lower bills: A clean filter reduces energy consumption by up to 15%, saving money and reducing environmental impact.
Why Cleaning Your LG Split Air Conditioner Filter Matters
Your LG split air conditioner works hard to keep your home cool and comfortable, especially during hot summer months. But like any hardworking appliance, it needs regular care to perform at its best. One of the most important—and often overlooked—maintenance tasks is cleaning the air filter.
The filter in your LG split AC captures dust, pollen, pet dander, and other airborne particles before they circulate through your home. Over time, this filter becomes clogged with debris, restricting airflow and forcing the system to work harder. This not only reduces cooling efficiency but also increases energy consumption and can lead to costly repairs down the line.
Cleaning the filter is simple, takes less than 30 minutes, and can be done by anyone—no technical skills required. By making this a regular habit, you’ll enjoy cleaner air, better cooling, lower electricity bills, and a longer lifespan for your air conditioner.
In this guide, we’ll walk you through the entire process of cleaning your LG split air conditioner filter, step by step. Whether you’re a first-time cleaner or just need a refresher, you’ll find clear instructions, helpful tips, and troubleshooting advice to keep your AC in top shape.
What You’ll Need
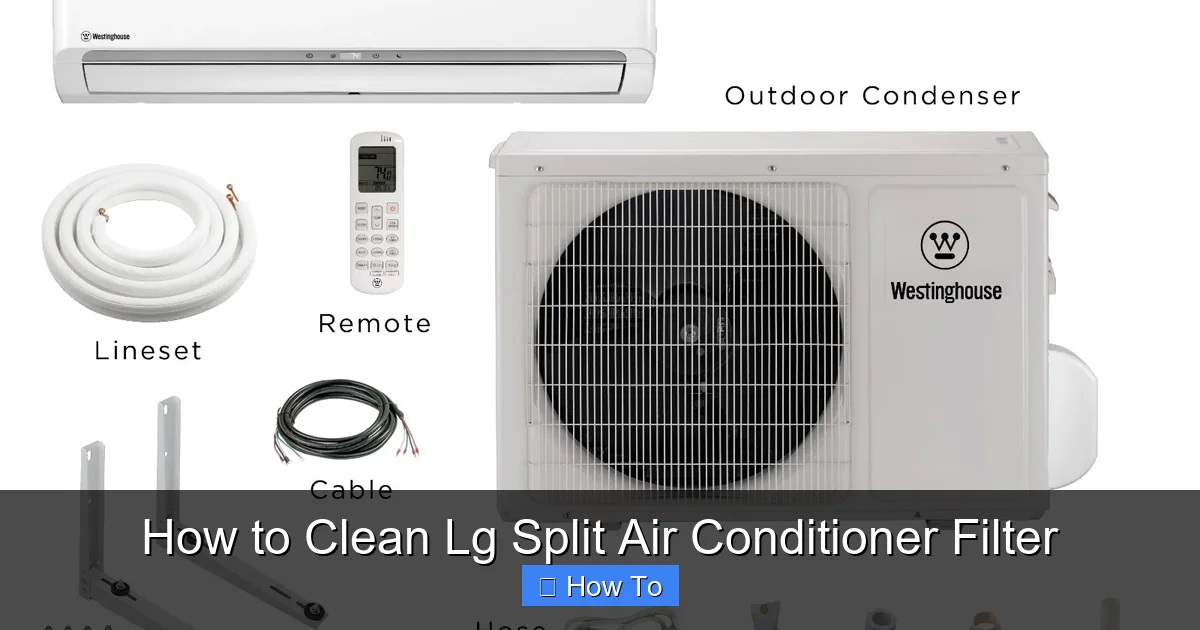
Visual guide about How to Clean Lg Split Air Conditioner Filter
Image source: i.ebayimg.com
Before you begin, gather these supplies to make the process quick and hassle-free:
- A soft brush or vacuum cleaner with a brush attachment
- Mild dish soap or a gentle household cleaner
- Lukewarm water
- A clean towel or drying rack
- A soft cloth or sponge
- Gloves (optional, for hygiene)
- A flashlight (helpful for inspecting hard-to-see areas)
Avoid using harsh chemicals, bleach, or abrasive scrubbers—these can damage the delicate filter material and reduce its effectiveness. Stick to mild, non-toxic cleaners to protect both your filter and your health.
Step 1: Turn Off the Power
Safety always comes first. Before touching any part of your air conditioner, make sure the unit is completely powered off.
Turn Off the Remote Control
Start by pressing the “Power” button on your LG remote control to turn off the air conditioner. This stops the fan and compressor from running.
Switch Off the Circuit Breaker
Next, locate your home’s electrical panel (also called the breaker box). Find the circuit breaker labeled for your air conditioning unit—it’s usually marked “AC,” “Air Conditioner,” or something similar. Flip the switch to the “Off” position.
This step is crucial. Even if the remote shows the AC is off, the unit may still be receiving power. Cutting off the circuit breaker ensures there’s no risk of electric shock while you’re working on the indoor unit.
Wait at least 5–10 minutes after turning off the power before proceeding. This gives the system time to fully shut down and discharge any residual electricity.
Step 2: Locate the Indoor Unit and Open the Front Panel
The air filter is housed inside the indoor unit of your LG split air conditioner, which is typically mounted high on a wall. Here’s how to access it safely.
Find the Indoor Unit
Look for the sleek, rectangular unit on your wall. It usually has a digital display, air vents, and an LG logo. This is the part that blows cool air into your room.
Open the Front Panel
Most LG split AC models have a front panel that swings open like a door. Here’s how to open it:
- Gently grasp the bottom edge of the front panel with both hands.
- Pull it downward and outward until it clicks open.
- Some models may have a small latch or button—press it lightly if needed.
Be careful not to force the panel. If it doesn’t open easily, check your user manual for model-specific instructions. Forcing it could damage the hinges or internal components.
Once the panel is open, you’ll see the air filter(s) behind it—usually one or two rectangular panels made of fine mesh or pleated material.
Step 3: Remove the Air Filter
Now it’s time to take out the filter for cleaning.
Identify the Filter Slots
Look for the filter frame—it’s typically white or light gray and sits just behind the front panel. There may be one or two filters, depending on your model.
Gently Slide Out the Filter
Place your fingers on the sides or top edge of the filter and pull it straight out. Most LG filters slide out easily without tools.
If the filter feels stuck, don’t yank it. Instead, wiggle it gently from side to side while pulling. Avoid touching the filter surface with your fingers—this can transfer oils and dirt.
Set the filter aside on a clean surface, such as a towel or paper plate, to avoid contaminating your floor.
Step 4: Inspect the Filter for Damage
Before cleaning, take a moment to examine the filter closely.
Look for Visible Dirt and Debris
Hold the filter up to a light or use a flashlight to check for dust, hair, or mold. A clogged filter will appear dark and thick with buildup.
Check for Physical Damage
Inspect the frame and mesh for:
- Tears or holes in the material
- Warping or bending of the frame
- Discoloration or signs of mold
A damaged filter won’t trap particles effectively and may allow debris to enter the unit. If you notice any of these issues, it’s time to replace the filter. LG recommends replacing filters every 6–12 months, depending on usage and air quality.
Step 5: Clean the Filter
Now for the main event—cleaning the filter thoroughly but gently.
Shake Off Loose Debris
Take the filter outside or over a trash can and give it a few firm shakes to remove loose dust and hair. You can also use a soft brush or a vacuum with a brush attachment to gently suction away surface dirt.
Rinse with Lukewarm Water
Hold the filter under a gentle stream of lukewarm water. Avoid hot water—it can warp the plastic frame or damage the mesh.
Rinse from the inside out (the side that faces the room) to push trapped particles away from the unit. This helps ensure thorough cleaning.
Use Mild Soap for Stubborn Grime
If the filter is heavily soiled, add a few drops of mild dish soap to a bowl of lukewarm water. Submerge the filter and let it soak for 10–15 minutes.
After soaking, use a soft sponge or cloth to gently wipe the surface. Don’t scrub hard—this can tear the delicate mesh.
Rinse thoroughly to remove all soap residue. Leftover soap can attract more dust and reduce airflow.
Alternative: Vacuum Cleaning
If you prefer not to use water, you can clean the filter with a vacuum cleaner. Use the brush attachment and run it over both sides of the filter until no more dust comes off.
This method is quicker but less effective for deep cleaning. Use it for light maintenance between full washes.
Step 6: Dry the Filter Completely
Drying is just as important as cleaning. Never reinstall a wet or damp filter.
Air Dry in a Well-Ventilated Area
Place the filter on a clean towel or drying rack in a shaded, well-ventilated area. Avoid direct sunlight or heat sources like radiators—these can warp the plastic frame.
Allow 2–4 Hours for Full Drying
Let the filter dry completely before reinstalling. This usually takes 2–4 hours, depending on humidity and airflow.
You can speed up the process by placing it near a fan, but don’t use a hairdryer or heater—high heat can damage the filter.
Check for Moisture
Before reinstalling, run your fingers over the filter. It should feel completely dry, with no damp spots or cool areas.
Installing a damp filter can lead to mold growth, unpleasant odors, and reduced air quality. Patience here pays off in the long run.
Step 7: Reinstall the Filter
Once the filter is dry, it’s time to put it back.
Align the Filter Correctly
Make sure the filter is facing the right direction. Most LG filters have an arrow or label indicating airflow direction (usually pointing toward the unit).
Slide the filter back into its slot, ensuring it sits flat and secure. Don’t force it—if it doesn’t slide in easily, double-check the alignment.
Close the Front Panel
Gently push the front panel back into place until it clicks shut. Make sure it’s fully closed to prevent air leaks.
Step 8: Restore Power and Test the Unit
You’re almost done! Now it’s time to turn the AC back on and make sure everything works.
Turn On the Circuit Breaker
Return to your electrical panel and flip the AC breaker back to the “On” position.
Power On the Remote
Press the “Power” button on your LG remote. The unit should start up normally.
Check for Proper Airflow
Listen for the fan and feel the air coming from the vents. It should be cool and strong. If the airflow seems weak, double-check that the filter is installed correctly and the panel is fully closed.
Run the AC for 10–15 minutes and monitor its performance. You should notice improved cooling and quieter operation.
How Often Should You Clean the Filter?
The frequency of cleaning depends on several factors:
- High usage (daily use in summer): Clean every 2 weeks
- Moderate usage (a few times a week): Clean every 3–4 weeks
- Low usage (seasonal or occasional): Clean every 4–6 weeks
- Homes with pets or allergies: Clean every 1–2 weeks
- Dusty environments or construction nearby: Clean weekly
Set a reminder on your phone or calendar to stay on track. Regular cleaning is one of the easiest ways to maintain your AC’s efficiency.
Troubleshooting Common Issues
Even with proper cleaning, you might encounter a few hiccups. Here’s how to handle them.
Filter Doesn’t Fit After Cleaning
If the filter seems warped or doesn’t slide in smoothly, it may have been exposed to heat or moisture during drying. Check for bends or swelling. If it’s damaged, replace it.
AC Still Not Cooling Well
A clean filter improves airflow, but poor cooling could indicate other issues:
- Dirty evaporator coils
- Low refrigerant levels
- Blocked outdoor unit
- Thermostat problems
If cleaning the filter doesn’t help, schedule a professional inspection.
Unusual Odors After Cleaning
If your AC smells musty or sour after reinstalling the filter, mold may have grown inside the unit. This requires deeper cleaning of the coils and drain pan. Consider hiring a technician for a thorough service.
Filter Gets Dirty Too Quickly
If your filter clogs within days, check for:
- Open windows or doors letting in dust
- Pets shedding heavily
- Nearby construction or pollution
Using an air purifier or upgrading to a high-efficiency filter may help.
Tips for Maintaining Your LG Split AC
Cleaning the filter is just one part of AC care. Follow these tips to keep your unit running smoothly:
- Keep the area around the indoor unit clear: Avoid blocking vents with furniture or curtains.
- Clean the outdoor unit regularly: Remove leaves, dirt, and debris from the condenser coils.
- Check the drain line: Ensure it’s not clogged to prevent water leaks.
- Use a programmable thermostat: Set it to raise the temperature when you’re away to save energy.
- Schedule annual professional maintenance: A technician can clean coils, check refrigerant, and inspect electrical components.
When to Replace the Filter
Even with regular cleaning, filters wear out over time. Replace your LG air filter if:
- It’s torn, frayed, or has holes
- The frame is cracked or warped
- It no longer traps dust effectively
- It’s been in use for 6–12 months
Use only genuine LG replacement filters or high-quality compatible models. Cheap knockoffs may not fit properly or filter effectively.
Benefits of Regular Filter Cleaning
Taking a few minutes to clean your filter pays off in many ways:
- Improved air quality: Removes allergens and pollutants from your home.
- Better cooling performance: Unrestricted airflow means faster, more efficient cooling.
- Lower energy bills: A clean filter can reduce energy use by up to 15%.
- Longer AC lifespan: Less strain on the system means fewer repairs and a longer life.
- Reduced risk of breakdowns: Preventative maintenance avoids costly emergency calls.
Conclusion
Cleaning your LG split air conditioner filter is a simple yet powerful way to keep your home cool, your air clean, and your energy bills low. With just a few basic supplies and 20–30 minutes of your time, you can make a big difference in your AC’s performance and longevity.
By following the steps in this guide—turning off the power, removing and inspecting the filter, cleaning it gently, drying it thoroughly, and reinstalling it correctly—you’ll ensure your unit runs efficiently all season long.
Make filter cleaning a regular habit, and don’t forget to schedule professional maintenance once a year. Your air conditioner will thank you with reliable cooling, fresher air, and fewer surprises.
So grab your supplies, follow these steps, and enjoy the comfort of a well-maintained LG split air conditioner. Your home—and your wallet—will be cooler for it.

