
Keeping your LG portable air conditioner coils clean is essential for optimal performance and energy efficiency. This guide walks you through a safe, effective cleaning process to remove dust, debris, and buildup that can hinder airflow and cooling power.
Key Takeaways
- Regular cleaning improves efficiency: Dirty coils reduce cooling power and increase energy use. Cleaning them every 1–3 months keeps your unit running smoothly.
- Turn off and unplug the unit: Always disconnect power before cleaning to prevent electrical shock or damage.
- Use the right tools: A soft brush, vacuum with brush attachment, coil cleaner spray, and microfiber cloth are essential for safe, thorough cleaning.
- Handle coils gently: Evaporator and condenser coils are delicate. Avoid bending or damaging the fins during cleaning.
- Check and clean the air filter first: A clogged filter forces the coils to work harder. Clean or replace it monthly.
- Reassemble carefully: Ensure all panels and parts are securely reattached to prevent air leaks and maintain performance.
- Schedule seasonal maintenance: Deep clean coils before summer and after heavy use to prevent long-term damage.
How to Clean LG Portable Air Conditioner Coils
If your LG portable air conditioner isn’t cooling as well as it used to, or it’s making strange noises, dirty coils could be the culprit. Over time, dust, pet hair, and debris accumulate on the evaporator and condenser coils, reducing airflow and forcing the unit to work harder. This not only lowers efficiency but can also shorten the lifespan of your appliance.
In this comprehensive guide, you’ll learn exactly how to clean LG portable air conditioner coils safely and effectively. We’ll walk you through each step—from preparation and disassembly to cleaning, reassembly, and maintenance tips. Whether you’re a first-time cleaner or just need a refresher, this guide will help you restore your AC’s performance and keep it running smoothly all season long.
Why Cleaning the Coils Matters
Your LG portable air conditioner has two main sets of coils: the evaporator coils (inside the unit) and the condenser coils (usually at the back or side). These coils are responsible for absorbing heat from indoor air and releasing it outside. When they’re clogged with dirt, their ability to transfer heat is compromised.
Here’s what happens when coils get dirty:
– Reduced cooling power: The unit struggles to cool your room, even on high settings.
– Higher energy bills: The compressor runs longer to reach the desired temperature, increasing electricity use.
– Frequent cycling: The AC turns on and off more often, which can wear out components.
– Risk of freezing: Restricted airflow can cause evaporator coils to freeze, leading to water leaks and potential damage.
Cleaning the coils every 1–3 months—especially during peak usage—can prevent these issues and keep your LG portable AC in top shape.
What You’ll Need
Before you start, gather these tools and supplies:
- Soft-bristle brush (like a paintbrush or coil brush)
- Vacuum cleaner with brush attachment
- Coil cleaner spray (foaming type recommended)
- Microfiber cloths
- Screwdriver (Phillips or flathead, depending on your model)
- Garden hose (optional, for outdoor rinsing)
- Safety gloves and goggles
- Bucket of warm water
- Mild dish soap (optional)
Most of these items are household staples. If you don’t have a coil cleaner, you can use a mild soap solution, but avoid harsh chemicals like bleach or ammonia, which can damage the coils.
Step 1: Turn Off and Unplug the Unit
Safety first! Before you do anything, make sure your LG portable air conditioner is completely powered down.
Power Down the AC
Press the power button to turn off the unit. Wait a few minutes to let the internal components cool down, especially if it’s been running recently.
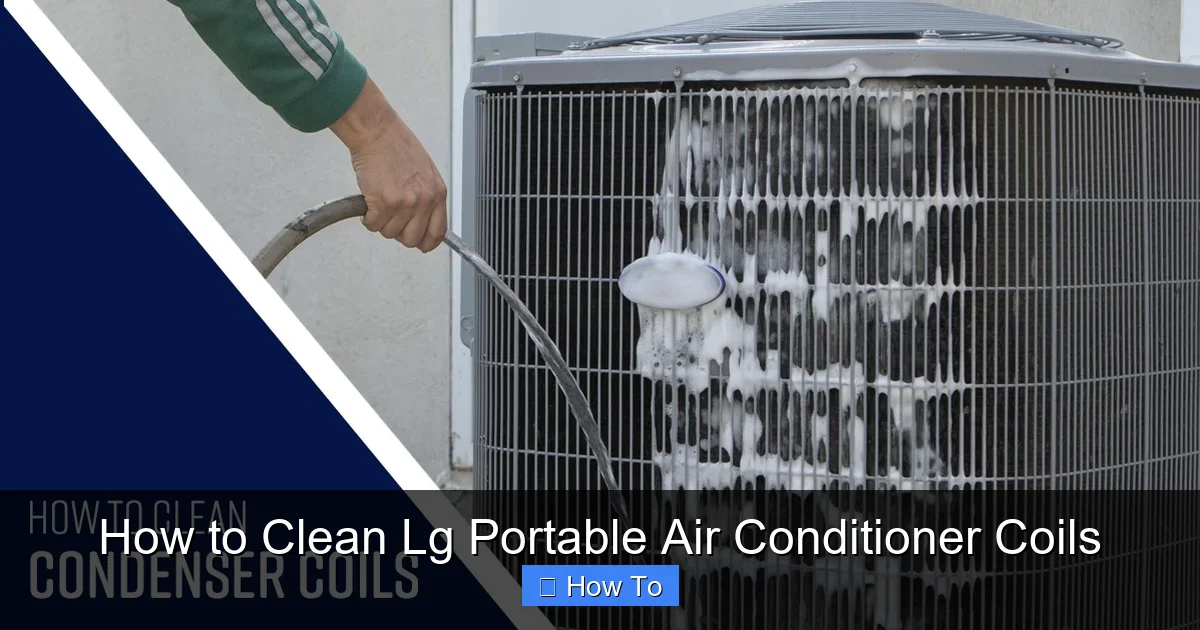
Visual guide about How to Clean Lg Portable Air Conditioner Coils
Image source: cdn.simplegreen.com
Unplug from the Wall
Locate the power cord and unplug it from the electrical outlet. This is crucial to prevent accidental startup or electrical shock during cleaning.
Move the Unit (If Needed)
If your portable AC is heavy or in a tight space, consider moving it to a well-ventilated area like a garage or patio. Lay down a drop cloth or old towel to protect the floor.
Step 2: Remove the Front Panel and Air Filter
The air filter sits behind the front panel and protects the internal components from dust. Cleaning it regularly is just as important as cleaning the coils.
Locate the Front Panel
Most LG portable ACs have a front grille or panel that snaps or screws into place. Look for clips along the sides or top.
Remove the Panel
Gently pull the panel away from the unit. If it’s held by screws, use your screwdriver to remove them. Set the screws aside in a small container so you don’t lose them.
Take Out the Air Filter
The filter is usually a flat, mesh panel that slides out easily. Pull it straight out and inspect it for dirt and debris.
Clean the Filter
Rinse the filter under warm water. If it’s very dirty, soak it in a mixture of warm water and mild dish soap for 10–15 minutes. Use a soft brush to gently scrub away stubborn grime. Let it air dry completely before reinstalling.
Tip: If the filter is damaged or too dirty to clean, replace it with a new one. LG recommends replacing filters every 6–12 months, depending on usage.
Step 3: Access the Evaporator Coils
The evaporator coils are located behind the air filter and are responsible for cooling the air. They’re usually housed in a plastic or metal casing.
Locate the Coil Compartment
Once the front panel and filter are removed, look for a plastic cover or housing that protects the coils. This may be held in place by screws or clips.
Remove the Cover
Use your screwdriver to remove any screws. If it’s clipped, gently pry the cover off with your fingers or a flat tool. Be careful not to break the clips.
Inspect the Coils
Look at the coils—they should be shiny and free of dust. If they’re covered in a gray or brown film, or if you see mold or mildew, they need cleaning.
Note: Some LG models have a removable coil tray or access panel. Check your user manual for model-specific instructions.
Step 4: Clean the Evaporator Coils
Now it’s time to clean the evaporator coils. These are delicate, so handle them with care.
Vacuum Loose Debris
Use your vacuum’s brush attachment to gently remove loose dust and hair from the coil fins. Move the brush in the direction of the fins to avoid bending them.
Apply Coil Cleaner Spray
Shake the coil cleaner can and spray it evenly across the coils. Focus on areas with heavy buildup. The foam will expand and penetrate deep into the fins.
Let It Sit
Allow the cleaner to sit for 5–10 minutes, or as directed on the product label. This gives it time to break down dirt and grease.
Rinse (If Applicable)
If your cleaner is water-rinsable, use a garden hose on a gentle spray setting to rinse the coils. Never use high-pressure water, as it can damage the fins. If you’re indoors, wipe the coils with a damp microfiber cloth instead.
Dry Thoroughly
Let the coils air dry completely before reassembling. You can speed up the process with a clean, dry cloth or a fan.
Tip: For stubborn mold or mildew, use a mixture of water and white vinegar (1:1 ratio) and a soft brush. Rinse well and dry completely.
Step 5: Clean the Condenser Coils
The condenser coils are usually located at the back or side of the unit and release heat to the outside. They’re often more exposed and can get dirtier than the evaporator coils.
Locate the Condenser Coils
Look for a vent or grille on the back or side of the unit. This is where the condenser coils are housed. Some models have a removable panel; others require you to access them from the inside.
Remove the Back Panel (If Needed)
If there’s a panel covering the coils, remove it using your screwdriver. Set the screws aside.
Vacuum the Coils
Use the vacuum brush attachment to remove surface dust and debris. Be gentle—condenser fins are also delicate.
Apply Coil Cleaner
Spray the foaming coil cleaner onto the condenser coils. Cover all areas, especially where dirt is visible.
Rinse and Dry
Rinse with a gentle stream of water if outdoors, or wipe with a damp cloth if indoors. Dry completely before reassembly.
Note: If your unit has an exhaust hose connected, disconnect it carefully before cleaning the condenser side. Reattach it securely afterward.
Step 6: Clean the Drain Pan and Drain Line
While cleaning the coils, take the opportunity to check the drain pan and drain line for clogs or mold.
Locate the Drain Pan
The drain pan sits beneath the evaporator coils and collects condensation. It’s usually accessible after removing the front panel or bottom cover.
Remove and Clean the Pan
Slide out the drain pan and rinse it with warm, soapy water. Use a brush to scrub away any slime or mold. Rinse thoroughly and dry.
Check the Drain Line
The drain line is a small tube that carries water from the pan to the outside. Use a pipe cleaner or a length of wire to gently clear any blockages.
Flush with Vinegar Solution
Pour a mixture of equal parts water and white vinegar into the drain line to kill mold and prevent clogs. Let it sit for 15 minutes, then flush with water.
Tip: If your unit has a built-in pump, check the pump compartment for water buildup and clean it as needed.
Step 7: Reassemble the Unit
Once everything is clean and dry, it’s time to put your LG portable air conditioner back together.
Replace the Drain Pan
Slide the clean drain pan back into place. Make sure it’s seated properly to avoid leaks.
Reattach the Coil Cover
Secure the plastic cover over the evaporator coils using screws or clips. Ensure it’s snug but not over-tightened.
Reinstall the Air Filter
Slide the dry air filter back into its slot. Make sure it’s facing the correct direction (usually with the arrow pointing inward).
Replace the Front Panel
Snap or screw the front panel back into place. Double-check that all clips or screws are secure.
Reconnect the Exhaust Hose
If you disconnected the hose, reattach it to the back of the unit and secure it with the clamp or bracket.
Step 8: Test the Unit
Before you consider the job done, test your AC to make sure everything is working properly.
Plug In the Unit
Reconnect the power cord to the outlet.
Turn On the AC
Press the power button and set the unit to cool mode. Listen for unusual noises and check that air is flowing smoothly.
Check for Leaks
Look around the unit and drain line for any water leaks. If you see water, turn off the unit and recheck the drain pan and hose connections.
Monitor Performance
Let the AC run for 15–20 minutes. The room should cool down faster than before, and the unit should run more quietly.
Troubleshooting Common Issues
Even after cleaning, you might encounter problems. Here’s how to fix them:
Unit Won’t Turn On
Check that the power cord is plugged in and the outlet is working. Reset the circuit breaker if needed. If the unit still won’t start, there may be an internal issue—contact LG support.
Weak Airflow
Ensure the air filter is clean and properly installed. Check that the exhaust hose isn’t kinked or blocked. Also, verify that the room isn’t too large for the unit’s capacity.
Water Leaking
This could be due to a clogged drain line or improperly seated drain pan. Recheck the drain system and clean any blockages.
Strange Noises
Rattling or grinding sounds may indicate loose parts or debris inside. Turn off the unit and inspect for loose screws or foreign objects.
Coils Still Dirty After Cleaning
If dirt remains, the cleaner may not have been strong enough. Try a commercial-grade coil cleaner or repeat the process with more soaking time.
Maintenance Tips for Long-Term Performance
Cleaning the coils is just one part of maintaining your LG portable air conditioner. Follow these tips to keep it running efficiently:
- Clean the filter monthly: A dirty filter restricts airflow and makes the coils work harder.
- Keep the area around the unit clear: Allow at least 18–24 inches of space on all sides for proper airflow.
- Use a cover when not in use: If storing the unit for winter, cover it to prevent dust buildup.
- Schedule seasonal deep cleans: Clean the coils thoroughly before summer and after heavy use.
- Check the exhaust hose regularly: Make sure it’s not cracked, kinked, or blocked.
- Monitor humidity levels: High humidity can cause more condensation and mold growth. Use a dehumidifier if needed.
When to Call a Professional
While most coil cleaning can be done at home, some situations require professional help:
– If the coils are severely corroded or damaged.
– If refrigerant levels are low (only a licensed technician can handle refrigerant).
– If the unit continues to underperform after cleaning.
– If you’re uncomfortable disassembling the unit.
LG offers customer support and authorized service centers. Check your warranty before attempting major repairs.
Conclusion
Cleaning the coils on your LG portable air conditioner is a simple but powerful way to boost performance, save energy, and extend the life of your unit. By following this step-by-step guide, you can safely remove dirt and debris from both the evaporator and condenser coils, ensuring optimal airflow and cooling efficiency.
Remember to clean the air filter regularly, inspect the drain system, and reassemble the unit carefully. With routine maintenance, your LG portable AC will keep you cool and comfortable for years to come.
Don’t wait until your unit starts struggling—make coil cleaning a regular part of your home care routine. Your wallet (and your comfort) will thank you.

