
Keeping your LG portable air conditioner clean is essential for optimal performance and better indoor air quality. This guide walks you through a complete cleaning process, from unplugging the unit to reassembling it safely. Regular maintenance prevents mold, odors, and reduced cooling efficiency.
Key Takeaways
- Turn off and unplug the unit before cleaning to ensure safety and prevent electrical hazards.
- Clean or replace the air filter every 2–4 weeks to maintain airflow and prevent dust buildup.
- Wipe down the exterior and vents with a damp cloth and mild detergent to remove dust and grime.
- Drain the water tank regularly to avoid overflow, mold growth, and unpleasant odors.
- Inspect and clean the condenser coils annually to improve efficiency and prevent overheating.
- Use only recommended cleaning tools like soft cloths, mild soap, and a vacuum with a brush attachment.
- Reassemble carefully and test the unit after cleaning to ensure everything works properly.
How to Clean an LG Portable Air Conditioner
Keeping your LG portable air conditioner clean isn’t just about appearances—it’s about performance, efficiency, and your health. Over time, dust, moisture, and debris can build up inside and outside your unit, leading to reduced cooling power, strange odors, and even mold growth. If you’ve noticed your AC isn’t cooling as well as it used to, or if it’s making a musty smell, it’s probably time for a deep clean.
In this comprehensive guide, we’ll walk you through every step of cleaning your LG portable air conditioner—safely and effectively. Whether you’re a first-time user or just need a refresher, you’ll learn how to clean the filters, drain the water tank, wipe down surfaces, and maintain internal components. By following these steps, you’ll keep your unit running smoothly, extend its lifespan, and breathe cleaner, fresher air.
Let’s get started!
Why Cleaning Your LG Portable Air Conditioner Matters
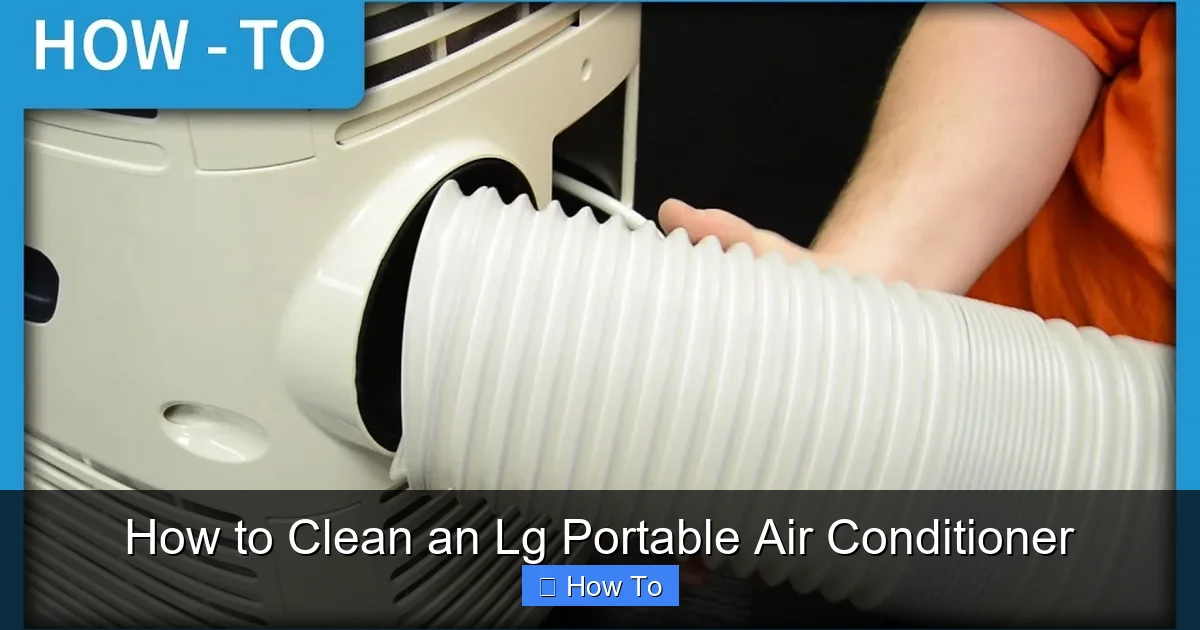
Visual guide about How to Clean an Lg Portable Air Conditioner
Image source: i.ytimg.com
Before diving into the cleaning process, it’s important to understand why regular maintenance is so crucial. LG portable air conditioners are designed to cool small to medium-sized rooms efficiently, but they also pull in air from your home—air that contains dust, pet dander, pollen, and other particles. Over time, these contaminants accumulate in the filters, coils, and water tank.
If left unchecked, this buildup can:
– Reduce airflow and cooling efficiency
– Cause the unit to work harder, increasing energy bills
– Lead to mold or mildew growth, especially in humid environments
– Create unpleasant odors that circulate through your room
– Shorten the lifespan of the unit
Regular cleaning—especially of the air filter and water tank—can prevent these issues. Most LG models even have a filter indicator light that alerts you when it’s time to clean. But even if yours doesn’t, a good rule of thumb is to clean the filter every 2–4 weeks during peak usage seasons.
Now that you know why it’s important, let’s move on to the actual cleaning process.
What You’ll Need
Before you begin, gather the following supplies to make the cleaning process smooth and safe:
- Soft microfiber cloths
- Mild dish soap or all-purpose cleaner
- Warm water
- A vacuum cleaner with a brush attachment
- A small brush (like an old toothbrush)
- A bucket or sink
- Rubber gloves (optional, for hygiene)
- A dry towel
- Compressed air (optional, for hard-to-reach areas)
Avoid using harsh chemicals, abrasive sponges, or high-pressure water sprays, as these can damage the unit’s components. Stick to gentle cleaning methods to protect your AC and ensure it continues working properly.
Step 1: Turn Off and Unplug the Unit
Safety first! Before you do anything, make sure your LG portable air conditioner is completely turned off and unplugged from the power outlet. This is a critical step to prevent electrical shock or accidental startup while you’re cleaning.
Even if the unit appears to be off, it’s possible for internal components to still have residual power. Unplugging ensures there’s no risk of electric shock, especially when handling water or damp cloths near the machine.
Once unplugged, allow the unit to sit for at least 15–20 minutes. This gives the internal compressor and coils time to cool down, especially if the AC has been running recently. Cleaning a hot unit can be uncomfortable and may lead to burns or damage to sensitive parts.
Step 2: Remove and Clean the Air Filter
The air filter is one of the most important parts to clean regularly. It traps dust, allergens, and other particles, preventing them from circulating back into your room. A dirty filter restricts airflow, making your AC work harder and less efficiently.
Locate the Filter
Most LG portable air conditioners have a removable front or side panel that gives access to the air filter. Look for a latch or clip on the front grille. Gently press or slide it to release the panel.
Once the panel is open, you’ll see the air filter—usually a rectangular mesh or foam panel. Some models have a washable filter, while others may use a reusable electrostatic filter. Check your user manual if you’re unsure.
Remove the Filter
Carefully pull the filter straight out. Avoid bending or forcing it, as this could damage the frame or mesh. If it’s stuck, double-check that the panel is fully open or look for additional clips.
Vacuum the Filter
Use a vacuum cleaner with a brush attachment to remove loose dust and debris from both sides of the filter. This quick step removes the majority of surface dirt and makes the next step more effective.
Rinse the Filter
Take the filter to a sink or bucket and rinse it under lukewarm water. Use a mild detergent if needed—just a drop of dish soap is usually enough. Gently scrub with your fingers or a soft brush to remove stubborn grime.
Avoid using hot water, as it can warp or damage the filter material. Also, never use bleach or strong cleaners, as they can degrade the filter over time.
Dry the Filter Completely
After rinsing, shake off excess water and place the filter on a clean towel. Let it air dry completely—this may take 1–2 hours depending on humidity. Never reinstall a damp filter, as moisture can promote mold growth and damage the unit.
Once dry, slide the filter back into place and secure the front panel. Make sure it clicks into position to ensure proper airflow.
Step 3: Wipe Down the Exterior and Vents
While the filter dries, take the opportunity to clean the outside of your LG portable air conditioner. Dust and fingerprints can accumulate on the plastic casing, and the intake and exhaust vents can collect debris.
Clean the Exterior
Dampen a microfiber cloth with warm water and a small amount of mild detergent. Wring it out well—you want it damp, not dripping. Wipe down the entire exterior, including the control panel, handles, and wheels.
Avoid spraying water directly onto the unit. Instead, apply cleaner to the cloth first. For stubborn stains, let the cleaner sit for a minute before wiping.
Clean the Vents
Use the vacuum’s brush attachment to gently remove dust from the front and rear vents. If the vents are particularly dirty, use a soft brush (like an old toothbrush) to dislodge debris from the slats.
For hard-to-reach areas, a can of compressed air can help blow out dust without disassembling the unit. Just hold the can upright and spray in short bursts.
Dry the Surface
Use a dry microfiber cloth to wipe away any remaining moisture. This prevents water spots and ensures the unit looks clean and polished.
Step 4: Drain the Water Tank
Portable air conditioners remove moisture from the air as they cool, and this water collects in an internal tank or reservoir. If the tank isn’t emptied regularly, it can overflow, cause leaks, or become a breeding ground for mold and bacteria.
Check the Water Level
Most LG portable ACs have a water tank indicator or a float sensor that alerts you when the tank is full. Some models even shut off automatically to prevent overflow.
If your unit has a visible water tank (usually at the back or bottom), check it before cleaning. If it’s more than half full, it’s time to drain it.
Locate the Drain Plug or Hose
Look for a drain plug, drain hose, or collection tray on the back or bottom of the unit. The exact location varies by model, so consult your user manual if needed.
Some models have a continuous drainage option, where you can attach a hose to drain water directly into a floor drain or bucket. Others require manual draining.
Drain the Water
Place a bucket or shallow pan under the drain plug or hose. Carefully remove the plug or open the valve to let the water flow out. If using a hose, make sure it’s securely attached and directed into the bucket.
Let the tank drain completely. You may need to tilt the unit slightly to get all the water out.
Clean the Tank (If Accessible)
If your model allows access to the water tank (some have removable trays), take it out and rinse it with warm, soapy water. Use a soft brush to scrub away any residue or slime.
Rinse thoroughly and dry before reinserting.
Reattach the Drain Plug
Once the tank is empty and clean, securely reattach the drain plug or close the valve. Make sure it’s tight to prevent leaks.
Step 5: Clean the Condenser Coils (Annual Maintenance)
The condenser coils are located inside the unit and are responsible for releasing heat. Over time, they can collect dust and debris, reducing efficiency and causing the unit to overheat. Cleaning them once a year can significantly improve performance.
Access the Coils
This step may require removing the rear or side panel of the unit. Refer to your user manual for specific instructions. Some models have screws, while others use clips.
Use a screwdriver to carefully remove the panel. Keep track of screws and parts so you can reassemble correctly.
Vacuum the Coils
Use the vacuum’s brush attachment to gently remove dust from the coils. Be careful not to bend the delicate fins—they’re made of aluminum and can be easily damaged.
Use Compressed Air (Optional)
For deeper cleaning, use compressed air to blow out dust from between the coils. Hold the can upright and spray in short bursts, moving from top to bottom.
Reassemble the Panel
Once the coils are clean, carefully replace the panel and secure it with screws or clips. Make sure all connections are tight.
Step 6: Check the Exhaust Hose and Window Kit
The exhaust hose vents hot air outside through a window kit. Over time, it can collect dust, lint, or even pests.
Inspect the Hose
Remove the hose from the window kit and the back of the unit. Check for blockages, kinks, or damage. If it’s cracked or torn, consider replacing it.
Clean the Hose
Use a vacuum with a hose attachment to suck out dust from both ends. For stubborn debris, use a long, flexible brush or a damp cloth on a wire (carefully) to wipe the interior.
Clean the Window Kit
Wipe down the window bracket and seals with a damp cloth. Check that the seals are intact to prevent air leaks, which reduce cooling efficiency.
Step 7: Reassemble and Test the Unit
Once all components are clean and dry, it’s time to put everything back together.
Reinstall the Filter
Make sure the air filter is completely dry, then slide it back into place. Secure the front panel.
Reconnect the Exhaust Hose
Attach the hose to the back of the unit and the window kit. Ensure it’s snug and not kinked.
Plug In and Test
Plug the unit back into the power outlet. Turn it on and set it to a low cooling mode. Listen for unusual noises and check that air is flowing properly from the vents.
If everything sounds and feels normal, your LG portable air conditioner is clean and ready to use.
Troubleshooting Common Issues After Cleaning
Even after a thorough cleaning, you might encounter a few issues. Here’s how to handle them:
- Unit won’t turn on: Double-check that it’s plugged in and the power outlet is working. Also, ensure the water tank isn’t full—some models won’t start if the tank is overfilled.
- Weak airflow: This could mean the filter isn’t fully dry or the exhaust hose is blocked. Recheck both and clean if needed.
- Strange odors: If a musty smell persists, the water tank or internal components may have mold. Consider using a mild vinegar solution to clean the tank or consult a technician.
- Leaking water: Ensure the drain plug is securely closed and the unit is level. Tilted units can cause water to leak.
If problems continue, refer to your user manual or contact LG customer support.
Maintenance Schedule for Long-Term Performance
To keep your LG portable air conditioner in top shape, follow this simple maintenance schedule:
- Weekly: Wipe down the exterior and check the water tank.
- Every 2–4 weeks: Clean or replace the air filter.
- Monthly: Vacuum the vents and inspect the exhaust hose.
- Annually: Clean the condenser coils and deep-clean the water tank.
Sticking to this routine will help prevent major issues and keep your AC running efficiently for years.
Conclusion
Cleaning your LG portable air conditioner doesn’t have to be complicated or time-consuming. With the right tools and a little know-how, you can keep your unit running smoothly, improve indoor air quality, and avoid costly repairs. By following the steps in this guide—turning off the unit, cleaning the filter, draining the water tank, and maintaining internal components—you’ll ensure your AC delivers cool, clean air all season long.
Remember, regular maintenance is key. A clean air conditioner isn’t just more efficient—it’s also healthier for you and your family. So don’t wait for problems to arise. Make cleaning a part of your routine, and your LG portable air conditioner will thank you with reliable performance and longer life.
Now that you know how to clean an LG portable air conditioner, you’re ready to tackle the job with confidence. Stay cool, stay clean, and enjoy the comfort of a well-maintained AC unit!

