
Keeping your LG portable air conditioner model LP1217GSR clean ensures better airflow, improved efficiency, and longer lifespan. This guide walks you through a complete cleaning process, from unplugging the unit to reassembling it, with easy-to-follow steps and expert tips.
Key Takeaways
- Turn off and unplug the unit before cleaning: Safety is essential—always disconnect power to avoid electrical hazards.
- Clean or replace the air filter monthly: A dirty filter reduces airflow and forces the AC to work harder, increasing energy use.
- Wipe down the exterior with a damp cloth: Use mild soap and water to remove dust and grime without damaging the surface.
- Check and clean the water tank and drain hose: Prevent mold and bacteria buildup by emptying and rinsing the tank regularly.
- Inspect the condenser coils and vents: Dust on coils reduces cooling efficiency—use a soft brush or vacuum to clean gently.
- Reassemble carefully and test the unit: Ensure all parts are dry and properly fitted before turning the AC back on.
- Schedule deep cleaning every 3–6 months: Regular maintenance keeps your LP1217GSR running smoothly and extends its life.
Introduction: Why Cleaning Your LG Portable Air Conditioner Matters
If you own an LG portable air conditioner model LP1217GSR, you know how convenient it is to cool a room without permanent installation. But like any appliance, it needs regular care to work at its best. Over time, dust, pet dander, and moisture can build up inside and around the unit, reducing its efficiency and even causing unpleasant odors. Neglecting cleaning can also lead to mold growth, increased energy bills, and potential mechanical issues.
In this comprehensive guide, you’ll learn exactly how to clean your LG LP1217GSR portable air conditioner safely and thoroughly. We’ll walk you through every step—from preparing the unit to reassembling it—so you can maintain peak performance and extend the life of your AC. Whether you’re a first-time cleaner or just need a refresher, this guide has you covered with practical tips, troubleshooting advice, and expert recommendations.
By the end, you’ll feel confident handling routine maintenance and know exactly when to schedule deeper cleanings. Let’s get started!
Before You Begin: Safety and Preparation
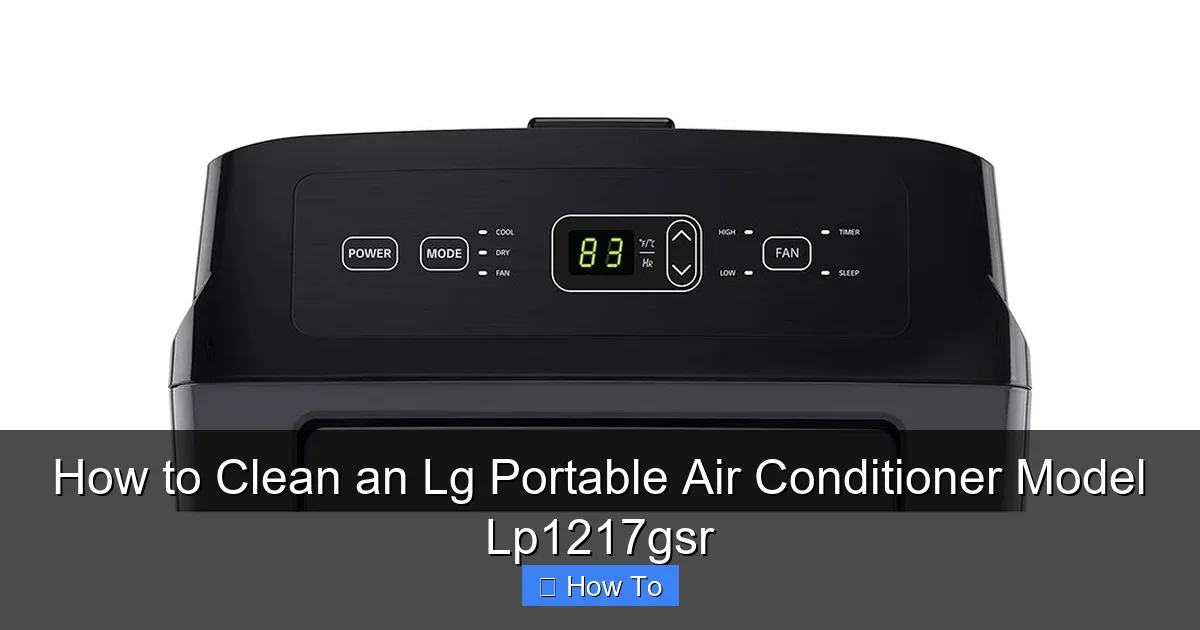
Visual guide about How to Clean an Lg Portable Air Conditioner Model Lp1217gsr
Image source: lg.com
Before diving into the cleaning process, it’s crucial to prepare properly. Cleaning an air conditioner involves water, electricity, and moving parts, so safety should always come first.
Step 1: Turn Off and Unplug the Unit
The very first thing you must do is turn off the air conditioner using the remote or control panel. Then, unplug it from the wall outlet. Never clean the unit while it’s plugged in—even if it’s turned off. Water and electricity don’t mix, and accidental activation could lead to shock or damage.
Step 2: Let the Unit Cool Down
If your AC has been running, give it at least 30 minutes to cool down. Hot components can be fragile and may warp or crack if exposed to sudden temperature changes. This also makes handling safer and more comfortable.
Step 3: Gather Your Cleaning Supplies
Having the right tools on hand makes the job easier and more effective. Here’s what you’ll need:
- Soft microfiber cloths
- Mild dish soap or all-purpose cleaner White vinegar (for mold and mineral buildup)
- Soft-bristle brush or old toothbrush
- Vacuum cleaner with a brush attachment
- Sponge or soft scrub pad
- Bucket of warm water
- Rubber gloves (optional, but recommended)
- Hose or spray bottle (for rinsing)
Avoid harsh chemicals like bleach or ammonia, as they can damage plastic parts or leave toxic residues. Stick to gentle, non-abrasive cleaners.
Step 4: Choose the Right Location
Move the AC to a well-ventilated area, preferably outdoors or in a garage, if possible. This gives you space to work and prevents dust from spreading through your home. If you must clean it indoors, lay down a towel or plastic sheet to catch water and debris.
Step-by-Step Cleaning Process
Now that you’re prepared, let’s go through the cleaning process step by step. We’ll cover the exterior, air filter, water tank, drain hose, condenser coils, and internal components.
Step 1: Clean the Exterior
Start with the outside of the unit. Dust and grime can accumulate on the front panel, vents, and control buttons, affecting both appearance and airflow.
- Use a dry microfiber cloth to wipe away loose dust from the surface.
- Mix a few drops of mild dish soap with warm water in a bucket.
- Dampen a cloth (not soaking wet) and gently wipe down the entire exterior, including the front grille, side panels, and top.
- Pay special attention to the control panel—avoid getting water into buttons or displays.
- For stubborn stains, use a soft brush to scrub lightly.
- Rinse the cloth and wipe again to remove soap residue.
- Dry thoroughly with a clean, dry cloth.
Tip: Never spray water directly onto the unit. Always apply cleaner to the cloth first.
Step 2: Remove and Clean the Air Filter
The air filter is one of the most important parts to clean regularly. A clogged filter restricts airflow, reduces cooling power, and can cause the unit to freeze up.
How to Remove the Filter
- Locate the filter compartment on the back or side of the unit. On the LP1217GSR, it’s typically on the rear panel.
- Open the filter cover by pressing the latch or sliding it open.
- Gently pull the filter out. It’s usually a flat, rectangular mesh panel.
How to Clean the Filter
- Use a vacuum with a brush attachment to remove loose dust from both sides of the filter.
- If the filter is very dirty, rinse it under lukewarm water. Hold it under the tap and let water flow through the mesh to flush out debris.
- For greasy or sticky buildup, soak the filter in a mixture of warm water and mild soap for 10–15 minutes.
- Gently scrub with a soft brush if needed, but avoid bending or tearing the mesh.
- Rinse thoroughly to remove all soap.
- Shake off excess water and let the filter air dry completely—this may take a few hours.
Important: Never reinstall a wet filter. Moisture can promote mold growth and damage internal components.
When to Replace the Filter
If the filter is torn, warped, or heavily stained even after cleaning, it’s time to replace it. LG recommends replacing the filter every 6–12 months, depending on usage and air quality. You can purchase a compatible replacement filter online or at appliance stores.
Step 3: Empty and Clean the Water Tank
The LP1217GSR uses a built-in water tank to collect condensation. If not emptied regularly, this tank can become a breeding ground for mold, bacteria, and unpleasant odors.
How to Access the Water Tank
- Locate the water tank compartment, usually at the bottom rear of the unit.
- Open the tank cover or pull out the tank drawer.
- Carefully remove the tank. It may have a handle for easy removal.
How to Clean the Tank
- Pour out any remaining water.
- Rinse the tank with warm water to remove loose residue.
- For mold or mildew, mix equal parts white vinegar and water.
- Fill the tank halfway with the vinegar solution and let it sit for 15–20 minutes.
- Use a soft brush or sponge to scrub the interior, especially corners and crevices.
- Rinse thoroughly with clean water until no vinegar smell remains.
- Dry the tank completely with a clean cloth or let it air dry.
Tip: Adding a few drops of lemon juice to the rinse water can help eliminate odors naturally.
Reinstalling the Tank
Once dry, slide the tank back into place and ensure it’s fully seated. A loose or misaligned tank can cause leaks or trigger error codes.
Step 4: Clean the Drain Hose and Condensate Pump (If Applicable)
The LP1217GSR may use a condensate pump to remove excess water, especially in high-humidity environments. The drain hose connected to the pump or tank can also collect sludge and mold.
Inspecting the Drain Hose
- Locate the drain hose at the back or bottom of the unit.
- Disconnect the hose from the outlet (you may need to loosen a clamp).
- Check for clogs by shining a flashlight through the hose.
- If you see debris, use a pipe cleaner or flexible brush to clear it.
Cleaning the Hose
- Flush the hose with warm water to remove loose buildup.
- For stubborn residue, soak the hose in a vinegar-water solution for 30 minutes.
- Rinse thoroughly and let it dry completely before reattaching.
Note: Some models have an auto-evaporation system that reduces the need for manual draining. However, in humid conditions, the tank may still fill up and require emptying.
Step 5: Clean the Condenser Coils and Internal Vents
The condenser coils are responsible for releasing heat from the refrigerant. When they’re covered in dust, the AC has to work harder to cool, leading to higher energy use and potential overheating.
Accessing the Coils
- Remove the rear or side panel (if removable) to access the internal components. Refer to your user manual for specific instructions.
- Use a screwdriver if necessary, but be gentle—plastic clips can break easily.
Cleaning the Coils
- Use a vacuum with a brush attachment to gently remove surface dust.
- For deeper cleaning, use a soft-bristle brush to dislodge stubborn dirt.
- Avoid using water directly on the coils unless specified by the manufacturer. If needed, lightly mist with coil cleaner and wipe with a damp cloth.
- Never use sharp tools or excessive force—coils are delicate and can be damaged.
Cleaning the Vents and Fan Blades
- Use the vacuum to clean dust from the intake and exhaust vents.
- If the fan blades are accessible, wipe them gently with a damp cloth.
- Be careful not to bend or damage the blades.
Tip: If you’re uncomfortable accessing internal parts, consider hiring a professional for deep cleaning every 1–2 years.
Reassembling and Testing the Unit
Once all components are clean and dry, it’s time to put everything back together.
Step 1: Reinstall All Parts
- Replace the air filter in the correct orientation (check the arrow on the frame).
- Close the filter cover securely.
- Reinsert the water tank and ensure it clicks into place.
- Reattach the drain hose and tighten any clamps.
- If you removed a panel, screw it back on or snap it into place.
Step 2: Plug In and Test
- Plug the unit back into the wall outlet.
- Turn it on using the remote or control panel.
- Set it to cooling mode and listen for normal operation.
- Check that air is flowing properly and there are no unusual noises or leaks.
If everything works, you’re all set! If you notice reduced airflow, strange smells, or error messages, refer to the troubleshooting section below.
Troubleshooting Common Cleaning Issues
Even with careful cleaning, you might run into a few problems. Here’s how to handle them:
Issue: Unit Won’t Turn On After Cleaning
- Double-check that the unit is plugged in and the outlet is working.
- Ensure the water tank is properly seated—many models won’t operate if the tank is missing or misaligned.
- Check for any loose panels or disconnected components.
Issue: Water Leaking from the Unit
- Make sure the water tank is fully inserted and not cracked.
- Check the drain hose for kinks or blockages.
- Verify that the unit is level—tilting can cause water to spill.
Issue: Musty or Unpleasant Odor
- This usually indicates mold in the water tank or drain hose.
- Clean the tank and hose again with vinegar.
- Run the unit in fan-only mode for a few hours to dry out internal moisture.
Issue: Reduced Cooling Performance
- Confirm the air filter is clean and properly installed.
- Check that the condenser coils are free of dust.
- Ensure the exhaust hose is not blocked or bent.
Maintenance Schedule: How Often to Clean
To keep your LG LP1217GSR running efficiently, follow this cleaning schedule:
- Weekly: Wipe down the exterior and check the water tank level.
- Monthly: Clean the air filter and empty the water tank.
- Every 3 Months: Clean the drain hose and inspect the condenser coils.
- Every 6–12 Months: Deep clean internal components or have a professional service the unit.
Pro Tip: Set calendar reminders to stay on track. Consistent maintenance prevents major issues and saves money on energy bills.
Conclusion: Keep Your AC Running Smoothly
Cleaning your LG portable air conditioner model LP1217GSR doesn’t have to be complicated. With the right tools and a little time, you can keep your unit in top condition year-round. Regular cleaning improves air quality, boosts efficiency, and helps prevent costly repairs.
Remember to always unplug the unit, clean the filter monthly, and empty the water tank to avoid mold. Don’t forget the often-overlooked parts like the drain hose and condenser coils—they play a big role in performance.
By following this guide, you’ll enjoy cooler, cleaner air and extend the life of your air conditioner. Stay cool, stay clean, and breathe easy!

