Car AC Compressor Replaced But Still Not Cold
So, you've recently had your car's AC compressor replaced, but to your dismay, the air coming out is still not as refreshingly cold as you'd hoped. Fret not, because in this comprehensive guide, we'll go over the potential reasons behind this issue and discuss possible solutions.
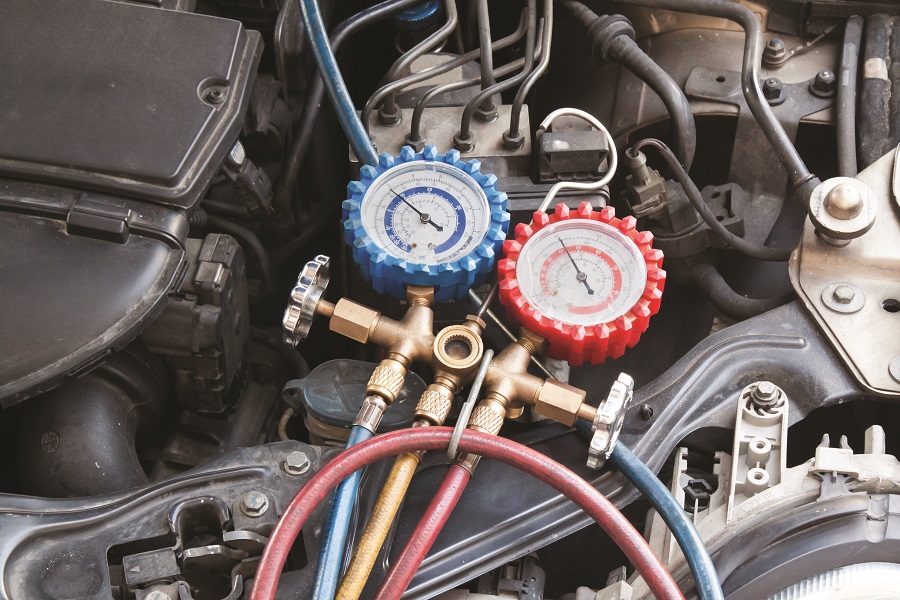
Technician using a manifold gauge set to read high and low side pressures during diagnosis.
Credit: www.autozone.com
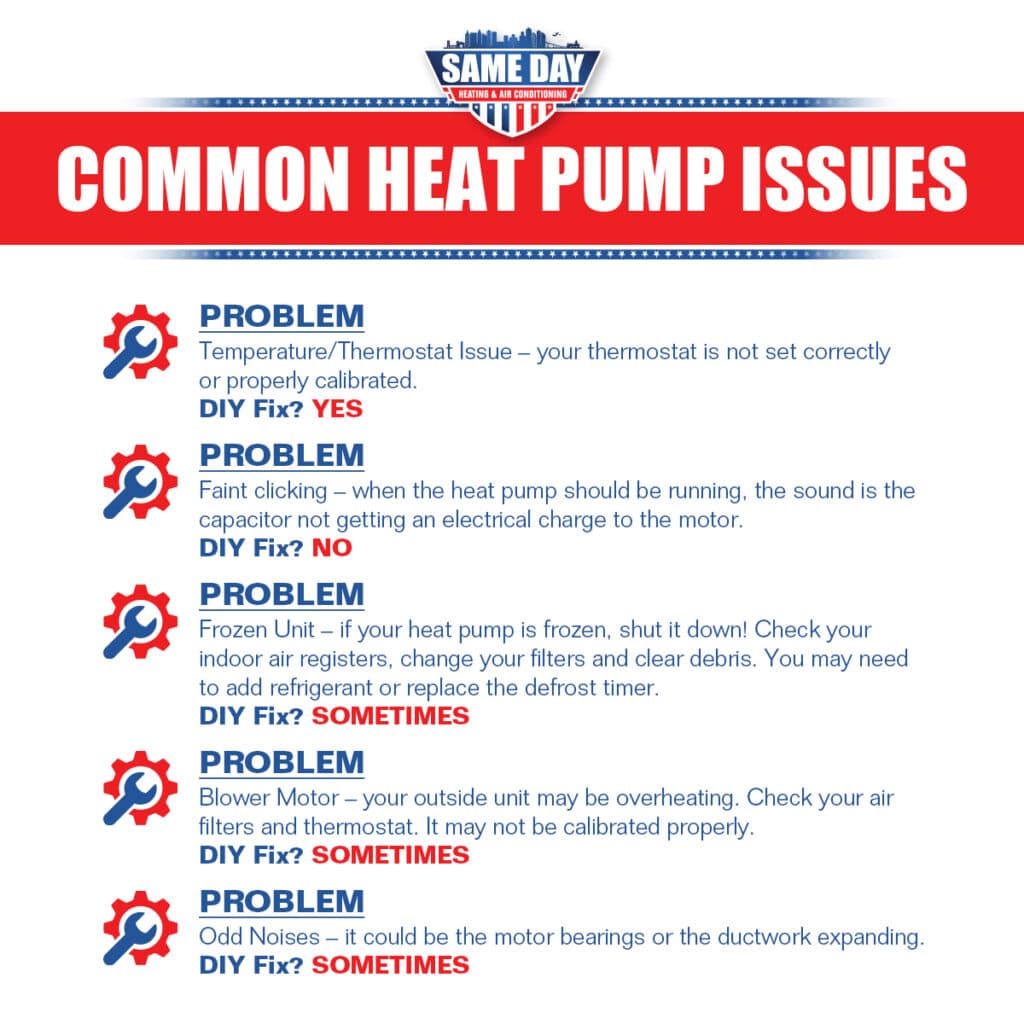
Cutaway view of a typical heat pump system illustrating refrigerant circuit and major components.
Credit: samedaysd.com
Possible Reasons Why the AC Is Still Not Cold
Several factors could be causing your newly replaced AC compressor to not work as expected:
Low Refrigerant: The system may be low on refrigerant, hindering its ability to produce cold air.
Airflow Obstruction: Blockages in the condenser or air filter can impede the airflow, compromising the cooling process.
Refrigerant Leak: A leak in the system can lead to a decrease in pressure, preventing the AC from blowing cold air.
Improper Vacuuming: Inadequate vacuuming before recharging the refrigerant can affect the AC's cooling efficiency.
Defective Compressor: The new compressor might be faulty, resulting in subpar performance.
In practice, low refrigerant is the most frequent culprit after a compressor swap because the system must be evacuated and recharged to precise specifications. A common mistake is topping off without pulling a deep vacuum first, which leaves moisture and non-condensables that degrade cooling. Also note that vehicles built after 2014 often use R-1234yf instead of R-134a; using the wrong refrigerant type or charge weight will cause poor performance and may damage the new compressor.
Steps to Diagnose and Resolve the Issue
Now that we've identified potential culprits, let's delve into the steps you can take to diagnose and address the problem:
Check Refrigerant Levels: Verify if the system has sufficient refrigerant to facilitate proper cooling. If low, a recharge may be necessary.
Inspect Airflow: Ensure there are no obstructions in the condenser or air filter that could impede airflow. Clean or replace components as needed.
Leak Detection: Have the system checked for refrigerant leaks, as addressing any leaks is crucial to restoring optimal functionality.
Verify Vacuuming and Recharging: If improper vacuuming is suspected, ensure the system is thoroughly vacuumed before recharging the refrigerant.
Compressor Assessment: Evaluate the new compressor for any signs of defectiveness, such as abnormal noises or improper operation.
After confirming refrigerant charge, the next step is to measure high and low side pressures with a manifold gauge set while the engine runs at 1,500–2,000 RPM. Compare readings to the manufacturer’s pressure-temperature chart for the ambient temperature; a low-side pressure that’s too high or a high-side pressure that’s too low often points to a restriction, a failing expansion valve, or an internal compressor bypass. If you’re not equipped for pressure testing, a certified shop can perform this diagnostic in under an hour.
https://www.youtube.com/watch?v=LoClOuRpk7Y
Common Mistakes During Compressor Replacement
Even with a new compressor, several installation errors can leave the system blowing warm. Skipping the receiver/drier or accumulator replacement is a frequent oversight — these components absorb moisture and debris; reusing the old one risks contaminating the fresh refrigerant charge. Another error is neglecting to flush the condenser and lines when the old compressor failed catastrophically, leaving metal particles that quickly destroy the new unit. Using the wrong PAG oil viscosity or incorrect oil quantity also impairs lubrication and heat transfer. Finally, failing to torque the compressor mounting bolts and line fittings to spec can cause vibration leaks or belt misalignment. Always follow the OEM service procedure for your specific vehicle. For more on this, see our guide on changed ac compressor still not cold.
Checking System Pressures and Performance
Accurate pressure readings are the most reliable way to pinpoint why cooling remains inadequate. Connect a calibrated manifold gauge set to the high and low service ports, then record pressures with the AC on max, blower on high, and doors open. A typical R-134a system at 90 °F ambient should show roughly 35–45 psi low side and 225–250 psi high side; R-1234yf systems run slightly lower on the high side. If low side is high and high side is low, the compressor may be pumping weakly (internal valve failure). If both sides are high, suspect condenser airflow restriction or overcharge. If both are low, look for undercharge, restriction, or a stuck-open expansion valve. Comparing your readings to the factory service manual eliminates guesswork.
Refrigerant Type and Charge Capacity
Modern vehicles use either R-134a (common through 2016) or R-1234yf (mandatory for most 2017+ models in the U.S.). The two refrigerants are not interchangeable — using the wrong one voids warranties, violates EPA Section 609 regulations, and can damage seals and compressor lubrication. The correct charge weight is printed on a label under the hood (usually in grams or ounces) and must be followed exactly; even a 10% overcharge raises head pressure enough to reduce cooling. If the label is missing, consult the factory service information or a reputable database like ALLDATA or Mitchell 1. When in doubt, have a certified technician recover, evacuate, and recharge by weight. For more on this, see our guide on ac blows cold on low but not on.
Electrical and Control Circuit Checks
A new compressor won’t engage if the electrical circuit has faults. Start by verifying the clutch coil resistance (typically 3–5 ohms) with a multimeter; an open or shorted coil means the compressor won’t cycle. Check the AC relay, fuse, and the pressure transducer signal to the ECU — a faulty high-pressure switch or evaporator temperature sensor can keep the clutch from energizing. Scan for HVAC-related DTCs with a capable scan tool; codes like B1234 (compressor clutch circuit) or P0532 (A/C refrigerant pressure sensor) give direct clues. In practice, a corroded ground at the compressor or a stretched pigtail connector is often overlooked during R&R.
Post-Repair Verification Checklist
Before declaring the job complete, run through this quick verification:
- Vent temperatures at center duct ≤ 40 °F (4 °C) at idle with recirc on, blower high, after 5 minutes.
- Compressor clutch cycles normally (on/off every 15–30 seconds in moderate heat).
- No abnormal noises (growling, knocking, squealing) from compressor or belt.
- High/low pressures within spec for current ambient temperature.
- No refrigerant leaks detected with electronic leak detector at all fittings, Schrader valves, and evaporator drain.
- Cabin air filter clean and installed correctly. If any item fails, revisit the corresponding diagnostic step above.
Professional Assistance
If your attempts to resolve the issue prove futile, seeking professional help is advisable. A certified technician can conduct a comprehensive assessment, using specialized equipment to pinpoint and address the underlying problem. For complex pressure diagnostics or refrigerant recovery, look for a shop with MACS (Mobile Air Conditioning Society) or ASE 609 certification — they follow EPA-approved procedures and have the right tools for R-1234yf systems. You can also review seasonal air conditioning maintenance tips to keep the system running efficiently year-round. For more on this, see our guide on ac compressor hot but not running.
Conclusion
Experiencing a lack of cold air despite replacing the AC compressor can be frustrating. By understanding the potential causes and taking appropriate measures, you can revitalize your car's cooling system and enjoy a comfortable driving experience once more.
Remember, proper maintenance and timely intervention are key to ensuring your car's AC operates at its full potential. If you’re planning a long trip, check optimal temperature settings to balance comfort and fuel economy.
Frequently Asked Questions Of Car Ac Compressor Replaced But Still Not Cold: Troubleshooting Guide
Why Is My Car Ac Compressor Working But Not Cooling?
If your car's AC compressor is running but not cooling, it could be due to low refrigerant levels. The system may need to be recharged. Check for signs of a blown fuse, tripped circuit breaker, broken thermostat, or dirty air filters.
Make sure there are no refrigerant leaks or improper vacuuming before recharging the system after replacing the compressor. Consider checking the system pressures and airflow routing to ensure proper cooling.
Why Is My New Ac Compressor Not Working?
Your new AC compressor may not work due to low refrigerant levels, a blown fuse, or clogged air filters. Have it checked for these issues.
What To Do After Replacing Ac Compressor?
After replacing the AC compressor, check for leaks and ensure proper vacuuming and refrigerant recharge to improve cooling efficiency.
Why Is My Added Freon Still Not Cold?
If your added freon is still not cold, it could be due to a refrigerant leak, which causes the AC system to lose pressure. This is a common reason why a recharge may not solve the problem. Have the system checked for leaks and repaired before recharging.
Another possibility is that there was improper vacuuming or a leak in the system after replacing the compressor. Ensure that there are no leaks and that the system is properly vacuumed and recharged.
What Are The Signs Of A Restricted Orifice Tube Or Expansion Valve?
A restricted metering device often shows up as low-side pressure abnormally low (even into vacuum) while high-side pressure is elevated. The evaporator inlet may feel warm instead of cold, and you might see frost on the orifice tube or expansion valve body. This restriction starves the evaporator of refrigerant, so the compressor runs but cooling capacity drops sharply. Replacing the orifice tube or expansion valve — and flushing the lines if debris is found — restores normal flow.
Can A Bad Cabin Air Filter Cause The AC To Not Blow Cold?
Yes. A severely clogged cabin air filter restricts airflow across the evaporator, which reduces heat exchange and can cause the evaporator to ice up. Once iced, airflow drops further and vent temperatures rise. Replace the filter at least annually (or per the owner’s manual) and inspect it whenever cooling performance declines.
How Do I Know If My System Was Properly Evacuated?
A proper evacuation pulls the system down to 500 microns (0.5 Torr) or lower and holds that vacuum for at least 15–30 minutes without rising. If the shop only “pulled vacuum for 30 minutes” without a micron gauge, moisture and air likely remain. Moisture reacts with refrigerant and oil to form acids that corrode internal components and freeze in the expansion device. Always ask for the micron reading or have the work done by a technician with a digital vacuum gauge.
Where Can I Find The Correct Refrigerant Charge For My Vehicle?
The under-hood label (usually on the radiator support, hood liner, or compressor) lists the refrigerant type (R-134a or R-1234yf) and the exact charge weight in grams or ounces. If the label is missing, the factory service manual or a subscription database (ALLDATA, Mitchell 1, Identifix) has the spec. Do not guess — overcharging by even a few ounces raises head pressure and reduces cooling.