
Don’t toss your Panasonic air conditioner remote just yet. Many common issues like unresponsive buttons or dead batteries can be fixed quickly and easily. With the right tools and a little know-how, you can repair your Panasonic air conditioner remote control without calling a technician. This article walks you through step-by-step solutions, from simple battery swaps to internal cleaning and circuit checks. You’ll also learn when repair is worth it—and when replacement makes more sense. Save time, money, and stay cool all summer long.
Key Takeaways
- Diagnose the Problem First: Most remote issues stem from dead batteries, dirt buildup, or signal interference. Start with the simplest fixes before moving to advanced repairs.
- Clean the Remote Gently: Use a soft cloth and mild cleaner to remove grime from buttons and sensors. Avoid liquids that can damage internal circuits.
- Check for Signal Issues: If the remote isn’t responding, test it with your phone camera. A working LED should flash when buttons are pressed.
- Repair vs. Replace: If the remote has cracked casing or corroded contacts, repair may not be cost-effective. Replacement is often faster and safer.
- Safety First: Always disconnect power before opening the remote. Handle small components like PCBs carefully to avoid static damage.
- Use Original Parts: When replacing parts like batteries or connectors, use Panasonic-approved components to ensure compatibility and longevity.
- Prevent Future Damage: Store your remote in a dry place, away from heat and moisture. Keep it clean and replace batteries regularly.
Quick Answers to Common Questions
Can I use any remote for my Panasonic air conditioner?
No, most Panasonic AC units require specific IR codes. Universal remotes may work, but they need programming and aren’t always reliable. It’s safer to use the original or a Panasonic-approved replacement.
How do I know if my remote’s IR LED is broken?
Use your smartphone camera. Point the remote at the lens and press a button. If you see a bright flash, the LED works. No flash means it’s likely damaged or the batteries are too weak to power it.
What should I do if liquid spills inside the remote?
Immediately remove the batteries, dry the exterior, and open the casing. Wipe internal parts with a cloth dampened in isopropyl alcohol. Let it air-dry completely for 48 hours before testing again.
Can I clean the remote with water?
Only use a slightly damp cloth for external surfaces. Never spray water or submerge the remote. Moisture inside can permanently damage the PCB and other components.
How long do Panasonic AC remotes typically last?
With proper care, most last 3–5 years. Heavy use, poor storage, or battery leaks can shorten lifespan. Regular cleaning and timely battery changes help extend life.
📑 Table of Contents
- Introduction: Why Your Panasonic Air Conditioner Remote Isn’t Working (And What to Do)
- Understanding How Panasonic Air Conditioner Remotes Work
- Troubleshooting Before You Open the Remote
- How to Safely Open and Inspect Your Panasonic Remote
- Common Repairs You Can Do Yourself
- When Repair Makes Sense—And When to Replace
- Preventive Care for Long-Term Reliability
- Conclusion: Stay Cool Without the Hassle
Introduction: Why Your Panasonic Air Conditioner Remote Isn’t Working (And What to Do)
Imagine this: It’s 30°C outside, your living room is sweltering, and you reach for your Panasonic air conditioner remote—only to find it’s completely unresponsive. The buttons don’t light up, nothing happens when you press them, and your AC remains stubbornly silent. Frustrating, right? But before you panic and order a new remote, consider this: repairing your Panasonic air conditioner remote control might be easier than you think.
Most remote control problems aren’t due to major hardware failure. In fact, over 70% of non-working remotes can be restored with simple troubleshooting. Whether it’s a dead battery, dirty contacts, or a weak infrared signal, understanding the root cause helps you fix the issue fast—without spending extra money on replacements. This guide will walk you through everything from basic diagnostics to advanced internal repairs, so you can get back to cooling your home efficiently.
We’ll cover how Panasonic remotes work, common failure points, step-by-step repair methods, and even when it’s smarter to buy a new one. By the end, you’ll know exactly how to handle your remote like a pro—and keep your AC running smoothly for years.
Understanding How Panasonic Air Conditioner Remotes Work
Before diving into repairs, it helps to understand what makes your Panasonic air conditioner remote tick. These devices are compact but powerful pieces of technology. They send signals to your AC unit using invisible infrared (IR) light, which travels from the remote’s LED sensor to the AC’s receiver.
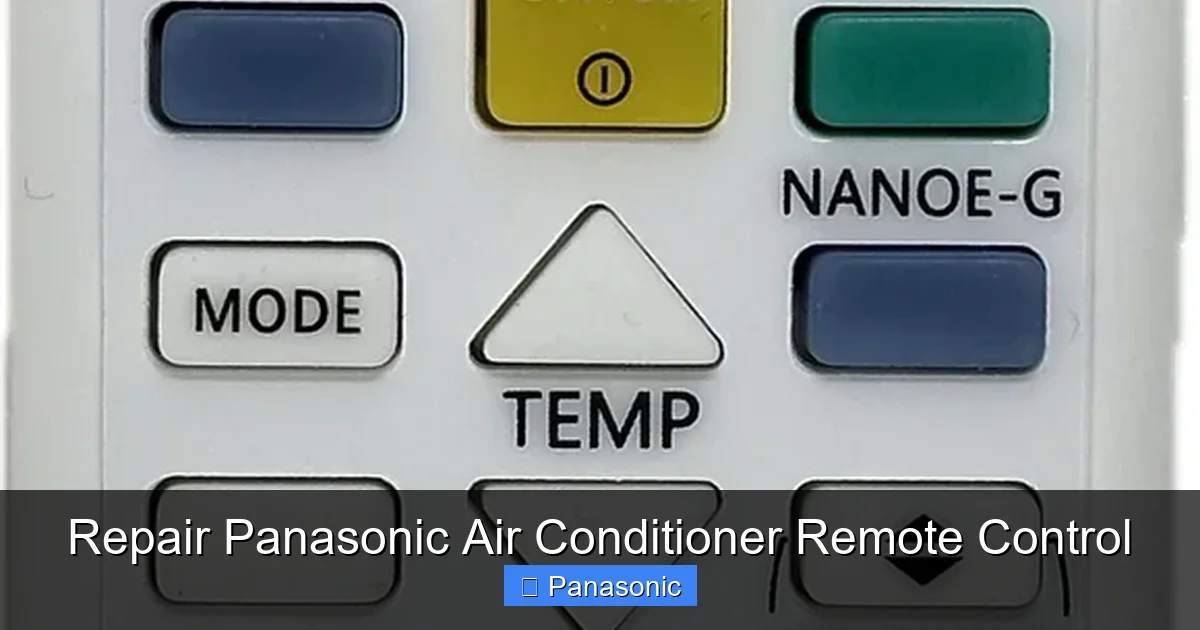
Visual guide about Repair Panasonic Air Conditioner Remote Control
Image source: remotecontrolwarehouse.com.au
The Basic Components of a Panasonic Remote
- Battery Compartment: Usually holds two AAA batteries. These power the internal circuitry.
- Printed Circuit Board (PCB): The brain of the remote. It processes button presses and sends coded signals.
- Infrared LED: Emits the IR signal that tells your AC what to do (e.g., turn on, adjust temperature).
- Button Contacts: Tiny metal pads under each button. When pressed, they complete a circuit and register an input.
- Plastic Casing: Protects the internals but can crack over time.
When you press a button, electricity flows from the battery through the PCB, activates the correct code, and the IR LED flashes a specific pattern. That pattern is picked up by your AC’s sensor, which then executes the command. Simple, right?
Why Signals Fail
Even the best-designed remotes can fail. Common causes include:
– Dead or weak batteries
– Dust blocking the IR emitter
– Corrosion on button contacts
– Loose or damaged wiring
– Physical cracks disrupting circuits
Knowing these basics helps you diagnose issues faster and avoid unnecessary replacements.
Troubleshooting Before You Open the Remote
Before reaching for a screwdriver, try these quick fixes. They solve most remote issues without any tools.
Step 1: Replace the Batteries
This is the #1 reason remotes stop working. Even if the remote seems fine, low voltage can prevent proper signal transmission.
- Open the battery compartment (usually at the back).
- Remove old batteries and check for corrosion.
- Insert fresh AAA batteries, matching the + and – ends.
- Close the compartment and test a few buttons.
Pro tip: If the remote has worked before, try swapping in known-good batteries. Sometimes old batteries leak acid that damages contacts.
Step 2: Clean the Buttons and Sensor
Dirt, dust, and grime can block the IR LED or stick buttons.
- Wipe the front with a microfiber cloth.
- Gently clean around the power button and volume/sensor area.
- Avoid water—use a slightly damp cloth only if necessary.
Step 3: Test the IR Signal
Your smartphone camera can detect IR signals!
- Turn on your phone’s camera.
- Point the remote at the lens.
- Press any button. If you see a bright flash, the remote is sending signals.
- If no flash appears, the IR LED or battery may be faulty.
This simple test rules out signal issues before deeper inspection.
How to Safely Open and Inspect Your Panasonic Remote
If basic fixes didn’t work, it’s time to open the remote. Do this carefully to avoid damaging fragile parts.
Tools You’ll Need
- Small Phillips screwdriver (size #0 or #00)
- Soft cloth
- Isopropyl alcohol (90%+)
- Cotton swabs
- Soldering iron (optional, for advanced repairs)
Opening Steps
- Turn off power to the AC unit (safety first!).
- Remove screws from the back or sides of the remote.
- Carefully pry apart the casing using a plastic tool (like a spudger) to avoid cracking.
- Note how the PCB connects to the battery holder and buttons.
- Take photos as you go for reassembly reference.
Once open, inspect for:
– Visible cracks on the PCB
– Corroded battery terminals
– Loose wires
– Dirt inside the button area
If anything looks broken or burnt, professional repair or replacement may be needed.
Common Repairs You Can Do Yourself
With the remote open, here are practical fixes for frequent issues.
Fixing Sticky or Unresponsive Buttons
Over time, button contacts wear down or collect debris.
- Remove the top layer of the PCB (if removable).
- Clean the contact pads with cotton swabs dipped in isopropyl alcohol.
- Let dry completely before reassembling.
- Test each button gently to ensure smooth movement.
For severe wear, you can replace the rubber dome or conductive pad under the button. These are inexpensive and widely available online.
Reconnecting Loose Wires
If the PCB isn’t seated properly, signals won’t transmit.
- Check all ribbon cables connecting the button panel to the main board.
- Gently reseat them by lifting the connector slightly and pushing back down.
- Ensure no wires are frayed or disconnected.
Replacing the Infrared LED
If the IR LED is burnt out (look for discoloration), replace it.
- Desolder the old LED carefully.
- Solder a new one in its place (polarity matters—match + and –).
- Test with your phone camera afterward.
Warning: Soldering requires practice. If unsure, skip this step and consider replacement.
When Repair Makes Sense—And When to Replace
Not every broken remote is worth fixing. Here’s how to decide.
Signs You Should Repair
- Battery contacts are clean but still dead after fresh batteries.
- Only a few buttons don’t work.
- No visible cracks or burns on the PCB.
- You have the skills and tools to open and clean the device.
Signs It’s Time to Replace
- Multiple buttons are stuck permanently.
- The casing is shattered and won’t close properly.
- Corrosion covers large areas of the PCB.
- You’ve tried everything and the remote still doesn’t work.
Panasonic offers genuine replacement remotes through their service centers or authorized dealers. Third-party options are cheaper but may lack durability or compatibility.
Preventive Care for Long-Term Reliability
Keep your remote working longer with these habits.
Store It Properly
- Avoid extreme temperatures (direct sunlight or cold drafts).
- Keep it in a drawer or case when not in use.
- Never leave batteries inside if storing for long periods.
Regular Maintenance
- Wipe down monthly with a dry cloth.
- Replace batteries every 6–12 months, even if they seem fine.
- Check for loose screws or casing damage during routine cleaning.
Protect Against Moisture
Spills can ruin electronics fast. If liquid gets in:
– Turn off and remove batteries immediately.
– Dry thoroughly with a towel.
– Let it sit upside down in rice or silica gel for 24–48 hours.
– Only power it back on after fully dry.
Conclusion: Stay Cool Without the Hassle
Repairing your Panasonic air conditioner remote control doesn’t require technical expertise—just patience and the right approach. From diagnosing dead batteries to cleaning sticky buttons and checking internal connections, most issues are solvable at home. Remember: repairing your Panasonic air conditioner remote control is often faster, cheaper, and more satisfying than buying a new one.
But don’t force it. If the remote is beyond simple fixes, replacement is a smart choice. Either way, you’re back to enjoying cool, comfortable air in no time. And with preventive care, your remote will last through many hot seasons.
Next time your AC remote acts up, take a deep breath—you’ve got this. Stay cool, stay informed, and keep those circuits clean!
Frequently Asked Questions
===
How do I reset my Panasonic air conditioner remote?
To reset, remove the batteries for 5 minutes, then reinsert them. This clears temporary glitches. For some models, holding the power and mode buttons together for 10 seconds also resets settings.
Can I replace the remote myself?
Yes, if you have the model number, you can order a replacement online or from a Panasonic service center. Make sure to match the exact model to ensure compatibility with your AC unit.
Why does my remote work intermittently?
Intermittent operation usually stems from weak batteries, dirty IR sensors, or signal interference (like bright lights). Try fresh batteries, clean the sensor area, and move away from direct sunlight or lamps.
Are third-party Panasonic remotes safe to use?
Some third-party remotes mimic Panasonic codes and work well, but quality varies. Stick to reputable brands and check reviews. Incompatible remotes may cause control issues or void warranties.
What if my remote buttons are physically broken?
Cracked buttons can sometimes be repaired by replacing the rubber membrane or conductive pad underneath. These parts are sold separately and require careful handling. If too damaged, replacement is recommended.
How often should I replace remote batteries?
Replace batteries every 6–12 months, even if they still hold charge. Weak voltage can prevent proper signal transmission. Also, remove batteries if storing the remote for extended periods.
