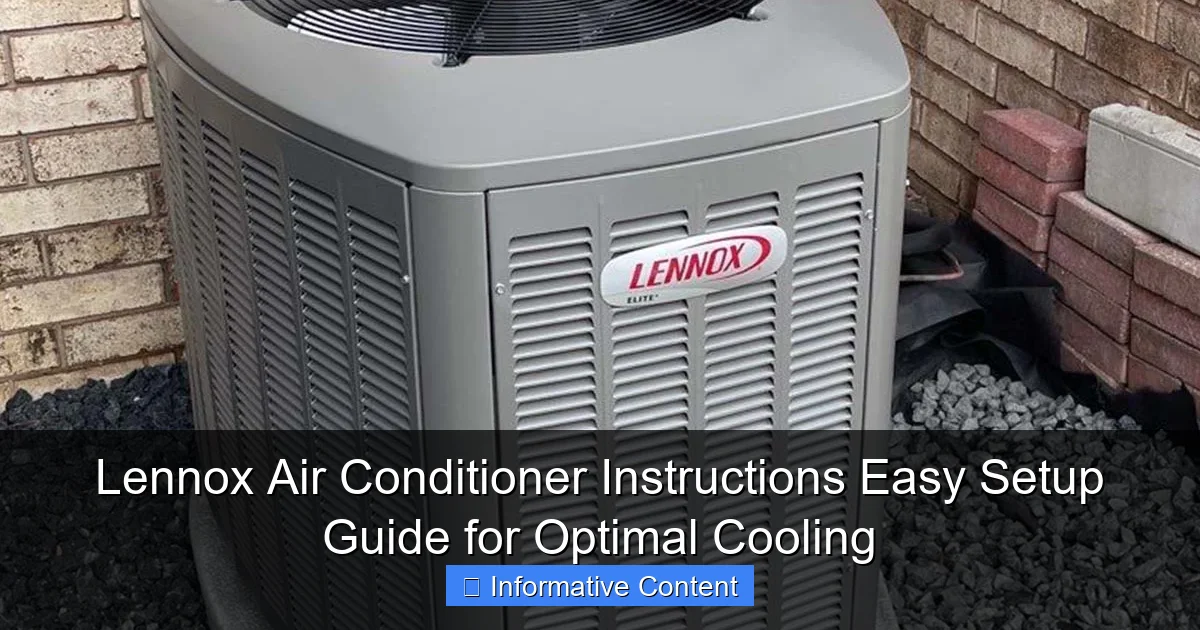
Featured image for lennox air conditioner instructions
Image source: fahrhall.com
Master your Lennox air conditioner with this straightforward, step-by-step setup guide designed for quick installation and peak performance. From unboxing to optimal cooling, these clear Lennox air conditioner instructions ensure efficient operation, energy savings, and long-term reliability. Whether you’re a DIY enthusiast or a first-time user, this guide simplifies the process so you can enjoy a comfortably cool home in no time.
Key Takeaways
- Read the manual first: Always start with Lennox’s official instructions for model-specific setup and safety guidelines.
- Ensure proper installation: Hire a certified technician to avoid voiding warranty and ensure optimal performance.
- Check thermostat settings: Set to “cool” mode and adjust temperature for efficient, consistent cooling.
- Replace filters regularly: Clean or change filters monthly to maintain airflow and system efficiency.
- Clear outdoor unit area: Keep vents and surroundings free of debris to prevent airflow blockage.
- Schedule annual maintenance: Professional tune-ups extend lifespan and improve energy efficiency.
📑 Table of Contents
- Lennox Air Conditioner Instructions Easy Setup Guide for Optimal Cooling
- Why Proper Setup Matters for Your Lennox Air Conditioner
- Unboxing and Pre-Installation Checklist
- Step-by-Step Lennox Air Conditioner Setup Instructions
- Optimizing Performance and Energy Efficiency
- Troubleshooting Common Issues After Setup
- Understanding Your Lennox Air Conditioner Warranty and Support
- Final Thoughts: Enjoy Reliable Cooling with Confidence
Lennox Air Conditioner Instructions Easy Setup Guide for Optimal Cooling
So, it’s the middle of July, and your old air conditioner finally gave up the ghost. You’re sweating through your shirt just trying to read the thermostat. You’ve done your research, compared brands, and landed on a Lennox air conditioner—known for its reliability, energy efficiency, and whisper-quiet operation. But now comes the real test: setting it up correctly.
You’re not alone. Many homeowners feel a mix of excitement and anxiety when installing a new HVAC system. The good news? With the right guidance, setting up your Lennox air conditioner doesn’t have to be overwhelming. Whether you’re a DIY enthusiast or working with a professional, understanding the setup process ensures your unit runs efficiently, lasts longer, and keeps your home cool and comfortable all season long. In this guide, we’ll walk you through everything you need to know—from unboxing to first-time startup—so you can enjoy optimal cooling without the stress.
Why Proper Setup Matters for Your Lennox Air Conditioner
Let’s be honest: most of us don’t think much about how an air conditioner is installed. We just want it to work. But the truth is, even the best Lennox air conditioner won’t perform at its peak if it’s not set up correctly. Think of it like buying a high-end coffee machine—if you don’t follow the instructions, you might end up with lukewarm water instead of a rich espresso.
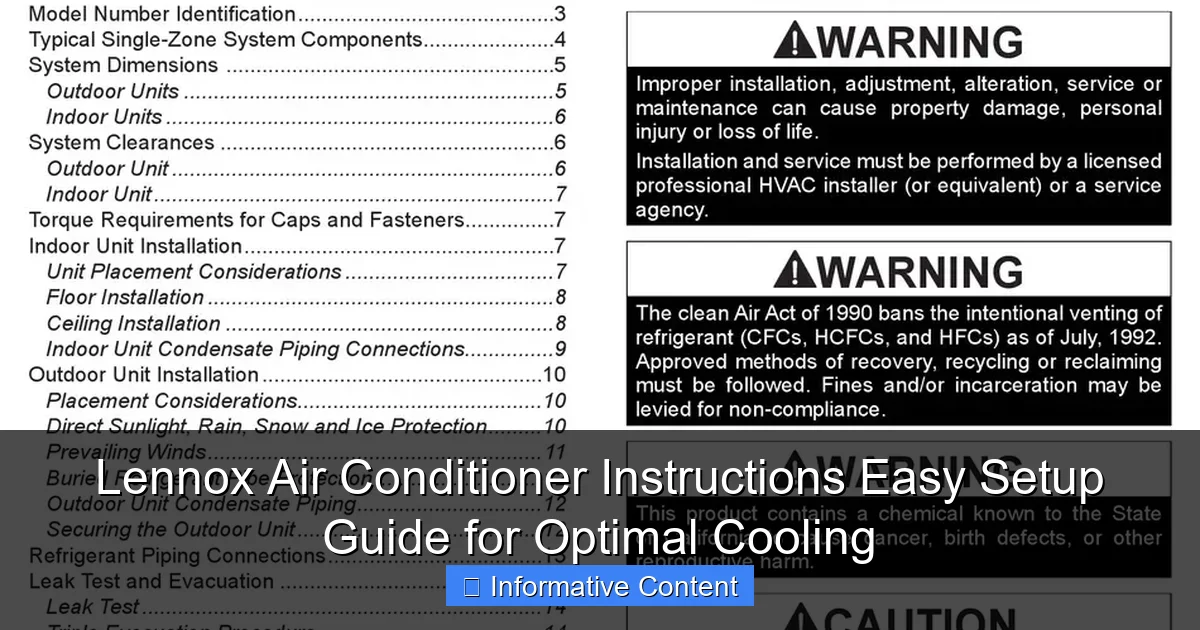
Visual guide about lennox air conditioner instructions
Image source: i1.wp.com
Proper installation affects everything: energy efficiency, cooling performance, system longevity, and even indoor air quality. A poorly installed unit might struggle to cool your home, cycle on and off too frequently, or even break down prematurely. According to the U.S. Department of Energy, improper installation can reduce system efficiency by up to 30%. That’s like throwing money out the window every month on your energy bill.
Common Installation Mistakes to Avoid
- Incorrect refrigerant levels: Too much or too little refrigerant can damage the compressor and reduce cooling capacity.
- Poor ductwork sealing: Leaky ducts can lose up to 30% of cooled air before it even reaches your rooms.
- Improper unit placement: Installing the outdoor unit in direct sunlight or near heat sources can reduce efficiency.
- Ignoring electrical requirements: Using undersized wiring or incorrect voltage can cause system failure or fire hazards.
- Skipping the startup checklist: Failing to run the initial diagnostics can leave hidden issues undetected.
By following the Lennox air conditioner instructions carefully, you avoid these pitfalls and set your system up for success from day one. Whether you’re installing a central air unit, a ductless mini-split, or a heat pump, the principles remain the same: precision, attention to detail, and adherence to manufacturer guidelines.
Unboxing and Pre-Installation Checklist
Before you even think about turning on your new Lennox air conditioner, take the time to prepare. A smooth installation starts with a thorough pre-installation checklist. This step ensures you have everything you need and that your home is ready for the new system.
What’s in the Box?
When your Lennox air conditioner arrives, you’ll typically receive several components, depending on the model. Here’s what to expect:
- Outdoor condenser unit
- Indoor evaporator coil (for central systems)
- Thermostat (if included)
- Installation manual and warranty card
- Mounting brackets and hardware
- Refrigerant lines (pre-charged or field-installed)
- Electrical wiring kit (if applicable)
Take a moment to inspect each component for damage. If anything looks dented, cracked, or missing, contact your dealer or Lennox customer support immediately. Don’t assume it’s minor—small issues can lead to big problems down the road.
Pre-Installation Safety and Preparation
Safety first! Before you begin, make sure you’ve taken these essential steps:
- Turn off power: Shut off the main electrical breaker to avoid shocks or short circuits.
- Clear the installation area: Remove any debris, plants, or obstacles around the outdoor unit location. You’ll need at least 2 feet of clearance on all sides for proper airflow.
- Check local codes: Some areas require permits for HVAC installations. Verify with your local building department.
- Verify compatibility: Ensure your existing ductwork, electrical panel, and thermostat are compatible with your new Lennox unit. If not, plan for upgrades.
- Gather tools: You’ll need a drill, level, wrench set, vacuum pump (for refrigerant lines), and a multimeter.
Pro tip: If you’re not confident in your electrical or refrigerant handling skills, hire a licensed HVAC technician. Refrigerant is a hazardous material, and improper handling can be dangerous and illegal in many areas.
Step-by-Step Lennox Air Conditioner Setup Instructions
Now that you’re prepared, it’s time to install your Lennox air conditioner. While every model may have slight variations, the core steps remain consistent. Below is a simplified, easy-to-follow guide based on Lennox’s official installation manuals.
1. Mount the Outdoor Unit
The outdoor condenser unit should be placed on a stable, level surface—like a concrete pad or vibration-absorbing mounts. Avoid placing it on soft ground, which can shift over time.
- Use a spirit level to ensure the unit is perfectly horizontal.
- Secure it with anchor bolts to prevent movement during operation.
- Position it away from windows, doors, and neighbors’ properties to minimize noise disturbance.
Example: If you’re installing a Lennox XC25, which is one of their quietest models, you’ll still want to place it at least 3 feet from any structure to allow proper airflow and reduce vibration.
2. Install the Indoor Evaporator Coil
For central air systems, the indoor coil is usually installed in the furnace or air handler. Make sure it’s properly seated and sealed to prevent air leaks.
- Connect the refrigerant lines to the coil using flare fittings. Tighten with a torque wrench to the manufacturer’s specifications.
- Use a vacuum pump to evacuate the lines for at least 15 minutes to remove moisture and air.
- Once evacuated, open the service valves to allow refrigerant to flow into the system.
Note: If your system uses R-410A refrigerant (common in newer Lennox models), never open the service valves until the lines are fully evacuated. Moisture in the system can cause acid formation and compressor failure.
3. Connect Electrical Wiring
Electrical connections must be made according to local codes and Lennox specifications. Most Lennox units require a dedicated 240-volt circuit.
- Run the correct gauge wire from the breaker panel to the outdoor unit.
- Connect the wires to the designated terminals (L1, L2, ground) on the condenser.
- Use wire nuts or terminal blocks to secure connections and prevent loose wires.
- Double-check polarity and grounding before restoring power.
Safety tip: Always use a multimeter to verify voltage and continuity before turning the power back on. A simple mistake here can fry the control board.
4. Install and Program the Thermostat
Your Lennox air conditioner works best with a compatible smart thermostat, like the Lennox iComfort S30. This allows for precise temperature control, scheduling, and remote access.
- Mount the thermostat on an interior wall, away from direct sunlight, drafts, or heat sources.
- Connect the wires (typically labeled R, C, Y, G, W) to the corresponding terminals.
- Power on the thermostat and follow the on-screen setup wizard.
- Calibrate the temperature sensor and test all modes (cool, heat, fan).
Example: If you’re using the iComfort S30, you can set up geofencing so the system adjusts when you leave or return home—saving energy without sacrificing comfort.
5. Perform the Initial System Startup
Once everything is connected, it’s time to fire it up. But don’t just flip the switch—follow the startup sequence carefully.
- Restore power at the breaker panel.
- Set the thermostat to “cool” and lower the temperature below room temperature.
- Listen for the outdoor unit to start. You should hear the compressor and fan engage.
- Check for cool air blowing from the vents within 5–10 minutes.
- Use a thermometer to measure the temperature drop—ideally 15–20°F between return and supply air.
If the system doesn’t start, check the breaker, thermostat settings, and wiring connections. Refer to the troubleshooting section in your Lennox manual.
Optimizing Performance and Energy Efficiency
Congratulations! Your Lennox air conditioner is up and running. But the setup isn’t quite over. To get the most out of your investment, you’ll want to optimize performance and energy efficiency.
Regular Maintenance Tips
Even the best systems need care. Follow this simple maintenance schedule to keep your Lennox unit running smoothly:
- Monthly: Check and replace air filters. Dirty filters restrict airflow and increase energy use.
- Quarterly: Inspect outdoor unit for debris, clean condenser coils with a garden hose, and check refrigerant lines for leaks.
- Annually: Schedule a professional tune-up. Technicians will check refrigerant levels, test electrical components, and clean internal parts.
Pro tip: Lennox offers a Maintenance+ program that includes annual service visits and priority support. It’s worth considering if you want peace of mind.
Smart Thermostat Settings for Maximum Efficiency
Your thermostat is the brain of your cooling system. Use it wisely:
- Set your thermostat to 78°F when you’re home and 85°F when you’re away. Each degree lower can increase energy use by 6–8%.
- Use the “auto” fan setting instead of “on” to reduce energy consumption.
- Enable “adaptive recovery” so the system starts cooling just in time to reach your desired temperature.
- Take advantage of scheduling—cool your home before you arrive, not all day.
Example: If you leave for work at 8 a.m., program the thermostat to start cooling at 5:30 p.m. so it’s comfortable by 6 p.m. This avoids running the system unnecessarily.
Improving Indoor Air Quality
Lennox air conditioners don’t just cool—they also filter and dehumidify. To enhance air quality:
- Upgrade to a high-MERV filter (MERV 11–13) to capture dust, pollen, and pet dander.
- Consider adding a whole-home air purifier or UV light system for germ-killing power.
- Keep humidity levels between 30–50% to prevent mold growth and improve comfort.
Bonus: Lennox offers the PureAir system, which combines filtration, germicidal UV light, and odor reduction in one unit.
Troubleshooting Common Issues After Setup
Even with perfect installation, issues can arise. Here’s how to diagnose and fix the most common problems with your Lennox air conditioner.
Unit Won’t Turn On
If your system doesn’t respond when you adjust the thermostat:
- Check the breaker—has it tripped?
- Verify the thermostat is set to “cool” and the temperature is below room temp.
- Inspect the air filter—is it clogged?
- Look for error codes on the outdoor unit or thermostat display.
Many Lennox models display error codes via flashing LED lights. Refer to your manual for code meanings.
Insufficient Cooling
If your home isn’t cooling properly:
- Check for blocked vents or closed dampers in unused rooms.
- Ensure the outdoor unit isn’t covered in dirt or vegetation.
- Verify refrigerant levels—low charge reduces cooling capacity.
- Inspect ductwork for leaks or poor insulation.
Example: A homeowner in Arizona noticed their Lennox XC20 wasn’t cooling evenly. After inspection, they found a collapsed duct in the attic. Once repaired, cooling improved by 40%.
Strange Noises or Odors
Unusual sounds or smells can indicate bigger issues:
- Rattling: Loose panels or debris in the fan.
- Banging: Possible compressor or motor issue—shut down and call a technician.
- Musty smell: Mold in the evaporator coil or drain pan—clean or replace the filter and sanitize the coil.
- Burning smell: Electrical problem—turn off power immediately and inspect wiring.
When in doubt, shut off the system and contact a certified Lennox dealer. Attempting DIY repairs on electrical or refrigerant components can void your warranty.
Understanding Your Lennox Air Conditioner Warranty and Support
Your Lennox air conditioner comes with one of the best warranties in the industry—but only if you follow the rules. Understanding your coverage can save you thousands in repair costs.
What’s Covered?
Most Lennox units include:
- 10-year limited warranty on compressor and outdoor coil.
- 5-year limited warranty on parts.
- 1-year labor warranty (if installed by a certified technician).
Some high-end models, like the Dave Lennox Signature Collection, offer extended warranties up to 12 years when registered within 60 days of installation.
How to Maintain Warranty Validity
To keep your warranty active:
- Register your unit online at lennox.com within 60 days.
- Use only authorized Lennox parts and accessories.
- Keep records of annual maintenance and repairs.
- Avoid unauthorized modifications or DIY refrigerant handling.
Pro tip: Take photos during installation and save all receipts. These can be helpful if you ever need to file a warranty claim.
Accessing Lennox Customer Support
If you run into issues, Lennox offers several support options:
- Online resources: Manuals, FAQs, and troubleshooting guides at lennox.com/support.
- Phone support: Call 1-800-9-LENNOX (1-800-953-6669) for technical assistance.
- Dealer network: Find a certified Lennox dealer near you for service and repairs.
Many dealers offer same-day or next-day service, especially during peak season.
Final Thoughts: Enjoy Reliable Cooling with Confidence
Setting up your Lennox air conditioner doesn’t have to be a headache. With the right preparation, careful attention to the instructions, and a little patience, you can enjoy years of reliable, energy-efficient cooling. From unboxing to startup, every step matters—not just for performance, but for your comfort and peace of mind.
Remember, your Lennox unit is more than just a machine—it’s an investment in your home’s comfort and efficiency. By following the Lennox air conditioner instructions and maintaining it properly, you’ll maximize its lifespan, reduce energy bills, and breathe easier knowing your system is running at its best. So go ahead, kick back, and enjoy that cool, refreshing air. You’ve earned it.
Frequently Asked Questions
How do I set up my Lennox air conditioner for the first time?
To set up your Lennox air conditioner, start by reading the included Lennox air conditioner instructions manual for model-specific guidance. Ensure the unit is properly installed by a certified technician and that the thermostat is correctly configured for optimal cooling performance.
Where can I find the Lennox air conditioner instructions manual?
You can find the Lennox air conditioner instructions manual in the product box, on a printed insert, or by visiting the official Lennox website and searching for your model number. Digital copies are available for download in PDF format for easy access.
How do I program the thermostat on my Lennox AC unit?
To program the thermostat, press the “Menu” or “Schedule” button on your Lennox thermostat and follow the on-screen prompts to set cooling times and temperatures. Refer to your Lennox air conditioner instructions for detailed steps based on your thermostat model.
Why is my Lennox air conditioner not cooling properly?
If your Lennox air conditioner isn’t cooling, check the air filter, thermostat settings, and ensure the outdoor unit is free of debris. Consult the Lennox air conditioner instructions for troubleshooting tips or contact a certified technician if the issue persists.
How often should I change the filter in my Lennox AC system?
It’s recommended to check and replace your Lennox air conditioner filter every 1 to 3 months, depending on usage and air quality. Regular filter changes improve efficiency and are outlined in your Lennox air conditioner instructions for maintenance.
Can I install a Lennox air conditioner myself?
While basic setup steps are covered in the Lennox air conditioner instructions, professional installation is strongly recommended to ensure safety, warranty compliance, and optimal performance. Always hire a licensed HVAC technician for proper installation.