Removing an LG window air conditioner doesn’t have to be stressful or dangerous. This guide walks you through the entire process—from preparation to cleanup—ensuring a smooth, safe removal whether you’re storing it for winter or replacing it with a new model.
Key Takeaways
- Safety comes first: Always unplug the unit and wear protective gear like gloves and goggles before starting.
- Prepare your workspace: Clear the area around the window and gather all necessary tools in advance to avoid mid-process delays.
- Remove the front panel and filter: This gives you access to internal components and prevents damage during extraction.
- Detach mounting brackets and support braces: These secure the unit in place and must be loosened carefully to avoid structural damage.
- Lift with proper technique: Use your legs, not your back, and get help if the unit is heavy—most LG window ACs weigh 50–80 pounds.
- Clean and store properly: Wipe down the unit, dry it thoroughly, and store it in a cool, dry place to extend its lifespan.
- Check local disposal rules: If replacing, recycle or dispose of the old unit according to 2026 environmental guidelines.
Introduction: Why and When to Remove Your LG Window Air Conditioner
As we move through 2026, energy efficiency, smart home integration, and seasonal maintenance remain top priorities for homeowners. Whether you’re preparing for winter, upgrading to a newer LG model with AI-powered climate control, or simply need to clean or repair your current unit, knowing how to remove an LG window air conditioner safely and correctly is essential.
LG window air conditioners are known for their reliability, quiet operation, and sleek design. However, like all appliances, they require proper handling during installation and removal. Removing the unit incorrectly can lead to personal injury, property damage, or even electrical hazards. That’s why this comprehensive guide is designed to walk you through every step—clearly, safely, and efficiently.
In this guide, you’ll learn how to remove your LG window air conditioner without damaging your window frame, siding, or the unit itself. We’ll cover everything from pre-removal preparation and tool selection to lifting techniques, cleaning, and storage. Whether you’re a DIY enthusiast or a first-time user, this step-by-step approach ensures a smooth process.
By the end of this guide, you’ll be confident in your ability to remove your LG window AC like a pro—ready to store it for the off-season or prepare your window for a new installation.
Step 1: Gather Your Tools and Prepare the Area
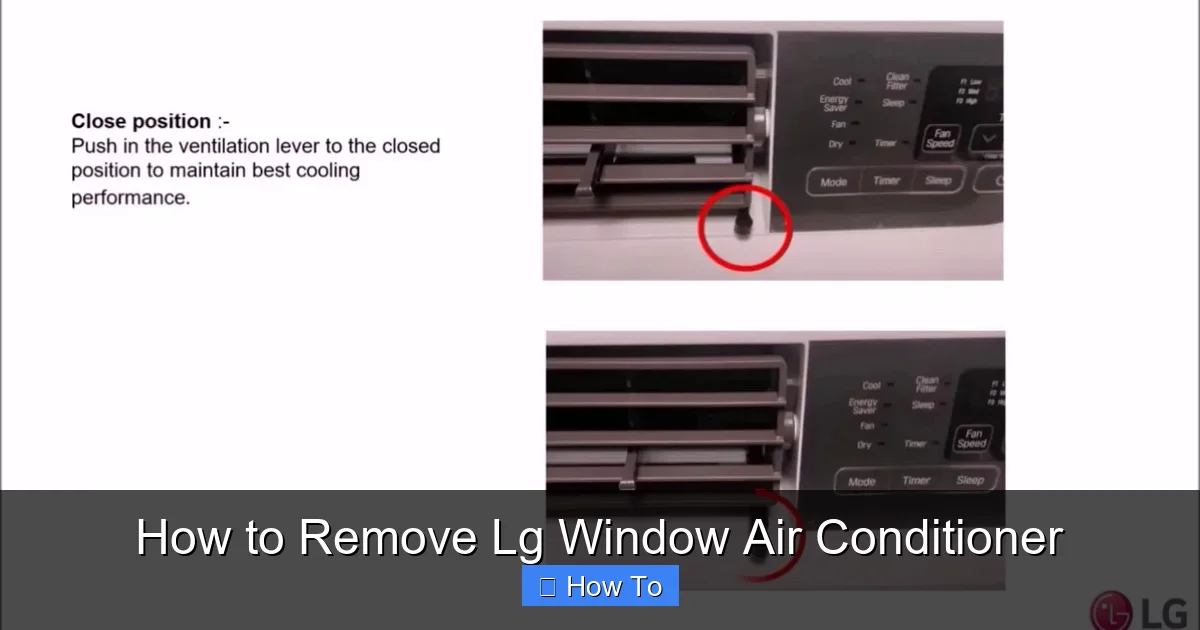
Visual guide about How to Remove Lg Window Air Conditioner
Image source: i.ytimg.com
Before you even touch the air conditioner, it’s crucial to set yourself up for success. Proper preparation minimizes risks and streamlines the entire removal process.
Essential Tools You’ll Need
Make sure you have the following tools on hand before starting:
- Screwdriver set: Both Phillips and flathead screwdrivers are often needed to remove screws from the front panel and mounting brackets.
- Adjustable wrench or pliers: Useful for loosening nuts and bolts on support braces.
- Work gloves: Protect your hands from sharp edges, dust, and potential electrical components.
- Safety goggles: Prevent dust or debris from entering your eyes during disassembly.
- Measuring tape: Helps assess the unit’s size and confirm clearance when lifting.
- Drop cloth or old sheet: Place this on the floor beneath the window to catch dust, screws, or water.
- Helper (optional but recommended): Most LG window AC units weigh between 50 and 80 pounds. Having a second person makes lifting safer and easier.
Clear the Workspace
Start by clearing the area around the window. Remove any furniture, curtains, or decorative items that could obstruct your movement. If the unit is on an upper floor, ensure the ground below is clear of people and pets. This prevents accidents in case something falls.
Next, open the window slightly to assess how the AC is installed. Most LG window units are secured with side brackets, support legs, and sometimes a window sash lock. Take a moment to observe the setup—this will help you plan your removal strategy.
Turn Off and Unplug the Unit
Safety is non-negotiable. Before doing anything else:
- Turn off the air conditioner using the remote or control panel.
- Switch off the circuit breaker that powers the unit. This adds an extra layer of protection against electrical shock.
- Unplug the power cord from the wall outlet. Never pull the cord—grasp the plug itself to avoid damaging the wiring.
If your LG model is hardwired (less common but possible in older installations), consult an electrician before proceeding. Do not attempt to disconnect hardwired units unless you’re qualified.
Step 2: Remove the Front Panel and Air Filter
With the unit powered down and unplugged, it’s time to access the interior components. This step is essential for both safety and ease of removal.
Locate the Front Panel
The front panel of your LG window air conditioner typically features the control panel, vents, and branding. It’s held in place by clips or screws along the top and sides.
Gently press or lift the panel near the top edge. Most models have a release mechanism—either a latch or a series of plastic tabs. If you don’t feel it pop loose, check for hidden screws near the bottom or sides.
Detach the Panel Carefully
Once released, slowly pull the front panel forward and downward. Be cautious—some models have wires connected to the control board. If you see wires, do not yank the panel off.
Instead, look for a small connector near the base of the panel. Gently unplug it by pressing the release tab and pulling it apart. Set the panel aside in a safe place.
Remove the Air Filter
Behind the front panel, you’ll see the air filter—usually a removable mesh or foam screen. Pull it straight out. This is a great time to clean or replace it if you’re storing the unit.
If the filter is dirty, rinse it with warm water and let it dry completely before reinstalling or storing. A clean filter prevents mold and dust buildup during storage.
Step 3: Inspect and Loosen Mounting Hardware
Now that the interior is accessible, focus on the hardware that secures the unit to the window frame. This step varies slightly depending on your LG model and installation type.
Identify the Mounting System
Most LG window air conditioners use one of two mounting methods:
- Side-mounted brackets: Metal arms that extend from the sides of the unit and attach to the window frame with screws.
- Support legs or braces: Adjustable metal legs that rest on the windowsill and bolt into the bottom of the AC unit.
Some models also include a window sash lock—a metal bar that clamps the upper window sash to prevent it from opening.
Remove Side Brackets
Using your screwdriver, locate the screws that attach the side brackets to the window frame. These are usually on the exterior side of the window.
Carefully unscrew each one. Keep the screws in a small container or magnetic tray so they don’t get lost. Once all screws are removed, gently pull the brackets away from the frame.
If the brackets are stuck due to paint or rust, use a flathead screwdriver to gently pry them loose. Avoid using excessive force, as this can damage the window frame.
Detach Support Legs or Braces
Next, locate the support legs at the bottom of the unit. These are typically adjustable and held in place with wing nuts or bolts.
Use your wrench or pliers to loosen the nuts. Once loose, slide the legs out of their slots. Some models allow you to fold the legs up into the unit—check your user manual for specifics.
If your unit has a metal support brace that extends from the bottom to the windowsill, remove it similarly by unscrewing the mounting bolts.
Release the Window Sash Lock
If your installation includes a sash lock, locate the clamp or bolt that secures the upper window sash. Loosen it using a screwdriver or wrench.
Once loosened, gently lift the upper sash to create more space. This reduces pressure on the AC unit and makes it easier to slide out.
Step 4: Carefully Slide the Unit Out of the Window
This is the most critical part of the removal process. Done incorrectly, it can result in injury or damage. Follow these steps carefully.
Position Yourself and Your Helper
Stand on either side of the unit. If you’re working alone, position yourself at the center, gripping the unit firmly. If you have a helper, coordinate your movements—communicate clearly before lifting.
Lift with Your Legs, Not Your Back
Bend your knees, keep your back straight, and grip the unit securely. Most LG window ACs have built-in handles on the sides—use them.
On the count of three, lift the unit straight up to disengage it from the window track. Do not tilt or twist the unit, as this can damage the compressor or internal components.
Slide the Unit Out Slowly
Once lifted, carefully slide the unit backward and out of the window opening. Move slowly and steadily. If the unit feels stuck, double-check that all mounting hardware has been removed.
If you’re working on an upper floor, consider using a dolly or hand truck to transport the unit down safely. Never carry a heavy AC down stairs without assistance.
Place the Unit on a Stable Surface
Once removed, place the unit on a flat, stable surface—preferably on a drop cloth or cardboard to protect the floor. Avoid placing it directly on carpet or soft surfaces, as condensation or leaks could cause damage.
Step 5: Clean and Prepare for Storage or Disposal
Now that the unit is out, it’s time to clean it up and decide what to do next.
Clean the Exterior and Interior
Use a soft cloth and mild detergent to wipe down the exterior. Pay special attention to the vents and control panel. Avoid spraying water directly into the unit.
Inside, use a vacuum with a brush attachment to remove dust from the evaporator coils and fan blades. If you notice mold or mildew, mix a solution of water and white vinegar (1:1 ratio) and gently wipe affected areas.
Dry Thoroughly
Before storing, ensure the unit is completely dry. Moisture can lead to rust, mold, or electrical damage. Leave the front panel off for 24–48 hours in a well-ventilated area.
Store in a Cool, Dry Place
If you’re storing the unit for the winter, choose a climate-controlled space like a garage or basement. Avoid attics or sheds where temperatures fluctuate drastically.
Cover the unit with a breathable cloth or original packaging to protect it from dust. Do not use plastic bags—they trap moisture.
Dispose or Recycle Responsibly
If you’re replacing your LG window AC, don’t just toss it in the trash. In 2026, many regions have strict e-waste and refrigerant disposal laws.
Contact your local waste management authority or visit LG’s official recycling program website. Many retailers also offer take-back programs when you purchase a new unit.
Refrigerants like R-32 (common in newer LG models) must be recovered by a certified technician. Never attempt to puncture or dismantle the unit yourself.
Troubleshooting Common Removal Issues
Even with careful planning, you might run into a few hiccups. Here’s how to handle them.
Unit Is Stuck in the Window
If the AC won’t budge, double-check that all screws and brackets are removed. Sometimes paint or caulk seals the unit in place.
Use a putty knife or flathead screwdriver to gently break the seal around the edges. Apply even pressure—don’t force it.
Wires Are Still Connected
If you forgot to disconnect internal wires, do not pull the unit out. Go back, unplug the connectors, and then proceed.
Window Frame Is Damaged
If screws have stripped the wood, use wood filler to repair the holes before reinstalling or sealing the window. For vinyl frames, replacement screws or anchors may be needed.
Condensation or Leaks
It’s normal for a small amount of water to drip out during removal. Place a towel underneath to catch it. If there’s a significant leak, the drain pan may be cracked—inspect and replace if necessary.
Conclusion: A Smooth Removal Sets You Up for Success
Removing an LG window air conditioner doesn’t have to be a daunting task. With the right tools, preparation, and technique, you can complete the job safely and efficiently. Whether you’re storing your unit for the winter or upgrading to a smarter, more energy-efficient model in 2026, following these steps ensures your home stays protected and your appliance remains in good condition.
Remember: safety first, take your time, and don’t hesitate to ask for help. Proper removal not only protects you and your property but also extends the life of your air conditioner. And when it’s time to reinstall or recycle, you’ll be glad you handled it the right way.
By mastering this process, you’re not just removing an appliance—you’re taking control of your home’s comfort and efficiency. So go ahead, tackle that window AC with confidence. Your future self will thank you.