This guide walks you through how to remove water from LG air conditioner units, covering common causes, safe drainage methods, and preventive maintenance. Whether you’re dealing with a clogged drain line or excess condensation, you’ll find clear, actionable steps to keep your AC running smoothly and efficiently in 2026.
Key Takeaways
- Turn off power first: Always disconnect your LG air conditioner from the power source before attempting any water removal to prevent electrical hazards.
- Locate the drain pan and drain line: These are the primary areas where water collects; knowing their positions is crucial for effective water removal.
- Use a wet/dry vacuum for stubborn clogs: If water won’t drain naturally, a wet/dry vacuum can help clear blockages in the drain line.
- Clean the air filter regularly: A dirty filter restricts airflow, leading to ice buildup and excess condensation that overwhelms the drainage system.
- Inspect for mold and algae: Standing water can promote mold growth; clean affected areas with a mild bleach solution to prevent odors and health risks.
- Schedule annual maintenance: Prevent future water issues by having a professional inspect your LG AC unit at least once a year.
- Use a condensate pump if needed: For units installed below ground level, a condensate pump ensures proper water removal when gravity drainage isn’t possible.
How to Remove Water from LG Air Conditioner: A Complete 2026 Guide
Is your LG air conditioner leaking water inside your home or leaving puddles around the unit? You’re not alone. Water buildup is one of the most common issues homeowners face with air conditioning systems—especially during humid summer months in 2026. While modern LG air conditioners are designed with advanced drainage systems, clogs, improper installation, or lack of maintenance can still cause water to accumulate.
In this comprehensive guide, you’ll learn how to remove water from LG air conditioner units safely and effectively. We’ll walk you through identifying the source of the problem, draining excess water, cleaning key components, and preventing future leaks. Whether you have a window unit, a split system, or a ductless mini-split, these steps apply to most LG models. By the end, you’ll not only fix the current issue but also keep your AC running efficiently all season long.
Why Does Water Build Up in LG Air Conditioners?
Before jumping into removal techniques, it’s important to understand why water collects in the first place. Air conditioners naturally produce condensation as they cool warm air. This moisture drips into a drain pan and exits through a drain line—usually outside your home. However, several factors can disrupt this process:
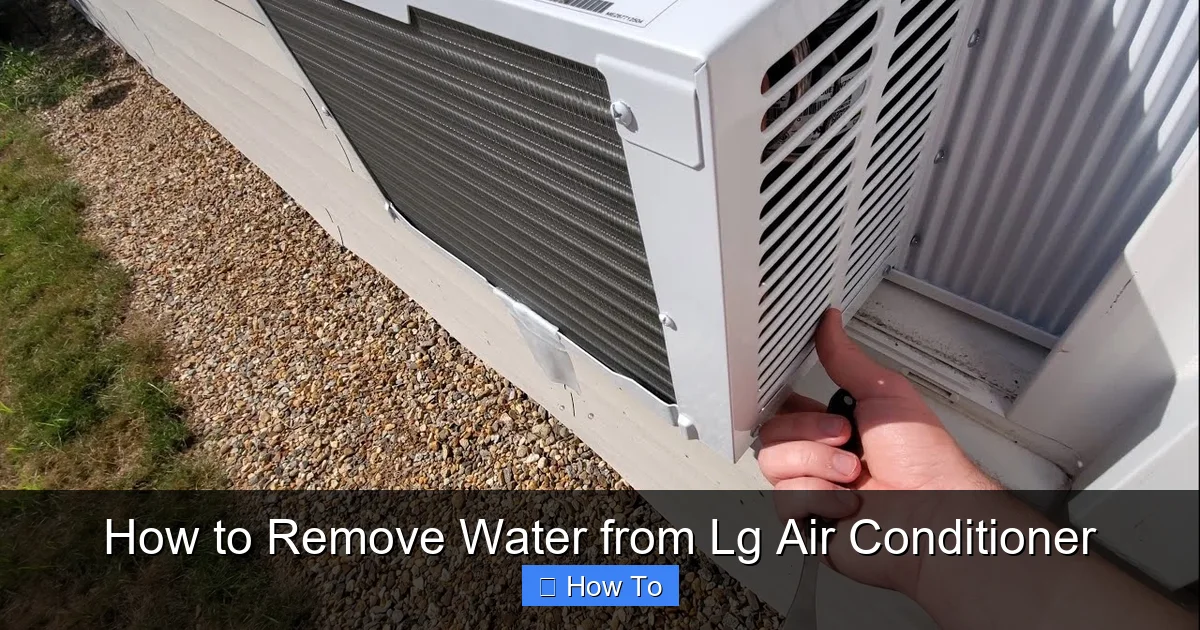
Visual guide about How to Remove Water from Lg Air Conditioner
Image source: i.ytimg.com
- Clogged drain line: Dirt, algae, or mold can block the drain pipe, preventing water from flowing out.
- Dirty air filter: A clogged filter restricts airflow, causing the evaporator coil to freeze. When the ice melts, it produces more water than the drain can handle.
- Improper installation: If the unit isn’t level or the drain line isn’t angled correctly, water may pool instead of draining.
- Frozen evaporator coil: Low refrigerant levels or airflow issues can cause the coil to freeze, leading to excessive meltwater.
- Damaged or misaligned drain pan: Over time, the pan can crack or shift, causing leaks.
Recognizing these causes helps you address the root of the problem—not just the symptoms. In 2026, LG has introduced smarter diagnostic features in some models that alert users to drainage issues via mobile apps. But even without high-tech alerts, you can spot signs like water stains, musty odors, or reduced cooling performance.
Tools and Supplies You’ll Need
Before starting, gather these tools to make the process smoother and safer:
- Wet/dry vacuum (shop vac)
- Bucket or container
- Clean cloths or towels
- Mild detergent or vinegar
- Soft brush (toothbrush works well)
- Funnel (optional, for pouring cleaning solution)
- Garden hose (for flushing the drain line)
- Safety gloves and goggles
- Screwdriver (if removing panels)
Having these on hand ensures you won’t have to pause mid-process. For LG split systems, you may also need a ladder if the indoor unit is mounted high on the wall.
Step 1: Turn Off the Power
Safety comes first. Before touching any part of your LG air conditioner, turn off the power at the main circuit breaker. This prevents electrical shock, especially when working near water. Even if the unit appears off, internal capacitors can still hold a charge.
Why This Step Is Critical
Water and electricity are a dangerous mix. LG units use electrical components close to the drain pan and coils. Turning off power eliminates the risk of short circuits or personal injury. In 2026, some LG models feature smart shut-off systems that detect water leaks and automatically cut power—but don’t rely on this. Always manually disconnect power before maintenance.
How to Safely Power Down
- Locate your home’s electrical panel.
- Find the breaker labeled “AC” or “Air Conditioner.”
- Switch it to the “OFF” position.
- For added safety, unplug window units directly from the wall outlet.
Wait at least 10–15 minutes before proceeding to ensure all components are fully discharged.
Step 2: Locate the Drain Pan and Drain Line
The next step is identifying where the water is coming from. Most LG air conditioners—especially split and ductless models—have an indoor unit with a drain pan at the bottom. The pan connects to a PVC or flexible drain line that routes outside.
Finding the Drain Pan
For wall-mounted LG units:
- Remove the front panel by gently pulling it forward or unscrewing it (check your model’s manual).
- Look for a shallow tray at the base of the unit—this is the drain pan.
- Check for standing water or debris.
For window units:
- Tilt the unit slightly outward (if safe to do so) to access the bottom.
- The drain pan is usually at the rear, near the outdoor side.
- Some models have a small drain plug or overflow hole.
Locating the Drain Line
The drain line typically exits through the wall or window frame. Trace it from the indoor unit to the outdoor exit point. It’s often a white or gray PVC pipe about ½ inch in diameter. If you can’t see it, look for a small hole in the wall near the AC unit.
Tip: Take a photo of the setup before disassembling anything. This helps with reassembly and troubleshooting later.
Step 3: Remove Standing Water from the Drain Pan
If water has pooled in the drain pan, you’ll need to remove it manually before addressing the clog.
Using a Wet/Dry Vacuum
A wet/dry vacuum is the most effective tool for this job:
- Set the vacuum to “wet” mode.
- Insert the hose into the drain pan or directly into the drain line opening.
- Turn on the vacuum and let it suction out the water.
- Move the hose around to reach all corners of the pan.
This method is quick and minimizes mess. Avoid using a regular household vacuum—it’s not designed for liquids and could be damaged.
Alternative: Soak Up with Towels
If you don’t have a wet/dry vacuum:
- Use absorbent towels or rags to soak up the water.
- Wring them into a bucket repeatedly until the pan is dry.
- Dispose of the towels properly—wet fabric can harbor mold.
This method works for small amounts of water but is slower and less thorough.
Step 4: Clear the Clogged Drain Line
Once the pan is empty, the real challenge begins: clearing the clog in the drain line. This is often the main culprit behind water buildup.
Method 1: Flush with Water and Vinegar
A natural cleaning solution can dissolve algae and mild buildup:
- Mix equal parts white vinegar and water in a bottle or funnel.
- Pour the solution into the drain line opening (usually at the indoor unit).
- Let it sit for 30–60 minutes to break down organic matter.
- Flush with clean water using a garden hose or pour water directly into the line.
- Check the outdoor exit to confirm water flows freely.
Vinegar is safe for PVC pipes and environmentally friendly. Repeat monthly during peak usage to prevent future clogs.
Method 2: Use a Wet/Dry Vacuum to Suction the Clog
If flushing doesn’t work, try suction:
- Seal the outdoor end of the drain line with a wet rag or your hand.
- Attach the vacuum hose to the indoor end.
- Turn on the vacuum for 30–60 seconds to pull out the clog.
- You may hear a “pop” as the blockage clears.
- Flush with water to confirm flow.
This method is especially effective for stubborn clogs caused by mold or sludge.
Method 3: Use a Drain Snake or Wire
For tough blockages:
- Insert a flexible drain snake or a straightened coat hanger into the drain line.
- Gently push and twist to break up the clog.
- Pull out debris and flush with water.
Be careful not to scratch or damage the interior of the pipe. Avoid using harsh chemicals like bleach unless absolutely necessary—they can degrade plastic components over time.
Step 5: Clean the Air Filter and Evaporator Coil
A dirty air filter is a common cause of water issues. When airflow is restricted, the evaporator coil gets too cold and freezes. Once it thaws, excess water overwhelms the drain system.
How to Clean the Air Filter
- Remove the front panel of your LG unit.
- Slide out the air filter (usually a rectangular mesh panel).
- Rinse it under lukewarm water.
- Use mild soap if needed, then let it air dry completely.
- Reinstall only when dry—never use a wet filter.
Clean the filter every 2–4 weeks during heavy use. In 2026, some LG models include washable, reusable filters with antimicrobial coatings—check your user manual for specifics.
Inspecting the Evaporator Coil
If the coil is frozen or caked with dirt:
- Use a soft brush to gently remove dust and debris.
- Never use sharp tools—they can puncture the delicate fins.
- If the coil is heavily iced, let it thaw naturally after turning off the unit.
- Consider hiring a technician if the coil is damaged or if refrigerant levels are low.
A clean coil improves efficiency and reduces the risk of future water problems.
Step 6: Check the Drain Pan and Unit Level
Even after clearing the drain line, a misaligned or damaged drain pan can cause leaks.
Inspecting the Drain Pan
- Look for cracks, rust, or warping.
- If damaged, replace it—LG offers replacement parts online.
- Ensure the pan sits level and isn’t tilted.
Checking Unit Level
For window and wall units:
- Use a spirit level to check if the unit is tilted correctly.
- It should slope slightly backward (about ¼ inch) to allow water to flow out.
- Adjust the mounting brackets or shims if needed.
An improperly leveled unit can cause water to pool on one side and overflow.
Step 7: Test the System
After completing all steps, it’s time to test your LG air conditioner.
Power Up and Monitor
- Restore power at the circuit breaker.
- Turn on the AC and set it to cooling mode.
- Let it run for 30–60 minutes.
- Check the drain line exit for steady water flow.
- Inspect the indoor unit for leaks or pooling.
If water drains properly and the unit cools efficiently, you’ve successfully resolved the issue. If not, proceed to troubleshooting.
Troubleshooting Common Issues
Sometimes, water problems persist even after following all steps. Here’s how to handle common scenarios:
Water Still Leaking After Cleaning
- Double-check the drain line for hidden clogs.
- Ensure the outdoor exit isn’t blocked by dirt or debris.
- Verify the unit is level and the pan isn’t cracked.
- Consider installing a condensate pump if gravity drainage isn’t working.
Musty Odor from the Unit
- This indicates mold or mildew in the drain pan or line.
- Clean with a 10% bleach solution (1 part bleach to 9 parts water).
- Let it sit for 15 minutes, then flush thoroughly.
- Use an HVAC-safe disinfectant spray for ongoing protection.
Ice on the Evaporator Coil
- Turn off the AC and let the ice melt.
- Check the air filter and clean or replace it.
- Ensure vents aren’t blocked by furniture or curtains.
- If the problem continues, low refrigerant may be the cause—call a professional.
Drain Line Keeps Clogging
- Install a drain line trap or algae tablet to prevent growth.
- Schedule monthly vinegar flushes during summer.
- Consider a UV light sanitizer for the indoor unit (available for LG systems in 2026).
Preventing Future Water Buildup
An ounce of prevention is worth a pound of cure. Follow these tips to keep your LG air conditioner water-free:
- Clean the air filter monthly.
- Flush the drain line with vinegar every 3 months.
- Inspect the unit before summer starts.
- Keep the area around the outdoor unit clear of leaves and debris.
- Schedule annual professional maintenance.
In 2026, LG’s Smart Diagnosis feature can send alerts to your phone if drainage issues are detected. Pair this with regular DIY checks for maximum protection.
When to Call a Professional
While many water issues can be fixed at home, some require expert help:
- Refrigerant leaks or low levels.
- Electrical problems or damaged wiring.
- Cracked or corroded drain pans that need replacement.
- Recurring clogs despite regular cleaning.
- Units under warranty—DIY repairs may void coverage.
A certified HVAC technician has the tools and knowledge to diagnose complex issues safely.
Conclusion
Removing water from your LG air conditioner doesn’t have to be a daunting task. By following this step-by-step guide, you can safely drain excess water, clear clogs, and restore your unit’s performance. Remember: regular maintenance is the key to preventing water buildup in the first place. With the right tools and a little effort, you’ll keep your LG AC running smoothly, efficiently, and leak-free all year round in 2026 and beyond.