
Installing your LG Portable Air Conditioner LP0817WSR doesn’t have to be complicated. This guide walks you through every step—from unboxing to final testing—so you can enjoy cool, comfortable air in no time. With clear instructions and expert tips, even beginners can get it right the first time.
Key Takeaways
- Read the manual first: Always start by reviewing the included user manual for model-specific instructions and safety warnings.
- Choose the right location: Place the unit near a window for venting and ensure at least 20 inches of clearance on all sides for proper airflow.
- Use the included window kit: The LP0817WSR comes with a sliding window bracket and exhaust hose—use them correctly to prevent hot air from re-entering the room.
- Secure the exhaust hose properly: A loose or kinked hose reduces efficiency and can cause the unit to overheat or shut down.
- Check for leaks and gaps: Seal any gaps around the window kit with weather stripping or tape to maintain cooling performance.
- Test before full use: Run the AC for 10–15 minutes after installation to confirm it’s cooling effectively and not leaking water or hot air.
- Maintain regularly: Clean the filter monthly and inspect the hose and seals every few months to keep your unit running smoothly.
How to Install LG Portable Air Conditioner LP0817WSR
So you’ve just unboxed your new LG Portable Air Conditioner LP0817WSR—congratulations! You’re about to enjoy powerful cooling without the hassle of permanent installation. Whether you’re renting, living in a small space, or just want flexible climate control, this portable AC is a smart choice. But before you kick back and feel that cool breeze, you’ll need to set it up correctly.
In this comprehensive guide, we’ll walk you through every step of installing your LG LP0817WSR. From choosing the perfect spot to connecting the exhaust hose and testing the system, we’ve got you covered. We’ll also share practical tips, common mistakes to avoid, and troubleshooting advice to ensure your unit runs efficiently from day one. By the end, you’ll be a pro at portable AC installation—and your room will be refreshingly cool.
What You’ll Need
Before you begin, make sure you have everything ready. The LG LP0817WSR comes with most of what you need, but a few household items will make the process smoother.
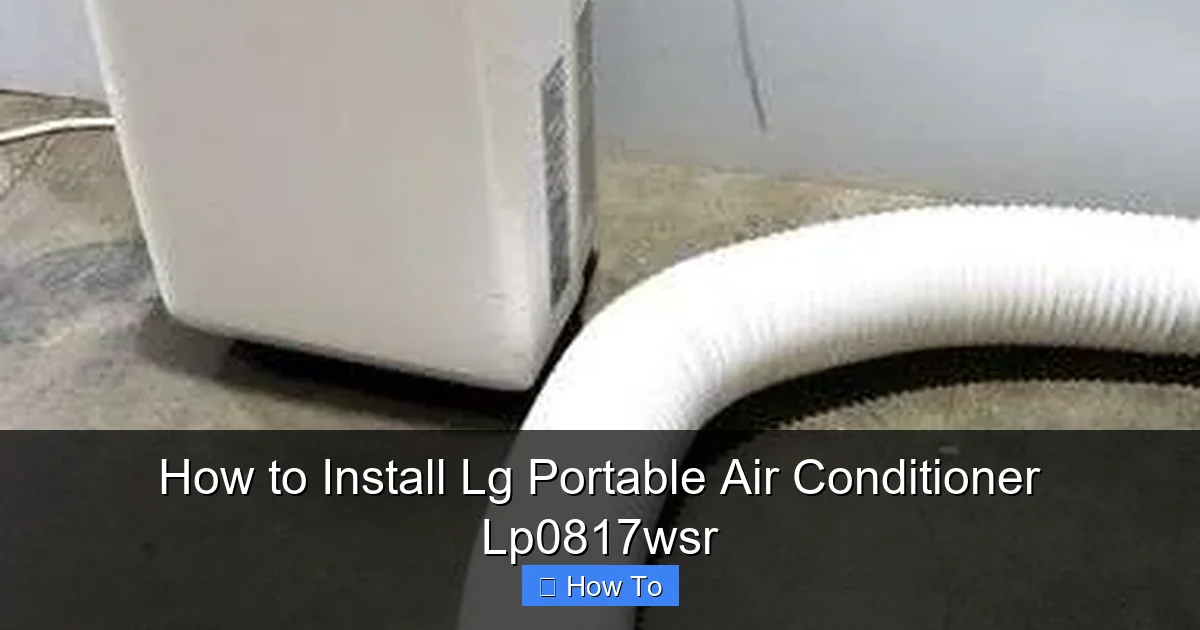
Visual guide about How to Install Lg Portable Air Conditioner Lp0817wsr
Image source: d3j17a2r8lnfte.cloudfront.net
- The LG Portable Air Conditioner LP0817WSR unit
- Included window installation kit (sliding window bracket, foam seals, screws)
- Exhaust hose and hose connectors
- Adjustable wrench or pliers (optional, for tightening hose connections)
- Measuring tape
- Scissors or utility knife
- Weather stripping or duct tape (optional, for sealing gaps)
- Level (optional, to ensure the unit sits flat)
- Clean cloth (for wiping surfaces)
Having these items on hand will save you time and prevent mid-installation trips to the hardware store. Now, let’s get started.
Step 1: Unbox and Inspect the Unit
The first step is to carefully unbox your LG LP0817WSR and inspect all components. This ensures nothing is damaged during shipping and that you have all the parts needed for installation.
Unbox Carefully
Remove the air conditioner from its packaging. The unit is heavy (around 60 pounds), so lift with your legs, not your back. Place it on a flat, stable surface—preferably near the window where you plan to install it.
Check for Damage
Look over the exterior for any dents, scratches, or signs of impact. Open the front panel and inspect the air filter—it should be clean and undamaged. Also, check the exhaust hose and window kit for cracks or tears.
Verify All Parts Are Included
Refer to the user manual’s parts list. Typically, you should have:
- 1 portable air conditioner unit
- 1 exhaust hose (usually 5.9 feet long)
- 1 hose connector (attaches to the unit)
- 1 window bracket panel
- 2 foam seals (for top and bottom of the bracket)
- Screws and mounting hardware
- User manual and warranty card
If anything is missing or damaged, contact LG customer support immediately.
Step 2: Choose the Right Location
Where you place your portable AC makes a big difference in performance and safety. The LP0817WSR needs proper ventilation and clearance to work efficiently.
Near a Window
The most important requirement is proximity to a window. The exhaust hose must reach from the back of the unit to the window kit. Measure the distance—most hoses are about 5–6 feet long, so don’t place the AC more than 5 feet from the window.
Clearance Matters
LG recommends at least 20 inches of clearance on all sides of the unit. This allows for proper airflow and prevents the motor from overheating. Avoid placing it in tight corners, behind furniture, or under shelves.
Level and Stable Surface
The floor should be flat and level. If the unit tilts, it can cause water to leak from the drain port or affect internal components. Use a level to check, and place a piece of cardboard or a rubber mat underneath if the floor is uneven.
Avoid Heat Sources
Don’t place the AC near heaters, ovens, or direct sunlight. These heat sources make the unit work harder and reduce efficiency. Also, avoid areas with high humidity, like bathrooms, unless absolutely necessary.
Electrical Safety
Plug the unit directly into a grounded wall outlet. Avoid using extension cords or power strips, as they can overheat and pose a fire risk. The LP0817WSR requires a 115V outlet with a 15-amp circuit. If your outlet feels loose or warm, consult an electrician before use.
Step 3: Prepare the Window for Installation
The window kit is designed to fit most sliding windows (horizontal or vertical). Proper preparation ensures a tight seal and prevents hot air from sneaking back in.
Measure Your Window
Open the window and measure the opening width or height, depending on how you’ll install the bracket. The LG window kit is adjustable, but it works best in openings between 22 and 40 inches wide (for horizontal windows) or 22 to 40 inches tall (for vertical windows).
Clean the Window Frame
Wipe down the window sill and frame with a damp cloth. Remove dust, dirt, or old weather stripping. A clean surface helps the foam seals adhere better and creates a tighter seal.
Install the Foam Seals
Attach the foam seals to the top and bottom of the window bracket panel. These seals fill gaps and prevent air leaks. Peel off the adhesive backing and press firmly into place. Trim any excess with scissors if needed.
Adjust the Window Bracket
Slide the two parts of the bracket apart to match your window opening. Most kits have measurement markings—use them to set the correct width or height. Tighten the screws to lock it in place.
Secure the Bracket in the Window
Place the bracket into the window opening. For horizontal windows, slide the bottom sash down onto the bracket. For vertical windows, slide the side sash inward. Make sure it’s snug but not forced—forcing it can crack the glass or damage the frame.
Seal Any Gaps
Even with the foam seals, small gaps may remain. Use weather stripping, duct tape, or extra foam to seal them. This step is crucial—air leaks can reduce cooling by up to 30%.
Step 4: Connect the Exhaust Hose
The exhaust hose removes hot air from the room. If it’s not connected properly, your AC will struggle to cool and may shut down due to overheating.
Attach the Hose to the Unit
Locate the exhaust port on the back of the LP0817WSR. It’s usually a round opening with a twist-lock mechanism. Take the hose connector and align it with the port. Twist clockwise until it locks into place. You should hear a click or feel it secure.
Connect the Other End to the Window Bracket
Stretch the hose to the window and attach the other end to the bracket’s exhaust opening. Again, use the twist-lock or clamp provided. Make sure it’s tight—loose connections allow hot air to escape back into the room.
Check for Kinks or Bends
The hose should be as straight as possible. Kinks restrict airflow and reduce efficiency. If the hose is too long, don’t coil it—instead, adjust the unit’s position to minimize slack. Coiling can trap heat and damage the hose over time.
Tighten with Tools (If Needed)
If the connections feel loose, use pliers or an adjustable wrench to gently tighten them. Don’t over-tighten—this can crack the plastic fittings. A snug fit is all you need.
Step 5: Plug In and Test the Unit
Now that everything is connected, it’s time to power up and test your LG portable air conditioner.
Plug Into a Dedicated Outlet
Insert the power cord into a grounded wall outlet. Avoid sharing the outlet with high-wattage appliances like microwaves or space heaters. The LP0817WSR draws about 800–900 watts, so it needs its own circuit.
Turn On the Unit
Press the power button on the control panel or remote. The display should light up, and you’ll hear the fan start. Set the mode to “Cool” and adjust the temperature to a comfortable level (e.g., 72°F).
Listen and Observe
Listen for unusual noises—grinding, rattling, or loud buzzing. These could indicate a loose part or blockage. Also, check if cold air is coming from the front vent and hot air is exiting through the hose.
Check for Leaks
Look around the window bracket and hose connections for signs of air leaks. You can do a simple test: hold a lit candle or incense stick near the seals. If the flame or smoke wavers, there’s a leak that needs sealing.
Monitor Water Drainage
The LP0817WSR is a self-evaporative model, meaning it recycles most condensation. However, in very humid conditions, water may collect in the internal tank. Check the drain port periodically. If water starts dripping, you may need to manually drain it using the included drain hose.
Step 6: Optimize Performance
Once your AC is running, a few tweaks can maximize cooling and energy efficiency.
Use a Fan to Circulate Air
Place a box fan near the AC to help distribute cool air throughout the room. This reduces hot spots and makes the space feel cooler faster.
Close Doors and Windows
Keep interior doors closed and other windows shut. This prevents warm air from entering and reduces the workload on your AC.
Use Curtains or Blinds
Close curtains or blinds during the day to block sunlight. This keeps the room cooler and reduces energy use.
Set a Timer
The LP0817WSR has a 24-hour timer. Use it to turn the unit on before you get home or off while you’re away. This saves energy and extends the unit’s lifespan.
Clean the Filter Regularly
The air filter collects dust and allergens. Clean it every 2–4 weeks by removing it, rinsing with warm water, and letting it dry completely. A dirty filter restricts airflow and reduces cooling power.
Troubleshooting Common Issues
Even with proper installation, you might run into problems. Here’s how to fix the most common ones.
Unit Won’t Turn On
Check the power cord and outlet. Try plugging another device into the same outlet to confirm it’s working. If the outlet is fine, check the circuit breaker. If it trips repeatedly, the unit may be overloading the circuit.
Not Cooling Enough
This is often due to poor ventilation. Make sure the exhaust hose is straight and not blocked. Also, check that the window seal is tight. If the room is very large or sunny, the 8,000 BTU capacity may not be enough—consider upgrading to a higher-BTU model.
Water Leaking from the Unit
Self-evaporative models can overflow in high humidity. Check the drain port and use the drain hose if needed. Also, ensure the unit is level—tilting can cause water to spill.
Strange Noises
Rattling may mean the unit isn’t level or something is loose inside. Turn it off, check the floor, and inspect the hose connections. Grinding noises could indicate a motor issue—contact LG support.
Remote Not Working
Replace the batteries. Make sure there’s no obstruction between the remote and the unit. If it still doesn’t work, try resetting the remote by removing the batteries for 10 seconds.
Maintenance Tips for Long-Term Use
Regular maintenance keeps your LG LP0817WSR running efficiently for years.
Monthly Filter Cleaning
Remove and clean the filter every month. This improves air quality and cooling performance.
Inspect the Hose and Seals
Every few months, check the exhaust hose for cracks or wear. Replace it if damaged. Also, reseal the window bracket if gaps appear.
Clean the Exterior
Wipe the unit with a damp cloth to remove dust. Avoid harsh chemicals—they can damage the plastic.
Store Properly Off-Season
If you’re not using the AC in winter, clean it thoroughly, drain any water, and store it in a dry place. Cover it to prevent dust buildup.
Conclusion
Installing your LG Portable Air Conditioner LP0817WSR is straightforward when you follow the right steps. From unboxing and choosing the best location to connecting the exhaust hose and testing the system, this guide ensures a smooth, hassle-free setup. Remember to prioritize safety, proper ventilation, and regular maintenance for optimal performance.
With your AC properly installed, you’ll enjoy cool, comfortable air all summer long—without the cost or commitment of central air. Whether you’re cooling a bedroom, home office, or small living space, the LP0817WSR delivers reliable, portable comfort. So plug it in, relax, and breathe easy knowing you’ve got it set up the right way.

