
This guide walks you through the complete installation of the LG Portable Air Conditioner LP1415GXr, from unboxing to final setup. You’ll learn how to use the window kit, secure the exhaust hose, and ensure optimal cooling performance with safety and efficiency in mind.
Key Takeaways
- Unbox and inspect all components: Ensure the unit, window kit, exhaust hose, and accessories are present and undamaged before starting.
- Choose the right location: Place the AC near a window and power outlet, with at least 20 inches of clearance on all sides for proper airflow.
- Install the window kit correctly: Use the adjustable window bracket and foam seals to prevent hot air from re-entering the room.
- Connect the exhaust hose securely: Attach the hose to both the unit and window bracket, ensuring no gaps or kinks that reduce efficiency.
- Plug in and test the system: Power on the unit, select cooling mode, and verify that hot air is exhausting properly through the hose.
- Maintain regular cleaning: Clean the air filter monthly and check the exhaust hose for blockages to keep performance high.
- Use troubleshooting tips if needed: If the unit isn’t cooling, check for obstructions, proper hose installation, or error codes on the display.
How to Install LG Portable Air Conditioner LP1415GXr
Installing your LG Portable Air Conditioner LP1415GXr doesn’t have to be complicated. Whether you’re beating the summer heat or just want better indoor comfort, this step-by-step guide will help you set up your unit safely and efficiently. The LP1415GXr is a 14,000 BTU portable AC designed for rooms up to 500 square feet, offering powerful cooling with convenient portability. With the right tools and a little patience, you can have it up and running in under an hour.
This guide covers everything from unboxing and preparing your space to connecting the exhaust hose and testing the system. We’ll also share practical tips to maximize efficiency and troubleshoot common issues. By the end, you’ll know exactly how to install LG portable air conditioner LP1415GXr like a pro.
What You’ll Need Before Starting
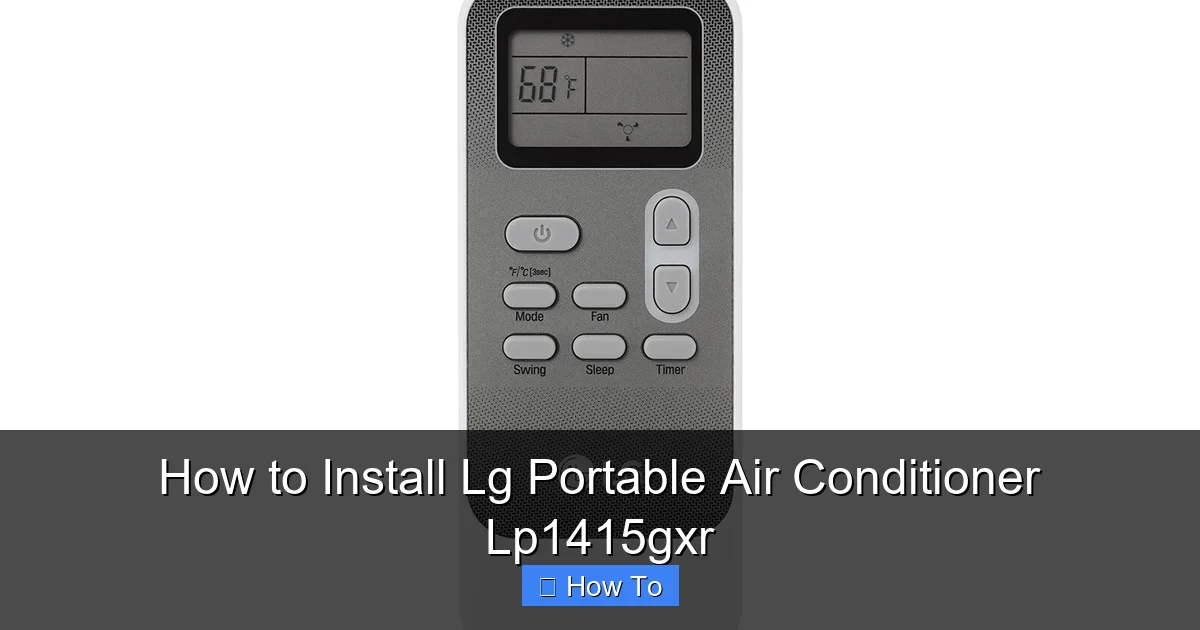
Visual guide about How to Install Lg Portable Air Conditioner Lp1415gxr
Image source: lg.com
Before you begin, gather the following tools and materials to ensure a smooth installation:
- Phillips-head screwdriver
- Measuring tape
- Scissors or utility knife
- Pencil or marker
- Level (optional, but helpful)
- Helper (recommended for lifting and positioning)
Make sure you have access to a window that can accommodate the window kit. The LP1415GXr uses a single-hose system, meaning it draws in air, cools it, and exhausts hot air out through one hose. This requires a window opening of at least 24 inches wide and 15 inches tall, though larger is better.
Also, confirm that the room has a standard 120V electrical outlet nearby. Avoid using extension cords, as they can overheat and reduce performance. If you must use one, choose a heavy-duty, grounded cord rated for at least 15 amps.
Step 1: Unbox and Inspect the Unit
Start by carefully removing the LG Portable Air Conditioner LP1415GXr from its packaging. Place the box on a flat, stable surface and open it gently to avoid damaging any components.
Check the Contents
Inside the box, you should find:
- LG LP1415GXr portable air conditioner unit
- Exhaust hose (approximately 5.5 feet long)
- Hose connector (attaches to the back of the unit)
- Window kit (includes adjustable window bracket, foam seals, and screws)
- Remote control with batteries
- User manual and installation guide
- Drain hose (for manual drainage, if needed)
Inspect each item for damage. Look for cracks, dents, or missing parts. If anything is damaged or missing, contact LG customer support or the retailer immediately. Don’t proceed with installation until all parts are confirmed intact.
Position the Unit
Place the AC unit on a flat, level surface near the window where you plan to install it. The unit weighs about 75 pounds, so it’s best to move it with a dolly or ask someone to help. Avoid placing it on carpets or rugs that could block the air intake vents on the bottom.
Leave at least 20 inches of clearance on all sides—especially the back and sides—to ensure proper airflow. The LP1415GXr needs space to pull in warm air and expel cool air efficiently. Blocking the vents can cause overheating and reduce cooling performance.
Step 2: Prepare the Window Opening
The next step is to prepare your window for the exhaust hose. The LP1415GXr uses a single-hose system, so you’ll need to install the window kit to seal the opening and direct hot air outside.
Measure the Window
Use a measuring tape to determine the height and width of your window opening. The window kit is adjustable, but it works best in windows between 24 and 48 inches wide and 15 to 30 inches tall. If your window is outside this range, you may need to modify the setup or consider a different model.
Install the Window Kit
The window kit includes an adjustable plastic bracket, foam seals, and screws. Here’s how to install it:
- Open the window and place the adjustable bracket into the opening. The bracket should sit on the windowsill with the longer side facing outward.
- Extend the bracket to fit the width of the window. Most kits have a sliding mechanism—pull it out until it’s snug against both sides.
- Secure the bracket with the provided screws. Use a screwdriver to tighten them, but don’t over-tighten, as this can crack the plastic.
- Apply the foam seals to the gaps between the window and the bracket. These seals prevent hot air from leaking back into the room. Cut the foam to size with scissors if needed.
- Close the window securely over the bracket. Make sure it locks in place and creates a tight seal.
If you have a sliding window (horizontal), install the bracket horizontally. For double-hung windows (vertical), install it vertically. The key is to create a sealed opening that only allows the exhaust hose to pass through.
Tip: Use a Level
For best results, use a level to ensure the bracket is straight. A tilted bracket can cause the window to bind or create gaps that reduce efficiency.
Step 3: Connect the Exhaust Hose
The exhaust hose is the most critical part of the installation. It carries hot air from the unit to the outside. If it’s not connected properly, your AC won’t cool effectively.
Attach the Hose to the Unit
Locate the exhaust port on the back of the LP1415GXr. It’s a round opening with a twist-lock mechanism.
- Take the hose connector and align it with the exhaust port.
- Push it in and twist clockwise until it locks into place. You should hear a click or feel it snap securely.
- Make sure the connection is tight and there are no gaps. A loose connection can cause hot air to leak back into the room.
Attach the Hose to the Window Bracket
Now, connect the other end of the hose to the window bracket:
- Insert the hose into the opening in the window bracket.
- Twist the hose connector (if included) or secure it with the provided clamp to prevent it from slipping out.
- Ensure the hose is straight and not kinked. A bent hose restricts airflow and reduces cooling power.
Tip: Minimize Hose Length
The exhaust hose should be as short and straight as possible. If the hose is too long, coil the excess and secure it with zip ties. Avoid sharp bends or loops that can trap hot air.
Step 4: Plug In and Power On
With the hose connected and the window sealed, it’s time to power up the unit.
Connect to Power
Plug the AC’s power cord directly into a grounded 120V outlet. Avoid using power strips or extension cords unless absolutely necessary. If you must use an extension cord, choose one that is 14-gauge or thicker and rated for outdoor use.
Turn On the Unit
Press the power button on the control panel or use the remote. The display should light up, and you’ll hear the fan start.
Set the Mode and Temperature
Use the remote or control panel to:
- Select “Cool” mode
- Set your desired temperature (e.g., 72°F)
- Choose the fan speed (Auto, Low, Medium, or High)
The unit will begin cooling the room. You should feel cool air coming from the front vents within a few minutes.
Step 5: Test and Optimize Performance
After powering on, take a few minutes to test the system and ensure everything is working correctly.
Check for Air Leaks
Feel around the window bracket and hose connections. If you feel warm air leaking in, tighten the connections or add more foam sealant.
Listen for Unusual Noises
The unit should run quietly. If you hear loud rattling, grinding, or banging, turn it off and check for loose parts or obstructions.
Monitor Cooling
Place a thermometer near the AC and check the temperature drop over 15–20 minutes. You should see a noticeable decrease, especially in a well-insulated room.
Adjust Placement if Needed
If the room isn’t cooling evenly, try moving the unit slightly or adjusting the fan direction. The LP1415GXr has adjustable louvers to direct airflow.
Step 6: Maintenance and Care
To keep your LG Portable Air Conditioner LP1415GXr running efficiently, regular maintenance is essential.
Clean the Air Filter
The air filter traps dust and debris. A dirty filter reduces airflow and cooling power.
- Turn off and unplug the unit.
- Remove the front panel and pull out the filter.
- Rinse it under warm water or vacuum it gently.
- Let it dry completely before reinserting.
Clean the filter every 2–4 weeks during heavy use.
Check the Exhaust Hose
Inspect the hose monthly for blockages, kinks, or damage. Clean the inside with a soft brush if needed.
Drain Water (If Needed)
The LP1415GXr has a self-evaporative system, meaning most moisture is expelled through the exhaust hose. However, in very humid conditions, water may collect in the internal tank.
If the unit displays a “Drain” indicator or stops cooling, you may need to manually drain it:
- Turn off and unplug the unit.
- Locate the drain plug on the back or bottom.
- Place a container underneath and remove the plug.
- Let the water drain completely, then reinsert the plug.
Store Properly Off-Season
When not in use, clean the unit, coil the hose, and store it in a dry, cool place. Cover it to protect from dust.
Troubleshooting Common Issues
Even with proper installation, you may encounter issues. Here’s how to fix the most common problems:
Unit Won’t Turn On
- Check the power outlet—try plugging in another device.
- Ensure the power cord is fully inserted.
- Look for a tripped circuit breaker or blown fuse.
Not Cooling Enough
- Make sure the exhaust hose is properly connected and not kinked.
- Check that the window seal is tight—hot air may be leaking back in.
- Clean the air filter—a dirty filter restricts airflow.
- Ensure the room isn’t too large for the unit (max 500 sq ft).
Water Leaking Inside
- This usually means the drain tank is full. Manually drain the unit.
- Check that the unit is level—tilting can cause water to spill.
Error Codes on Display
- “E1” – Check the air filter and clean it.
- “E2” – Drain the water tank.
- “E3” – Exhaust hose may be blocked or improperly installed.
- Refer to the user manual for a full list of error codes.
Loud or Unusual Noises
- Check for loose parts or foreign objects in the fan.
- Ensure the unit is on a stable surface—vibrations can cause noise.
Safety Tips and Best Practices
To ensure safe and efficient operation, follow these guidelines:
- Never block the air intake or exhaust vents. This can cause overheating and damage the unit.
- Do not operate the AC in wet conditions. Avoid placing it in bathrooms or near water sources.
- Keep children and pets away from the unit. The exhaust hose and moving parts can be hazardous.
- Unplug the unit before cleaning or maintenance. This prevents electrical shock.
- Do not use the AC as a heater. The LP1415GXr is designed for cooling only.
Conclusion
Installing your LG Portable Air Conditioner LP1415GXr is a straightforward process when you follow the right steps. From unboxing and preparing your window to connecting the exhaust hose and testing the system, this guide covers everything you need to know. With proper installation and regular maintenance, your portable AC will deliver reliable, energy-efficient cooling all season long.
Remember to choose the right location, seal the window properly, and keep the air filter clean. If you run into issues, use the troubleshooting tips to resolve them quickly. Whether you’re cooling a bedroom, home office, or living room, the LP1415GXr is a powerful and convenient solution.
By following this guide, you’ve not only learned how to install LG portable air conditioner LP1415GXr—you’ve also set yourself up for long-term success. Stay cool, stay comfortable, and enjoy the benefits of your new air conditioner.

