
This guide walks you through how to install the LG floor standing air conditioner hose LP0814WNR safely and correctly. You’ll learn the tools needed, step-by-step instructions, and expert tips to ensure a leak-free, efficient cooling system.
Key Takeaways
- Read the manual first: Always start by reviewing the LG LP0814WNR user manual for model-specific instructions and safety warnings.
- Gather the right tools: You’ll need a screwdriver, wrench, level, tape measure, and possibly a drill to complete the installation smoothly.
- Choose the right location: Install the unit near a window or wall opening with proper ventilation and access to power.
- Secure the hose properly: Ensure the exhaust hose is tightly connected and sloped slightly downward to prevent water buildup.
- Test before finalizing: Run the AC for 10–15 minutes after installation to check for leaks, unusual noises, or poor airflow.
- Maintain regularly: Clean the hose and filters every few months to keep your unit running efficiently.
- Call a pro if unsure: If you encounter electrical issues or refrigerant concerns, contact a certified technician.
How to Install LG Floor Standing Air Conditioner Hose LP0814WNR
Installing your LG floor standing air conditioner hose LP0814WNR might seem a bit intimidating at first, but with the right guidance, it’s a straightforward DIY project. Whether you’re setting up your new portable AC for the first time or replacing an old hose, this guide will walk you through every step—from preparation to testing—so you can enjoy cool, comfortable air without the stress.
In this comprehensive how-to guide, you’ll learn exactly how to install the LG floor standing air conditioner hose LP0814WNR safely and effectively. We’ll cover everything from unboxing and planning your setup to connecting the hose, securing the unit, and troubleshooting common issues. By the end, you’ll have a fully functional air conditioner that keeps your space cool all summer long.
Let’s get started!
What You’ll Need Before You Begin
Before you touch a single screw, it’s important to gather all the tools and materials you’ll need. Having everything ready will save you time and prevent mid-installation trips to the hardware store.
Here’s a checklist of what you’ll need:
- LG LP0814WNR portable air conditioner unit – Make sure it’s unboxed and all parts are present.
- Exhaust hose kit – Usually included with the unit, but double-check the box.
- Window or wall venting kit – This includes the window slider panel, hose adapter, and mounting brackets.
- Screwdriver (Phillips and flathead) – For tightening screws and adjusting panels.
- Adjustable wrench or pliers – To secure hose connections.
- Tape measure – To measure window opening and hose length.
- Level – Ensures the unit sits evenly and the hose drains properly.
- Drill (optional) – Only needed if installing through a wall.
- Duct tape or foam weather stripping – For sealing gaps around the window or wall.
- Gloves and safety glasses – For personal protection during installation.
Pro Tip: Lay out all parts on a clean, flat surface and cross-reference them with the parts list in your user manual. This helps ensure nothing is missing before you begin.
Step 1: Choose the Right Location for Your Air Conditioner
The location of your LG LP0814WNR is crucial for performance and safety. A poorly placed unit can lead to reduced cooling, water leaks, or even electrical hazards.
Ideal Placement Tips
- Near a window: The LP0814WNR is a portable unit that vents hot air outside through an exhaust hose. It must be placed within 5–7 feet of a window or wall opening.
- Level ground: Place the unit on a flat, stable surface. Uneven floors can cause the internal condensate pump to malfunction.
- Away from heat sources: Keep it away from stoves, radiators, or direct sunlight, which can make the unit work harder.
- Clearance space: Leave at least 20 inches of clearance on all sides for proper airflow.
- Access to power: Ensure there’s a grounded electrical outlet nearby. Never use extension cords unless they’re heavy-duty and rated for air conditioners.
Example: If you’re installing in a bedroom, place the unit near a window on the side of the room opposite the bed. This minimizes noise and maximizes cooling efficiency.
Avoid These Common Mistakes
- Placing the unit in a corner with no airflow.
- Using a long, coiled extension cord that can overheat.
- Installing in a damp or humid area like a basement without proper ventilation.
Step 2: Prepare the Window or Wall Opening
Once you’ve chosen the perfect spot, it’s time to prepare the area where the exhaust hose will exit. Most users vent through a window, but wall installations are also possible.
For Window Installation (Most Common)
1. Measure the window opening: Use your tape measure to determine the height and width of the window you’ll use. The LG LP0814WNR typically works best with sliding or double-hung windows.
2. Adjust the window slider panel: The kit includes an adjustable plastic or aluminum panel that fits into the window track. Slide it to match your window’s height.
3. Secure the panel: Once adjusted, tighten the screws or locking knobs to hold it in place. Make sure it’s snug but not so tight that it cracks the window frame.
4. Cut a hole for the hose: Most kits come with a pre-cut opening, but if not, use a utility knife to carefully cut a hole in the center of the panel. The hole should be just large enough to fit the hose adapter.
5. Seal gaps: Use foam weather stripping or duct tape around the edges of the panel to prevent hot air from leaking back in.
For Wall Installation (Advanced)
If you’re drilling through an exterior wall, follow these steps:
1. Choose the drill location: Pick a spot low on the wall, near the floor, and close to the AC unit. Avoid electrical wires or plumbing.
2. Drill a pilot hole: Use a small drill bit to start, then gradually increase to the size needed for the hose (usually 5–6 inches in diameter).
3. Install the wall vent kit: Insert the vent sleeve from the outside, then attach the interior flange. Secure with screws and seal with silicone caulk.
4. Connect the hose: Attach the exhaust hose to the interior flange using the provided adapter.
Safety Note: If you’re not comfortable drilling through a wall, hire a professional. Improper installation can damage your home or void your warranty.
Step 3: Unbox and Inspect the LG LP0814WNR
Now that your venting area is ready, it’s time to unbox your air conditioner.
Unboxing Steps
1. Open the box carefully: Use scissors or a box cutter to avoid damaging internal components.
2. Remove all packaging materials: Take out the unit, hose, window kit, and accessories. Discard foam, plastic wrap, and zip ties.
3. Inspect for damage: Check the unit for dents, cracks, or loose parts. Look inside the hose for obstructions.
4. Locate the exhaust hose port: On the back of the LP0814WNR, you’ll see a round opening where the hose connects. It’s usually labeled “Exhaust” or has a diagram.
5. Check the hose length: The standard hose is about 5 feet long. If your window is farther away, you may need an extension (sold separately).
Pro Tip: Keep the original box and packaging for at least 30 days in case you need to return or move the unit.
Step 4: Connect the Exhaust Hose to the Air Conditioner
This is the core of the installation—connecting the hose that vents hot air outside.
Step-by-Step Hose Connection
1. Attach the hose adapter to the unit: Slide the plastic or metal adapter into the exhaust port on the back of the LP0814WNR. It should click or snap into place.
2. Secure with the locking ring: Most models include a twist-lock ring. Rotate it clockwise until tight to prevent the hose from slipping off.
3. Connect the hose to the adapter: Slide one end of the flexible hose over the adapter. Make sure it’s pushed on fully—about 2–3 inches deep.
4. Tighten the clamp (if included): Some kits come with a metal or plastic clamp. Wrap it around the hose and tighten with a screwdriver.
5. Check the connection: Give the hose a gentle tug to ensure it’s secure. It shouldn’t come off easily.
Important: Never run the hose with sharp bends or kinks. This restricts airflow and reduces cooling efficiency. Keep it as straight as possible.
Hose Routing Tips
- Route the hose upward slightly from the unit to the window to help condensate drain back inside.
- Avoid placing the hose under furniture or rugs, which can block airflow.
- If the hose must bend, use a gradual curve—never a 90-degree angle.
Step 5: Attach the Hose to the Window or Wall Vent
Now it’s time to connect the other end of the hose to your venting system.
For Window Venting
1. Insert the hose into the window panel: Push the free end of the hose through the hole in the slider panel.
2. Attach the hose adapter: Slide the adapter over the hose end and secure it to the panel using the provided clips or screws.
3. Seal the connection: Use foam tape or duct tape around the adapter to prevent air leaks.
4. Close the window: Lower the window sash onto the slider panel. Make sure it’s tight but not forcing the panel out of place.
For Wall Venting
1. Connect the hose to the interior flange: Slide the hose over the flange and secure with a clamp.
2. Seal with silicone: Apply a bead of silicone caulk around the flange to prevent moisture and air leaks.
3. Check from outside: Make sure the exterior vent cover opens and closes freely.
Pro Tip: If you notice warm air leaking back in, add extra weather stripping or use a foam sealant around the vent.
Step 6: Level and Position the Air Conditioner
A level unit ensures proper drainage and prevents water leaks.
How to Level the Unit
1. Place the unit near the window: Roll it into position using the built-in casters.
2. Use a level: Place the level on top of the unit. Adjust the front or rear casters if needed.
3. Lock the casters: Most LP0814WNR models have locking wheels. Flip the locks down to prevent the unit from moving.
4. Check for stability: Gently rock the unit. It shouldn’t wobble or tip.
Safety Note: Never operate the unit on an uneven surface. This can cause the internal pump to fail and lead to water damage.
Step 7: Plug In and Test the System
You’re almost done! Now it’s time to power up and test your installation.
Power-Up Steps
1. Plug into a grounded outlet: Use a dedicated 120V outlet. Avoid power strips or extension cords unless absolutely necessary.
2. Turn on the unit: Press the power button on the control panel or remote.
3. Set to cool mode: Choose “Cool” and set your desired temperature.
4. Wait 10–15 minutes: Allow the unit to run and cool the room.
What to Listen and Look For
- Normal sounds: A gentle hum and airflow from the front vent.
- Unusual noises: Rattling, grinding, or loud banging—these may indicate loose parts or a blocked hose.
- Airflow: Cold air should blow steadily from the front. Weak airflow could mean a kinked hose or dirty filter.
- Water leaks: Check around the unit and hose connections. A small amount of condensation is normal, but pooling water is not.
Pro Tip: If the unit shuts off unexpectedly, check the water tank. The LP0814WNR has an auto-shutoff feature when the tank is full.
Troubleshooting Common Installation Issues
Even with careful installation, problems can arise. Here’s how to fix the most common ones.
Issue 1: Hose Keeps Coming Loose
Cause: The hose isn’t pushed on far enough or the clamp is loose.
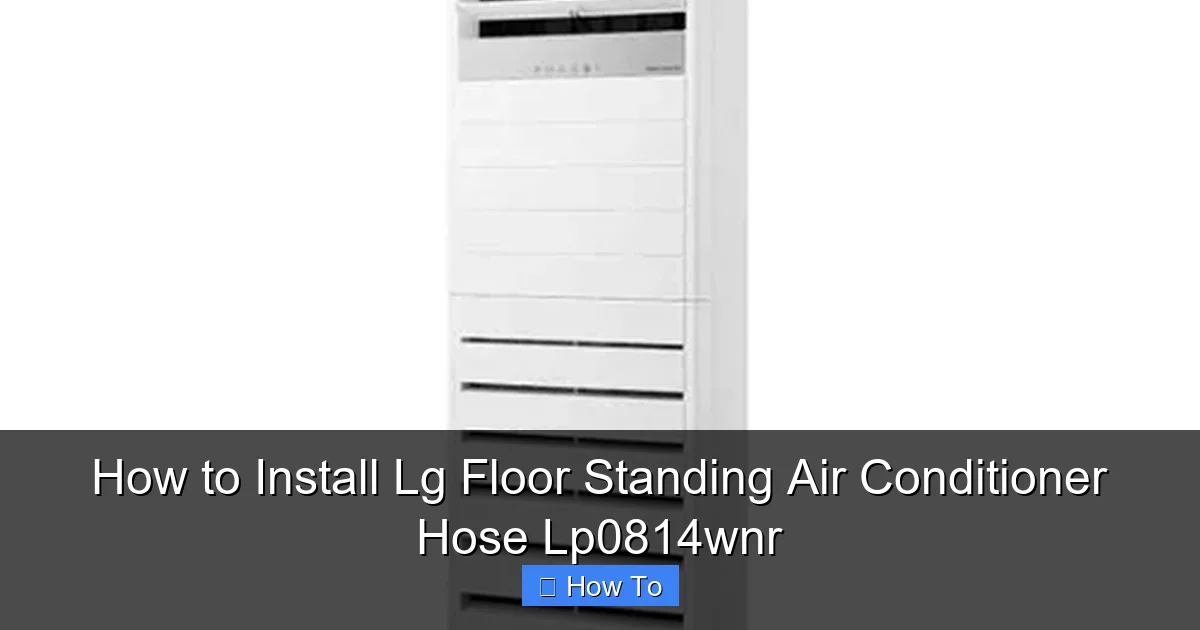
Visual guide about How to Install Lg Floor Standing Air Conditioner Hose Lp0814wnr
Image source: myhartono.com
Solution: Disconnect the hose, push it on 2–3 inches, and tighten the clamp. Use duct tape as a backup seal.
Issue 2: Warm Air Blowing Inside
Cause: Hot air is leaking back through the window or wall vent.
Solution: Re-seal the vent with weather stripping or foam. Ensure the window is tightly closed.
Issue 3: Unit Not Cooling
Cause: Dirty filter, blocked hose, or low refrigerant.
Solution: Clean the filter, straighten the hose, and check for obstructions. If problems persist, contact LG support.
Issue 4: Water Leaking from the Unit
Cause: Clogged drain hose or full water tank.
Solution: Empty the water tank and check the drain hose for blockages. Clean with a pipe cleaner if needed.
Issue 5: Unit Shuts Off Automatically
Cause: Full water tank or overheating.
Solution: Empty the tank and let the unit cool for 30 minutes. Ensure proper ventilation.
Maintenance Tips to Keep Your AC Running Smoothly
Proper maintenance extends the life of your LG LP0814WNR and keeps it running efficiently.
Monthly Maintenance
- Clean the air filter with warm, soapy water. Let it dry completely before reinstalling.
- Wipe down the exterior with a damp cloth.
- Check the exhaust hose for cracks or wear.
Seasonal Maintenance
- Inspect the window or wall vent for damage or pests.
- Lubricate the casters if they squeak.
- Store the unit in a dry place during winter.
Pro Tip: Set a calendar reminder every month to clean the filter. A dirty filter reduces airflow and increases energy use.
Conclusion
Installing the LG floor standing air conditioner hose LP0814WNR doesn’t have to be complicated. By following this step-by-step guide, you’ve learned how to choose the right location, prepare the venting area, connect the hose securely, and test the system for optimal performance.
Remember, the key to a successful installation is preparation, attention to detail, and regular maintenance. Take your time, double-check connections, and don’t hesitate to consult the user manual or contact LG support if you run into issues.
With your AC properly installed, you can now enjoy cool, refreshing air all summer long—without the hassle of constant repairs or poor performance. Stay cool, stay comfortable, and enjoy the peace of mind that comes with a job well done!

