
This guide walks you through the complete process of installing an LG floor standing air conditioner hose, from preparation to final testing. You’ll learn essential safety tips, required tools, and how to avoid common mistakes for a smooth, efficient installation.
Key Takeaways
- Read the manual first: Always consult your LG air conditioner’s user manual for model-specific instructions and safety warnings.
- Gather the right tools: You’ll need a screwdriver, wrench, tape measure, level, and possibly a drill to complete the installation properly.
- Ensure proper ventilation: The hose must be installed with adequate airflow and minimal bends to maintain cooling efficiency.
- Check for leaks: After installation, test the system to ensure there are no refrigerant or condensation leaks.
- Secure all connections: Loose hoses can cause noise, reduced performance, or water damage—tighten all fittings securely.
- Maintain clearance: Keep the unit and hose away from walls, furniture, and heat sources for optimal operation.
- Schedule regular maintenance: Clean filters and inspect hoses every few months to extend the life of your AC unit.
How to Install LG Floor Standing Air Conditioner Hose: A Complete Step-by-Step Guide
Installing an LG floor standing air conditioner hose may seem daunting at first, but with the right guidance, it’s a manageable DIY project. Whether you’re setting up a new unit or replacing an old hose, this comprehensive guide will walk you through every step—from preparation to final testing. You’ll learn how to safely connect the hose, avoid common pitfalls, and ensure your air conditioner runs efficiently.
LG floor standing air conditioners are known for their powerful cooling, sleek design, and quiet operation. However, their performance heavily depends on proper installation, especially when it comes to the exhaust hose. This hose is responsible for venting hot air from the room to the outside, allowing the unit to cool effectively. If installed incorrectly, you may experience reduced cooling, increased energy bills, or even water leaks.
In this guide, we’ll cover everything you need to know: the tools required, safety precautions, step-by-step installation instructions, troubleshooting tips, and maintenance advice. By the end, you’ll feel confident handling the installation yourself—no need to call a technician unless you encounter complex issues.
Let’s get started!
Understanding the LG Floor Standing Air Conditioner Hose
Before diving into the installation, it’s important to understand what the hose does and why it’s critical to your AC’s performance.
The exhaust hose in an LG floor standing air conditioner is part of the unit’s ventilation system. It connects the indoor unit to a window or wall vent, allowing hot air and humidity to escape outside. Most LG models use a single or dual-hose system. Single-hose units draw in outdoor air to cool the condenser, while dual-hose models use one hose for intake and another for exhaust—offering better efficiency.
The hose is typically made of flexible, insulated material to reduce heat transfer and prevent condensation buildup. It’s designed to be durable, but it can wear over time due to heat, UV exposure, or physical damage.
Knowing your model type is essential. Check the product label or user manual to confirm whether your LG unit uses a single or dual-hose configuration. This will determine how many hoses you need to install and where they should be routed.
Tools and Materials You’ll Need
Having the right tools on hand will make the installation process smoother and safer. Here’s a list of what you’ll likely need:
- Phillips and flathead screwdrivers
- Adjustable wrench or pliers
- Tape measure
- Level
- Drill (if mounting a vent through a wall)
- Window mounting kit (often included with the unit)
- Foam insulation tape or weather stripping
- Duct tape or hose clamps (for securing connections)
- Safety gloves and goggles
- Vacuum cleaner (for cleaning the area before installation)
Most LG floor standing air conditioners come with a basic installation kit that includes the hose, window adapter, and mounting brackets. However, you may need to purchase additional materials depending on your setup—such as a wall vent kit if you’re not using a window.
Always wear safety gloves and goggles when handling tools or working near electrical components. Even though the hose installation is mechanical, it’s best to err on the side of caution.
Pre-Installation Safety Checklist
Safety should always come first. Before you begin, follow these essential precautions:
- Turn off the power: Unplug the air conditioner from the wall outlet or switch off the circuit breaker. This prevents accidental startup during installation.
- Choose a safe location: Place the unit on a flat, stable surface away from water sources, direct sunlight, and heat-emitting appliances.
- Check for obstructions: Ensure there’s at least 18–24 inches of clearance around the unit for proper airflow.
- Inspect the hose: Look for cracks, kinks, or signs of wear. A damaged hose can reduce efficiency or cause leaks.
- Read the manual: Every LG model is slightly different. The user manual contains vital information about hose routing, vent placement, and safety warnings.
Taking these steps not only protects you but also ensures your air conditioner operates at peak performance.
Step 1: Unpack and Inspect the Unit
Start by carefully unpacking your LG floor standing air conditioner. Remove all packaging materials, including foam, plastic wrap, and tape. Keep the box and packaging in case you need to return or move the unit later.
Once unpacked, inspect the unit for any visible damage—dents, scratches, or loose parts. Check the hose and connectors for cracks or deformities. If you notice any issues, contact LG customer support before proceeding.
Next, locate the installation kit. It should include:
– The exhaust hose (or hoses)
– Window adapter plate
– Mounting brackets
– Screws and anchors
– User manual and warranty card
Lay out all components on a clean, flat surface. This helps you verify everything is present and organized before starting the installation.
Step 2: Choose the Best Location for Your AC Unit
Where you place your LG floor standing air conditioner affects both performance and convenience. Follow these guidelines:
- Near a window or exterior wall: The hose needs to reach outside, so choose a spot close to a window or wall where you can install a vent.
- Level ground: Place the unit on a flat, stable surface. Uneven flooring can cause vibrations or drainage issues.
- Avoid direct sunlight: Heat from windows or lamps can make the unit work harder, reducing efficiency.
- Keep away from electronics: Don’t place the AC near TVs, computers, or other sensitive devices—condensation or vibrations could cause damage.
- Ensure easy access: You’ll need to clean filters and check the hose regularly, so leave enough space around the unit.
Use a tape measure to confirm the distance from the unit to the window or vent. Most hoses are 5–7 feet long, but you can extend them with additional ducting if needed (though this may reduce efficiency).
Step 3: Prepare the Window or Wall Vent
Now it’s time to prepare the exit point for the hose. Most people use a window, but a wall vent is also an option.
If Using a Window:
1. Open the window slightly and measure the gap.
2. Use the included window adapter plate to fill the space. This plate usually has adjustable sliders to fit different window sizes.
3. Secure the plate with screws or brackets. Make sure it’s tight and level.
4. Apply foam insulation tape around the edges to prevent air leaks.
If Installing a Wall Vent:
1. Choose a spot on an exterior wall, preferably near the unit.
2. Use a drill and hole saw to create an opening slightly larger than the hose diameter.
3. Insert the wall vent kit and secure it with screws and sealant.
4. Apply weatherproof caulk around the edges to prevent water intrusion.
Always check local building codes before drilling into exterior walls. Some areas require permits for modifications.
Step 4: Attach the Hose to the Air Conditioner
With the vent prepared, it’s time to connect the hose to the unit.
1. Locate the hose port on the back or side of the LG air conditioner. It’s usually labeled “Exhaust” or “Out.”
2. Remove any protective caps or covers.
3. Slide the hose connector onto the port. It should fit snugly—don’t force it.
4. Secure the connection with a hose clamp or duct tape. Tighten the clamp with a screwdriver to prevent air leaks.
5. If your model has a dual-hose system, repeat the process for the intake hose.
Make sure the hose isn’t twisted or kinked. A bent hose restricts airflow and reduces cooling power.
Step 5: Route the Hose to the Vent
Now, guide the hose from the unit to the window or wall vent.
- Keep the hose as straight as possible. Avoid sharp bends or loops.
- Use zip ties or clips to secure the hose to the wall or floor if needed.
- If the hose must pass under a door, use a door draft stopper to protect it.
- Don’t run the hose across high-traffic areas where it could be tripped over or damaged.
If the hose is too long, don’t cut it unless instructed by the manual. Instead, coil the excess neatly and secure it with tape. Cutting the hose can void the warranty and affect performance.
Step 6: Connect the Hose to the Vent
Once the hose reaches the vent, attach it securely.
1. Insert the hose end into the window adapter or wall vent opening.
2. Push it in until it’s fully seated.
3. Use a hose clamp or duct tape to seal the connection.
4. Apply foam insulation tape around the joint to prevent air leaks.
Double-check that the hose is firmly attached and not loose. A loose connection can cause hot air to escape back into the room, reducing cooling efficiency.
Step 7: Test the Installation
Before celebrating, it’s crucial to test the system.
1. Plug in the air conditioner and turn it on.
2. Set the temperature low and select “Cool” mode.
3. Listen for unusual noises—rattling, hissing, or grinding.
4. Feel the air coming from the front vents. It should be cool and consistent.
5. Check the hose and connections for leaks. Look for condensation or warm air escaping.
If everything looks and sounds good, let the unit run for 15–20 minutes. Monitor the temperature drop in the room. If it’s not cooling properly, refer to the troubleshooting section below.
Troubleshooting Common Installation Issues
Even with careful installation, problems can arise. Here’s how to fix the most common issues:
Issue: Air Conditioner Isn’t Cooling
Check if the hose is kinked, blocked, or disconnected. Also, ensure the unit isn’t set to “Fan” mode. Clean the air filter—a dirty filter restricts airflow.
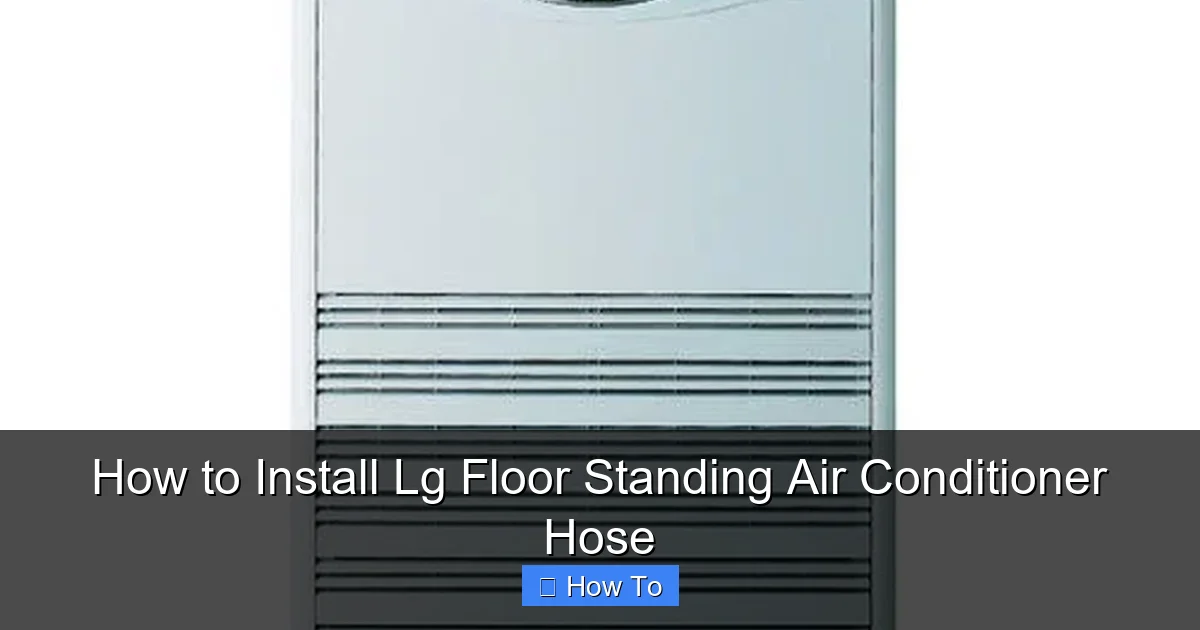
Visual guide about How to Install Lg Floor Standing Air Conditioner Hose
Image source: 5.imimg.com
Issue: Water Leaking from the Unit
This could be due to a clogged drain or improper hose slope. Make sure the hose slopes slightly downward toward the outside to allow condensation to drain.
Issue: Hose Keeps Coming Loose
Re-tighten the hose clamps and use duct tape for extra security. If the connector is damaged, contact LG for a replacement.
Issue: Excessive Noise
Loose parts or a vibrating hose can cause noise. Secure the hose with clips and check that the unit is level.
Issue: Hose Too Short
Don’t extend the hose with incompatible materials. Instead, reposition the unit closer to the vent or consult LG about extension kits.
If problems persist, consult the user manual or contact LG customer support.
Maintenance Tips for Long-Term Performance
Proper maintenance keeps your LG air conditioner running smoothly for years.
- Clean the filter monthly: Remove the front panel and wash the filter with mild soap and water. Let it dry completely before reinserting.
- Inspect the hose every 3 months: Look for cracks, mold, or blockages. Replace if damaged.
- Clear debris from the vent: Check the window or wall vent for leaves, dirt, or obstructions.
- Keep the area clean: Dust and pet hair can clog the unit. Vacuum around the base regularly.
- Schedule professional service annually: A technician can check refrigerant levels, clean internal components, and ensure optimal performance.
Regular care prevents costly repairs and extends the life of your air conditioner.
Conclusion
Installing an LG floor standing air conditioner hose is a straightforward process when you follow the right steps. From choosing the best location to securing the hose and testing the system, each phase plays a vital role in ensuring efficient cooling and long-term reliability.
Remember to prioritize safety, use the correct tools, and consult your user manual for model-specific details. With proper installation and regular maintenance, your LG air conditioner will keep your space cool and comfortable all summer long.
Don’t rush the process—take your time, double-check connections, and don’t hesitate to seek help if something doesn’t feel right. A well-installed hose not only improves performance but also saves energy and reduces wear on the unit.
Now that you’re equipped with this complete guide, you’re ready to tackle the installation with confidence. Stay cool!

