
Installing a 12000 BTU LG window air conditioner is easier than you think with the right tools and guidance. This guide walks you through every step—from measuring your window to testing the unit—so you can enjoy cool, comfortable air in no time.
Key Takeaways
- Measure your window first: Ensure your window opening is compatible with the AC unit’s dimensions before purchasing or installing.
- Use the right tools: A drill, level, tape measure, screwdriver, and foam insulation strips are essential for a secure and energy-efficient installation.
- Follow the manual: Always refer to the LG installation guide that comes with your model—it includes model-specific instructions and safety warnings.
- Seal gaps properly: Use weatherstripping and side panels to prevent air leaks, which can reduce cooling efficiency and increase energy bills.
- Check electrical requirements: A 12000 BTU unit typically needs a dedicated 20-amp circuit—avoid overloading existing outlets.
- Test before finalizing: Run the AC for 10–15 minutes after installation to confirm it’s cooling properly and not leaking air or water.
- Maintain regularly: Clean filters monthly and inspect seals seasonally to keep your unit running efficiently year after year.
How to Install a 12000 BTU LG Window Air Conditioner
Installing a 12000 BTU LG window air conditioner might seem like a big job, but with a little preparation and the right approach, it’s totally doable—even for beginners. Whether you’re trying to beat the summer heat or replace an old unit, this step-by-step guide will walk you through the entire process safely and efficiently. By the end, you’ll have a properly installed AC that keeps your room cool, quiet, and energy-efficient.
In this guide, you’ll learn how to choose the right location, gather the necessary tools, prepare your window, install the unit securely, and test it for optimal performance. We’ll also cover common mistakes to avoid and troubleshooting tips if something doesn’t go as planned. Let’s get started!
Why Choose a 12000 BTU LG Window Air Conditioner?
LG is known for making reliable, energy-efficient air conditioners, and their 12000 BTU window units are perfect for cooling rooms between 450 and 550 square feet. These models often come with smart features like Wi-Fi connectivity, remote control, and energy-saving modes. Plus, they’re designed to fit most standard double-hung or sliding windows, making them a popular choice for apartments, bedrooms, and home offices.
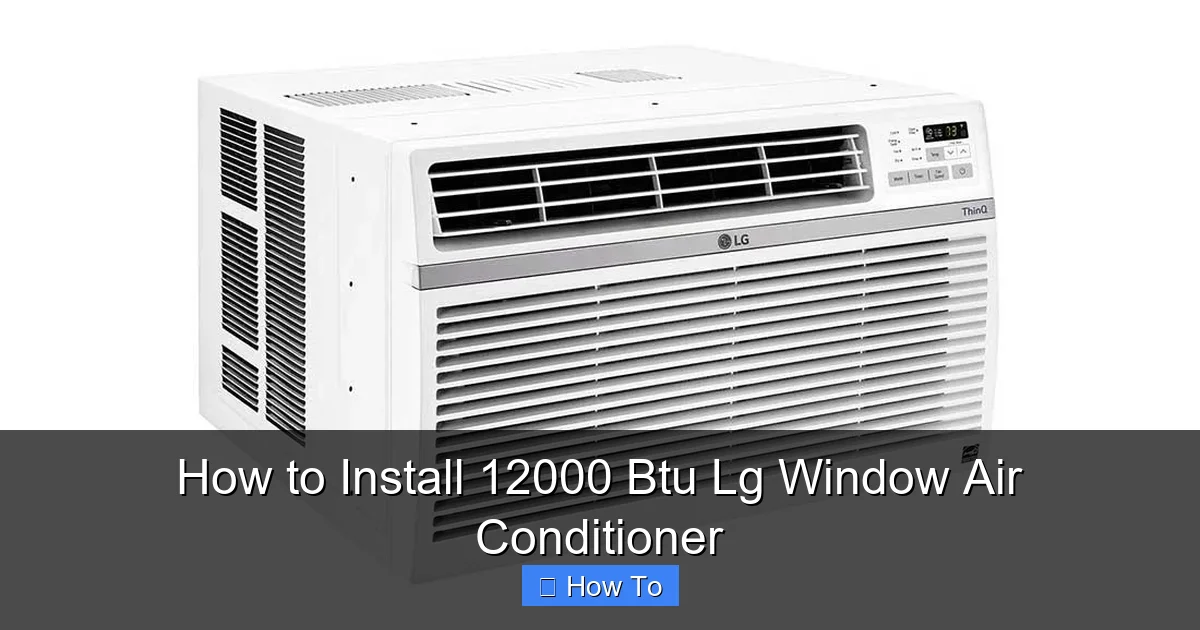
Visual guide about How to Install 12000 Btu Lg Window Air Conditioner
Image source: lg.com
A 12000 BTU unit strikes a great balance between power and efficiency. It’s strong enough to cool a large room quickly but not so powerful that it wastes energy in a smaller space. LG’s units also tend to run quieter than many competitors, thanks to advanced compressor technology and sound-dampening materials.
What You’ll Need Before You Start
Before you begin, make sure you have all the tools and materials on hand. Rushing out to buy something mid-installation can be frustrating and delay your cooling comfort.
Tools Required
- Tape measure
- Drill with drill bits
- Screwdriver (Phillips and flathead)
- Level
- Pencil or marker
- Utility knife
- Adjustable wrench (optional, for tightening bolts)
Materials and Supplies
- LG 12000 BTU window air conditioner (with included mounting hardware)
- Foam weatherstripping or insulation panels (often included)
- Side accordion panels (usually come with the unit)
- Screws and brackets (included in the package)
- Support bracket or L-brackets (optional, for extra stability)
- Duct tape or foil tape (for sealing seams)
- Extension cord (only if absolutely necessary—see electrical section)
Safety Gear
- Work gloves
- Safety glasses
- Sturdy step ladder (if installing above ground level)
Pro tip: Lay out all your tools and materials near the installation site before you start. This saves time and reduces the risk of dropping something from a ladder.
Step 1: Choose the Right Window and Location
Not every window is suitable for a window AC unit. You need a window that’s strong, stable, and the right size. Here’s how to pick the best spot.
Check Window Type and Size
Most LG 12000 BTU units are designed for double-hung or sliding windows. Measure the width and height of your window opening (from the inside of the frame). Compare these measurements to the dimensions listed in your AC unit’s manual. There should be at least 2–3 inches of clearance on each side for the side panels to fit properly.
For example, if your AC unit is 24 inches wide, your window opening should be at least 26–27 inches wide. If it’s too tight, the unit won’t fit. If it’s too loose, you’ll have large gaps that let hot air in.
Consider Sun Exposure and Airflow
Choose a window that gets moderate sun—too much direct sunlight can make your AC work harder. Also, avoid placing the unit near heat sources like ovens, radiators, or electronics. Good airflow around the unit helps it cool efficiently.
Ensure Structural Support
The window frame and sill must be strong enough to hold the weight of the AC unit (typically 70–80 pounds). Avoid installing in rotting, warped, or weak frames. If your window is old or damaged, consider reinforcing it or choosing a different location.
Check for Obstructions
Make sure there’s nothing blocking the outside of the window—like trees, awnings, or walls—that could restrict airflow. The condenser (the part that releases heat) needs at least 12–18 inches of clearance on the outside.
Step 2: Prepare the Window and Area
Now that you’ve picked the right window, it’s time to prep the area for installation.
Clean the Window Frame
Wipe down the inside and outside of the window frame with a damp cloth. Remove dust, dirt, and old paint. A clean surface helps the weatherstripping adhere better and creates a tighter seal.
Remove the Window Screen
Take out the screen from the window. You won’t need it while the AC is installed, and it can block airflow. Store it safely so you can reinstall it in the off-season.
Open the Window
Carefully raise the lower sash of a double-hung window (or slide open a horizontal window) to the height recommended in your LG manual. Most units require the window to be opened about 12–15 inches. Use a piece of wood or a window prop to hold it in place temporarily.
Test Fit the AC Unit
Before securing anything, place the AC unit into the window opening (without turning it on). Make sure it fits snugly and doesn’t tilt forward or backward. The front of the unit should sit flush with the inside of the window frame.
If the unit tilts, you may need to adjust the window height or use support brackets. Never install an AC that leans—it can fall out or cause water leakage.
Step 3: Install the Side Panels and Weatherstripping
LG window AC units come with accordion-style side panels that fill the gaps on either side of the unit. These are crucial for sealing out hot air and preventing drafts.
Attach the Side Panels
Most LG models have pre-attached side panels that expand to fit your window width. Slide the panels out from the sides of the unit until they reach the window frame. Use the included screws to secure them to the window sash or frame.
If your model has separate panels, follow the manual to attach them using the provided brackets and screws. Make sure they’re tight and don’t wobble.
Seal the Gaps with Weatherstripping
Use the foam weatherstripping included in the package to seal any small gaps between the window sash and the frame. Cut the strips to size with a utility knife and press them into place. This prevents air leaks and improves energy efficiency.
For extra protection, you can also apply foil tape over the seams where the side panels meet the window frame. This creates a more durable, long-lasting seal.
Step 4: Secure the Air Conditioner in Place
Now it’s time to lock the AC unit into the window and make sure it’s safe and stable.
Lower the Unit into the Window
With the help of a friend (window ACs are heavy!), carefully lift the unit and place it into the window opening. Make sure the front of the unit is level and flush with the inside wall. The back should extend slightly outside.
Never install the unit alone—this is a two-person job. Dropping the AC can damage the unit or cause injury.
Close the Window Sash
Slowly lower the upper sash (or slide the window closed) until it rests on top of the AC unit. Don’t force it—if it doesn’t close smoothly, adjust the unit or side panels.
Secure with Mounting Brackets
Most LG units include metal brackets that attach to the window sash and the AC casing. Use your drill to screw these into place. This prevents the unit from shifting or falling out.
For added safety, especially in windy areas or upper floors, install L-brackets under the unit to support its weight. Attach one end to the window sill and the other to the bottom of the AC unit.
Check for Level
Use a level to make sure the unit is perfectly horizontal. A slight tilt (about 1/4 inch toward the outside) is actually recommended to help condensation drain properly. But don’t tilt it too much—this can cause water to leak inside.
Step 5: Seal and Insulate the Installation
A tight seal is key to keeping cool air in and hot air out. Even small gaps can reduce efficiency by 10–20%.
Apply Final Weatherstripping
Go around the entire perimeter of the unit where it meets the window frame. Fill any remaining gaps with foam tape or caulk. Pay special attention to the top and sides.
Use Foam Insulation Panels (If Needed)
If your window is wider than the unit and side panels, you may need extra foam boards to fill the space. Cut them to size and secure with tape or screws. These act like insulation and block airflow.
Seal the Outside
On the outside, use exterior-grade caulk or foam sealant to close gaps between the unit and the window frame. This prevents rain, insects, and debris from getting in.
Step 6: Connect to Power and Test the Unit
Before you plug in and turn on your new AC, make sure the electrical setup is safe.
Check Electrical Requirements
A 12000 BTU LG window air conditioner typically draws about 12–15 amps and requires a dedicated 20-amp circuit. This means it should be plugged into its own outlet—not shared with other appliances.
Never use an extension cord unless it’s a heavy-duty, outdoor-rated one designed for AC units. Regular extension cords can overheat and cause a fire hazard.
Plug In and Turn On
Plug the AC into the outlet and turn it on using the remote or control panel. Set the temperature to a low setting (like 72°F) and select “Cool” mode.
Listen and Observe
Listen for unusual noises—grinding, rattling, or excessive buzzing could indicate a problem. Check that cold air is blowing from the front vents and that the unit isn’t vibrating excessively.
Check for Leaks
After 10–15 minutes, inspect the area around the unit. Look for water dripping inside (a sign of poor drainage) or warm air leaking around the edges. If you see issues, turn off the unit and recheck your seals and leveling.
Troubleshooting Common Installation Issues
Even with careful installation, problems can happen. Here’s how to fix the most common ones.
Unit Won’t Turn On
Check the power outlet with another device to make sure it’s working. Ensure the circuit breaker hasn’t tripped. If the outlet is fine, the unit may have a faulty power cord or internal issue—contact LG support.
Not Cooling Enough
This could be due to poor sealing, a dirty filter, or low refrigerant. First, check that all gaps are sealed and the filter is clean. If the problem persists, the unit may need professional servicing.
Water Leaking Inside
This usually means the unit isn’t tilted correctly or the drain is clogged. Adjust the level so it tilts slightly outward. Clean the drain hole at the back of the unit with a pipe cleaner or compressed air.
Excessive Noise or Vibration
Make sure the unit is level and securely mounted. Loose side panels or mounting brackets can cause rattling. Tighten all screws and check that nothing is touching the compressor.
Side Panels Won’t Stay Extended
If the accordion panels keep collapsing, use small screws or zip ties to hold them in place. Don’t over-tighten—this can damage the plastic.
Maintenance Tips for Long-Term Performance
Once your AC is installed, regular maintenance keeps it running smoothly all season.
Clean the Filter Monthly
Remove the front panel and take out the air filter. Wash it with warm, soapy water, let it dry, and reinstall. A dirty filter restricts airflow and reduces efficiency.
Inspect Seals Seasonally
Check weatherstripping and seals every few months. Replace any that are cracked, torn, or loose.
Clear Debris from the Exterior
Keep the outside of the unit free of leaves, dirt, and snow. This ensures proper airflow and prevents damage.
Schedule Professional Service
Once a year, have a technician check the refrigerant levels, clean the coils, and inspect electrical components.
Conclusion
Installing a 12000 BTU LG window air conditioner is a straightforward project when you follow the right steps. From measuring your window to sealing gaps and testing the unit, each part of the process contributes to a safe, efficient, and long-lasting installation. With proper setup and regular maintenance, your LG AC will keep you cool and comfortable for many summers to come.
Remember: safety first—always use a helper, wear protective gear, and follow the manufacturer’s instructions. And if you’re ever unsure, don’t hesitate to consult a professional. Stay cool!

