
This guide walks you through how to install a 14000 BTU LG window air conditioner safely and efficiently. You’ll learn the right tools, preparation steps, and common mistakes to avoid for a secure, long-lasting setup.
Key Takeaways
- Measure your window correctly: Ensure your window opening meets the AC unit’s size requirements before purchasing or installing.
- Use proper support: A sturdy support bracket or wooden brace prevents the unit from falling and reduces strain on the window frame.
- Seal gaps with insulation: Use foam weatherstripping or side panels to block air leaks and improve energy efficiency.
- Check electrical safety: Plug into a dedicated outlet on a 20-amp circuit to avoid overloading your home’s wiring.
- Follow the manual: Always refer to your LG model’s user guide for model-specific instructions and safety warnings.
- Test before finalizing: Run the AC briefly before securing all parts to confirm it’s working and not vibrating excessively.
- Maintain regularly: Clean filters monthly and inspect seals seasonally to keep your unit running efficiently.
How to Install a 14000 BTU LG Window Air Conditioner: A Complete Step-by-Step Guide
Installing a 14000 BTU LG window air conditioner might seem intimidating at first, but with the right tools, preparation, and guidance, it’s a manageable DIY project—even for beginners. This comprehensive guide will walk you through every step, from measuring your window to testing your newly installed unit. Whether you’re cooling a large bedroom, living room, or home office, a properly installed window AC can make a huge difference in comfort and energy efficiency.
In this guide, you’ll learn how to safely and correctly install your LG 14000 BTU window air conditioner, including essential prep work, mounting techniques, sealing tips, and troubleshooting common issues. We’ll also cover electrical requirements, safety precautions, and maintenance advice to keep your unit running smoothly for years. By the end, you’ll feel confident that your AC is securely in place, energy-efficient, and ready to beat the heat.
Why Choose a 14000 BTU LG Window Air Conditioner?
LG is a trusted name in home appliances, known for reliability, energy efficiency, and smart features. A 14000 BTU window air conditioner is ideal for rooms between 550 and 700 square feet—perfect for master bedrooms, large living areas, or open-concept spaces. These units offer strong cooling power without the complexity of central air systems.
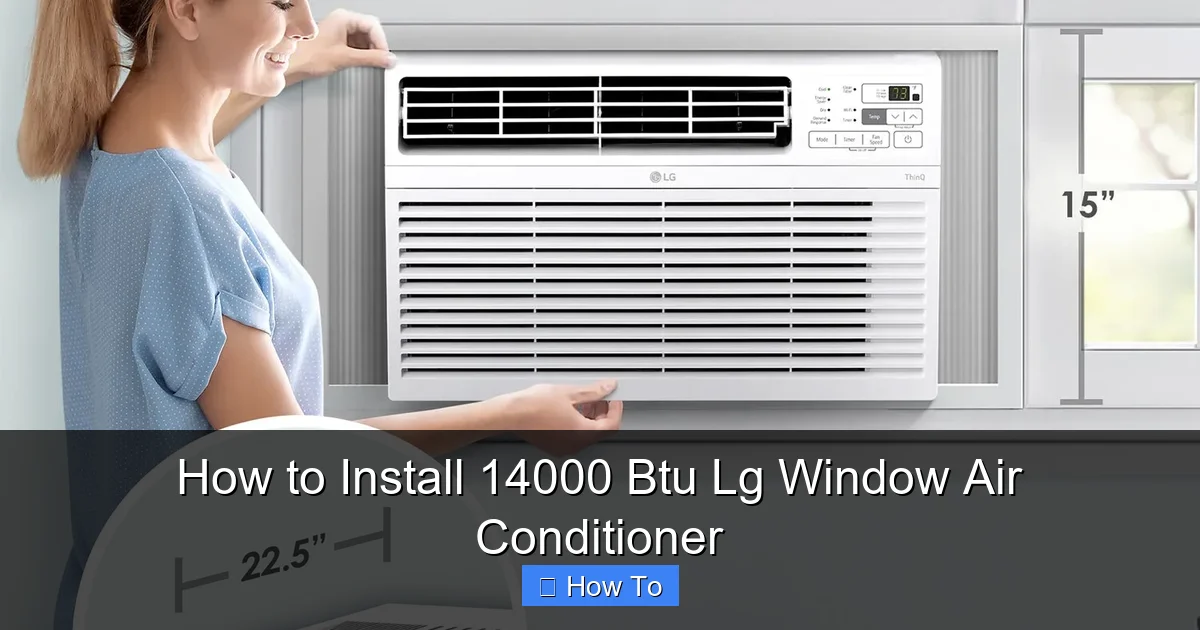
Visual guide about How to Install 14000 Btu Lg Window Air Conditioner
Image source: i5.walmartimages.com
LG’s 14000 BTU models often include features like:
- Energy Star certification for lower electricity bills
- Remote control and smartphone app compatibility (on select models)
- Multiple fan speeds and cooling modes
- Washable air filters for easy maintenance
- Quiet operation with LG’s Smart Inverter technology
Because these units are designed for window installation, they’re a cost-effective cooling solution compared to ductless mini-splits or central HVAC systems. However, proper installation is key to performance, safety, and longevity.
Tools and Materials You’ll Need
Before you begin, gather all the necessary tools and materials. Having everything ready will save time and prevent mid-installation trips to the hardware store.
Basic Tools
- Measuring tape
- Pencil or marker
- Level
- Drill with drill bits (typically 1/8″ and 1/4″)
- Screwdriver (Phillips and flathead)
- Adjustable wrench or pliers
- Utility knife
- Caulk gun (optional, for sealing)
Installation Materials
- Mounting brackets or support shelf (if not included)
- Wooden support brace (2×4 or similar, cut to size)
- Screws and wall anchors (usually included with the unit)
- Foam weatherstripping or accordion-style side panels (included with most LG units)
- Silicone caulk or exterior-grade sealant (optional, for extra weatherproofing)
- Duct tape or foil tape (for sealing gaps)
- Extension cord (only if absolutely necessary—see electrical section)
Optional but Helpful
- Second person to help lift and hold the unit
- Work gloves and safety glasses
- Drop cloth or tarp to protect flooring
- Vacuum or brush for cleaning the window frame
Most LG 14000 BTU window air conditioners come with a basic installation kit, including side panels, screws, and a support bracket. Always check the box contents against the manual’s list before starting.
Step 1: Choose the Right Window and Location
Not all windows are suitable for a 14000 BTU AC unit. You need a window that’s strong, accessible, and properly sized.
Window Type
Double-hung or sliding windows are ideal. Casement windows can be used but require special brackets. Avoid installing in windows that open outward or are difficult to reach.
Window Size Requirements
Check your LG model’s specifications—most 14000 BTU units require a minimum window width of 27–33 inches and a height of 16–20 inches. Measure the inside of the window frame (not the glass) to ensure a snug fit.
Location Considerations
- Sun exposure: South- or west-facing windows get more heat—consider shading or a higher BTU unit if needed.
- Accessibility: You should be able to reach the unit for filter cleaning and maintenance.
- Clearance: Leave at least 12–18 inches of space on the sides and top for proper airflow.
- Drainage: Ensure the window slopes slightly outward so condensation can drain properly.
Never install the unit in a window that’s above the second floor unless you have safe access (like a balcony or ladder with fall protection). Safety first!
Step 2: Prepare the Window and Frame
A clean, level, and secure window frame is essential for a stable installation.
Clean the Window Area
Remove dirt, old caulk, or debris from the window sill and frame. Use a damp cloth or mild cleaner. Let it dry completely.
Check for Level
Place a level on the window sill. If it’s not level, you may need to shim the unit later. Most windows slope slightly outward—this is normal and helps with drainage.
Inspect the Frame
Look for cracks, rot, or weakness in the wood or vinyl. If the frame is damaged, reinforce it with wood filler or consult a professional before installing.
Remove Window Sash (If Needed)
For double-hung windows, you may need to remove the bottom sash to create space. Follow your window manufacturer’s instructions. Keep the sash safe—you might reinstall it later for insulation.
Step 3: Install the Support Bracket or Shelf
A support bracket is critical for a 14000 BTU unit—it’s heavy (usually 70–90 pounds) and needs solid backing.
Use the Included Bracket
Most LG units come with a metal L-bracket. Attach it to the outside of the window sill using screws and wall anchors. Make sure it’s level and extends far enough to support the front of the AC.
Build a Wooden Support (Alternative)
If no bracket is included, cut a 2×4 or similar sturdy wood to fit under the window sill. Secure it to the exterior wall with long screws into studs or masonry anchors. The wood should extend at least 6 inches beyond the window frame on both sides.
Double-Check Stability
Press down on the bracket or wood to ensure it doesn’t bend or shift. It should feel solid and level. If it wobbles, reinforce it or add additional supports.
Never rely solely on the window frame to hold the weight. The support bracket takes the load off the glass and sash, preventing damage and accidents.
Step 4: Install the Side Panels or Foam Strips
Side panels (also called accordion panels) fill the gaps between the AC unit and the window frame. They improve insulation and prevent drafts.
Attach the Panels
Most LG units include adjustable side panels. Slide them into the grooves on the sides of the AC cabinet. Extend them to fit the window width.
Secure with Screws
Use the provided screws to attach the panels to the window frame. Don’t overtighten—this can warp the plastic or damage the frame.
Seal Gaps with Weatherstripping
If there are small gaps, use foam weatherstripping tape. Cut it to size and press it into place. This helps block air leaks and improves efficiency.
Pro tip: On very hot days, use foil tape over foam strips for better heat resistance.
Step 5: Lift and Position the Air Conditioner
This is the most physically demanding step. Take your time and use proper lifting techniques.
Get Help
A 14000 BTU LG unit weighs 70–90 pounds. Always have a second person assist. One person should be outside to guide the unit, while the other is inside to receive it.
Lift Safely
Bend your knees, keep your back straight, and lift with your legs. Use gloves to improve grip. Never lift by the front grille or control panel.
Position the Unit
Slide the AC into the window opening from the outside. Rest the front edge on the support bracket or wooden shelf. Make sure the unit sits level and doesn’t tilt forward or backward.
Check Clearance
Ensure there’s at least 12 inches of clearance on each side and above the unit for airflow. Don’t block the rear vents—this is where hot air exhausts.
Step 6: Secure the Unit in Place
Once the AC is positioned, it’s time to lock it down.
Lower the Window Sash
Carefully lower the top sash of the window until it rests on top of the AC unit. Don’t force it—adjust the side panels if needed.
Attach the Window Brackets
Use the included brackets or L-shaped metal pieces to connect the top of the AC to the window frame. Screw them into place securely.
Anchor the Bottom
If your model includes bottom brackets, attach them to the support shelf or wooden brace. This prevents the unit from shifting or falling.
Double-Check Stability
Gently shake the unit. It should not move or rattle. If it does, tighten screws or add additional supports.
Step 7: Seal and Insulate
Proper sealing keeps cool air in and hot air out, improving efficiency and comfort.
Fill Gaps with Foam or Caulk
Use expanding foam insulation for large gaps around the sides and top. Apply sparingly—it expands as it dries. For smaller gaps, use silicone caulk.
Seal the Interior
Inside, use foam weatherstripping or duct tape to seal any gaps between the unit and the window frame. This prevents drafts and humidity from entering.
Check for Air Leaks
Turn on the AC and feel around the edges for cold air escaping or warm air entering. Re-seal any problem areas.
Pro tip: In winter, remove the unit and seal the window with an insulation kit to save energy.
Step 8: Electrical Setup and Safety
Electrical safety is crucial. A 14000 BTU AC draws significant power and must be connected properly.
Use a Dedicated Circuit
These units require a 20-amp, 120-volt dedicated circuit. Do not plug into an outlet shared with other high-wattage appliances (like microwaves or space heaters).
Check the Outlet
Use a voltage tester to confirm the outlet is working and properly grounded. If unsure, consult an electrician.
Avoid Extension Cords
Never use a standard extension cord. If you must, use a heavy-duty, 12-gauge, outdoor-rated cord rated for at least 15 amps. But ideally, install a new outlet near the window.
Plug In and Test
Plug the AC into the outlet. Turn it on and set it to cool. Listen for unusual noises and check that air is blowing cold.
Warning: If the circuit breaker trips immediately, unplug the unit and check for wiring issues or overloads.
Step 9: Test and Adjust
Before calling the job done, run a quick test to ensure everything works.
Run the AC
Let it run for 10–15 minutes. Check that:
- Cold air is blowing steadily
- The unit isn’t vibrating excessively
- Water is draining properly (a small amount of condensation is normal)
- The remote control (if included) works
Adjust Settings
Set the thermostat to a comfortable temperature (e.g., 72°F). Use the fan speed and mode settings to customize cooling.
Listen for Issues
Rattling, grinding, or loud humming could indicate loose parts, poor installation, or a defective unit. Turn it off and investigate.
Troubleshooting Common Installation Issues
Unit Won’t Turn On
Check the power outlet, circuit breaker, and plug. Ensure the unit is properly plugged in and the remote has batteries.
Not Cooling Enough
Possible causes: dirty filter, blocked vents, incorrect size for the room, or refrigerant leak. Clean the filter and check airflow first.
Water Leaking Inside
This usually means the unit isn’t level or the drain is clogged. Tilt the unit slightly outward and clean the drain hole.
Excessive Vibration or Noise
Tighten all screws and brackets. Ensure the unit is level and not touching the window frame. Add rubber pads under the support if needed.
Air Leaks Around the Unit
Reapply weatherstripping or foam sealant. Check side panels for proper fit.
Maintenance Tips for Long-Term Performance
To keep your LG 14000 BTU window AC running efficiently:
- Clean the filter monthly: Remove, rinse with water, and let dry before reinstalling.
- Inspect seals seasonally: Replace worn weatherstripping to maintain insulation.
- Clear debris from the exterior: Remove leaves or dirt blocking the rear vents.
- Check for rust or corrosion: Especially in humid climates.
- Remove in winter (if possible): Store indoors to extend lifespan.
Conclusion
Installing a 14000 BTU LG window air conditioner is a smart way to cool large spaces efficiently and affordably. By following this step-by-step guide, you’ve learned how to measure your window, prepare the frame, install support brackets, secure the unit, seal gaps, and ensure electrical safety. With proper installation and regular maintenance, your LG AC will deliver reliable, energy-efficient cooling for many summers to come.
Remember, safety and precision are key. Don’t rush the process, and don’t hesitate to ask for help when lifting or securing the unit. When in doubt, consult the user manual or contact LG customer support. Stay cool and comfortable—you’ve earned it!

