
Is your LG air conditioner leaking water? This guide walks you through common causes—like clogged drains or frozen coils—and provides clear, actionable steps to fix the issue fast. Save money on repairs and keep your home dry with simple DIY solutions.
Key Takeaways
- Identify the leak source first: Check if water is coming from the indoor unit, outdoor unit, or drain line to narrow down the cause.
- Clean or replace the air filter regularly: A dirty filter restricts airflow, leading to frozen coils and eventual water leakage.
- Clear clogged drain lines promptly: Use a wet/dry vacuum or pipe cleaner to remove algae, mold, or debris blocking the condensate drain.
- Inspect the condensate drain pan for cracks: Damaged pans can leak even if the drain line is clear—replace if necessary.
- Ensure proper unit installation and leveling: An unlevel AC unit prevents proper drainage and causes water to pool and overflow.
- Check refrigerant levels if coils are frozen: Low refrigerant can cause evaporator coils to freeze and melt, leading to excess water.
- Schedule annual maintenance: Prevent future leaks by having a professional inspect and service your LG air conditioner yearly.
How to Fix Leaking LG Air Conditioner
Nothing ruins a cool, comfortable home faster than a puddle forming under your LG air conditioner. Whether you have a window unit, portable AC, or a ductless mini-split system, water leaks are one of the most common—and frustrating—issues homeowners face. The good news? Most leaking problems are fixable with a little know-how and some basic tools.
In this comprehensive guide, you’ll learn exactly how to diagnose and fix a leaking LG air conditioner. We’ll walk you through the most common causes—from clogged drain lines to frozen evaporator coils—and give you step-by-step instructions to get your AC running smoothly again. You’ll also pick up preventive maintenance tips to avoid future leaks and extend the life of your unit. No need to call a technician just yet—let’s tackle this together.
Why Is Your LG Air Conditioner Leaking Water?
Before jumping into repairs, it’s important to understand why your LG air conditioner is leaking. Air conditioners naturally produce condensation as they cool your home. This moisture collects on the evaporator coils and drips into a drain pan, then exits through a condensate drain line. When something disrupts this process, water can overflow and leak inside your home.
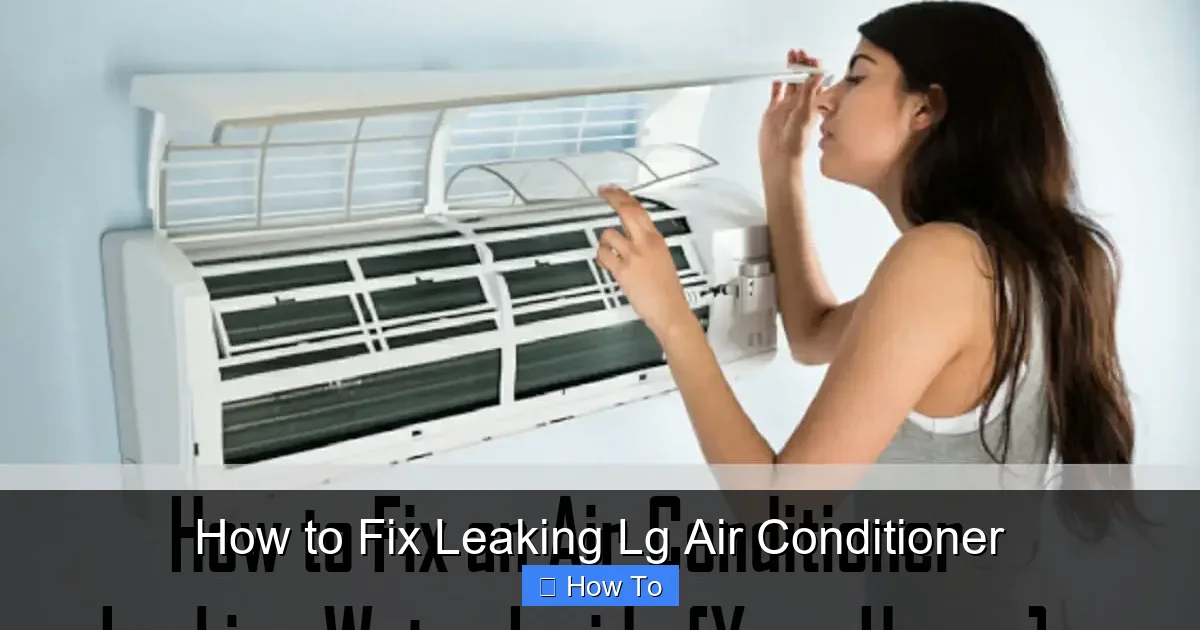
Visual guide about How to Fix Leaking Lg Air Conditioner
Image source: waterev.com
Common causes include:
- Clogged or blocked drain lines
- Dirty or frozen evaporator coils
- Dirty air filters restricting airflow
- Damaged or misaligned drain pans
- Improper installation or leveling
- Low refrigerant levels
- Excessive humidity or high usage
Identifying the root cause is the first step to a successful fix. Let’s go through each potential issue and how to resolve it.
Step 1: Turn Off the Power
Safety first! Before you do anything, turn off the power to your LG air conditioner. If it’s a window or portable unit, unplug it from the wall. For central or mini-split systems, switch off the circuit breaker that controls the AC unit. This prevents electrical shock and protects the system while you work.
Wait at least 10–15 minutes after turning off the power before starting any inspection or cleaning. This gives the internal components time to cool down and discharge any residual electricity.
Step 2: Locate the Source of the Leak
Not all leaks are the same. Water can drip from different parts of the unit, and each location points to a different problem. Here’s how to pinpoint where the leak is coming from:
Indoor Unit Leaking (Mini-Split or Central AC)
If you have a ductless mini-split or central air system, check the indoor air handler unit. Look for water pooling on the floor beneath it or dripping from the front panel. This usually means the condensate drain line is clogged or the drain pan is damaged.
Window or Portable AC Leaking
For window or portable units, water may leak from the back (outside) or front (inside). If it’s leaking inside, the drain hose or internal drain system may be blocked. If it’s leaking outside, that’s often normal—but if water is backing up and entering your home, there’s a blockage.
Outdoor Unit Leaking
The outdoor condenser unit should not leak water indoors. If you see water near the outdoor unit, it’s likely just condensation or rainwater. However, if water is entering your home from the outdoor side, check the seal around the unit and the drain line connection.
Once you’ve located the leak, you can focus your efforts on the right area.
Step 3: Check and Clean the Air Filter
A dirty air filter is one of the most overlooked causes of AC leaks. When the filter is clogged with dust, pet hair, and debris, it restricts airflow over the evaporator coils. This causes the coils to get too cold and freeze. When the ice melts, it can overwhelm the drain pan and cause overflow.
How to Clean or Replace the Filter
- Locate the air filter—usually behind the front panel of the indoor unit.
- Remove the filter gently. If it’s a reusable mesh filter, rinse it under warm water. Let it air dry completely before reinstalling.
- If it’s a disposable filter, replace it with a new one of the same size and type.
- Reinstall the filter and close the panel securely.
Pro Tip: Check your filter every month during peak cooling season and clean or replace it as needed. This simple habit can prevent frozen coils and leaks.
Step 4: Inspect the Evaporator Coils
If your air filter was dirty, there’s a good chance your evaporator coils are frozen or covered in dust. Frozen coils can’t transfer heat properly, and when they thaw, they produce excess water that the drain system can’t handle.
How to Check for Frozen Coils
Turn the AC back on (after replacing the filter) and let it run for 1–2 hours. Then, inspect the indoor unit. If you see ice buildup on the coils or refrigerant lines, the coils are frozen.
How to Defrost the Coils
- Turn off the AC and let the ice melt naturally. This can take several hours.
- Place towels or a shallow pan under the unit to catch dripping water.
- Once fully defrosted, clean the coils with a soft brush or coil cleaner spray (available at hardware stores).
- Reinstall the clean air filter and restart the unit.
Note: If the coils freeze again quickly, there may be a deeper issue like low refrigerant or a faulty blower fan. In that case, consult a professional.
Step 5: Clear the Condensate Drain Line
The condensate drain line is a small PVC or rubber tube that carries water from the drain pan to the outside. Over time, it can get clogged with algae, mold, dirt, or mineral buildup—especially in humid climates.
How to Unclog the Drain Line
- Locate the drain line—usually a small pipe coming out of the wall near the indoor unit or exiting the window.
- Use a wet/dry vacuum to suck out the clog. Attach the vacuum hose to the end of the drain line and turn it on for 30–60 seconds.
- If you don’t have a vacuum, try flushing the line with a mixture of warm water and vinegar (1:1 ratio). Pour it slowly into the drain line access point (often near the indoor unit).
- For stubborn clogs, use a plumber’s snake or a long, flexible brush to gently push through the blockage.
- After clearing, pour a cup of bleach or algaecide down the line monthly to prevent future growth.
Pro Tip: Install a drain line trap or inline filter to catch debris before it enters the pipe. This reduces the chance of clogs.
Step 6: Examine the Drain Pan
The drain pan sits under the evaporator coils and collects condensation. If it’s cracked, rusted, or misaligned, water can leak out before reaching the drain line.
How to Inspect the Drain Pan
- Remove the front panel of the indoor unit to access the drain pan.
- Look for cracks, rust, or standing water. Tap gently—if it sounds hollow or loose, it may be damaged.
- Check that the pan is level and properly seated. If it’s tilted, water may pool on one side and overflow.
How to Fix or Replace the Drain Pan
If the pan is cracked or rusted, it needs to be replaced. Contact LG customer support or a local HVAC technician for a compatible replacement part. Installation is usually straightforward—just remove the old pan and slide in the new one, ensuring it’s level and secure.
If the pan is just dirty, clean it with soapy water and a soft brush. Rinse thoroughly and dry before reassembling.
Step 7: Verify Proper Installation and Leveling
An improperly installed or unlevel air conditioner can cause drainage issues. Window units, in particular, must be tilted slightly backward (about 5–10 degrees) so water flows outside, not inside.
How to Check and Adjust Leveling
- Use a bubble level to check the tilt of your window or portable unit.
- If it’s level or tilted forward, adjust the support brackets or foam seals to tilt it slightly backward.
- For mini-split systems, ensure the indoor unit is mounted level on the wall. Use a level during installation or adjustment.
- Check that the drain line has a smooth, downward slope with no kinks or sags.
Warning: Never install a window AC perfectly level—this causes water to pool and leak indoors.
Step 8: Check Refrigerant Levels
Low refrigerant (freon) can cause the evaporator coils to freeze, leading to excessive melting and leaks. This is a more serious issue that usually requires a licensed technician.
Signs of Low Refrigerant
- Ice buildup on coils or refrigerant lines
- Weak cooling performance
- Hissing or bubbling sounds from the unit
- Higher-than-normal electric bills
If you suspect low refrigerant, do not attempt to recharge the system yourself. Refrigerant handling requires certification and specialized tools. Contact an LG-approved HVAC technician to inspect and refill the system if needed.
Step 9: Test the AC After Repairs
Once you’ve completed the above steps, it’s time to test your LG air conditioner.
How to Test for Leaks
- Turn the power back on and set the thermostat to cool.
- Let the unit run for at least 1–2 hours.
- Check for water leaks, unusual noises, or poor cooling.
- Monitor the drain line to ensure water is flowing freely outside.
If the leak is gone and the unit is cooling properly, you’ve successfully fixed the problem! If water still appears, revisit the steps or consider calling a professional.
Troubleshooting Common Issues
Even after following all steps, some problems may persist. Here’s how to troubleshoot:
Leak Returns After a Few Days
This usually means the drain line is still partially clogged or the air filter is getting dirty too quickly. Clean the drain line again and check for nearby sources of dust or humidity.
Water Leaks Only During High Humidity
On very humid days, your AC may produce more condensation than usual. Ensure the drain line is clear and consider installing a secondary drain pan with a float switch to shut off the unit if water overflows.
Unit Leaks When First Turned On
This could be residual water from a previous freeze. Let the unit run until the coils are fully defrosted and the drain is flowing.
No Visible Leak, But Floor Is Wet
Check nearby appliances (like a dehumidifier or refrigerator) or plumbing lines. The water may not be from the AC at all.
Preventing Future Leaks
An ounce of prevention is worth a pound of cure. Follow these tips to keep your LG air conditioner leak-free:
- Change the air filter every 1–3 months.
- Clean the condensate drain line every 3–6 months.
- Inspect the drain pan and coils annually.
- Keep the area around the indoor unit clean and dust-free.
- Schedule professional maintenance every 12 months.
- Use a dehumidifier in very humid climates to reduce condensation load.
Many LG air conditioners also have built-in diagnostic features. Check your user manual for error codes related to drainage or water detection. Some models will alert you before a leak becomes serious.
When to Call a Professional
While many leaks can be fixed at home, some issues require expert help. Call an LG-certified technician if:
- The unit continues to leak after all troubleshooting steps
- You suspect refrigerant leakage
- The compressor or fan motor is making loud noises
- The indoor unit is damaged or difficult to access
- You’re uncomfortable working with electrical components
Professional technicians have the tools and training to diagnose complex issues and ensure your AC operates safely and efficiently.
Conclusion
A leaking LG air conditioner doesn’t have to mean expensive repairs or a sweltering summer. With the right approach, most leaks can be fixed quickly and affordably. Start by turning off the power, then systematically check the air filter, coils, drain line, and drain pan. Clean, adjust, or replace components as needed, and always ensure proper installation and leveling.
Regular maintenance is the key to preventing future problems. By staying proactive, you’ll enjoy reliable cooling, lower energy bills, and peace of mind. Remember: if you’re ever unsure, don’t hesitate to contact a professional. Your comfort and safety are worth it.
Now that you know how to fix a leaking LG air conditioner, you’re equipped to handle this common issue like a pro. Stay cool, stay dry, and enjoy the rest of the season!

