
This guide teaches you how to fix LG air conditioner problems like poor cooling, strange noises, or water leaks. You’ll learn simple DIY checks and fixes to get your unit running smoothly again—no technician needed.
Key Takeaways
- Check the air filter first: A dirty filter is the most common cause of poor airflow and cooling. Clean or replace it every 1–3 months.
- Ensure proper thermostat settings: Make sure the thermostat is set to “Cool” and the temperature is lower than the room temperature.
- Inspect the outdoor unit for blockages: Clear leaves, dirt, and debris around the condenser to maintain airflow and efficiency.
- Look for refrigerant leaks: Hissing sounds or ice buildup may signal a leak—call a licensed technician if suspected.
- Reset the unit after power issues: Use the reset button or turn off the breaker for 5 minutes to restore normal operation.
- Clean the evaporator and condenser coils: Dirty coils reduce cooling power and increase energy use. Clean them gently with a soft brush or coil cleaner.
- Check the drain line for clogs: Standing water or leaks often mean a blocked drain. Flush it with vinegar or a wet/dry vacuum.
How to Fix LG Air Conditioner: A Complete DIY Troubleshooting Guide
If your LG air conditioner isn’t cooling properly, making strange noises, or leaking water, don’t panic—you might not need to call a repair technician just yet. Many common issues can be fixed at home with a few simple tools and a little patience. This comprehensive guide will walk you through how to fix LG air conditioner problems step by step, helping you save time and money while restoring comfort to your home.
Whether you own a window unit, a portable AC, or a ductless mini-split system from LG, the troubleshooting steps are often similar. We’ll cover everything from basic maintenance to diagnosing more complex issues. By the end of this guide, you’ll know how to identify the root cause of your AC problem and apply the right fix—safely and effectively.
Before we dive in, a quick safety tip: always turn off the power to your air conditioner at the breaker before performing any maintenance or repairs. This prevents electrical shock and protects your unit.
Common LG Air Conditioner Problems and What They Mean
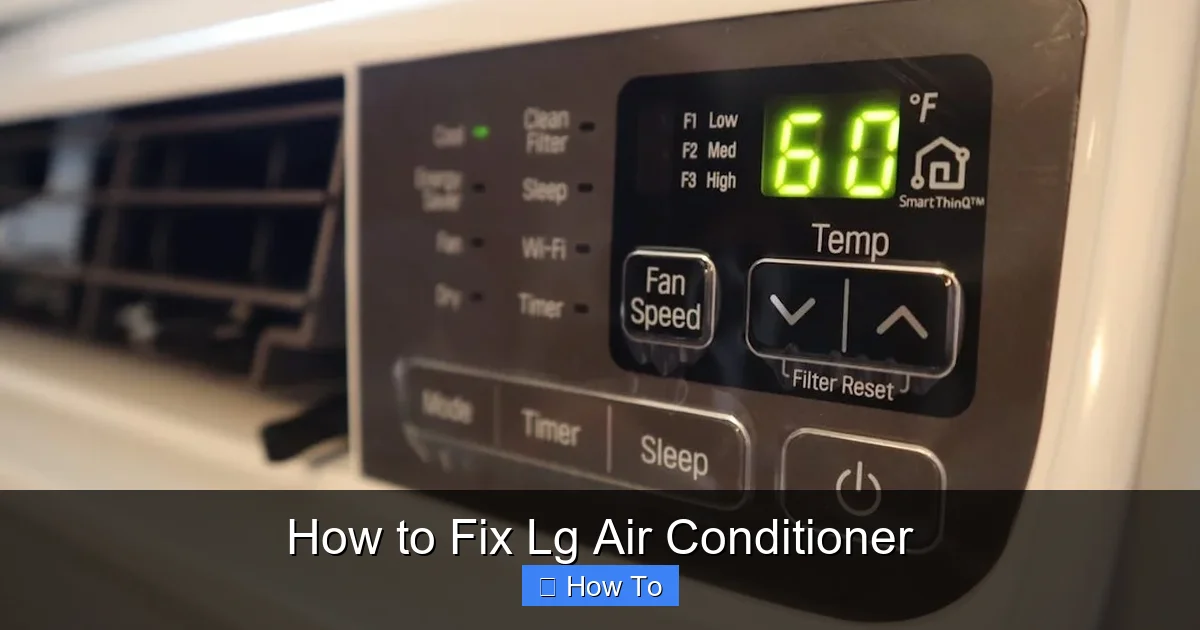
Visual guide about How to Fix Lg Air Conditioner
Image source: storables.com
Understanding the symptoms of your AC issue is the first step toward fixing it. Here are the most common problems LG air conditioners face and what they typically indicate:
- Not cooling at all: Could be due to a dirty filter, low refrigerant, or a faulty compressor.
- Weak airflow: Often caused by clogged filters or blocked vents.
- Water leaking inside: Usually a sign of a clogged drain line or improper installation.
- Strange noises (buzzing, clicking, rattling): May point to loose parts, debris in the fan, or electrical issues.
- Unit turns on and off frequently (short cycling): Could be due to a dirty filter, thermostat issues, or an oversized unit.
- Ice buildup on coils: Typically caused by restricted airflow or low refrigerant.
Now that you know what to look for, let’s get into the step-by-step fixes.
Step 1: Check and Clean the Air Filter
The air filter is the most overlooked part of any air conditioner—and the most common cause of performance issues. A dirty filter restricts airflow, reduces cooling efficiency, and can even cause the evaporator coil to freeze.
How to Access the Filter
Most LG window and portable units have a front panel that slides or lifts off. Look for a latch or handle. For mini-split systems, the filter is behind the front grille of the indoor unit. Gently pull the grille forward to reveal the filter.
Inspect and Clean the Filter
Remove the filter and hold it up to the light. If you can’t see through it, it’s time to clean or replace it. Washable filters can be rinsed under lukewarm water. Let them dry completely before reinstalling. Disposable filters should be replaced every 1–3 months, depending on usage and air quality.
Pro Tip: Mark your calendar or set a phone reminder to check the filter monthly. Clean filters improve efficiency by up to 15% and extend the life of your AC.
Step 2: Verify Thermostat and Mode Settings
Sometimes the problem isn’t the AC—it’s the settings. It’s easy to accidentally change the mode or temperature, especially if you have a remote control.
Check the Mode
Make sure your LG air conditioner is set to “Cool” mode, not “Fan,” “Heat,” or “Dry.” The fan mode circulates air without cooling, which can make you think the unit isn’t working.
Set the Right Temperature
The thermostat should be set to a temperature lower than the current room temperature. For example, if it’s 78°F in your home, set the AC to 72°F. If the setting is too close to the room temperature, the compressor may not kick on.
Test the Remote Control
If you’re using a remote, check the batteries. Weak batteries can cause erratic behavior or prevent the unit from responding. Try using the control panel on the unit itself to see if it works.
Step 3: Inspect the Outdoor Unit (For Split and Central Systems)
If you have a ductless mini-split or central AC system, the outdoor condenser unit plays a crucial role in heat exchange. Blockages here can severely impact performance.
Clear Debris Around the Unit
Walk around the outdoor unit and remove any leaves, grass, dirt, or trash that’s accumulated around it. LG recommends keeping at least 2 feet of clearance on all sides for proper airflow.
Clean the Fins
The aluminum fins on the condenser can get bent or clogged with dirt. Use a soft brush or a fin comb to gently straighten bent fins. For dirt buildup, spray the unit with a garden hose (low pressure only) from the inside out to avoid damaging the fins.
Warning: Never use a pressure washer—it can bend fins and damage internal components.
Check the Fan
Make sure the fan blades spin freely. If they’re stuck or wobbling, there may be debris inside or a motor issue. Turn off the power and carefully remove any visible obstructions.
Step 4: Clean the Evaporator and Condenser Coils
Dirty coils reduce your AC’s ability to absorb and release heat, leading to poor cooling and higher energy bills. LG recommends cleaning the coils at least once a year.
Access the Coils
For window and portable units, remove the front panel and locate the evaporator coil (the one closest to the room). For mini-splits, you may need to remove the top cover. The condenser coil is in the outdoor unit.
Clean the Coils
Use a soft brush to remove loose dirt. Then apply a commercial coil cleaner (available at hardware stores) or a mild detergent solution. Let it sit for 10–15 minutes, then rinse gently with water. Allow the coils to dry completely before reassembling.
Pro Tip: Avoid spraying water directly into electrical components. Cover the compressor and wiring with plastic if needed.
Step 5: Check the Drain Line and Pan for Clogs
Water leaks are a common complaint with air conditioners. Most of the time, the culprit is a clogged drain line.
Locate the Drain Line
The drain line is usually a small PVC or rubber tube that exits the unit and directs condensation outside. On window units, it’s often at the back. On portable units, it may have a drain plug or hose.
Clear the Clog
If water is pooling inside the unit or dripping into your home, the drain line is likely blocked. Use a wet/dry vacuum to suck out the clog from the outside end of the tube. Alternatively, flush it with a mixture of equal parts water and white vinegar to dissolve mold and algae.
Inspect the Drain Pan
Check the drain pan (located under the evaporator coil) for cracks or rust. If it’s damaged, water can leak out even if the drain line is clear. Replace the pan if necessary.
Step 6: Look for Ice Buildup on the Coils
Ice on the evaporator coil is a red flag. It usually means restricted airflow or low refrigerant—but don’t panic. Start with the basics.
Turn Off the Unit
If you see ice, turn off the AC immediately. Let the ice melt completely—this can take several hours. Do not try to chip it off, as this can damage the coils.
Check for Airflow Issues
Once the ice has melted, inspect the air filter, vents, and coils. A dirty filter or blocked return air vent is the most common cause of icing. Clean or replace the filter and ensure all vents are open and unobstructed.
Monitor for Recurrence
After cleaning, turn the unit back on and monitor it. If ice forms again within a few days, the issue may be low refrigerant or a faulty blower motor. At this point, it’s best to call a licensed HVAC technician.
Step 7: Listen for Unusual Noises
Your ears can tell you a lot about your AC’s health. Here’s what different sounds might mean:
- Buzzing: Could indicate loose parts, electrical issues, or a failing capacitor.
- Clicking: Normal when the unit turns on or off. Continuous clicking may signal a relay problem.
- Rattling: Often caused by loose panels, screws, or debris in the fan.
- Hissing or Bubbling: May indicate a refrigerant leak—requires professional attention.
Tighten Loose Parts
Turn off the power and inspect the unit’s exterior and interior panels. Tighten any loose screws or bolts. Check the fan blades for wobbling.
Remove Debris
If you hear rattling, open the unit (if safe) and look for small objects like screws, leaves, or plastic pieces that may have fallen inside.
Step 8: Reset the Air Conditioner
Sometimes, a simple reset can resolve electronic glitches or error codes.
Use the Reset Button
Many LG air conditioners have a reset button on the unit or remote. Press and hold it for 3–5 seconds. The unit should power cycle and return to normal operation.
Power Cycle the Unit
If there’s no reset button, turn off the AC at the remote and the breaker. Wait 5–10 minutes, then turn the breaker back on and restart the unit. This clears the system’s memory and can fix minor software hiccups.
Step 9: Check for Error Codes
Modern LG air conditioners display error codes to help diagnose problems. These appear on the remote or unit display.
Common LG Error Codes
- CH 01: Indoor temperature sensor error.
- CH 02: Evaporator temperature sensor error.
- CH 03: Communication error between indoor and outdoor units.
- CH 05: Drain pump or float switch issue.
- CH 07: Outdoor unit fan motor problem.
Refer to your owner’s manual for a full list. If you see an error code you can’t resolve, contact LG customer support or a certified technician.
Step 10: When to Call a Professional
While many issues can be fixed at home, some problems require expert help. Call a licensed HVAC technician if you notice:
- Refrigerant leaks (hissing sound, oily residue, or ice buildup that returns after cleaning).
- Electrical issues (burning smell, sparking, or tripped breakers).
- Compressor or fan motor failure (unit won’t turn on, even after reset).
- Persistent error codes you can’t clear.
- Water leaks that continue after cleaning the drain line.
Attempting to repair refrigerant systems or electrical components without proper training can be dangerous and may void your warranty.
Preventative Maintenance Tips
The best way to avoid future problems is regular maintenance. Here’s a simple checklist:
- Monthly: Check and clean the air filter.
- Seasonally: Clean the coils, drain line, and outdoor unit.
- Annually: Schedule a professional inspection, especially before summer.
- Keep the area clear: Maintain 2 feet of space around indoor and outdoor units.
- Use a cover: Protect the outdoor unit during winter (but only when the unit is off).
Conclusion
Fixing your LG air conditioner doesn’t have to be overwhelming. By following this guide, you’ve learned how to fix LG air conditioner issues like poor cooling, water leaks, strange noises, and more—all with simple, cost-effective solutions. From cleaning filters and coils to resetting the unit and checking for clogs, these steps can resolve up to 80% of common problems.
Remember, regular maintenance is key to long-term performance and energy efficiency. A little care goes a long way in keeping your home cool and your AC running smoothly for years to come.
If you’ve tried everything and your unit still isn’t working, don’t hesitate to reach out to LG support or a certified technician. But more often than not, the fix is simpler than you think—and now you have the tools to handle it yourself.
Stay cool!

