
Keeping your LG portable air conditioner clean ensures optimal cooling, better air quality, and longer appliance life. This guide walks you through a complete cleaning process—from unplugging the unit to reassembling it—with simple, safe steps anyone can follow.
Key Takeaways
- Regular cleaning improves efficiency: Dust and debris clog filters and coils, forcing your LG portable AC to work harder and use more energy.
- Clean every 2–4 weeks during peak use: Frequent use demands more frequent maintenance to prevent mold, odors, and reduced airflow.
- Always unplug before cleaning: Safety first—never clean or handle internal components while the unit is plugged in.
- Use mild cleaners only: Harsh chemicals can damage plastic parts, seals, and electrical components; stick to water, vinegar, or mild detergent.
- Don’t skip the exhaust hose: A dirty hose restricts airflow and reduces cooling power—clean it monthly with a brush and soapy water.
- Check the water tank regularly: Standing water breeds bacteria and mold; empty and wipe it dry after each use if possible.
- Reassemble carefully: Ensure all parts are dry and properly seated before turning the unit back on to avoid leaks or malfunctions.
Why Cleaning Your LG Portable Air Conditioner Matters
Your LG portable air conditioner is a hardworking appliance—especially during hot summer months. It pulls in warm air, cools it, removes moisture, and blows refreshing air back into your room. But over time, dust, pet dander, pollen, and even mold can build up inside the unit. If left unchecked, this buildup reduces efficiency, increases energy bills, and can even lead to unpleasant odors or health issues.
Cleaning your LG portable AC isn’t just about tidiness—it’s about performance, safety, and longevity. A well-maintained unit cools faster, uses less electricity, and lasts years longer than a neglected one. Plus, clean filters and coils mean cleaner air for you and your family to breathe.
In this guide, you’ll learn exactly how to clean every part of your LG portable air conditioner—from the exterior casing to the internal coils and water tank. We’ll cover tools you’ll need, step-by-step instructions, safety tips, and troubleshooting advice. Whether you’re a first-time cleaner or just need a refresher, this guide will help you keep your LG portable AC running like new.
What You’ll Need Before You Start
Before diving into the cleaning process, gather these supplies. Most are household items, so you likely already have them on hand:
- Soft microfiber cloths
- Mild dish soap or all-purpose cleaner
- White vinegar (for disinfecting and removing mineral deposits)
- Soft-bristle brush (an old toothbrush works great)
- Vacuum cleaner with a brush attachment
- Bucket of warm water
- Spray bottle
- Compressed air (optional, for tight spaces)
- Garden hose (for outdoor rinsing of certain parts, if applicable)
- Rubber gloves (to protect your hands)
- Towel or drying rack
Avoid using abrasive sponges, bleach, ammonia-based cleaners, or high-pressure water jets. These can scratch surfaces, degrade seals, or damage electrical components.
Step 1: Turn Off and Unplug the Unit
Safety is the top priority when cleaning any electrical appliance. Never attempt to clean your LG portable air conditioner while it’s plugged in—even if it’s turned off.
How to Safely Power Down
First, press the power button on the unit or remote control to turn it off. Then, unplug the power cord from the wall outlet. Give the unit at least 10–15 minutes to cool down if it’s been running recently. This prevents burns from hot components and reduces the risk of electrical shock.
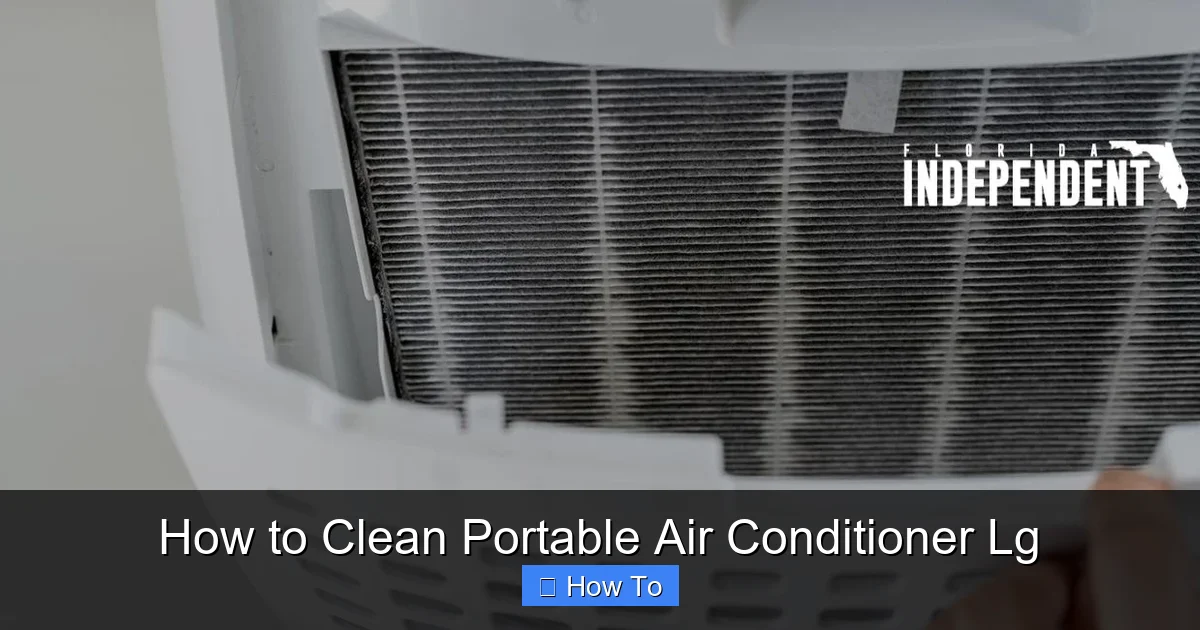
Visual guide about How to Clean Portable Air Conditioner Lg
Image source: floridaindependent.com
Move the Unit to a Suitable Cleaning Area
If possible, move your portable AC to a well-ventilated area like a garage, patio, or bathroom with a drain. This makes cleanup easier and prevents water from pooling on your floor. Lay down a towel or plastic sheet to catch drips.
Step 2: Remove and Clean the Air Filters
The air filters are the first line of defense against dust and allergens. LG portable air conditioners typically have two types of filters: a washable mesh filter and sometimes an activated carbon filter. Both need regular cleaning.
Locate the Filter Compartment
Most LG models have a front or side panel that slides or lifts open to reveal the filters. Look for a latch, clip, or handle. Refer to your user manual if you’re unsure—model numbers like LP1217WSR, LP1419IVSM, or LP0817WSR have slightly different designs.
Remove the Filters Carefully
Gently pull the filters straight out. Avoid bending or tearing them. If there’s a carbon filter behind the mesh one, note its position so you can reinstall it correctly.
Vacuum Loose Debris
Use your vacuum’s brush attachment to remove surface dust. This prevents clogging your sink or hose later.
Wash the Filters
Fill a bucket with lukewarm water and a few drops of mild dish soap. Submerge the mesh filter and gently agitate it. For stubborn grime, use a soft brush to scrub lightly. Rinse thoroughly under running water until all soap is gone.
Disinfect with Vinegar (Optional)
For extra sanitizing, soak the filter in a 50/50 mix of water and white vinegar for 10–15 minutes. This kills mold and bacteria. Rinse well afterward to remove the vinegar smell.
Let Filters Dry Completely
Place the filters on a clean towel or drying rack in a shaded, well-ventilated area. Never reinstall damp filters—they can promote mold growth. Wait at least 2–4 hours, or overnight, before reinserting.
Step 3: Clean the Exterior and Control Panel
Dust and fingerprints accumulate on the outside of your portable AC, especially around vents and buttons.
Wipe Down the Casing
Use a microfiber cloth lightly dampened with water or a mild cleaner. Wipe the front, sides, top, and back. Pay attention to air intake and exhaust grilles—these collect dust that can be sucked back into the unit.
Clean the Control Panel and Remote
Dampen a corner of the cloth (not the whole thing) and gently wipe the display, buttons, and remote control. Avoid getting moisture into button seams. For sticky residues, use a cotton swab dipped in rubbing alcohol—but only if the manual allows it.
Don’t Forget the Casters
Roll the unit slightly to access the wheels. Wipe them with a damp cloth to remove dirt and hair that can hinder movement.
Step 4: Clean the Water Tank and Drain Plug
LG portable air conditioners collect condensation in an internal water tank. If not emptied regularly, this stagnant water becomes a breeding ground for bacteria and mold—leading to musty smells and potential leaks.
Locate the Water Tank
Most models have a removable tank at the bottom rear of the unit. Look for a handle or release latch. Some newer LG units have a “bucket full” indicator light that alerts you when it’s time to empty.
Empty the Tank
Carefully pull out the tank and pour the water into a sink or bucket. If the tank is heavy, tilt it slowly to avoid spills.
Wash the Tank Thoroughly
Use warm soapy water and a soft brush to scrub the inside. Pay special attention to corners and the spout where water exits. Rinse well.
Disinfect with Vinegar Solution
To eliminate odors and microbes, fill the tank halfway with a vinegar-water mix (1:1), swish it around, let it sit for 10 minutes, then rinse thoroughly. This also helps dissolve mineral deposits if you have hard water.
Check the Drain Plug
Some LG models have a drain plug at the bottom for continuous draining. Remove it and flush out any debris. Reinsert it securely after cleaning.
Let the Tank Dry
Place the empty tank upside down on a towel to air-dry completely before reinserting.
Step 5: Clean the Exhaust Hose and Vent
The exhaust hose vents hot air outside through a window kit. Over time, dust, spider webs, and even small pests can block it, reducing efficiency.
Disconnect the Hose
Carefully detach the hose from the back of the unit and the window bracket. Most LG hoses use a twist-lock or clamp system—refer to your manual if needed.
Vacuum the Interior
Use the vacuum’s brush attachment to suck out loose debris from both ends. Insert the nozzle as far as possible without forcing it.
Wash the Hose (If Removable and Washable)
Check your user manual—some LG hoses are not meant to be submerged. If safe, rinse the hose with warm soapy water using a garden hose or by filling and shaking it. Use a long-handled bottle brush to scrub the interior if accessible.
Air-Dry Completely
Lay the hose straight in a dry, shaded area to prevent kinks and ensure no moisture remains. Never reinstall a damp hose—it can cause mold or water damage.
Step 6: Clean the Evaporator and Condenser Coils (Advanced)
These internal coils are critical for heat exchange. Dust buildup here forces the compressor to work harder, increasing energy use and risking overheating. Cleaning them requires partial disassembly—only attempt this if you’re comfortable with basic appliance maintenance.
Access the Coils
Remove the rear or side panel (usually held by screws). Consult your LG model’s manual for exact instructions. Take photos before disconnecting anything to help with reassembly.
Vacuum Loose Dust
Use the vacuum’s brush attachment to gently remove surface dust from the coils. Be careful—the fins are delicate and can bend easily.
Apply Coil Cleaner (Optional)
Use a no-rinse coil cleaner spray designed for air conditioners. Spray lightly and let it foam and drip off. Do not use high-pressure water or harsh chemicals.
Bend Fins Back Into Place
If any fins are bent, use a fin comb (available at hardware stores) to straighten them. This ensures proper airflow.
Reassemble Carefully
Once dry, replace the panel and secure all screws. Double-check that no wires are pinched or disconnected.
> Note: If you’re unsure about accessing internal components, consider hiring a professional technician. Improper handling can void your warranty or damage the unit.
Step 7: Reassemble and Test the Unit
Now that everything is clean and dry, it’s time to put your LG portable air conditioner back together.
Reinstall Filters and Tank
Slide the dry air filters back into their slots, ensuring they’re seated properly. Reinsert the water tank until it clicks into place.
Reconnect the Exhaust Hose
Attach the hose securely to the unit and window kit. Make sure there are no gaps or loose connections that could let hot air leak back in.
Plug In and Power On
Plug the unit back into a grounded outlet. Turn it on using the power button or remote. Set it to a low cooling mode and listen for normal operation.
Check for Leaks and Odors
Run the unit for 10–15 minutes. Look for water leaks, unusual noises, or musty smells. If you notice anything odd, turn it off immediately and recheck your assembly.
How Often Should You Clean Your LG Portable AC?
Cleaning frequency depends on usage and environment:
- High use (daily, summer months): Clean filters every 2 weeks; full cleaning every 4–6 weeks.
- Moderate use (a few times per week): Clean filters monthly; full cleaning every 2–3 months.
- Low use or storage: Clean thoroughly before storing for the season. Cover the unit to prevent dust buildup.
- Pets, smokers, or dusty areas: Increase cleaning frequency—filters may need weekly attention.
Set calendar reminders to stay on track. Consistent maintenance prevents big problems down the line.
Troubleshooting Common Cleaning Issues
Even with careful cleaning, you might encounter a few hiccups. Here’s how to handle them:
Unit Won’t Turn On After Cleaning
Double-check that all panels are securely closed and filters are properly inserted. Some LG models have safety switches that prevent operation if a component is missing or misaligned. Also, ensure the water tank is fully seated—many units won’t run if the tank isn’t detected.
Water Leaking from the Bottom
This usually means the water tank wasn’t pushed in all the way, or the drain plug is loose. Turn off the unit, remove the tank, dry the area, and reinsert everything firmly. If leaks persist, check for cracks in the tank or internal tubing—contact LG support if needed.
Musty or Rotten Smell
Despite cleaning, odors can linger if mold is deep in the coils or hose. Run the unit in “fan-only” mode for an hour to dry out moisture. For persistent smells, use an HVAC-safe antimicrobial spray inside the air intake (with the unit off). Never spray directly into electrical components.
Reduced Cooling Performance
If your AC isn’t cooling as well as before cleaning, the exhaust hose may be kinked or blocked. Also, ensure the window seal is tight—hot air sneaking back in reduces efficiency. Finally, check that the ambient room temperature isn’t too high (above 90°F), which can overwhelm any portable unit.
Tips for Long-Term Maintenance
Keep your LG portable air conditioner in top shape year-round with these smart habits:
- Use a surge protector: Protects the electronics from power spikes.
- Keep the area around the unit clear: Allow at least 18–24 inches of space on all sides for proper airflow.
- Store properly in winter: Clean thoroughly, remove the hose, and store in a dry, climate-controlled space. Cover with a breathable cloth.
- Replace filters if damaged: If the mesh is torn or the carbon filter smells bad even after cleaning, it’s time for a replacement. Genuine LG filters ensure compatibility.
- Schedule professional servicing annually: A technician can deep-clean internal components, check refrigerant levels, and inspect electrical connections.
Conclusion
Cleaning your LG portable air conditioner doesn’t have to be intimidating. With the right tools, a little time, and this step-by-step guide, you can keep your unit running efficiently, quietly, and odor-free. Regular maintenance not only saves money on energy bills but also extends the life of your appliance—and improves the air you breathe.
Remember: safety first, dry everything thoroughly, and don’t rush the process. A clean AC is a happy AC. So grab your supplies, follow these steps, and enjoy cooler, cleaner air all season long.

