
Keeping your LG Art Cool air conditioner clean ensures better air quality, energy efficiency, and longer lifespan. This guide walks you through a complete cleaning process—from filters to coils—with simple steps anyone can follow.
Key Takeaways
- Clean filters monthly: Dirty filters reduce airflow and efficiency. Remove and wash them gently with mild soap and water.
- Turn off power before cleaning: Always switch off the unit at the remote and circuit breaker to avoid electrical hazards.
- Use soft tools only: Avoid abrasive brushes or harsh chemicals that can damage the delicate fins and surfaces.
- <>Clean both indoor and outdoor units: Don’t forget the outdoor condenser—clear debris and gently clean coils for optimal performance.
- Schedule professional maintenance yearly: Even with regular DIY cleaning, a technician should inspect refrigerant levels and internal components annually.
- Check drainage regularly: A clogged drain line causes water leaks and mold growth. Flush it with vinegar monthly.
- Replace filters if damaged: Worn or torn filters won’t trap dust effectively—replace them every 6–12 months.
Why Cleaning Your LG Art Cool Air Conditioner Matters
Your LG Art Cool air conditioner isn’t just a cooling device—it’s also an air purifier, dehumidifier, and style statement rolled into one sleek unit. But like any hardworking appliance, it needs regular care to perform at its best. Over time, dust, pet dander, pollen, and moisture build up inside the system, clogging filters, blocking airflow, and even encouraging mold growth. A dirty AC doesn’t just blow stale air—it works harder, uses more energy, and may eventually break down prematurely.
Cleaning your LG Art Cool AC is surprisingly simple, but many homeowners skip it because they’re unsure where to start or worry about damaging the unit. The good news? With the right tools and a little time, you can keep your air conditioner running efficiently all year long. In this guide, we’ll walk you through every step—from basic filter maintenance to deep-cleaning the coils and drainage system—so your LG Art Cool stays fresh, quiet, and effective.
Whether you’ve owned your unit for a few months or a few years, this comprehensive how-to will help you maintain peak performance. Plus, regular cleaning can extend the life of your AC by several years and save you money on energy bills. Let’s get started!
What You’ll Need Before You Begin
Before diving into the cleaning process, gather these essential supplies. Most are household items, so you likely already have them on hand:
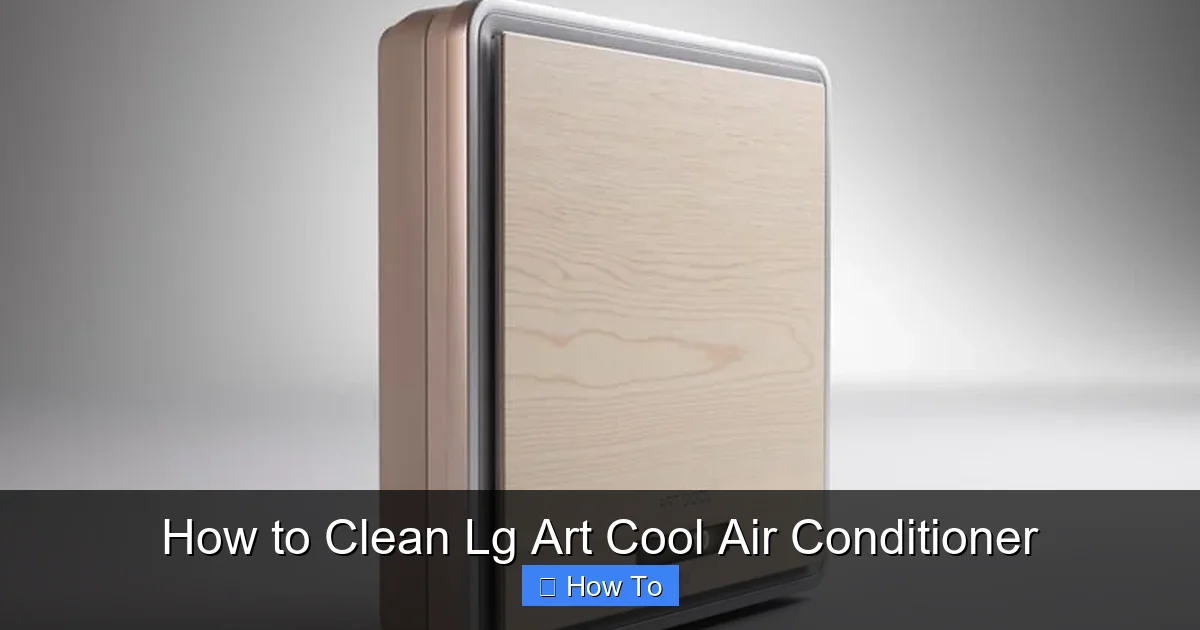
Visual guide about How to Clean Lg Art Cool Air Conditioner
Image source: static.turbosquid.com
- Soft microfiber cloths or sponges
- Mild dish soap or all-purpose cleaner
- White vinegar (for disinfecting and descaling)
- Soft-bristle brush (like a toothbrush or paintbrush)
- Garden hose (for outdoor unit cleaning—use low pressure)
- Vacuum cleaner with brush attachment
- Bucket of warm water
- Screwdriver (if needed to remove panels)
- Safety gloves (optional but recommended)
Pro tip: Avoid using bleach, ammonia-based cleaners, or high-pressure washers—they can corrode metal parts, fade finishes, or damage sensitive electronics.
Step 1: Turn Off the Power
Safety first! Before touching any part of your LG Art Cool air conditioner, make sure it’s completely powered down. This prevents accidental startup and protects you from electrical shock.
How to Safely Power Down
- Use the remote control to turn off the unit.
- Locate your home’s main electrical panel (breaker box).
- Find the circuit breaker labeled for your air conditioner—it’s usually a double-pole switch.
- Flip it to the “OFF” position.
Even if the unit appears off, residual power can remain in capacitors. Turning off the breaker ensures zero electrical risk during cleaning.
Step 2: Remove and Clean the Front Panel
The front panel of your LG Art Cool houses the air intake and often conceals the filter. It’s also the most visible part—so keeping it clean improves both function and appearance.
Accessing the Panel
- Gently pull the bottom edge of the front panel outward. Most LG Art Cool models have clips that release easily with light pressure.
- Lift the panel slightly and detach it from the top hooks.
- Set the panel aside on a soft surface (like a towel) to avoid scratches.
Cleaning the Panel
Wipe the front panel with a damp microfiber cloth and mild soap solution. For stubborn stains or fingerprints, add a drop of dish soap to warm water. Rinse the cloth frequently to avoid spreading dirt. Dry thoroughly with a clean, dry cloth before reattaching.
Note: If your model has a decorative art panel (a signature feature of the Art Cool series), handle it with extra care. These panels are often made of tempered glass or high-quality plastic and can scratch easily.
Step 3: Clean the Air Filters
The air filters are the lungs of your air conditioner. They trap dust, allergens, and debris before air circulates through your room. When clogged, they force the fan to work harder, reducing efficiency and increasing energy use.
Removing the Filters
- Once the front panel is off, you’ll see one or two rectangular filters behind the grille.
- Gently pull the filter(s) straight out by the handle or edge.
- If there are two filters (common in larger models), label them “left” and “right” with tape so you reinstall them correctly.
Washing the Filters
Fill a bucket with lukewarm water and add a few drops of mild dish soap. Submerge the filters and let them soak for 10–15 minutes. Use a soft brush to gently scrub away embedded dirt—especially around the mesh edges. Rinse thoroughly under running water until all soap residue is gone.
Never wring or twist the filters—they’re delicate and can tear. Instead, shake off excess water and lay them flat on a clean towel to air-dry completely (usually 1–2 hours). Never reinstall wet filters—moisture can promote mold growth inside the unit.
When to Replace Filters
Even with regular cleaning, filters degrade over time. Check them every month during heavy use (summer/winter). If you notice tears, warping, or persistent odors after cleaning, it’s time for replacements. LG recommends replacing filters every 6–12 months, depending on usage and air quality.
Step 4: Clean the Evaporator Coils and Fins
Behind the filters lie the evaporator coils—thin, finned metal components that absorb heat from indoor air. Dust and grime buildup here insulates the coils, reducing heat transfer and forcing the compressor to run longer.
Accessing the Coils
- With the front panel and filters removed, you’ll see the coil assembly.
- Some models may require removing a secondary cover—check your user manual or look for screws along the top or sides.
- Use a screwdriver if needed, but be gentle—plastic clips can break easily.
Cleaning the Coils
Start by vacuuming loose dust with the brush attachment. Then, spray a commercial coil cleaner (available at hardware stores) or a DIY mix of equal parts water and white vinegar onto the fins. Let it sit for 5–10 minutes to break down grime.
Use a soft-bristle brush to gently agitate stubborn spots—never use metal tools or excessive force, as the aluminum fins bend easily and are hard to straighten. Rinse with a gentle stream of water (low-pressure hose or spray bottle). Avoid soaking electrical components.
Straightening Bent Fins
If you notice bent or crushed fins (common near the bottom), use a fin comb—a inexpensive tool designed specifically for this purpose. Gently run it through the fins to restore alignment. Properly aligned fins improve airflow and efficiency.
Step 5: Clean the Drain Pan and Drain Line
Your LG Art Cool removes moisture from the air, which collects in a drain pan and exits through a drain line. If this system clogs, water can back up, causing leaks, odors, or even indoor flooding.
Locating the Drain Components
- The drain pan sits beneath the evaporator coils.
- The drain line is usually a white PVC pipe exiting the side or back of the indoor unit.
Flushing the Drain Line
Mix 1 cup of white vinegar with 1 cup of water. Pour this solution slowly into the drain line opening (often near the wall). Let it sit for 30 minutes to dissolve algae and sludge. Follow with a flush of clean water.
For persistent clogs, use a wet/dry vacuum to suction the line from the outdoor end (if accessible). Alternatively, insert a flexible drain snake to break up blockages.
Cleaning the Drain Pan
Wipe the pan with a vinegar-soaked cloth to remove slime or mineral deposits. Rinse and dry thoroughly. If the pan has cracks or rust, consider replacing it—standing water accelerates corrosion.
Step 6: Clean the Outdoor Condenser Unit
Your LG Art Cool’s outdoor unit (condenser) releases heat absorbed from inside your home. Leaves, grass, and dirt can accumulate around the fins, blocking airflow and reducing efficiency.
Safety Precautions
Always turn off power to the outdoor unit at the breaker before cleaning. Wear gloves and eye protection—debris can be sharp or irritating.
Clearing Debris
- Remove any large debris (sticks, leaves, trash) by hand.
- Trim back plants or vines within 2 feet of the unit to ensure proper airflow.
Cleaning the Coils
Use a garden hose on low pressure to spray the condenser fins from the inside out (to avoid pushing dirt deeper). Hold the nozzle at a 45-degree angle and work in sections. Never use a pressure washer—it can bend fins or damage seals.
For heavy grime, apply coil cleaner as described earlier. Let it foam and rinse thoroughly. Allow the unit to dry completely before restoring power.
Step 7: Reassemble and Test
Once all components are clean and dry, it’s time to put everything back together.
Reinstalling Components
- Place the filters back into their slots, ensuring they’re seated properly.
- Reattach the front panel by hooking the top first, then pressing the bottom clips into place.
- Double-check that no wires are pinched or loose.
Restoring Power and Testing
Go back to your breaker box and flip the AC circuit back to “ON.” Use the remote to turn on the unit. Listen for unusual noises and check that air flows smoothly. Run the unit for 15–20 minutes and inspect for leaks or odors.
If everything looks good, congratulations—you’ve successfully cleaned your LG Art Cool air conditioner!
Troubleshooting Common Cleaning Issues
Even with careful cleaning, you might encounter a few hiccups. Here’s how to handle them:
Water Leaking After Cleaning
This usually means the drain line is still partially clogged or the drain pan isn’t level. Recheck the drain line flush and ensure the unit is installed on a flat surface.
Unit Won’t Turn On After Reassembly
Verify that the front panel is fully secured—many LG models have a safety switch that prevents operation if the panel isn’t closed properly. Also, confirm the breaker is on.
Persistent Musty Odor
If smells return quickly, mold may be growing inside the evaporator housing. Consider using an EPA-approved HVAC disinfectant spray or schedule a professional deep clean.
Bent Fins Won’t Straighten
Severely damaged fins can restrict airflow. If fin combs don’t help, contact LG support—they may offer replacement parts or service.
How Often Should You Clean Your LG Art Cool AC?
Cleaning frequency depends on usage and environment:
- Filters: Every 4–6 weeks during peak seasons (summer/winter); every 2–3 months otherwise.
- Coils and drain system: Every 6 months.
- Outdoor unit: Twice a year (spring and fall).
- Professional inspection: Annually, ideally before summer.
Homes with pets, smokers, or high pollen counts may need more frequent attention.
Final Tips for Long-Term Maintenance
- Keep the area around the indoor unit dust-free—vacuum nearby carpets and shelves regularly.
- Use a programmable thermostat to reduce runtime and wear.
- Consider installing a whole-house air purifier to reduce filter load.
- Keep your user manual handy—it contains model-specific instructions and warranty info.
By following this guide, you’ll not only keep your LG Art Cool air conditioner running like new—you’ll also enjoy cleaner air, lower bills, and peace of mind. Regular maintenance is a small investment that pays big dividends in comfort and reliability.

