Keeping your LG Dual Inverter air conditioner filter clean is essential for optimal performance, energy efficiency, and indoor air quality. This step-by-step guide walks you through the entire cleaning process—from turning off the unit to reassembling it safely—so you can maintain your AC like a pro.
Key Takeaways
- Turn off the power first: Always disconnect the AC from the power source before cleaning to prevent electrical hazards.
- Remove the front panel gently: Use the correct technique to avoid damaging clips or hinges when accessing the filter.
- Vacuum before washing: Use a soft brush attachment to remove loose dust and debris before rinsing the filter.
- Use lukewarm water only: Avoid hot water or harsh chemicals that can warp or degrade the filter material.
- Let the filter dry completely: Never reinstall a damp filter—this can cause mold growth and reduce airflow.
- Clean every 2–4 weeks: Regular maintenance ensures efficient cooling and extends the life of your unit.
- Check for damage: Inspect the filter for tears or wear during cleaning and replace if necessary.
Why Cleaning Your LG Dual Inverter AC Filter Matters
Your LG Dual Inverter air conditioner is designed to deliver powerful, energy-efficient cooling with quiet operation. But even the most advanced technology needs regular maintenance to perform at its best. One of the simplest yet most impactful tasks you can do is cleaning the air filter.
Over time, dust, pet dander, pollen, and other airborne particles accumulate on the filter. This buildup restricts airflow, forcing your AC to work harder to cool your room. The result? Higher energy bills, reduced cooling performance, and potentially costly repairs down the line. In fact, a dirty filter can increase energy consumption by up to 15%, according to the U.S. Department of Energy.
But the benefits of a clean filter go beyond efficiency. A clogged filter also compromises indoor air quality. Instead of trapping pollutants, a dirty filter may recirculate them back into your living space—triggering allergies, asthma, or other respiratory issues. For households with pets, children, or elderly family members, this is especially important.
LG’s Dual Inverter Compressor technology is engineered for durability and long-term savings, but it still relies on proper airflow to function optimally. Cleaning the filter regularly ensures that the compressor doesn’t overheat and that the system maintains its energy-saving advantages.
In this guide, you’ll learn exactly how to clean your LG Dual Inverter air conditioner filter—safely, effectively, and without damaging your unit. Whether you’re a first-time user or just need a refresher, these step-by-step instructions will help you keep your AC running smoothly all year long.
What You’ll Need Before You Start
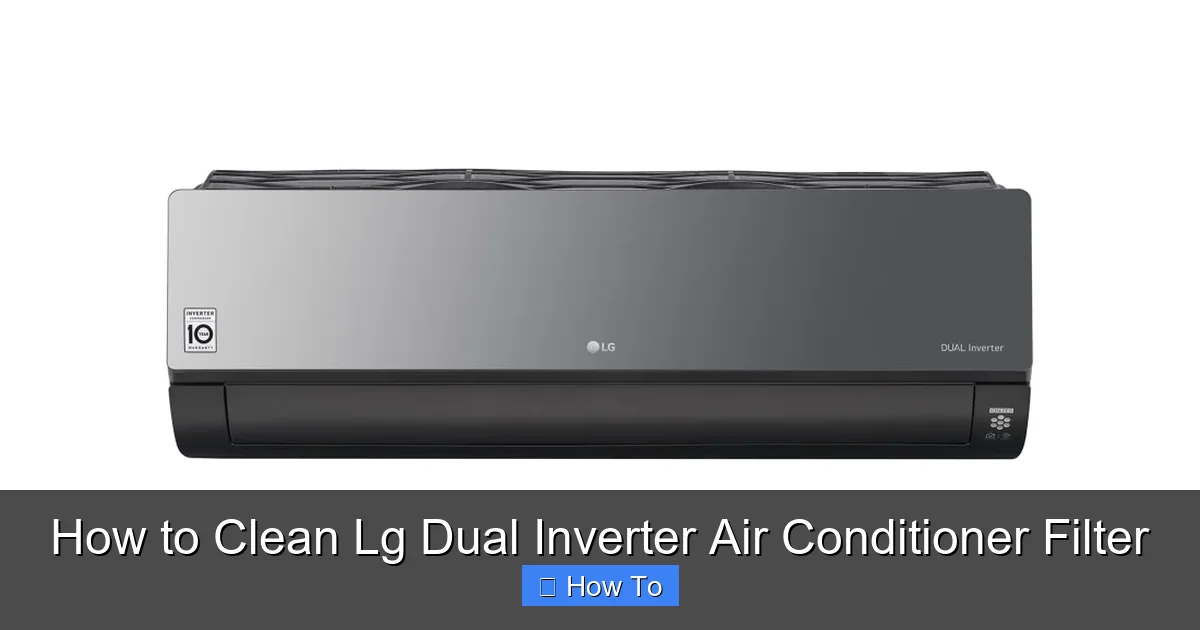
Visual guide about How to Clean Lg Dual Inverter Air Conditioner Filter
Image source: ggear.com.kh
Before diving into the cleaning process, it’s important to gather the right tools and prepare your workspace. Having everything ready will make the job quicker, safer, and more effective.
Here’s a quick checklist of what you’ll need:
- Soft-bristle brush or vacuum with brush attachment: This helps remove loose dust without damaging the filter.
- Mild dish soap or gentle cleaner: Avoid bleach, ammonia, or abrasive cleaners that can degrade the filter material.
- Lukewarm water: Hot water can warp the filter frame or melt delicate components.
- Clean towel or drying rack: For air-drying the filter completely.
- Soft cloth or microfiber towel: To wipe down the interior panels and fan housing.
- Gloves (optional): To protect your hands from dust and grime.
- Flashlight (optional): Helps you see inside the unit when inspecting for dust buildup.
Make sure you have a clean, well-lit area to work in—ideally near a sink or outdoor space where you can rinse the filter. Avoid cleaning on windy days if you’re outdoors, as dust can blow back onto the filter.
Also, check your AC model number (usually found on a label inside the front panel or on the back of the unit). While most LG Dual Inverter units follow a similar filter design, some newer models may have slight variations. If you’re unsure, consult your user manual or LG’s official website for model-specific instructions.
Step 1: Turn Off the Power
Safety always comes first. Before touching any part of your air conditioner, you must disconnect it from the power source. This prevents accidental startup, electrical shock, or damage to the internal components.
How to Safely Power Down Your Unit
Start by turning off the air conditioner using the remote control. Press the “Power” or “Off” button to shut down the system. However, this only stops the unit from running—it doesn’t cut off the electrical supply.
Next, locate the main power switch on the indoor unit. Many LG models have a small toggle switch on the side or bottom of the front panel. Flip it to the “Off” position.
For complete safety, go to your home’s electrical panel (breaker box) and turn off the circuit breaker that powers the air conditioner. This is the most reliable way to ensure no electricity is flowing to the unit. If you’re unsure which breaker controls your AC, turn off the main breaker or consult an electrician.
Wait at least 5–10 minutes after powering down before proceeding. This allows any residual charge in the capacitors to dissipate, reducing the risk of electrical shock.
Pro Tip: If your AC is hardwired (not plugged into a wall outlet), never attempt to disconnect it yourself unless you’re a licensed electrician. Always use the breaker method for safety.
Step 2: Access the Air Filter
Now that the power is off, it’s time to open the front panel and locate the air filter. LG Dual Inverter units typically have a front-facing panel that swings open to reveal the filter compartment.
Opening the Front Panel
Stand in front of the indoor unit and look for the front panel. It’s usually a large, rectangular cover that spans the width of the unit. On most models, you’ll see small indentations or grooves along the bottom edge—these are your grip points.
Gently place your fingers under the bottom edge of the panel and pull it forward. The panel is held in place by plastic clips or hinges, so avoid using excessive force. If it doesn’t budge, check for a release latch or button near the top or sides.
Once the panel is open, it will either swing down on hinges or lift off completely, depending on your model. Support the panel with one hand as you open it to prevent it from falling or straining the hinges.
Locating the Filter
Inside, you’ll see one or two rectangular filters—usually white or light gray—slotted into a frame. These are the washable air filters designed to trap dust and debris.
Some LG models feature a dual-filter system: a primary filter for large particles and a secondary filter (sometimes called a “plasma filter” or “deodorizing filter”) for odors and finer particles. If your unit has two filters, note which one is which—they may require different cleaning methods.
The filters are typically labeled with arrows indicating airflow direction. Make a mental note of how they’re positioned so you can reinstall them correctly later.
Important: Do not remove any other components, such as the evaporator coils or fan blades, unless you’re experienced with AC maintenance. Stick to the filter for now.
Step 3: Remove the Filter Carefully
With the front panel open and the filter visible, it’s time to remove it from the unit. This step requires a gentle touch to avoid damaging the filter or the surrounding parts.
Sliding Out the Filter
Most LG filters slide out horizontally from a track or groove. Look for the filter’s edge—it should have a small handle or lip for easy gripping.
Grasp the filter firmly but gently by the edge and pull it straight out. Avoid twisting or bending it, as this can crack the plastic frame or tear the mesh.
If the filter feels stuck, don’t force it. Check for any clips or latches that may be holding it in place. Some models have a small tab or button you need to press before the filter releases.
Handling the Filter
Once removed, place the filter on a clean, flat surface—preferably over a trash can or outside to avoid spreading dust indoors.
Inspect the filter for visible dirt, discoloration, or damage. A clean filter should be light in color with minimal dust buildup. If it’s dark gray or clogged with debris, it’s definitely time for a thorough cleaning.
Pro Tip: Take a photo of the filter in place before removing it. This can help you remember the correct orientation when reinstalling.
Step 4: Vacuum Loose Debris
Before washing the filter, it’s best to remove as much loose dust and debris as possible. This prevents clogging your sink or shower drain and makes the washing step more effective.
Using a Vacuum Cleaner
Attach a soft-bristle brush nozzle to your vacuum cleaner. This gentle attachment won’t damage the filter’s delicate mesh.
Hold the filter over a trash can or outdoors and gently vacuum both sides. Start with the side that faced the room (the “dirty” side), then flip it and vacuum the other side.
Focus on areas with heavy buildup, such as the corners and center. Move the brush in slow, overlapping strokes to lift embedded dust.
Alternative: Hand Brushing
If you don’t have a vacuum, use a soft-bristle paintbrush or a clean, dry microfiber cloth. Gently brush the surface to dislodge loose particles.
Avoid using compressed air, as it can push dust deeper into the filter or damage the fibers.
Note: If your filter has a carbon or deodorizing layer (often darker in color), be extra gentle. These layers are more fragile and can tear easily.
Step 5: Wash the Filter with Lukewarm Water
Now it’s time to give the filter a proper wash. This step removes stubborn dirt and restores airflow.
Preparing the Cleaning Solution
Fill a sink, bathtub, or large basin with lukewarm water. Add a few drops of mild dish soap—just enough to create light suds. Avoid using hot water, as it can warp the plastic frame or melt adhesive components.
Do not use bleach, vinegar, or commercial cleaners unless specified in your user manual. These can degrade the filter material over time.
Washing the Filter
Submerge the filter completely in the soapy water. Let it soak for 5–10 minutes to loosen embedded dirt.
After soaking, gently agitate the filter by moving it up and down in the water. Use your hands to lightly rub both sides, focusing on heavily soiled areas.
For stubborn grime, use a soft sponge or cloth to wipe the surface. Avoid scrubbing too hard—this can damage the mesh.
Rinsing Thoroughly
Once the filter looks clean, rinse it under cool, running water. Hold it at an angle to allow water to flow through the mesh and flush out soap and dirt.
Continue rinsing until the water runs clear and no suds remain. Soap residue can attract more dust and reduce filter efficiency.
Pro Tip: Rinse the filter outdoors if possible. This prevents dirty water from going down your indoor drain and makes cleanup easier.
Step 6: Dry the Filter Completely
Drying the filter properly is just as important as cleaning it. A damp filter can promote mold growth, reduce airflow, and even damage your AC’s internal components.
Air-Drying Method
Shake off excess water gently, then place the filter on a clean towel or drying rack. Position it upright or at a slight angle to allow air to circulate through the mesh.
Avoid placing the filter in direct sunlight or near a heat source (like a radiator or hair dryer). High heat can warp the plastic frame or shrink the mesh.
Let the filter air-dry for at least 4–6 hours, or overnight if possible. Make sure it’s completely dry before reinstalling—no moisture should remain.
Checking for Dryness
To test if the filter is dry, run your fingers over the surface. It should feel cool and dry, with no damp spots.
You can also hold it up to a light—if you see any dark or wet areas, it needs more time to dry.
Never reinstall a wet filter. Even a small amount of moisture can lead to mold, odors, and reduced performance.
Step 7: Reinstall the Filter and Front Panel
With the filter clean and dry, it’s time to put everything back together.
Reinserting the Filter
Hold the filter with the airflow arrows pointing toward the unit (usually inward). Slide it back into the track or slot, making sure it sits flat and secure.
If your unit has two filters, reinstall them in the correct order. The primary filter usually goes in first, followed by the secondary filter.
Push the filter all the way in until it clicks or stops. Don’t force it—if it doesn’t fit easily, double-check the orientation.
Closing the Front Panel
Once the filter is in place, gently close the front panel. Align it with the hinges or clips and press firmly until it snaps into place.
Make sure the panel is fully closed and secure. A loose panel can cause air leaks or trigger error codes on the display.
Restoring Power
Go back to your breaker box and turn the circuit back on. Then, flip the power switch on the indoor unit (if applicable).
Use the remote control to turn the AC back on. Set it to a low fan speed initially to test airflow.
Listen for unusual noises and check that cool air is blowing properly. If everything looks and sounds good, you’re all set!
Troubleshooting Common Issues
Even with careful cleaning, you might run into a few hiccups. Here’s how to handle common problems:
Filter Won’t Slide Back In
If the filter doesn’t fit, check the orientation. Make sure the airflow arrows are pointing the right way. Also, ensure the filter isn’t warped or damaged.
AC Still Not Cooling Well
A clean filter should improve performance, but if cooling is still poor, check for other issues: blocked vents, low refrigerant, or a dirty outdoor unit. Consider scheduling a professional inspection.
Strange Odors After Cleaning
If your AC smells musty or sour, the filter may not have dried completely, or mold may have grown inside the unit. Clean the evaporator coils or contact LG support.
Error Codes on Display
Some LG models show error codes if the filter isn’t installed correctly. Refer to your user manual or LG’s support site for code meanings.
How Often Should You Clean the Filter?
The frequency of cleaning depends on usage and environment:
- Every 2 weeks: In high-traffic homes, homes with pets, or during allergy season.
- Every 3–4 weeks: In average households with moderate use.
- Every 6 weeks: In lightly used rooms or low-dust environments.
Set a calendar reminder or use a maintenance app to stay on track. Regular cleaning not only improves performance but also extends the life of your LG Dual Inverter AC.
Conclusion
Cleaning your LG Dual Inverter air conditioner filter is a simple task with big rewards. By following these seven steps—powering down, accessing, removing, vacuuming, washing, drying, and reinstalling—you’ll keep your AC running efficiently, save on energy bills, and breathe cleaner air.
Remember, consistency is key. Make filter cleaning a regular part of your home maintenance routine, and your LG Dual Inverter will continue to deliver reliable, quiet, and energy-efficient cooling for years to come.
With just 15–20 minutes of effort every few weeks, you’re investing in better performance, longer lifespan, and healthier indoor air. So grab your tools, follow this guide, and enjoy the cool, clean comfort your AC was designed to provide.