
Keeping your LG air conditioner window unit clean is essential for optimal performance, energy efficiency, and better indoor air quality. This guide walks you through a complete cleaning process—from safety prep to reassembly—so your AC runs smoothly all season long.
Key Takeaways
- Turn off and unplug the unit before cleaning to prevent electrical hazards and ensure your safety.
- Clean or replace the air filter monthly to maintain airflow and reduce strain on the system.
- Use mild soap and water for most components—avoid harsh chemicals that can damage plastic or metal parts.
- Inspect and clean the evaporator and condenser coils to improve cooling efficiency and prevent mold buildup.
- Check the drain pan and drain hole to avoid water leaks and standing water that can cause odors or damage.
- Reassemble carefully and test the unit after cleaning to ensure everything works properly.
- Schedule professional maintenance annually for deep cleaning and system checks beyond DIY care.
How to Clean LG Air Conditioner Window Unit: A Complete Step-by-Step Guide
Summer heat is no joke—and when your LG air conditioner window unit isn’t running efficiently, it can turn your home into a sauna. But did you know that a dirty AC unit doesn’t just cool poorly? It can also spike your energy bills, reduce indoor air quality, and even shorten the lifespan of your appliance. The good news? Cleaning your LG window air conditioner is simpler than you might think—and doing it regularly can make a world of difference.
In this comprehensive guide, we’ll walk you through how to clean your LG air conditioner window unit safely, thoroughly, and effectively. Whether you’re a first-time cleaner or just looking to refine your routine, you’ll learn everything from basic filter maintenance to deep-cleaning the coils and drainage system. By the end, your AC will run quieter, cooler, and more efficiently—keeping you comfortable and your energy bills in check.
Why Cleaning Your LG Window AC Unit Matters
Before diving into the cleaning steps, it’s important to understand why regular maintenance is so crucial. Over time, dust, pet dander, pollen, and other airborne particles accumulate inside your air conditioner. This buildup doesn’t just clog the system—it also creates a breeding ground for mold, mildew, and bacteria. When your AC blows air through these contaminants, you’re essentially circulating dirty air throughout your home.
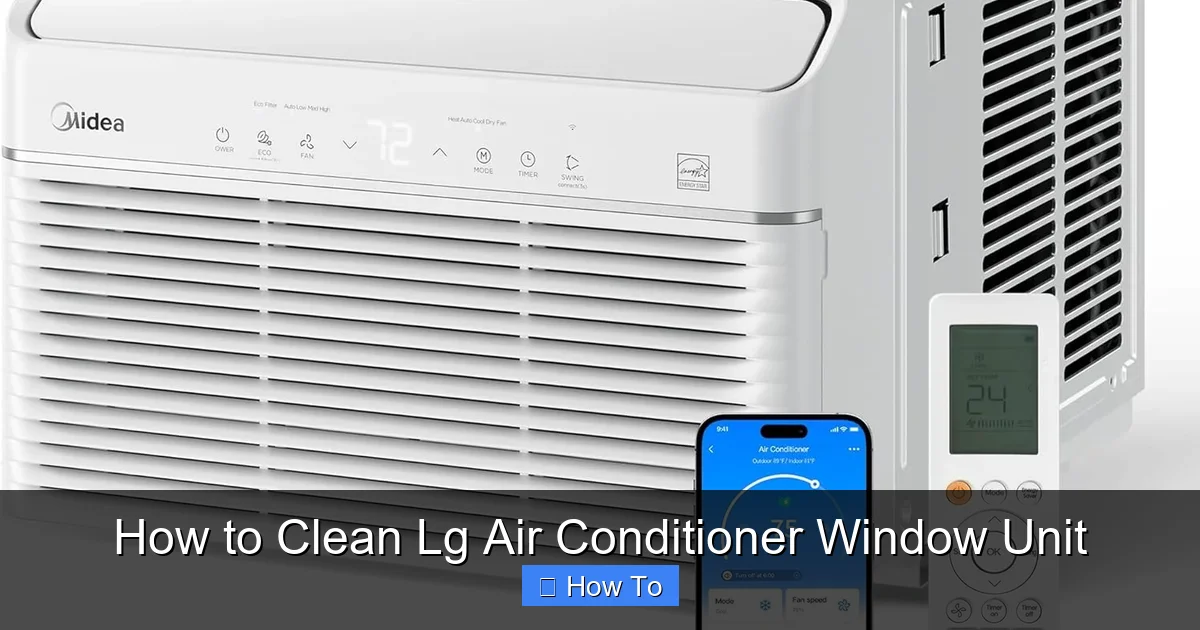
Visual guide about How to Clean Lg Air Conditioner Window Unit
Image source: m.media-amazon.com
Additionally, a dirty unit has to work harder to cool your space. Clogged filters restrict airflow, while grimy coils reduce heat exchange efficiency. This means your AC runs longer cycles, uses more electricity, and may struggle to reach your desired temperature. In extreme cases, blocked drainage can lead to water leaks, water damage, or even electrical issues.
By cleaning your LG window air conditioner every 1–2 months during peak usage—and doing a deep clean at the start and end of each season—you’ll enjoy:
- Better cooling performance
- Lower energy bills
- Improved air quality
- Fewer repairs and longer unit life
- Reduced risk of mold and odors
Tools and Supplies You’ll Need
Before you begin, gather the following tools and cleaning supplies. Having everything ready will make the process faster and more efficient.
- Soft cloths or microfiber towels
- Mild dish soap or all-purpose cleaner
- Warm water
- Soft-bristle brush (like an old toothbrush)
- Vacuum cleaner with a brush attachment
- Spray bottle
- Garden hose (optional, for outdoor rinsing)
- Fin comb (optional, for straightening bent fins)
- Screwdriver (if needed to remove panels)
- Replacement air filter (if current one is damaged or too dirty)
- Rubber gloves (optional, for hygiene)
Note: Avoid using abrasive scrubbers, bleach, ammonia, or high-pressure washers, as these can damage delicate components like the aluminum fins or plastic housing.
Step 1: Turn Off and Unplug the Unit
Safety first! Before you touch any part of your LG air conditioner, make sure it’s completely powered down.
Unplug from the Wall
Locate the power cord and unplug it from the electrical outlet. Never clean an air conditioner while it’s plugged in—even if it’s turned off at the unit. There’s still a risk of electrical shock or accidental startup.
Turn Off the Circuit Breaker (Optional but Recommended)
For extra safety, especially if you’re doing a deep clean or working near water, turn off the circuit breaker that powers the outlet. This ensures no electricity can reach the unit during cleaning.
Let the Unit Cool Down
If your AC has been running recently, give it at least 30 minutes to cool down. Hot components can be harder to clean and may warp if exposed to sudden temperature changes (like cold water).
Step 2: Remove the Front Panel and Air Filter
The air filter is the first line of defense against dust and debris. It’s also the easiest part to clean—and one of the most important.
Locate the Front Panel
Most LG window air conditioners have a front grille or panel that snaps or screws into place. Look for tabs or small screws along the top or sides. Gently press or unscrew to release the panel.
Remove the Air Filter
Once the panel is off, you’ll see the air filter—usually a flat, rectangular mesh or pleated filter. Slide it out carefully. Some models have a single filter; others may have two (one on each side).
Inspect the Filter
Hold the filter up to the light. If you can’t see through it, or if it’s visibly caked with dust and hair, it’s time to clean or replace it. A clogged filter reduces airflow and forces the compressor to work harder.
Step 3: Clean the Air Filter
Cleaning the filter regularly is one of the simplest ways to keep your LG AC running efficiently.
Rinse with Warm Water
Hold the filter under lukewarm running water. Use your hands or a soft brush to gently remove dust and debris. Avoid hot water, which can warp the filter material.
Use Mild Soap (If Needed)
If the filter is greasy or heavily soiled, add a few drops of mild dish soap to a basin of warm water. Soak the filter for 10–15 minutes, then rinse thoroughly.
Air-Dry Completely
Place the filter on a clean towel and let it air-dry completely—preferably in the shade. Never reinstall a wet filter, as moisture can promote mold growth and damage the unit.
Replace If Necessary
If the filter is torn, warped, or more than a year old, replace it with a compatible LG filter. Using the wrong size or type can reduce efficiency and void your warranty.
Step 4: Clean the Front Panel and Grille
While the filter dries, take the opportunity to clean the front panel and grille.
Wipe Down the Exterior
Use a damp microfiber cloth and mild soap to wipe the front panel, grille, and surrounding areas. Pay attention to the vents—dust often accumulates in the slats.
Use a Soft Brush for Tight Spaces
For hard-to-reach areas between the fins, use a soft-bristle brush or an old toothbrush. Gently scrub away dust without bending the delicate aluminum fins.
Rinse and Dry
If the panel is removable, you can rinse it under the sink or with a garden hose (on low pressure). Let it dry completely before reattaching.
Step 5: Vacuum the Interior
Now that the front is off, you can access the interior components. Start by vacuuming out loose debris.
Use the Brush Attachment
Attach the brush nozzle to your vacuum cleaner. Gently vacuum the interior cabinet, focusing on the area behind the filter and around the evaporator coils. This removes dust, spider webs, and other loose particles.
Avoid Touching Electrical Components
Be careful not to touch wires, capacitors, or the compressor. If you’re unsure about any part, skip it and consult your user manual or a professional.
Step 6: Clean the Evaporator and Condenser Coils
The coils are essential for heat exchange. When they’re dirty, your AC can’t cool effectively.
Locate the Coils
The evaporator coil is usually behind the front panel, near the filter. The condenser coil is on the back or side of the unit, facing outside. You may need to remove additional panels or the rear cover to access it.
Vacuum Loose Debris
Use the vacuum brush to remove surface dust from both coils. Be gentle—coil fins are thin and easily bent.
Apply Coil Cleaner (Optional)
For deeper cleaning, use a commercial coil cleaner spray (available at hardware stores). Spray it evenly on the coils and let it foam for 5–10 minutes. The cleaner will break down grease and grime.
Rinse Carefully
If your cleaner requires rinsing, use a garden hose on low pressure. Never use a pressure washer—it can damage the fins. Let the coils dry completely before reassembling.
Straighten Bent Fins (If Needed)
Use a fin comb (a small tool with fine teeth) to gently straighten any bent aluminum fins. This improves airflow and efficiency.
Step 7: Clean the Drain Pan and Drain Hole
Standing water in the drain pan can lead to leaks, odors, and mold. Keeping it clean is essential.
Locate the Drain Pan
The drain pan is usually at the bottom of the unit, beneath the evaporator coil. You may need to tilt the unit slightly or remove a bottom panel to access it.
Remove Sludge and Debris
Use a damp cloth or sponge to wipe out any sludge, algae, or debris. For stubborn buildup, mix a solution of 1 part vinegar to 3 parts water and scrub gently.
Clear the Drain Hole
Find the drain hole (a small opening on the side or back of the unit). Use a pipe cleaner, small brush, or compressed air to clear any blockages. Pour a cup of water into the drain pan to test flow—if it drains slowly, repeat the cleaning.
Disinfect (Optional)
To prevent mold, spray a mixture of water and a few drops of bleach into the drain pan and hole. Let it sit for 10 minutes, then rinse with water.
Step 8: Wipe Down the Exterior and Window Frame
Don’t forget the outside! Dirt and debris on the exterior can affect performance and invite pests.
Clean the Outer Casing
Use a damp cloth and mild soap to wipe the exterior of the unit. Pay attention to the vents and louvers on the back and sides.
Check the Window Seal
Inspect the weather stripping around the unit. If it’s cracked or loose, replace it to prevent air leaks and improve efficiency.
Clear Debris from the Window Frame
Sweep or vacuum leaves, dirt, and spider webs from the window frame and surrounding area. This prevents pests from entering the unit.
Step 9: Reassemble the Unit
Once everything is clean and dry, it’s time to put your LG air conditioner back together.
Reinstall the Air Filter
Make sure the filter is completely dry and properly aligned. Slide it back into place according to the arrows or markings on the frame.
Reattach the Front Panel
Snap or screw the front grille back into place. Ensure it’s secure and fits snugly to prevent air leaks.
Double-Check All Connections
Before plugging in, verify that all panels are properly closed and no tools or cloths are left inside the unit.
Step 10: Plug In and Test the Unit
You’re almost done! Now it’s time to see if your cleaning efforts paid off.
Plug In the Power Cord
Reconnect the unit to the electrical outlet. If you turned off the circuit breaker, turn it back on.
Turn On the AC
Set the thermostat to a cool temperature and turn on the unit. Listen for unusual noises and check that cold air is blowing.
Monitor for Leaks or Odors
Run the unit for 15–20 minutes. Check for water leaks, musty smells, or reduced airflow. If you notice any issues, turn it off and recheck your cleaning steps.
Troubleshooting Common Cleaning Issues
Even with careful cleaning, you might run into a few hiccups. Here’s how to handle common problems:
Unit Won’t Turn On After Cleaning
Double-check that the unit is plugged in and the circuit breaker is on. Ensure all panels are securely closed—some models have safety switches that prevent operation if the front panel is loose.
Water Leaking Inside the Room
This usually means the drain pan or drain hole is still clogged. Recheck and clean the drainage system. Also, ensure the unit is level—tilting can cause water to pool and overflow.
Reduced Cooling Performance
If the AC isn’t cooling as well as before, the coils may still be dirty or the filter may not be seated properly. Recheck the coils and filter, and consider replacing the filter if it’s old.
Strange Odors When Running
A musty smell often indicates mold in the drain pan or on the coils. Clean the drain pan with a vinegar solution and consider using an antibacterial coil cleaner.
Bent or Damaged Fins
If you accidentally bent the aluminum fins during cleaning, use a fin comb to gently straighten them. Damaged fins restrict airflow and reduce efficiency.
How Often Should You Clean Your LG Window AC?
Cleaning frequency depends on usage, environment, and season.
- Monthly: Clean or replace the air filter during peak cooling months (spring through fall).
- Every 2–3 Months: Do a full cleaning of the interior, coils, and drain pan.
- Seasonally: Perform a deep clean at the start of summer and again before storing the unit for winter.
- Annually: Schedule professional maintenance to check refrigerant levels, electrical connections, and overall system health.
If you have pets, live in a dusty area, or suffer from allergies, consider cleaning more frequently.
Tips for Maintaining Your LG Air Conditioner Year-Round
Cleaning isn’t the only way to keep your AC in top shape. Follow these tips for long-term care:
- Keep the Area Around the Unit Clear: Ensure at least 2 feet of space around the exterior for proper airflow.
- Use a Cover in Winter: If the unit stays in the window year-round, use a weatherproof cover to protect it from snow and debris.
- Check for Ice Buildup: If you see ice on the coils, turn off the unit and let it thaw. Ice usually indicates a dirty filter or low refrigerant.
- Listen for Unusual Noises: Rattling, buzzing, or grinding sounds may signal loose parts or motor issues.
- Upgrade to a Washable Filter: Some LG models support reusable filters, which save money and reduce waste.
Conclusion
Cleaning your LG air conditioner window unit might seem like a chore, but it’s one of the best things you can do for your comfort, health, and wallet. By following this step-by-step guide, you’ll keep your AC running efficiently, improve indoor air quality, and extend the life of your appliance.
Remember: regular maintenance is key. A little effort every month can prevent big problems down the line. So grab your supplies, unplug that unit, and give your LG AC the care it deserves. Your future self—and your electricity bill—will thank you.

