
Cleaning your LG air conditioner window unit is essential for maintaining optimal performance and indoor air quality. This guide walks you through the entire process—from safety prep to reassembly—with simple, expert-backed steps. Keep your AC running efficiently and extend its lifespan with regular maintenance.
Key Takeaways
- Turn off and unplug the unit: Always ensure the air conditioner is completely powered down and disconnected from electricity before cleaning to prevent shocks or damage.
- Clean or replace filters monthly: Dirty filters restrict airflow, reduce efficiency, and can cause the unit to freeze up—cleaning them regularly improves performance.
- Use mild cleaners and soft tools: Harsh chemicals or abrasive brushes can damage sensitive components; stick to soapy water and microfiber cloths.
- Inspect and clean the evaporator and condenser coils: Dust buildup on coils reduces heat exchange efficiency—gentle cleaning with a coil brush or vacuum helps maintain cooling power.
- Check drainage and remove debris: Clogged drain lines cause water leaks and mold growth—clear them with a pipe cleaner or compressed air.
- Reassemble carefully and test: After cleaning, ensure all parts are securely in place before turning the unit back on to avoid operational issues.
- Schedule seasonal deep cleans: While monthly filter cleaning is enough for light use, perform a full cleaning every 3–6 months for best results.
How to Clean LG Air Conditioner Window: A Complete Step-by-Step Guide
Keeping your LG window air conditioner clean isn’t just about aesthetics—it’s about performance, energy efficiency, and your health. Over time, dust, pollen, pet dander, and mold can accumulate inside and around your unit, reducing airflow, straining the motor, and circulating dirty air throughout your home. Fortunately, cleaning your LG air conditioner window unit is simpler than you might think—and doing it regularly can save you money on energy bills and prevent costly repairs.
In this comprehensive guide, we’ll walk you through every step of cleaning your LG window air conditioner safely and effectively. Whether you’re a first-time cleaner or just looking to refine your routine, you’ll learn how to remove filters, clean coils, clear drainage lines, and reassemble your unit like a pro. We’ll also share practical tips, troubleshooting advice, and maintenance schedules to keep your AC running smoothly all season long.
By the end of this guide, you’ll have a spotless, efficient air conditioner that cools your space effectively and improves indoor air quality. Let’s get started!
Why Cleaning Your LG Window Air Conditioner Matters
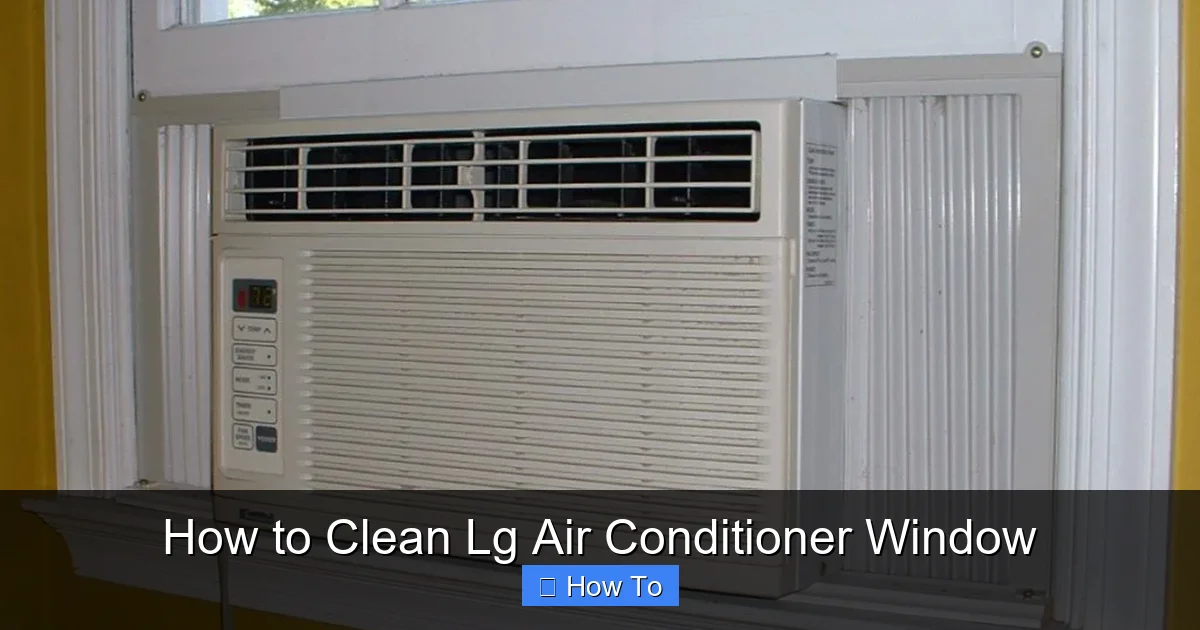
Visual guide about How to Clean Lg Air Conditioner Window
Image source: americanhomewater.com
Before diving into the cleaning process, it’s important to understand why regular maintenance is so crucial. Your LG window air conditioner works hard to pull in warm air, cool it, and push it back into your room. But along with that air comes dust, dirt, and moisture—all of which can build up inside the unit.
When filters and coils get clogged, your AC has to work harder to achieve the same cooling effect. This not only increases energy consumption but also puts extra strain on the compressor and fan motors. Over time, this can lead to overheating, reduced cooling capacity, and even system failure.
Additionally, dirty units can become breeding grounds for mold and bacteria, especially in humid climates. These contaminants can be blown directly into your living space, triggering allergies, asthma, and other respiratory issues. Cleaning your unit helps eliminate these risks and ensures you’re breathing cleaner, fresher air.
Finally, regular cleaning extends the lifespan of your air conditioner. LG units are built to last, but like any appliance, they need care. A well-maintained AC can serve you reliably for 10–15 years, while a neglected one may fail much sooner.
What You’ll Need to Clean Your LG Window Air Conditioner
Gathering the right tools and supplies before you start will make the cleaning process faster, safer, and more effective. Here’s a checklist of what you’ll need:
- Soft microfiber cloths: Ideal for wiping down surfaces without scratching.
- Mild dish soap: Gentle enough for filters and casings; avoid bleach or ammonia-based cleaners.
- Warm water: For soaking and rinsing components.
- Soft-bristle brush or toothbrush: Great for scrubbing tight spaces and coils.
- Vacuum cleaner with brush attachment: Helps remove loose dust from coils and vents.
- Coil cleaner spray (optional): Specifically designed for AC coils; use only if recommended by LG.
- Pipe cleaner or flexible brush: For clearing clogged drain lines.
- Compressed air can: Useful for blowing out dust from hard-to-reach areas.
- Garden hose (optional): For rinsing the exterior condenser coils (only if accessible).
- Screwdriver (if needed): Some LG models require removing screws to access internal parts.
- Safety gloves and goggles: Protect your hands and eyes from dust and cleaning solutions.
Having these items ready will help you clean thoroughly without interruptions. Most are household staples, so you likely already have many of them on hand.
Step 1: Safety First – Turn Off and Unplug the Unit
Safety is the most important part of cleaning your air conditioner. Never attempt to clean a unit that’s still plugged in or running. Electricity and water don’t mix, and even a small shock can be dangerous.
Start by turning off the air conditioner using the remote or control panel. Then, locate the power cord and unplug it from the wall outlet. If your unit is hardwired or connected to a dedicated circuit, turn off the corresponding breaker at your electrical panel.
Wait at least 10–15 minutes before proceeding. This allows any residual electrical charge to dissipate and gives internal components time to cool down if the unit was recently running.
Once the unit is completely powered down and unplugged, you’re ready to begin cleaning. Never skip this step—no matter how small or simple the cleaning task seems.
Step 2: Remove the Front Panel and Air Filter
The air filter is the first line of defense against dust and debris, and it’s also the easiest part to clean. Most LG window air conditioners have a front panel that snaps or slides off to reveal the filter.
Locate the Front Panel
Look for a plastic grille or cover on the front of the unit. It’s usually held in place by clips or small screws. On many LG models, you can gently pull the bottom edge of the panel outward to release it. Others may require you to lift the panel slightly and slide it out.
Remove the Air Filter
Once the panel is off, you’ll see the air filter—typically a flat, rectangular mesh or pleated fabric panel. Carefully slide it out of its slot. Some filters are reusable, while others are disposable. Check your user manual to confirm which type your model uses.
If your filter is reusable (which most LG filters are), proceed to clean it. If it’s disposable and looks worn or damaged, replace it with a new one.
Inspect the Filter
Hold the filter up to a light. If you can’t see through it, it’s time to clean or replace it. Even if it looks clean, it’s a good idea to clean it monthly during heavy use seasons.
Step 3: Clean the Air Filter
A clean filter ensures proper airflow and prevents dust from entering the internal components. Here’s how to clean it properly:
Rinse with Warm Water
Take the filter to a sink or bathtub and rinse it under lukewarm water. Avoid hot water, as it can warp or damage the filter material. Use your hands to gently rub away dirt and debris.
Use Mild Soap (If Needed)
If the filter is particularly dirty, add a few drops of mild dish soap to the water. Soak the filter for 5–10 minutes, then gently scrub with a soft brush or your fingers. Focus on areas with heavy buildup.
Rinse Thoroughly
Rinse the filter completely to remove all soap residue. Leftover soap can attract more dust and reduce efficiency.
Air Dry Completely
Place the filter on a clean towel and let it air dry for at least 2–4 hours. Never reinstall a wet filter—moisture can lead to mold growth and damage the unit.
Replace or Reinstall
Once dry, slide the filter back into its slot. Make sure it fits snugly and is oriented correctly (most filters have an arrow indicating airflow direction). Reattach the front panel by snapping or sliding it back into place.
Step 4: Clean the Interior Components
With the filter removed, you now have access to the interior of the unit. This is where dust and debris tend to accumulate, especially on the evaporator coils and fan blades.
Vacuum Loose Dust
Use a vacuum cleaner with a brush attachment to gently remove dust from the evaporator coils, fan blades, and surrounding areas. Be careful not to bend or damage the delicate aluminum fins on the coils.
Wipe Down Surfaces
Dampen a microfiber cloth with water and wipe down the interior casing, vents, and accessible components. Avoid spraying water directly into the unit—excess moisture can damage electrical parts.
Clean the Evaporator Coils
The evaporator coils are responsible for absorbing heat from indoor air. Over time, they collect dust and grime, reducing efficiency. Use a soft brush or coil cleaner spray (if approved by LG) to gently clean the coils. Spray the cleaner according to the instructions, let it sit for a few minutes, then wipe away residue with a damp cloth.
Inspect the Fan Blades
Check the fan blades for dust buildup. Use a cloth or brush to remove any debris. If the fan is difficult to reach, use compressed air to blow out dust from a safe distance.
Step 5: Clean the Condenser Coils (If Accessible)
The condenser coils are located on the back or side of the unit, facing outside. They release heat from the refrigerant to the outdoor air. While they’re harder to reach, keeping them clean is essential for efficient operation.
Access the Exterior
If your window unit is installed in a way that allows access to the back, you can clean the condenser coils. Otherwise, you may need to remove the unit from the window (see Step 7 for guidance).
Remove Debris
Use your hands or a soft brush to remove leaves, grass, and large debris from the coil fins. Be gentle—bent fins can restrict airflow.
Rinse with Water
If the coils are very dirty, use a garden hose on a low-pressure setting to rinse them. Never use a pressure washer, as it can damage the fins. Let the coils dry completely before reassembling.
Straighten Bent Fins
If you notice bent fins, use a fin comb (available at hardware stores) to gently straighten them. This improves airflow and efficiency.
Step 6: Clear the Drainage System
Your LG air conditioner removes moisture from the air, which drains out through a small tube or pan. If this system gets clogged, water can back up and cause leaks or mold.
Locate the Drain Pan and Tube
The drain pan is usually at the bottom of the unit, beneath the evaporator coils. The drain tube may be visible on the back or side of the unit.
Check for Clogs
Look for standing water or algae growth in the pan. If the drain tube is clogged, water may drip inside your home.
Clean the Drain Pan
Wipe out the drain pan with a damp cloth and mild soap. Rinse thoroughly and dry.
Clear the Drain Tube
Use a pipe cleaner, flexible brush, or compressed air to clear any blockages in the drain tube. Insert the tool gently and work it back and forth until the tube is clear.
Test the Drain
Pour a small amount of water into the drain pan to ensure it flows freely out the tube. If it doesn’t, repeat the cleaning process.
Step 7: Reassemble and Test the Unit
Once all components are clean and dry, it’s time to put everything back together.
Reinstall the Filter and Front Panel
Slide the clean, dry filter back into place and reattach the front panel. Make sure all clips or screws are secure.
Plug In and Power On
Reconnect the power cord and turn on the unit. Set it to a low cooling setting and let it run for 10–15 minutes.
Check for Proper Operation
Listen for unusual noises, check for leaks, and feel the airflow. The unit should run quietly and produce cool air.
Monitor Performance
Over the next few days, pay attention to cooling efficiency and energy usage. A clean unit should cool faster and use less power.
Troubleshooting Common Cleaning Issues
Even with careful cleaning, you might encounter a few problems. Here’s how to handle them:
Unit Won’t Turn On After Cleaning
Double-check that the power cord is plugged in and the breaker hasn’t tripped. Ensure all panels are securely reattached—some models won’t operate if the front panel isn’t fully closed.
Water Leaking Inside
This usually indicates a clogged drain or improperly installed unit. Recheck the drain pan and tube, and ensure the unit is slightly tilted backward to allow proper drainage.
Reduced Cooling Performance
If the unit isn’t cooling well after cleaning, the coils may still be dirty or the refrigerant could be low. Consider a professional inspection if cleaning doesn’t help.
Strange Odors
Musty smells often come from mold in the drain pan or on the filter. Clean these areas thoroughly and consider using an AC-safe disinfectant spray.
Maintenance Schedule for Your LG Window Air Conditioner
To keep your unit in top condition, follow this simple maintenance schedule:
- Monthly: Clean or replace the air filter.
- Every 3 Months: Vacuum interior components and check the drain system.
- Every 6 Months: Deep clean coils, fan, and exterior (if accessible).
- Annually: Consider professional servicing, especially before summer.
Regular maintenance not only improves performance but also helps you catch small issues before they become big problems.
Conclusion
Cleaning your LG air conditioner window unit is a simple yet powerful way to improve efficiency, extend lifespan, and enjoy cleaner, cooler air. By following this step-by-step guide, you’ve learned how to safely remove and clean filters, wipe down interior components, clear drainage systems, and reassemble your unit with confidence.
Remember, consistency is key. A little effort each month can prevent major issues down the line. And if you ever feel unsure about accessing internal parts or handling electrical components, don’t hesitate to consult your user manual or contact LG customer support.
With a clean, well-maintained air conditioner, you’ll stay comfortable all summer long—and save money on energy bills too. So grab your supplies, follow these steps, and enjoy the refreshing breeze of a properly cared-for LG window AC.

