
This guide walks you through how to clean your LG Air Conditioner Dual Inverter thoroughly, from the filters to the outdoor unit. Regular maintenance boosts cooling performance, saves energy, and prevents costly repairs.
Key Takeaways
- Turn off power before cleaning: Always disconnect the AC from the power source to avoid electrical hazards.
- Clean or replace filters monthly: Dirty filters reduce airflow and strain the system, lowering efficiency.
- Use mild soap and water: Harsh chemicals can damage internal components and reduce lifespan.
- Check the evaporator and condenser coils: Dust buildup on coils hampers heat exchange and increases energy use.
- Inspect the drain line regularly: A clogged drain can cause water leaks and mold growth.
- Schedule professional servicing annually: Even with DIY cleaning, a technician should inspect refrigerant levels and electrical parts.
- Keep the outdoor unit clear: Remove debris, leaves, and vegetation within 2 feet of the unit for proper airflow.
How to Clean LG Air Conditioner Dual Inverter: A Complete Guide
Keeping your LG Air Conditioner Dual Inverter clean is essential for optimal performance, energy efficiency, and long-term durability. Unlike older AC models, LG’s Dual Inverter technology uses advanced compressors that adjust cooling power based on demand, making them quieter and more energy-efficient. However, even the most advanced systems need regular maintenance to function at their best.
In this guide, you’ll learn exactly how to clean your LG Air Conditioner Dual Inverter safely and effectively. We’ll cover everything from the indoor unit’s air filters and coils to the outdoor condenser unit. You’ll also get practical tips on frequency, tools, and troubleshooting common issues. Whether you’re a first-time AC owner or a seasoned DIYer, this step-by-step walkthrough will help you maintain your unit like a pro.
Why Cleaning Your LG Dual Inverter AC Matters
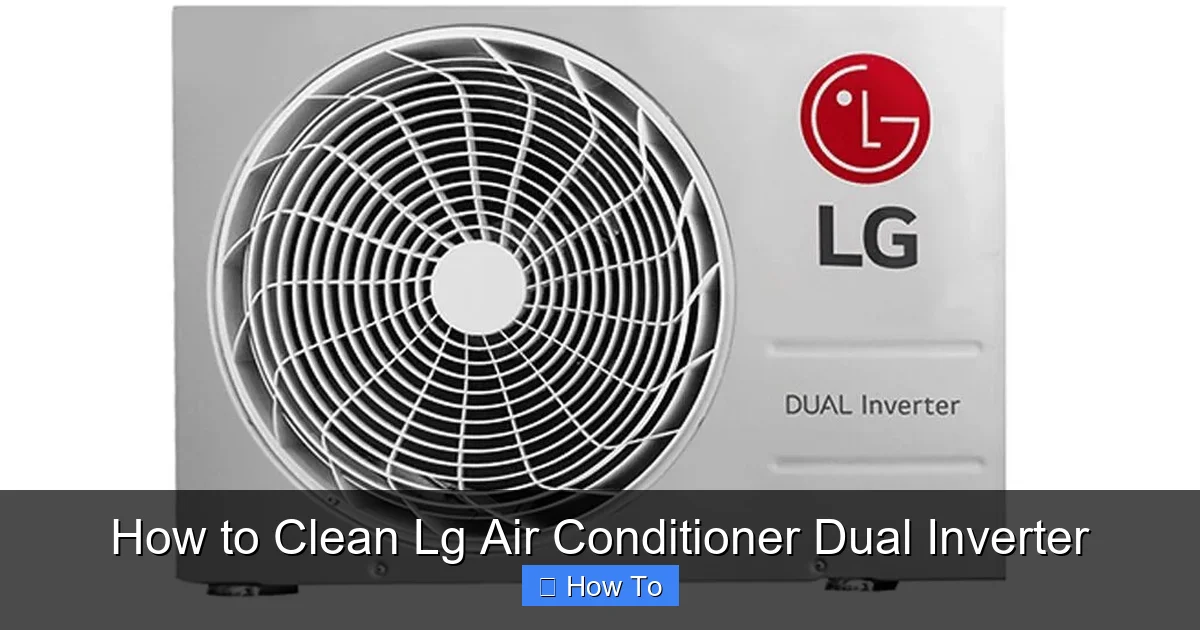
Visual guide about How to Clean Lg Air Conditioner Dual Inverter
Image source: dombelo.com
Before diving into the cleaning process, it’s important to understand why regular maintenance is so crucial. Over time, dust, pet dander, pollen, and other airborne particles accumulate inside your air conditioner. This buildup restricts airflow, forces the system to work harder, and can lead to higher electricity bills.
For LG Dual Inverter models, which are designed for energy efficiency and quiet operation, cleanliness directly impacts performance. Clogged filters or dirty coils can cause the inverter compressor to overheat or cycle improperly. In extreme cases, this may trigger error codes or even system shutdowns.
Additionally, moisture inside the unit—especially in humid climates—can promote mold and mildew growth. These not only produce unpleasant odors but can also affect indoor air quality and pose health risks.
By cleaning your LG Dual Inverter AC regularly, you:
- Improve cooling efficiency by up to 15%
- Reduce energy consumption and lower utility bills
- Extend the lifespan of your unit
- Prevent costly repairs and unexpected breakdowns
- Maintain healthy indoor air quality
Tools and Supplies You’ll Need
Before starting, gather the following items to make the cleaning process smooth and safe:
- Soft microfiber cloths
- Mild dish soap or coil cleaner (non-corrosive)
- Soft-bristle brush or toothbrush
- Vacuum cleaner with a brush attachment
- Garden hose (for outdoor unit)
- Spray bottle
- Screwdriver (if needed to remove panels)
- Protective gloves and safety goggles
- Fin comb (optional, for straightening bent fins)
Avoid using high-pressure washers, abrasive scrubbers, or strong chemical cleaners, as these can damage delicate components.
Step 1: Turn Off the Power
Safety comes first. Before touching any part of your air conditioner, turn off the power at the main electrical panel. Locate the circuit breaker labeled for your AC unit and switch it to the “OFF” position.
For added safety, unplug the indoor unit if it has a direct power cord. If your system is hardwired, ensure the breaker is fully off and consider placing a lock or tag to prevent accidental reactivation.
Never attempt to clean the AC while it’s powered on. Even if the unit appears off, internal capacitors can store electricity and pose a shock risk.
Step 2: Remove and Clean the Air Filters
The air filters are the first line of defense against dust and debris. In LG Dual Inverter models, they’re typically located behind the front panel of the indoor unit.
Locate the Filter Panel
Most LG AC units have a front grille that swings open or lifts off. Look for a small latch or handle near the bottom or side of the unit. Gently pull or press to release the panel.
Remove the Filters
Once the panel is open, you’ll see one or two rectangular filters. Slide them out carefully. Some models have washable filters, while others may require replacement every few months.
Clean the Filters
If your filters are washable:
- Rinse them under lukewarm water to remove loose dust.
- Mix a few drops of mild dish soap with water in a spray bottle.
- Spray the solution onto the filters and gently scrub with a soft brush or cloth.
- Rinse thoroughly to remove all soap residue.
- Let the filters air dry completely—never reinstall them while wet.
If the filters are damaged, torn, or no longer effective, replace them with genuine LG filters for best results.
Reinstall the Filters
Once dry, slide the filters back into place and close the front panel securely. Make sure it clicks or locks into position.
Step 3: Clean the Evaporator Coils
The evaporator coils inside the indoor unit absorb heat from the air. Over time, they collect dust and grime, reducing their ability to transfer heat efficiently.
Access the Coils
After removing the front panel and filters, you should see the evaporator coils behind them. They look like a series of thin, finned metal tubes.
Vacuum Loose Debris
Use a vacuum cleaner with a soft brush attachment to gently remove surface dust. Avoid pressing too hard, as the fins are delicate and can bend easily.
Apply Coil Cleaner
Spray a non-corrosive coil cleaner (available at hardware stores) directly onto the coils. Let it sit for 5–10 minutes to break down stubborn grime. Do not use bleach or ammonia-based cleaners.
Rinse Carefully
Use a spray bottle with clean water to rinse the coils. Alternatively, you can use a gentle stream from a garden hose, but keep the pressure low to avoid bending the fins.
Straighten Bent Fins (If Needed)
If you notice bent fins, use a fin comb to gently straighten them. This improves airflow and prevents future blockages.
Let It Dry
Allow the coils to air dry completely before reassembling the unit.
Step 4: Clean the Air Vents and Louvers
The air vents and adjustable louvers on the front of the unit also collect dust and can harbor bacteria.
Wipe the Vents
Use a damp microfiber cloth to wipe down the slats. For hard-to-reach areas, wrap the cloth around a flat tool like a butter knife or use a soft brush.
Disinfect (Optional)
To eliminate odors and bacteria, mix equal parts water and white vinegar in a spray bottle. Lightly mist the vents and wipe clean. Avoid soaking the unit.
Check for Obstructions
Ensure the louvers move freely and aren’t blocked by dust or debris. Stiff or stuck louvers can affect airflow direction.
Step 5: Clean the Drain Line and Pan
The drain line removes condensation from the indoor unit. If it clogs, water can back up, causing leaks or mold.
Locate the Drain Pan
Behind the evaporator coils, you’ll find a shallow plastic pan that collects water. It’s usually accessible once the front panel is removed.
Vacuum the Pan
Use a wet/dry vacuum or a small handheld vacuum to remove standing water and debris.
Flush the Drain Line
The drain line typically exits through a small hole on the side or back of the unit. Insert a pipe cleaner or flexible brush into the opening and gently push it through to dislodge clogs.
Alternatively, pour a cup of warm water mixed with a tablespoon of vinegar into the drain line to dissolve algae and slime.
Test the Drain
Pour a small amount of water into the drain pan to ensure it flows freely out of the exit point. If it pools, the line is still clogged and may need professional cleaning.
Step 6: Clean the Outdoor Condenser Unit
The outdoor unit houses the condenser coils and fan. It’s exposed to weather, dirt, and debris, so it needs regular attention.
Turn Off Power
Again, ensure the power is off at the breaker before working on the outdoor unit.
Clear Debris Around the Unit
Remove leaves, grass, twigs, and any objects within 2 feet of the unit. Trim back shrubs or plants that block airflow.
Remove the Outer Casing
Most LG outdoor units have a top grille or side panels held by screws. Use a screwdriver to carefully remove them and set aside.
Clean the Fins and Coils
Use a garden hose with a gentle spray setting to rinse the condenser fins. Start from the inside and work outward to push debris out, not deeper in.
Avoid high-pressure washers, which can bend the thin aluminum fins.
Brush Stubborn Dirt
For caked-on dirt, use a soft brush and a mild detergent solution. Rinse thoroughly.
Straighten Bent Fins
As with the indoor coils, use a fin comb to gently straighten any bent fins.
Clean the Fan Blades
Wipe the fan blades with a damp cloth. Be careful not to bend or damage them.
Reassemble the Unit
Once everything is clean and dry, replace the casing and secure it with screws.
Step 7: Reassemble and Restore Power
After cleaning all components:
- Reinstall the air filters
- Close the front panel securely
- Ensure all screws and latches are tight
- Restore power at the breaker
Turn on the AC and let it run for 10–15 minutes. Listen for unusual noises and check that cool air is flowing properly.
How Often Should You Clean Your LG Dual Inverter AC?
Cleaning frequency depends on usage and environment:
- Filters: Clean every 2–4 weeks during peak season (summer/winter). Replace every 3–6 months.
- Indoor Coils and Drain: Clean every 6 months.
- Outdoor Unit: Clean every 3–6 months, or after storms or heavy pollen seasons.
- Professional Service: Schedule an annual inspection by a certified technician.
If you have pets, live in a dusty area, or use the AC heavily, increase cleaning frequency.
Troubleshooting Common Cleaning Issues
Water Leaking Inside
This usually indicates a clogged drain line. Clean the drain pan and flush the line with vinegar and water. If the problem persists, check for a cracked pan or improper installation.
AC Not Cooling Well
Dirty coils or filters are common culprits. Clean them thoroughly. Also, ensure the outdoor unit isn’t blocked and the refrigerant level is adequate (requires professional check).
Unusual Noises
Rattling or grinding sounds may mean loose parts or debris in the fan. Turn off the power and inspect the outdoor unit. Tighten screws and remove obstructions.
Foul Odors
Mold or mildew in the drain pan or coils causes bad smells. Clean with vinegar or a disinfectant coil cleaner. Replace filters if needed.
Bent Fins
Use a fin comb to gently straighten them. Avoid using metal tools that can scratch or tear the fins.
Tips for Maintaining Your LG Dual Inverter AC
- Use a programmable thermostat to reduce runtime and wear.
- Keep windows and doors closed when the AC is on.
- Install a surge protector to protect the inverter electronics.
- Check the remote control batteries regularly.
- Use the “Auto Clean” or “Dry” mode (if available) to reduce moisture buildup.
When to Call a Professional
While DIY cleaning handles most maintenance tasks, some issues require expert attention:
- Refrigerant leaks or low levels
- Electrical problems or error codes
- Compressor or fan motor failure
- Repeated clogs or water damage
- Annual system inspection and tune-up
Certified LG technicians have the tools and training to safely handle refrigerants and complex components.
Conclusion
Cleaning your LG Air Conditioner Dual Inverter doesn’t have to be complicated. With the right tools, a little time, and this step-by-step guide, you can keep your unit running efficiently for years. Regular maintenance not only improves cooling performance but also saves money on energy bills and prevents breakdowns.
Remember: safety first, clean often, and don’t hesitate to call a pro when needed. Your LG Dual Inverter AC is a smart investment—treat it well, and it will keep you cool and comfortable season after season.

