
Changing the inlet pipe sensor on an LG air conditioner can restore cooling performance and prevent error codes. This guide walks you through the process safely and efficiently, even if you’re a beginner.
Key Takeaways
- Safety first: Always turn off power at the circuit breaker before starting any repair to avoid electrical shock.
- Identify the sensor correctly: The inlet pipe sensor monitors refrigerant temperature and is usually located on the suction line near the indoor unit.
- Use the right tools: A basic toolkit with screwdrivers, pliers, and a multimeter will help you complete the job smoothly.
- Follow LG’s design: LG units often have accessible sensor clips or brackets—knowing this saves time and frustration.
- Test after replacement: Always run a system test to ensure the new sensor is working and no error codes appear.
- When to call a pro: If you’re unsure about refrigerant handling or internal wiring, consult a licensed technician.
- Prevent future issues: Regular maintenance and cleaning can extend sensor life and improve AC efficiency.
How to Change Inlet Pipe Sensor on LG Air Conditioner
If your LG air conditioner is acting up—freezing up, not cooling properly, or showing error codes like E1 or CH22—it might be due to a faulty inlet pipe sensor. This small but crucial component monitors the temperature of the refrigerant entering the evaporator coil. When it fails, your AC can’t regulate cooling effectively, leading to discomfort and potential system damage.
The good news? Replacing the inlet pipe sensor is a DIY-friendly task if you follow the right steps. You don’t need to be a certified HVAC technician to do it. With basic tools, a little patience, and this detailed guide, you can restore your LG air conditioner to peak performance in under an hour.
In this guide, we’ll walk you through everything you need to know: from identifying the sensor and gathering tools, to safely removing the old one and installing the new sensor. We’ll also cover troubleshooting tips and when it’s best to call in a professional. By the end, you’ll feel confident handling this common repair and saving money on service calls.
What Is an Inlet Pipe Sensor and Why Does It Matter?
The inlet pipe sensor, also known as the suction line temperature sensor, is a small thermistor attached to the refrigerant suction line near the indoor unit of your LG air conditioner. Its job is to measure the temperature of the refrigerant as it enters the evaporator coil. This data is sent to the AC’s control board, which uses it to regulate compressor operation, fan speed, and defrost cycles.
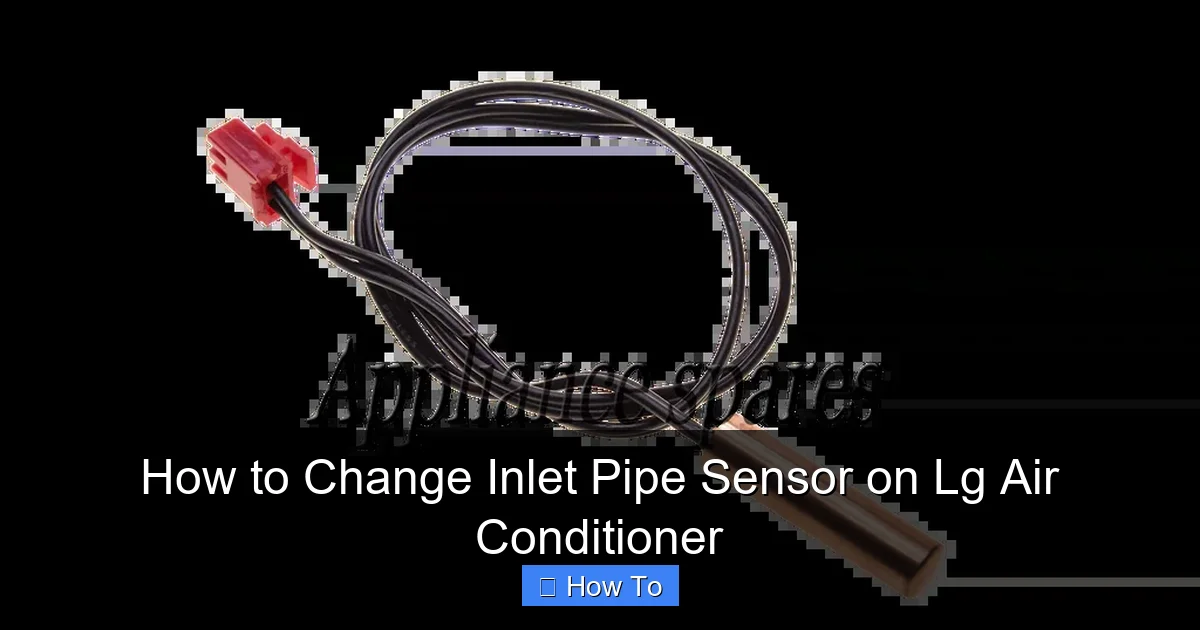
Visual guide about How to Change Inlet Pipe Sensor on Lg Air Conditioner
Image source: lvb.co.za
When the sensor malfunctions—due to wear, corrosion, or loose connections—it can send incorrect temperature readings. This confuses the system, leading to issues like:
- Frequent on/off cycling
- Frost buildup on the evaporator coil
- Reduced cooling efficiency
- Error codes on the display (e.g., E1, CH22, or CH33)
- Complete system shutdown
Replacing a faulty sensor is often the quickest and most cost-effective fix. It’s also one of the most common repairs for LG inverter air conditioners, especially in humid climates where moisture can affect sensor connections.
Tools and Materials You’ll Need
Before you begin, gather the following tools and materials to ensure a smooth process:
- Replacement inlet pipe sensor: Make sure it’s compatible with your LG model (check the part number or consult LG’s website).
- Screwdrivers: Phillips and flathead for removing panels and screws.
- Needle-nose pliers: For gripping and removing sensor clips or wires.
- Multimeter: To test the old sensor’s resistance and confirm it’s faulty.
- Electrical tape: For securing wire connections.
- Zip ties (optional): To neatly secure the new sensor in place.
- Safety gloves and goggles: Protect your hands and eyes during the process.
- Flashlight: To see inside tight spaces.
- Owner’s manual: For model-specific guidance and wiring diagrams.
Tip: If you’re unsure about the exact sensor model, take a photo of the old one or note the part number before removing it. You can cross-reference it on LG’s official parts website or contact customer support.
Safety Precautions Before Starting
Working on an air conditioner involves electrical components and refrigerants, so safety should always come first. Follow these precautions to avoid injury or damage:
Turn Off the Power
Before touching any part of the unit, shut off the power at the main circuit breaker. This is crucial—even if the AC appears off, internal capacitors can still hold a charge. Locate the breaker labeled “AC” or “Air Conditioner” and switch it to the OFF position. For extra safety, use a non-contact voltage tester to confirm no power is reaching the unit.
Wait Before Opening
After turning off the power, wait at least 10–15 minutes before opening the unit. This allows any residual charge in the capacitors to dissipate, reducing the risk of electric shock.
Avoid Refrigerant Exposure
While you won’t be opening the refrigerant lines during this repair, be aware that tampering with sealed systems can release harmful gases. If you notice refrigerant leaks (oily residue, hissing sounds, or a sweet smell), stop immediately and call a licensed technician. Only certified professionals should handle refrigerant.
Work in a Dry, Well-Lit Area
Moisture increases the risk of electrical hazards. Perform the repair in a dry location with good lighting. Avoid working on the unit during rain or high humidity.
Wear Protective Gear
Put on safety gloves to protect your hands from sharp edges and goggles to shield your eyes from dust or debris.
Step-by-Step Guide to Replacing the Inlet Pipe Sensor
Step 1: Locate the Indoor Unit and Access Panel
Most LG air conditioners have the inlet pipe sensor on the indoor unit, typically mounted on a wall. Start by finding the unit in your home—usually in a living room, bedroom, or hallway.
Look for the front panel or cover. On many LG models, this panel is held in place by clips or screws. Gently press the release tabs (usually at the bottom or sides) to remove the front cover. If it’s screwed in, use a Phillips screwdriver to remove the screws and set them aside.
Once the front panel is off, you’ll see the evaporator coil, fan, and refrigerant lines. The suction line (larger copper pipe) is where the inlet pipe sensor is attached.
Step 2: Identify the Inlet Pipe Sensor
The inlet pipe sensor is a small, cylindrical or rectangular component clipped or strapped to the suction line. It’s usually black or white and has two thin wires leading to the control board.
Look for a sensor mounted near the bottom of the suction line, close to where it connects to the indoor unit. It may be secured with a metal clip, plastic bracket, or zip tie. The wires typically run along the pipe and connect to a plug or terminal on the main control board.
Tip: If you’re unsure which sensor is the inlet pipe sensor, consult your owner’s manual or look for a label near the sensor. Some LG models have multiple sensors (e.g., discharge pipe sensor, ambient sensor), so double-check before removing anything.
Step 3: Disconnect the Old Sensor
Once you’ve located the sensor, follow these steps to remove it safely:
First, trace the two wires from the sensor to their connection point. Most LG units use a plug-style connector that snaps into the control board. Gently squeeze the sides of the connector and pull it straight out. Avoid pulling on the wires themselves, as this can damage the insulation or break the connection.
If the wires are soldered or connected with wire nuts, use needle-nose pliers to loosen the connections. Take a photo of the wiring setup before disconnecting, so you can reconnect the new sensor correctly.
Next, remove the sensor from the pipe. If it’s held by a metal clip, use pliers to gently pry the clip open. For plastic brackets, unscrew or unclip them. If it’s secured with a zip tie, carefully cut it with scissors or wire cutters.
Once the sensor is free, inspect it for signs of damage—cracks, corrosion, or burnt spots. These are clear indicators that it needs replacement.
Step 4: Test the Old Sensor (Optional but Recommended)
Before installing the new sensor, use a multimeter to test the old one. This confirms whether it’s truly faulty and helps rule out other issues.
Set your multimeter to the resistance (ohms) setting. Disconnect the sensor completely from the system. Touch the multimeter probes to the two sensor terminals.
A working thermistor should show a resistance value that changes with temperature. At room temperature (around 70°F or 21°C), most inlet pipe sensors read between 5,000 and 15,000 ohms. If the reading is zero (short circuit) or infinity (open circuit), the sensor is defective.
You can also test it by warming the sensor with your hand or a hairdryer. The resistance should decrease as it heats up. If there’s no change, the sensor is likely dead.
Step 5: Install the New Sensor
Now it’s time to install the replacement sensor. Follow these steps carefully:
Start by positioning the new sensor on the suction line, in the same location as the old one. Make sure it’s snug against the pipe for accurate temperature readings. Avoid placing it near bends, valves, or insulation, as these can affect readings.
Secure the sensor using the original clip, bracket, or a new zip tie. Ensure it’s tight enough to stay in place but not so tight that it damages the sensor or pipe.
Next, reconnect the wires. If using a plug connector, align the pins and push it in until it clicks. For soldered or wire nut connections, match the colors (usually red and white or black and white) and secure them tightly. Wrap the connections with electrical tape for added protection.
Tip: Avoid twisting or bending the wires excessively. Keep them routed along the same path as the original to prevent interference with the fan or other components.
Step 6: Reassemble the Unit
With the new sensor in place, it’s time to put everything back together.
Replace the front panel or cover. If it was clipped on, press it firmly until all tabs snap into place. If it was screwed in, reinsert the screws and tighten them securely—but don’t over-tighten, as this can crack the plastic.
Double-check that no wires are pinched or obstructed by the panel. The fan should spin freely when you manually turn it.
Step 7: Restore Power and Test the System
Once reassembled, go back to the circuit breaker and turn the power back on.
Wait a few seconds, then turn on the air conditioner using the remote or control panel. Set it to cooling mode and a low temperature (e.g., 68°F).
Listen for normal operation: the fan should start, and cool air should begin flowing within a few minutes. Watch for any error codes on the display.
Let the system run for 15–20 minutes. Check that the suction line stays cool and doesn’t frost over. If the AC cools properly and no error codes appear, the sensor replacement was successful.
Troubleshooting Common Issues
Even with careful installation, you might encounter problems. Here’s how to troubleshoot:
AC Still Shows Error Code After Replacement
If the error persists, the issue might not be the sensor. Check the wiring connections—loose or reversed wires can cause false readings. Also, verify that the sensor is compatible with your model. Some LG units require specific resistance values.
Sensor Not Reading Temperature Correctly
This could mean the sensor isn’t making proper contact with the pipe. Remove it and reattach it firmly. Avoid using tape alone—use a clip or bracket for best results.
AC Freezes Up After Repair
Frost buildup suggests the sensor is still not working or another issue exists, such as low refrigerant or a dirty filter. Replace the air filter and check for blockages in the airflow.
No Power to the Unit
Double-check the circuit breaker and ensure it’s fully switched on. Test the outlet with another device to confirm power is reaching the unit.
Strange Noises or Vibrations
This could indicate loose components. Turn off the power and inspect the fan, panels, and sensor mounting for anything out of place.
When to Call a Professional
While replacing the inlet pipe sensor is generally safe for DIYers, there are times when you should call a licensed HVAC technician:
- You’re uncomfortable working with electrical components.
- The error code persists after replacement.
- You suspect a refrigerant leak or compressor issue.
- The unit is under warranty—DIY repairs might void it.
- You don’t have the right tools or replacement part.
Professionals have the training and equipment to diagnose complex issues and ensure your system operates safely and efficiently.
Maintenance Tips to Prevent Future Sensor Failures
To extend the life of your new sensor and keep your LG air conditioner running smoothly:
- Clean the air filter monthly: A dirty filter restricts airflow, causing the coil to freeze and stress the sensor.
- Keep the indoor unit clean: Dust and debris can insulate the sensor, leading to inaccurate readings.
- Schedule annual maintenance: A technician can inspect sensors, clean coils, and check refrigerant levels.
- Avoid extreme temperature swings: Rapid changes can stress electronic components.
- Use a surge protector: Power surges can damage sensitive sensors and control boards.
Conclusion
Replacing the inlet pipe sensor on your LG air conditioner is a straightforward repair that can save you time and money. By following this guide, you’ve learned how to safely identify, remove, and install a new sensor—restoring your AC’s cooling power and preventing future issues.
Remember: always prioritize safety, use the right tools, and test the system after repair. If you’re ever in doubt, don’t hesitate to consult a professional. With proper care and maintenance, your LG air conditioner will keep you cool and comfortable for years to come.

