
Changing your LG air conditioner filter is a simple yet essential maintenance task that improves air quality and system efficiency. This guide walks you through the entire process, from locating the filter to installing a new one, with expert tips and troubleshooting advice. Follow along to keep your LG AC in top shape.
Key Takeaways
- Regular filter changes improve air quality: A clean filter traps dust, pollen, and allergens, ensuring fresher indoor air.
- Frequency matters: Replace or clean your LG AC filter every 1–3 months, depending on usage and environment.
- Turn off power before starting: Always switch off the unit at the remote and circuit breaker for safety.
- Know your model type: LG offers window, split, and portable ACs—each has a slightly different filter access method.
- Use genuine or compatible filters: High-quality filters ensure optimal performance and longevity of your unit.
- Check for damage during replacement: Inspect the filter and surrounding components for wear or mold buildup.
- Reset the filter indicator (if applicable): Some LG models have a reset button to clear the “Clean Filter” alert after replacement.
How to Change LG Air Conditioner Filter: A Complete Step-by-Step Guide
Keeping your LG air conditioner running smoothly doesn’t require a degree in engineering—just a little know-how and regular maintenance. One of the easiest and most impactful tasks you can do is changing the air filter. A clean filter not only improves indoor air quality but also boosts your AC’s efficiency, reduces energy bills, and extends the lifespan of your unit.
In this comprehensive guide, you’ll learn exactly how to change the LG air conditioner filter, whether you have a window unit, a split-system model, or a portable air conditioner. We’ll walk you through each step with clear instructions, practical tips, and troubleshooting advice. By the end, you’ll feel confident performing this simple maintenance task on your own—no technician required.
Let’s get started!
Why Changing Your LG Air Conditioner Filter Matters
Before diving into the how-to, it’s important to understand why this task is so crucial. Your air conditioner’s filter acts like a gatekeeper, trapping dust, pet dander, pollen, mold spores, and other airborne particles before they circulate through your home. Over time, this filter becomes clogged with debris, reducing airflow and forcing your AC to work harder.
When airflow is restricted, your unit consumes more energy to cool your space, leading to higher electricity bills. In extreme cases, a dirty filter can cause the evaporator coil to freeze, leading to system malfunctions or even costly repairs. Additionally, poor air quality can trigger allergies, asthma, and other respiratory issues—especially in children and the elderly.
LG designs its air conditioners with user-friendly maintenance in mind, and replacing the filter is one of the simplest ways to keep your system in peak condition. Most models allow you to access the filter in under a minute, and the entire replacement process takes less than 10 minutes.
So, whether you’re a first-time homeowner or a seasoned DIYer, mastering this skill will save you time, money, and discomfort in the long run.
How Often Should You Change Your LG Air Conditioner Filter?
The frequency of filter changes depends on several factors, including your usage patterns, environment, and the type of filter your LG AC uses.
As a general rule, you should check your filter every month and replace or clean it every 1 to 3 months. Here’s a quick breakdown:
- High usage (daily cooling in summer): Replace every 1–2 months.
- Moderate usage (seasonal or occasional use): Replace every 2–3 months.
- Pets, smokers, or allergy sufferers: Replace every 1 month.
- Dusty environments (construction nearby, rural areas): Replace every 1 month.
Some LG models come with a built-in filter indicator light that alerts you when it’s time to clean or replace the filter. If your unit has this feature, pay attention to the signal—it’s your AC’s way of saying, “Hey, I need some TLC!”
Even if your model doesn’t have an indicator, make it a habit to inspect the filter monthly. Simply remove it and hold it up to a light source. If you can’t see through it, it’s time for a change.
What You’ll Need to Change Your LG Air Conditioner Filter
Thankfully, you don’t need a toolbox full of gadgets to replace your LG AC filter. Here’s a list of what you’ll need:
- A replacement filter: Make sure it’s compatible with your LG model. Check your user manual or the old filter for the correct size and type.
- A soft cloth or vacuum cleaner: For cleaning the filter housing and surrounding area.
- Gloves (optional): To protect your hands from dust and debris.
- A flashlight (optional): Helps you see into tight spaces, especially in window units.
If you’re unsure which filter to buy, visit the official LG website or check the model number on your AC unit. Most LG filters are available online or at appliance stores. While generic filters may be cheaper, we recommend using genuine LG filters or high-quality compatible ones to ensure proper fit and performance.
Step-by-Step Guide: How to Change LG Air Conditioner Filter
Now that you understand the importance and frequency of filter changes, let’s get into the nitty-gritty. Below is a detailed, step-by-step guide tailored to the most common LG air conditioner types: window units, split systems, and portable ACs.
Step 1: Turn Off the Power
Safety first! Before touching any part of your air conditioner, make sure it’s completely powered off.
- Use the remote control to turn off the unit.
- Unplug the AC from the wall outlet.
- For added safety, turn off the circuit breaker that powers the unit. This is especially important for window and split systems hardwired into your home’s electrical system.
Never attempt to remove or replace the filter while the unit is running or plugged in. Even if the fan isn’t spinning, internal components may still be energized.
Step 2: Locate the Air Filter
The location of the filter varies depending on your LG AC model. Here’s how to find it for each type:
Window Air Conditioners
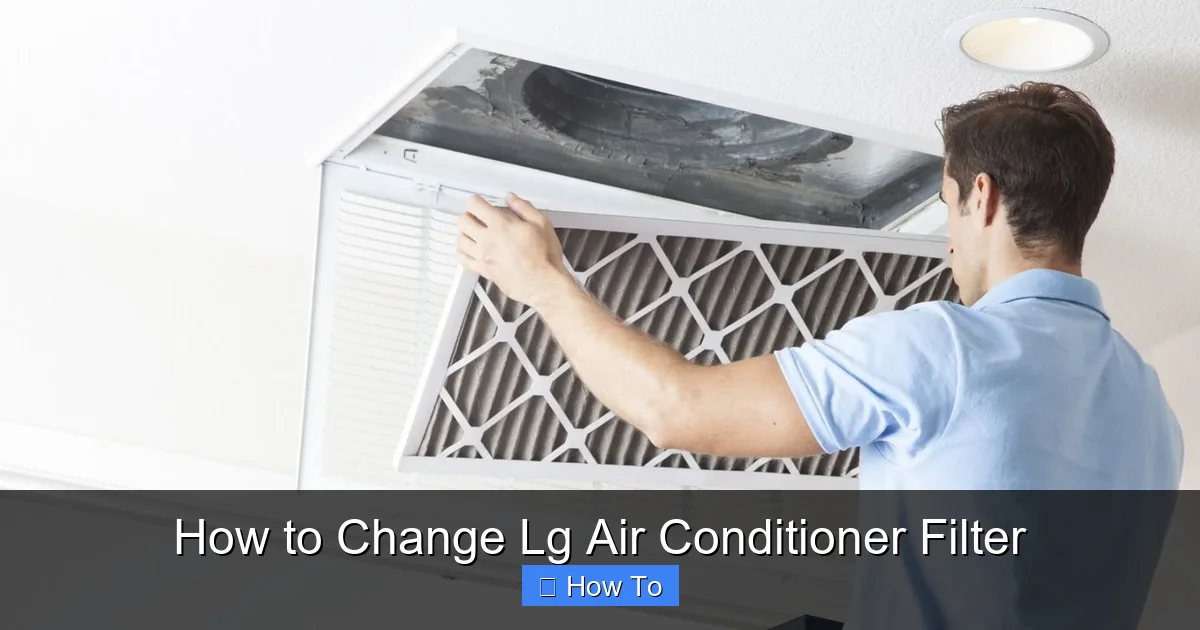
In most LG window units, the filter is located behind the front grille or panel. Look for a latch or clip on the top or sides of the unit. Gently press or slide the latch to release the front panel. The filter will be right behind it, usually held in place by a frame or clips.
Visual guide about How to Change Lg Air Conditioner Filter
Image source: air-conditioning-filter.com
Split System Air Conditioners (Wall-Mounted)
For LG split systems, the indoor unit is mounted high on the wall. The filter is typically behind the front panel. To access it, locate the small tabs or grooves on the bottom or sides of the panel. Gently pull the panel downward or outward—it should swing open like a door. The filter will be visible inside.
Portable Air Conditioners
Portable LG units often have the filter at the back or side of the machine. Look for a removable cover or grille. Some models have a slide-out tray, while others require you to unscrew a small panel. Check your user manual if you’re unsure.
Step 3: Remove the Old Filter
Once you’ve accessed the filter, carefully remove it from its housing.
- For most models, the filter slides out horizontally or lifts out vertically.
- If the filter is held by clips, gently squeeze or release them to free the filter.
- Take note of how the filter is positioned—most have a directional arrow indicating airflow direction. This will help you install the new one correctly.
If the filter is washable (common in many LG models), you can clean it instead of replacing it. Rinse it under lukewarm water, let it air dry completely, and reinstall. However, if it’s damaged, discolored, or hasn’t been replaced in over 6 months, it’s best to install a new one.
Step 4: Clean the Filter Housing
While the filter is out, take a moment to clean the area where it sits.
- Use a soft cloth or a vacuum with a brush attachment to remove dust and debris from the filter slot.
- Wipe down the surrounding components, especially the evaporator coils if visible. Avoid using water near electrical parts.
- If you notice mold or mildew, use a mild detergent solution and a damp cloth to clean the area. Let it dry completely before reassembling.
This extra step ensures optimal airflow and prevents contaminants from re-entering your system.
Step 5: Install the New Filter
Now it’s time to install the new filter.
- Check the airflow direction arrow on the filter frame. It should point toward the unit (into the airflow path).
- Slide or place the filter into the housing, making sure it fits snugly without forcing it.
- Secure any clips or latches to hold the filter in place.
A properly installed filter should sit flat and level. If it’s crooked or loose, it may allow unfiltered air to bypass the filter, reducing efficiency.
Step 6: Reassemble the Unit
Once the new filter is in place, carefully reattach the front panel or grille.
- For window units, align the panel and press it back into place until the latches click.
- For split systems, swing the front panel back up and ensure it’s securely closed.
- For portable units, replace any screws or covers you removed.
Double-check that everything is properly secured before restoring power.
Step 7: Restore Power and Test the Unit
Now that everything is back in place, it’s time to turn the AC back on.
- Plug the unit back into the wall outlet.
- Turn the circuit breaker back on (if applicable).
- Use the remote to power on the AC and set it to a cooling mode.
- Listen for normal operation and check that air is flowing smoothly.
If your LG model has a filter indicator light, it may still be on. Don’t worry—this is normal. Most units require a manual reset after filter replacement.
Step 8: Reset the Filter Indicator (If Applicable)
Many LG air conditioners feature a “Clean Filter” or “Filter Reset” function. Here’s how to reset it:
- Press and hold the “Filter” or “Clean” button on the remote for 3–5 seconds.
- Alternatively, some models require you to press the “Timer” and “Mode” buttons simultaneously.
- The indicator light should turn off, confirming the reset.
Refer to your user manual for model-specific instructions. Resetting the indicator ensures you’ll be alerted next time the filter needs attention.
Troubleshooting Common Issues
Even with careful steps, you might run into a few hiccups. Here are some common problems and how to fix them:
Filter Doesn’t Fit Properly
If the new filter is too big or too small, double-check the model number. LG filters are model-specific, and using the wrong size can cause air leaks or damage. If you’re unsure, contact LG customer support or visit their website’s filter finder tool.
Front Panel Won’t Close
This usually means the filter isn’t seated correctly. Remove the filter, reposition it with the airflow arrow pointing inward, and try again. Also, ensure no debris is blocking the panel’s hinges or latches.
AC Still Shows “Clean Filter” Alert
If the indicator light remains on after replacement, the reset procedure may not have worked. Try turning the unit off and on again, or consult your manual for the correct reset sequence. In rare cases, the sensor may be faulty and require professional service.
Reduced Airflow After Replacement
This could indicate a deeper issue, such as a clogged evaporator coil or blocked vents. Check the outdoor unit (for split systems) and ensure nothing is obstructing airflow. If the problem persists, schedule a professional inspection.
Filter Gets Dirty Too Quickly
If your filter clogs within weeks, consider your environment. High pet dander, smoking, or construction dust can accelerate buildup. You may need to change the filter more frequently or invest in a higher-efficiency filter (like a HEPA-compatible model, if supported).
Tips for Maintaining Your LG Air Conditioner
Changing the filter is just one part of AC maintenance. Here are a few extra tips to keep your LG unit running efficiently:
- Clean the exterior regularly: Wipe down the front panel and vents with a damp cloth to prevent dust buildup.
- Check the drain line: For split and portable units, ensure the condensate drain isn’t clogged. A blocked drain can cause water leaks or mold growth.
- Inspect the outdoor unit: Keep the area around the outdoor compressor clear of leaves, dirt, and debris.
- Schedule annual professional maintenance: A technician can clean coils, check refrigerant levels, and inspect electrical components.
- Use a programmable thermostat: This helps reduce strain on your AC by maintaining consistent temperatures.
By combining regular filter changes with these habits, you’ll maximize your AC’s performance and lifespan.
Conclusion
Changing your LG air conditioner filter is a quick, simple, and highly effective way to maintain your unit’s efficiency and improve your home’s air quality. With just a few minutes of your time every 1–3 months, you can prevent costly repairs, lower energy bills, and breathe easier.
Remember to turn off the power, locate the filter based on your model type, replace it with a compatible filter, and reset the indicator if needed. And don’t forget to clean the filter housing and inspect for damage during each replacement.
By following this guide, you’re not just maintaining your air conditioner—you’re investing in your comfort, health, and peace of mind. So grab a new filter, follow the steps, and enjoy cooler, cleaner air all season long.
Your LG AC will thank you.

