
Featured image for carrier air conditioner operating instructions
Image source: i2.wp.com
Master your Carrier air conditioner with ease using this comprehensive operating instructions guide, designed for quick setup and seamless daily use. Whether you’re a first-time user or upgrading your system, clear, step-by-step directions ensure optimal performance, energy efficiency, and comfort—all at your fingertips.
Key Takeaways
- Read the manual first: Always review Carrier’s instructions before setup to avoid errors.
- Use thermostat settings wisely: Adjust temperature and modes for optimal comfort and efficiency.
- Clean filters monthly: Ensure peak performance and air quality with regular maintenance.
- Schedule annual servicing: Professional checks extend lifespan and prevent breakdowns.
- Enable sleep mode: Save energy and enhance nighttime comfort effortlessly.
- Check error codes: Refer to the guide for quick troubleshooting of issues.
📑 Table of Contents
- Carrier Air Conditioner Operating Instructions Guide for Easy Setup and Use
- Understanding Your Carrier Air Conditioner: Key Components and Features
- Step-by-Step Setup: Installing and Configuring Your Carrier AC
- Daily Operation: How to Use Your Carrier Air Conditioner Effectively
- Maintenance Tips to Keep Your Carrier AC Running Smoothly
- Troubleshooting Common Issues with Carrier Air Conditioners
- Energy Efficiency and Cost-Saving Tips for Carrier AC Users
- Final Thoughts: Getting the Most from Your Carrier Air Conditioner
Carrier Air Conditioner Operating Instructions Guide for Easy Setup and Use
So, it’s that time of year again—when the sun beats down like it owns the place, and your house starts feeling more like an oven than a home. You’ve got your Carrier air conditioner humming along, but if you’re anything like me, you’ve probably glanced at the manual once, shoved it in a drawer, and hoped for the best. I get it. Manuals can feel overwhelming, especially when all you want is cool, crisp air without the headache.
But here’s the thing: understanding your Carrier air conditioner operating instructions isn’t just about avoiding frustration—it’s about getting the most out of your investment. A well-maintained AC unit runs more efficiently, lasts longer, and saves you money on energy bills. Plus, knowing how to use the settings properly means you’ll stay comfortable without overworking the system. Whether you’re setting up a brand-new unit or dusting off an older model, this guide will walk you through everything you need to know—step by step, in plain English.
Understanding Your Carrier Air Conditioner: Key Components and Features
Before we dive into the nitty-gritty of operation, let’s take a quick look under the hood—figuratively speaking. Knowing what makes your Carrier AC tick helps you troubleshoot issues and use it more effectively. Most Carrier units, whether central air or ductless mini-splits, share a few core components and smart features designed for comfort and efficiency.
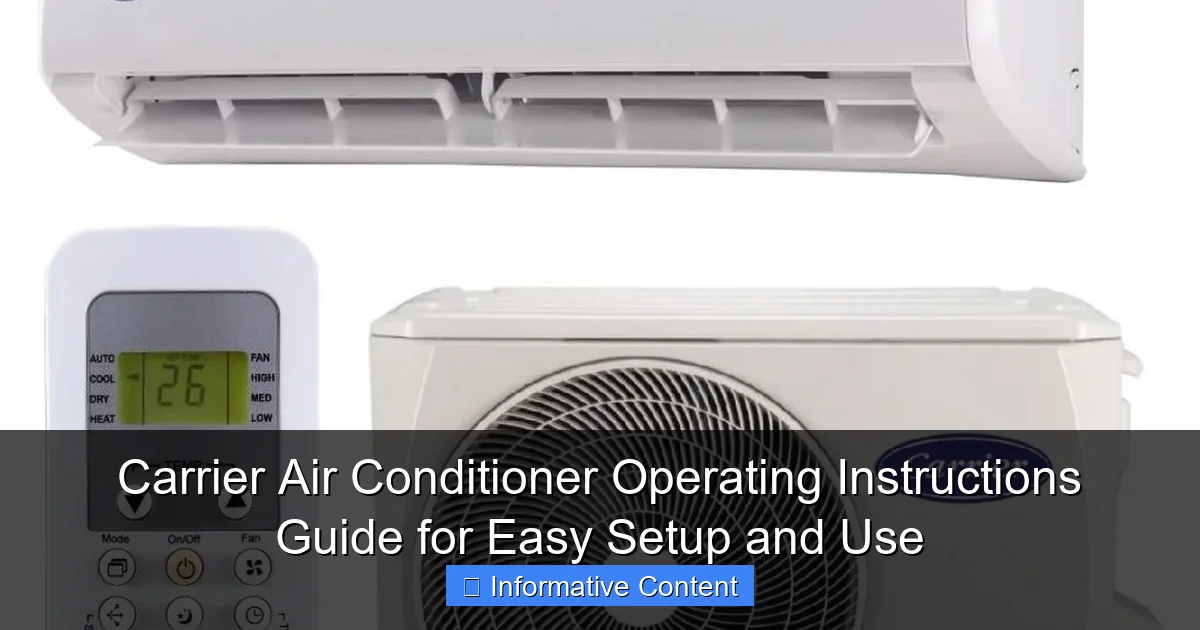
Visual guide about carrier air conditioner operating instructions
Image source: nigeriacontractor.com
Main Components of a Carrier Air Conditioner
Every Carrier air conditioner, regardless of model, relies on a few essential parts working together:
- Compressor: Often called the “heart” of the system, it pumps refrigerant through the coils to remove heat from your home.
- Condenser Coil: Located outside, this coil releases the heat absorbed from inside your home into the outdoor air.
- Evaporator Coil: Inside your home, this coil absorbs heat from the indoor air, cooling it down before it’s circulated back.
- Thermostat: This is your control center. It senses room temperature and tells the AC when to turn on or off.
- Air Filter: Traps dust, pollen, and other particles to keep your indoor air clean and the system running smoothly.
- Blower Fan: Moves cooled air through your ducts (in central systems) or directly into the room (in ductless models).
Understanding these parts helps you appreciate why regular maintenance matters. For example, a clogged filter forces the blower to work harder, which can lead to higher energy use and even system failure over time.
Smart Features in Modern Carrier Units
Carrier has been a leader in HVAC innovation for decades, and their newer models come packed with features that make operation easier and more efficient. Here are a few you might encounter:
- Programmable Thermostats: Set your AC to cool only when you’re home. For instance, program it to turn on 30 minutes before you return from work so your house is cool when you walk in.
- Wi-Fi Connectivity: Many Carrier units now work with apps like Carrier Home or ecobee, letting you adjust settings from your phone—whether you’re on the couch or on vacation.
- Energy-Saving Modes: Features like “Eco Mode” reduce power consumption by slightly adjusting temperature settings when full cooling isn’t needed.
- Zoning Systems: If your home has multiple zones, you can cool only the rooms you’re using, saving energy and improving comfort.
- Quiet Operation Technology: Carrier designs many units with noise-reducing features, so you can enjoy cool air without the constant hum.
One real-life example: My neighbor installed a Carrier Infinity series with zoning. She keeps the bedroom cooler at night and the living room slightly warmer during the day. The result? Lower energy bills and no more arguments over the thermostat.
Step-by-Step Setup: Installing and Configuring Your Carrier AC
Setting up your Carrier air conditioner doesn’t have to be a DIY nightmare—especially if you follow the operating instructions carefully. Whether you’re installing a new unit or replacing an old one, proper setup ensures optimal performance from day one.
Pre-Installation Checklist
Before flipping any switches, make sure you’ve covered the basics:
- Check Power Supply: Ensure your home’s electrical system can handle the AC’s voltage and amperage requirements. Most central units need a dedicated 240-volt circuit.
- Clear the Area: Keep the outdoor unit free of debris, plants, and obstructions. At least 2 feet of clearance on all sides is recommended for proper airflow.
- Inspect Ductwork (for central systems): Leaky or dirty ducts can reduce efficiency by up to 30%. Seal any gaps and clean if necessary.
- Choose the Right Location for Indoor Units: For ductless mini-splits, mount the indoor unit high on a wall, away from direct sunlight and heat sources.
Pro tip: If you’re unsure about electrical work or duct sealing, hire a licensed HVAC technician. It’s worth the investment to avoid safety hazards or costly mistakes.
Initial Configuration and Thermostat Setup
Once the unit is installed, it’s time to configure the thermostat—your main interface for controlling the system.
- Power On: Turn on the circuit breaker and switch the thermostat to “Cool.”
- Set the Time and Date: This ensures scheduling features work correctly.
- Choose Your Temperature Scale: Most Carrier thermostats allow you to switch between Fahrenheit and Celsius.
- Program a Basic Schedule: For example:
- 70°F from 6 AM to 8 AM (waking up)
- 78°F from 8 AM to 5 PM (away at work)
- 72°F from 5 PM to 10 PM (returning home)
- 68°F from 10 PM to 6 AM (sleeping)
- Test the System: Listen for unusual noises and check that cool air is flowing within 10–15 minutes.
One thing I learned the hard way: skipping the schedule setup means your AC might run nonstop while you’re at work. That’s not just wasteful—it’s expensive. A simple 8-degree setback during the day can save up to 10% on cooling costs annually, according to the U.S. Department of Energy.
Connecting to Wi-Fi (If Applicable)
If your Carrier unit supports Wi-Fi, connecting it opens up a world of convenience. Here’s how:
- Download the Carrier Home app (available on iOS and Android).
- Create an account and follow the in-app setup wizard.
- Put your thermostat in pairing mode (usually by holding a button for 5 seconds).
- Connect to your home Wi-Fi network through the app.
- Name your device (e.g., “Living Room AC”) and set preferences.
Once connected, you can adjust temperatures remotely, receive maintenance alerts, and even track energy usage. I once forgot to turn off the AC before leaving for a weekend trip—thankfully, I caught it on my phone and saved a few bucks.
Daily Operation: How to Use Your Carrier Air Conditioner Effectively
Now that your system is set up, let’s talk about everyday use. Operating your Carrier AC efficiently isn’t just about setting a temperature and forgetting it—it’s about making smart choices that keep you comfortable and your energy bills low.
Understanding Thermostat Settings
Your thermostat has several modes and settings. Here’s what they mean:
- Cool: Activates the air conditioner to lower the temperature.
- Heat: Used in winter (if you have a heat pump or dual-fuel system).
- Auto: The system automatically switches between heating and cooling based on the set temperature.
- Fan Only: Circulates air without cooling—great for mild days when you just want airflow.
- Off: Turns the system completely off.
For most summer days, set your thermostat to “Cool” and choose a comfortable temperature—typically between 72°F and 78°F. Avoid setting it too low (like 65°F) thinking it will cool faster. It won’t. Your AC cools at a constant rate, so a lower setting just runs longer and wastes energy.
Using Fan Settings Wisely
The fan has two main settings: Auto and On.
- Auto: The fan runs only when the AC is cooling. This is the most energy-efficient option and helps prevent overcooling.
- On: The fan runs continuously, even when the AC isn’t cooling. This improves air circulation and can help filter the air, but uses more electricity.
I use “On” during allergy season to keep the air moving through the filter, but switch to “Auto” in peak summer to save energy. It’s a small change, but it makes a difference over time.
Maximizing Comfort with Zoning and Timers
If your home has multiple zones or you’re using a programmable thermostat, take advantage of scheduling:
- Cool bedrooms slightly more at night for better sleep.
- Raise the temperature in unused rooms during the day.
- Use “Vacation Mode” when traveling to keep the house from getting too hot or humid.
For example, my sister sets her Carrier system to 80°F while she’s at work and 74°F when she gets home. She says it’s the perfect balance of comfort and savings.
Maintenance Tips to Keep Your Carrier AC Running Smoothly
Even the best air conditioner needs a little TLC to perform at its peak. Regular maintenance not only extends the life of your unit but also prevents costly repairs down the road. Think of it like changing the oil in your car—skip it, and you’re asking for trouble.
Monthly and Seasonal Maintenance Tasks
Here’s a simple maintenance schedule to follow:
| Task | Frequency | How-To |
|---|---|---|
| Replace Air Filter | Every 1–3 months | Turn off power, remove old filter, insert new one (check arrow for airflow direction). |
| Clean Outdoor Unit | Every 3–6 months | Turn off power, remove debris, gently hose down coils (avoid high pressure). |
| Check Thermostat Batteries | Every 6 months | Replace if display is dim or unresponsive. |
| Inspect Ductwork | Annually | Look for leaks, mold, or damage. Seal with mastic or foil tape. |
| Schedule Professional Tune-Up | Annually (spring recommended) | HVAC technician checks refrigerant levels, electrical connections, and system performance. |
A clean filter is one of the easiest and most impactful maintenance tasks. I once went six months without changing mine—big mistake. My energy bill spiked, and the system struggled to cool the house. Lesson learned.
Signs Your AC Needs Attention
Even with regular care, issues can arise. Watch for these red flags:
- Weak airflow: Could mean a clogged filter or blocked duct.
- Unusual noises: Grinding, squealing, or banging sounds may indicate loose parts or motor issues.
- Ice on coils: Often caused by low refrigerant or restricted airflow.
- Higher energy bills: A sudden increase may signal inefficiency or a failing component.
- Frequent cycling: Turning on and off too often can wear out the compressor.
If you notice any of these, don’t wait. Call a technician before a small issue becomes a major repair. I once ignored a faint burning smell—turned out to be a failing capacitor. It cost me $300 instead of $100 if I’d acted sooner.
Troubleshooting Common Issues with Carrier Air Conditioners
Even the most reliable systems can hiccup. The good news? Many common problems are easy to fix—if you know what to look for. Let’s walk through some typical issues and how to resolve them using your Carrier air conditioner operating instructions.
AC Won’t Turn On
If your unit isn’t responding, start with these steps:
- Check the thermostat: Make sure it’s set to “Cool” and the temperature is lower than the current room temperature.
- Inspect the circuit breaker: A tripped breaker is a common culprit. Reset it and wait a few minutes.
- Look at the disconnect switch: Near the outdoor unit, there’s usually a switch or pull-out fuse. Make sure it’s in the “On” position.
- Test the air filter: A severely clogged filter can trigger safety shutoffs.
Still no luck? It might be a faulty thermostat or wiring issue—time to call a pro.
AC Runs But Doesn’t Cool
If the fan is spinning but the air isn’t cold, consider these possibilities:
- Dirty evaporator coil: Over time, dust builds up and insulates the coil, reducing heat absorption.
- Low refrigerant: This requires a licensed technician to diagnose and recharge.
- Blocked condenser unit: Leaves, grass, or debris can restrict airflow outside.
- Thermostat calibration issue: The sensor might be reading the wrong temperature.
I once found a bird’s nest blocking my outdoor unit. Once I cleared it, cooling improved instantly. Always check the obvious first!
Strange Noises or Odors
Unusual sounds or smells often point to specific problems:
- Rattling: Loose panels or debris in the unit.
- Squealing: Worn belt or motor bearing.
- Burning smell: Electrical issue or overheating component—shut off immediately.
- Musty odor: Mold in the ductwork or evaporator coil—clean or replace the filter and consider duct cleaning.
When in doubt, turn off the system and call a technician. It’s better to be safe than sorry.
Energy Efficiency and Cost-Saving Tips for Carrier AC Users
Let’s be honest—cooling your home can get expensive, especially during heatwaves. But with smart habits and the right settings, you can stay comfortable without breaking the bank. Carrier designs their systems with efficiency in mind, and a few tweaks can make a big difference.
Optimal Temperature Settings
The U.S. Department of Energy recommends setting your thermostat to 78°F when you’re home and 85°F when you’re away. Each degree you raise the thermostat can save about 3–5% on cooling costs.
But comfort is personal. If 78°F feels too warm, try 76°F or 77°F—just avoid going below 72°F unless absolutely necessary. And remember: ceiling fans can make a room feel 4–6 degrees cooler, so use them to your advantage.
Using Smart Features to Save Energy
Take full advantage of your Carrier’s smart capabilities:
- Geofencing: Some apps use your phone’s location to adjust the temperature when you leave or return home.
- Energy Reports: Review weekly usage data to spot trends and adjust habits.
- Peak Time Savings: Participate in utility programs that slightly adjust your thermostat during high-demand periods in exchange for bill credits.
My utility company offers a program where they raise my thermostat by 3 degrees for two hours on hot afternoons. I get a $5 monthly credit—free money for minimal discomfort.
Sealing and Insulation Matters
Your AC can’t do its job if cool air is escaping. Check for:
- Drafts around windows and doors
- Gaps in attic insulation
- Unsealed ductwork in basements or crawl spaces
Sealing leaks and adding insulation can reduce cooling costs by up to 20%. It’s one of the best long-term investments you can make.
Final Thoughts: Getting the Most from Your Carrier Air Conditioner
Your Carrier air conditioner is more than just a machine—it’s your shield against summer’s sweltering heat. By understanding the operating instructions, performing regular maintenance, and using smart settings, you can enjoy reliable cooling, lower energy bills, and peace of mind.
Remember, it’s not about perfection. It’s about awareness. A clean filter, a well-placed thermostat, and a little attention can go a long way. Whether you’re a first-time owner or a seasoned pro, these tips will help you get the most out of your system.
So the next time you feel that cool breeze kick in, take a moment to appreciate the technology working behind the scenes. And if you ever feel stuck, don’t hesitate to consult your manual or reach out to a trusted HVAC professional. Your comfort—and your wallet—will thank you.
Frequently Asked Questions
How do I set up my Carrier air conditioner for the first time?
To set up your Carrier air conditioner, follow the step-by-step instructions in the Carrier air conditioner operating instructions manual. Ensure the unit is level, properly connected to power, and paired with the remote or app if applicable.
Why is my Carrier AC not cooling properly?
Check if the thermostat is set to “Cool” mode and the temperature is lower than the room temperature. Clean or replace clogged air filters and ensure vents are unobstructed, as these are common issues outlined in the operating guide.
How do I use the sleep mode feature on my Carrier AC?
Sleep mode gradually adjusts the temperature for energy efficiency and comfort. Refer to the Carrier air conditioner operating instructions to activate it—typically by pressing the “Sleep” button on the remote or control panel.
Can I control my Carrier AC with a smartphone?
Yes, many Carrier models support Wi-Fi and app-based control via the Carrier app. Pair your AC by following the setup steps in the manual, ensuring your device is on the same network.
What maintenance does my Carrier air conditioner need?
Regularly clean the air filters, check refrigerant levels, and inspect outdoor units for debris. The operating instructions recommend professional servicing annually to maintain efficiency.
How do I reset my Carrier air conditioner?
To reset, turn off the unit, unplug it for 5 minutes, then plug it back in. This clears minor errors; consult the troubleshooting section of the manual for persistent issues.