
Featured image for carrier air conditioner remote control rfl-0601 instructions
Image source: cdn.shopify.com
Master your Carrier Air Conditioner Remote Control RFL-0601 in minutes with this straightforward setup guide designed for effortless installation and intuitive operation. From pairing the remote to customizing temperature and fan settings, follow the step-by-step instructions to ensure optimal performance and energy efficiency all season long.
Key Takeaways
- Power on the unit first: Ensure the AC is plugged in and powered before using the remote.
- Point remote at the receiver: Aim directly at the indoor unit’s sensor for reliable signal transmission.
- Use MODE button to switch functions: Cycle through cool, heat, fan, dry, and auto modes easily.
- Adjust temperature with +/- buttons: Set your desired comfort level between 60°F and 86°F.
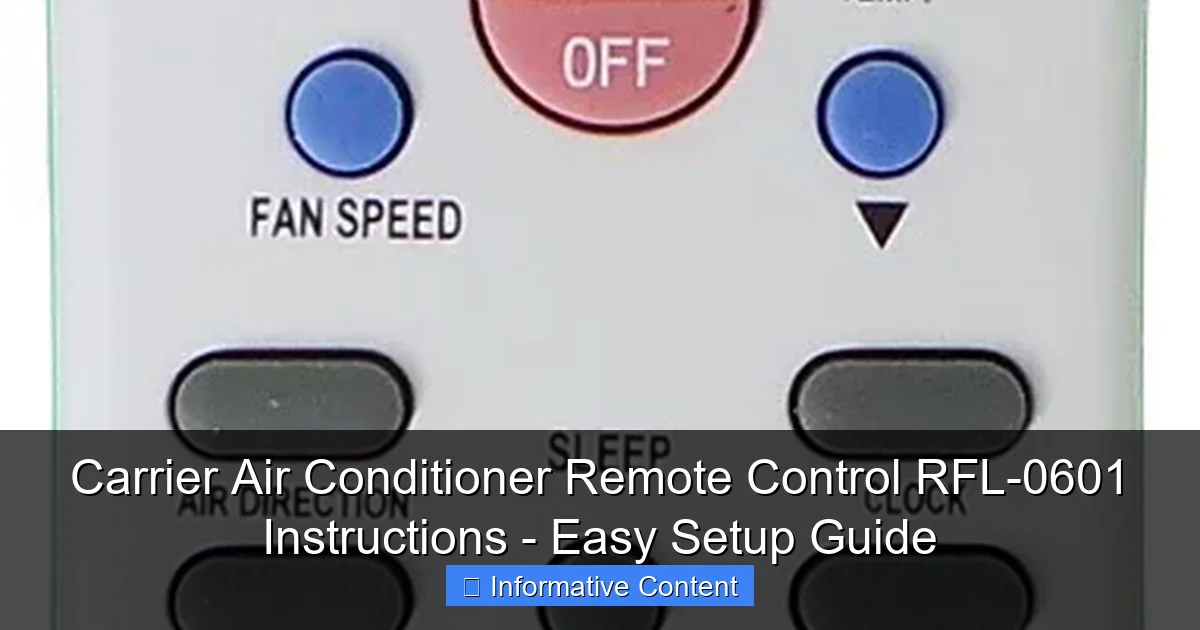
- Press FAN to control airflow speed: Choose from low, medium, high, or auto fan settings.
- Use TIMER for energy savings: Schedule on/off times to reduce power consumption automatically.
- Replace batteries if unresponsive: Use two AAA batteries and check polarity if the remote fails.
📑 Table of Contents
- Carrier Air Conditioner Remote Control RFL-0601 Instructions – Easy Setup Guide
- What Is the Carrier RFL-0601 Remote Control?
- How to Set Up Your Carrier RFL-0601 Remote Control
- Understanding the RFL-0601 Remote Control Buttons and Functions
- Common Issues and Troubleshooting Tips
- Tips for Maximizing Efficiency and Comfort
- Frequently Asked Questions (Answered Briefly)
- Final Thoughts: Master Your Climate with the RFL-0601
Carrier Air Conditioner Remote Control RFL-0601 Instructions – Easy Setup Guide
So, you’ve just unpacked your new Carrier air conditioner and now you’re staring at this sleek little remote control labeled RFL-0601. It looks simple enough—buttons, a screen, maybe a few symbols you don’t quite recognize. You press a button, and… nothing. Or worse, the AC turns on but blasts cold air when you wanted it warm. Sound familiar?
Don’t worry—you’re not alone. Many people find themselves frustrated when trying to get their Carrier remote working properly, especially if they’re replacing an old unit or setting up a new system for the first time. The good news? The RFL-0601 remote is actually quite user-friendly once you understand how it works. With the right instructions, you’ll be adjusting temperatures, switching modes, and even scheduling your cooling schedule like a pro in just minutes.
In this guide, I’ll walk you through everything you need to know about the Carrier Air Conditioner Remote Control RFL-0601—from unboxing and setup to troubleshooting common issues. Whether you’re a first-time AC owner or just upgrading your system, this step-by-step walkthrough will help you get the most out of your remote without the headache. Let’s dive in!
What Is the Carrier RFL-0601 Remote Control?
The Carrier RFL-0601 is a universal infrared remote control designed specifically for use with select Carrier air conditioning units. It’s compact, lightweight, and packed with features that let you control your indoor climate with just a few button presses. Unlike older remotes that only offered basic on/off and temperature adjustments, the RFL-0601 supports multiple operating modes, fan speeds, timers, and even sleep functions—all from the comfort of your couch.
Visual guide about carrier air conditioner remote control rfl-0601 instructions
Image source: cdn.shopify.com
Key Features of the RFL-0601
This remote isn’t just about turning your AC on and off. It’s built to give you full control over your indoor environment. Here’s what makes it stand out:
- Multiple Operating Modes: Switch between Cool, Heat, Fan, Dry, and Auto modes depending on your needs.
- Temperature Control: Adjust the temperature in 1-degree increments, typically from 60°F to 86°F (16°C to 30°C).
- Fan Speed Settings: Choose from Low, Medium, High, or Auto fan speeds for optimal airflow.
- Timer Function: Set a 24-hour on/off timer so your AC turns on or off automatically.
- Sleep Mode: Gradually adjusts the temperature while you sleep to save energy and improve comfort.
- Backlit Display: Easy to read in low light, perfect for nighttime use.
- Child Lock: Prevents accidental changes by locking the remote’s buttons.
Compatibility and Design
The RFL-0601 is compatible with a wide range of Carrier ductless mini-split and window-style air conditioners. However, it’s always best to check your AC unit’s model number against Carrier’s official compatibility list before assuming it will work. Most modern Carrier units from the past decade support this remote, but older models may require a different version.
In terms of design, the remote is ergonomic and fits comfortably in your hand. The buttons are well-labeled with clear icons, and the LCD screen displays all essential information at a glance. It runs on two AAA batteries (not included), which typically last several months with regular use. The infrared signal has a range of about 20–25 feet, so you’ll want to make sure there’s a clear line of sight between the remote and the AC unit’s receiver.
How to Set Up Your Carrier RFL-0601 Remote Control
Setting up the RFL-0601 is surprisingly straightforward—even if you’re not tech-savvy. The process involves inserting batteries, pairing the remote with your AC unit, and configuring basic settings. Let’s go through it step by step.
Step 1: Insert the Batteries
Before you can use the remote, you’ll need to power it up. Here’s how:
- Flip the remote over and locate the battery compartment on the back.
- Use a small screwdriver or your fingernail to slide open the compartment cover.
- Insert two AAA batteries, making sure to match the positive (+) and negative (–) ends as indicated inside the compartment.
- Close the cover securely.
Once the batteries are in, the LCD screen should light up briefly, showing the current time and temperature settings. If nothing appears, double-check the battery orientation and ensure the contacts are clean.
Step 2: Power On Your Air Conditioner
Make sure your Carrier AC unit is plugged in and turned on at the main power source. Some units have a physical power button on the front or side—press it if needed. The indoor unit’s display should light up, indicating it’s ready to receive signals.
Step 3: Pair the Remote with Your AC Unit
The RFL-0601 uses infrared technology, which means it doesn’t require Bluetooth or Wi-Fi pairing. Instead, it sends signals directly to the AC unit’s receiver. To ensure proper communication:
- Stand within 10–15 feet of the indoor unit.
- Point the remote directly at the receiver (usually located on the front panel of the AC unit).
- Press the Power button once.
If the AC responds—by turning on, changing modes, or adjusting the temperature—the remote is successfully paired. If not, try moving closer or removing any obstructions (like furniture or curtains) that might block the signal.
Step 4: Set the Time and Date (Optional but Recommended)
While not required for basic operation, setting the correct time helps you use advanced features like the timer and sleep mode effectively. Here’s how:
- Press and hold the Timer button for 3 seconds until the clock icon starts blinking.
- Use the + and – buttons to adjust the hour.
- Press the Timer button again to move to minutes.
- Adjust the minutes using the + and – buttons.
- Press Timer once more to confirm and exit.
Now your remote is fully set up and ready to use!
Understanding the RFL-0601 Remote Control Buttons and Functions
The RFL-0601 remote has a clean layout with clearly marked buttons, but it’s easy to get confused if you’re not familiar with the symbols. Let’s break down each button and what it does so you can use your remote like a pro.
Main Control Buttons
These are the core buttons you’ll use daily:
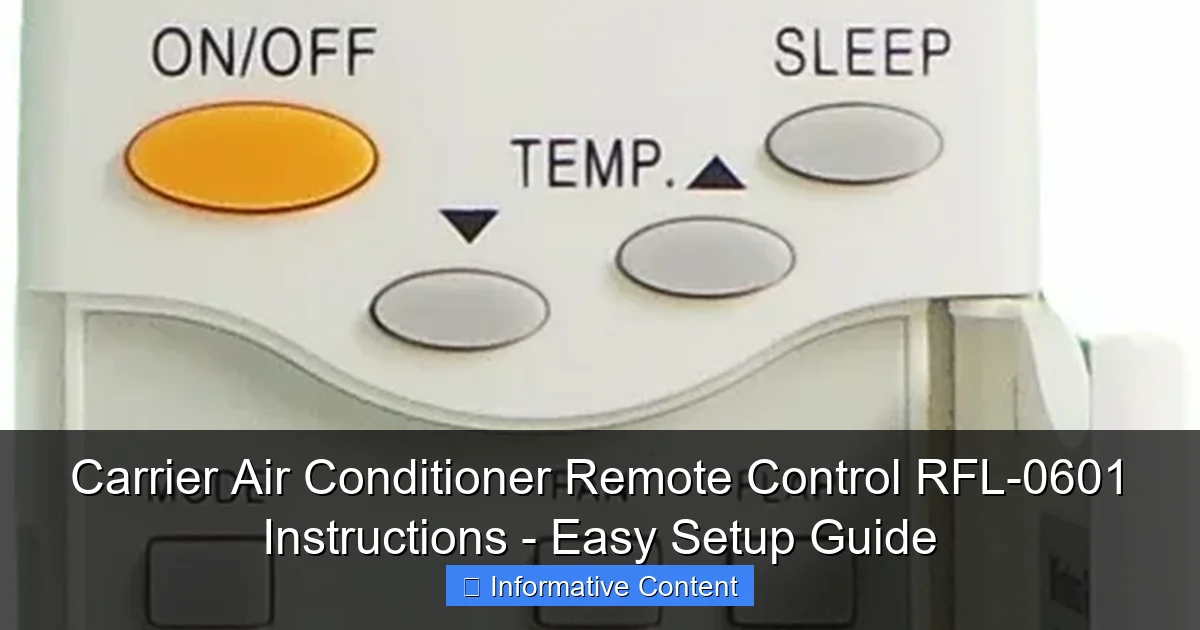
- Power (On/Off): Turns the AC on or off. A green light on the unit usually indicates it’s running.
- Mode: Cycles through operating modes: Cool → Dry → Fan → Heat → Auto. The current mode appears on the screen.
- Fan Speed: Adjusts airflow. Options include Low, Medium, High, and Auto (which adjusts based on room temperature).
- Temperature (+/–): Increases or decreases the target temperature. Each press changes it by 1°F or 1°C.
- Swing: Controls the direction of the air vent flaps. Press once to start automatic swinging; press again to stop and lock in place.
Advanced Features
Beyond the basics, the RFL-0601 offers several smart features to enhance comfort and efficiency:
- Timer: Press to set a delay for the AC to turn on or off. For example, set it to turn on 30 minutes before you get home from work.
- Sleep: Activates sleep mode, which gradually increases the temperature (in cooling mode) or decreases it (in heating mode) over 7 hours to match your body’s natural sleep cycle.
- Turbo: Boosts cooling or heating power for rapid temperature adjustment. Great for hot summer afternoons or cold winter mornings.
- Child Lock: Press and hold the Turbo and Fan buttons simultaneously for 3 seconds to lock all buttons. Repeat to unlock.
- Filter Reset: After cleaning or replacing the air filter, press and hold the Mode and Fan buttons for 5 seconds to reset the filter reminder.
Display Screen Guide
The LCD screen shows real-time information, including:
- Current room temperature
- Set temperature
- Operating mode icon
- Fan speed level
- Timer status
- Battery indicator (appears when batteries are low)
For example, if you see a snowflake icon, your AC is in Cool mode. A sun icon means Heat mode. A fan symbol with three lines indicates High fan speed.
Common Issues and Troubleshooting Tips
Even the best remotes can run into problems. If your RFL-0601 isn’t working as expected, don’t panic. Most issues are easy to fix with a few simple steps.
Remote Not Responding
If pressing buttons does nothing, try these solutions:
- Check the batteries: Weak or dead batteries are the #1 cause of remote failure. Replace them with fresh AAA batteries.
- Clean the infrared lens: Dust or dirt on the front of the remote can block the signal. Wipe it gently with a soft, dry cloth.
- Ensure line of sight: The remote needs a clear path to the AC unit’s receiver. Move closer or remove obstacles.
- Reset the remote: Remove the batteries, wait 30 seconds, then reinsert them. This can reset the internal circuitry.
AC Unit Not Turning On
If the remote seems to work but the AC won’t start:
- Verify the AC is plugged in and the circuit breaker hasn’t tripped.
- Check if the unit is in standby mode—some models require a manual power button press first.
- Make sure the remote is set to the correct mode (e.g., Cool or Heat) and the temperature is set appropriately.
Incorrect Temperature Display
If the remote shows a different temperature than expected:
- The remote measures ambient temperature near you, not the room average. For accuracy, place it away from heat sources like lamps or windows.
- Some models allow you to calibrate the sensor. Refer to your AC’s manual for instructions.
Timer or Sleep Mode Not Working
If scheduled functions aren’t activating:
- Double-check that the time is set correctly on the remote.
- Ensure the timer is programmed properly—press Timer, set the desired on/off time, and confirm.
- Make sure the AC is in a compatible mode (e.g., Sleep mode won’t work in Fan-only mode).
Battery Drains Too Fast
If your batteries die within days:
- Avoid leaving the remote in direct sunlight or near heat sources, which can damage batteries.
- Use high-quality alkaline batteries instead of cheap generic ones.
- Turn off the backlight when not needed—press and hold the Light button to toggle it.
Tips for Maximizing Efficiency and Comfort
Now that your remote is working, let’s talk about how to use it wisely. A little know-how can go a long way in saving energy, extending your AC’s lifespan, and keeping your home comfortable year-round.
Use Auto Mode for Balanced Comfort
Instead of constantly switching between Cool and Heat, try Auto mode. The AC will automatically choose the best operating mode based on the room temperature. For example, if it’s 78°F and you set the target to 72°F, it will cool. If the room drops to 65°F, it may switch to heating. This reduces manual adjustments and maintains consistent comfort.
Set the Timer for Energy Savings
Programming the timer is one of the easiest ways to cut energy costs. Here’s a practical example:
- Before leaving for work, set the timer to turn off the AC after 2 hours.
- Set it to turn back on 30 minutes before you return home.
This way, your home stays cool when you’re there—but you’re not wasting energy cooling an empty house.
Use Sleep Mode Wisely
Sleep mode is perfect for nighttime. In cooling mode, it gradually raises the temperature by 2°F over 2 hours, then maintains it. This mimics your body’s natural drop in temperature during sleep, helping you rest better while using less energy. Just remember: it only works in Cool or Heat mode, not Fan or Dry.
Adjust Fan Speed Based on Need
Don’t always default to High fan speed. Here’s when to use each setting:
- Low: Quiet operation, ideal for bedrooms or nighttime.
- Medium: Balanced airflow and noise—great for living rooms.
- High: Fast cooling or heating, best for quick temperature changes.
- Auto: Lets the AC decide based on demand—efficient and hands-off.
Keep the Remote Clean and Accessible
Dust and grime can interfere with the infrared signal. Wipe the remote with a damp cloth weekly, and store it in a dry place when not in use. Avoid placing it near TVs, microwaves, or other electronics that emit interference.
Frequently Asked Questions (Answered Briefly)
While we’re not including a formal FAQ section, here are quick answers to common questions about the RFL-0601:
- Can I use this remote with non-Carrier units? No—it’s designed specifically for compatible Carrier models.
- Does it work with smart home systems? Not directly. It’s an infrared remote, so it doesn’t connect to Wi-Fi or voice assistants.
- What if I lose the remote? Contact Carrier customer support—they may be able to provide a replacement or guide you to a compatible model.
- Can I control multiple AC units with one remote? Only if they’re in the same room and use the same frequency. Most setups require one remote per unit.
Final Thoughts: Master Your Climate with the RFL-0601
The Carrier Air Conditioner Remote Control RFL-0601 might seem like a small accessory, but it plays a big role in your daily comfort. With the right setup and a little practice, you’ll wonder how you ever lived without its intuitive controls and smart features.
From adjusting the temperature with a single press to programming your AC to turn on before you get home, this remote puts powerful climate control in the palm of your hand. And with proper care—like replacing batteries regularly and keeping it clean—it will serve you reliably for years.
So the next time you reach for your remote, remember: you’re not just changing the temperature. You’re creating the perfect environment for relaxation, productivity, and peace of mind. Whether it’s a sweltering summer afternoon or a chilly winter evening, the RFL-0601 helps you stay in control—comfortably, efficiently, and effortlessly.
Now go enjoy that perfectly cooled (or warmed) room—you’ve earned it!
Frequently Asked Questions
How do I pair my Carrier Air Conditioner Remote Control RFL-0601 with the unit?
To pair the RFL-0601, point the remote at the AC unit, press and hold the “ON/OFF” and “MODE” buttons simultaneously for 5 seconds until the LED blinks. Release the buttons when the unit beeps or the display responds.
What do the symbols on the RFL-0601 remote mean?
The RFL-0601 remote uses standard HVAC symbols: snowflake (Cool), sun (Heat), fan (Fan mode), and droplet (Dry). Refer to the manual for specific icons like timer or sleep mode indicators.
How do I reset my Carrier RFL-0601 remote control?
Remove the batteries, press all buttons once to discharge residual power, then reinsert the batteries. This often resolves unresponsive behavior or syncing issues with the air conditioner.
Why isn’t my Carrier air conditioner responding to the RFL-0601 remote?
First, check the battery level and ensure the remote is pointed at the AC sensor. If problems persist, try re-pairing the remote using the Carrier Air Conditioner Remote Control RFL-0601 instructions or verify there’s no obstruction blocking the signal.
Can I use the RFL-0601 remote for other Carrier AC models?
The RFL-0601 is compatible with most Carrier split and window AC units, but always confirm compatibility with your specific model in the manual. Some older models may require a different remote.
How do I set the timer function on the RFL-0601 remote?
Press the “Timer” button, then use the arrow keys to adjust the desired time. Press “Timer” again to confirm. The RFL-0601 instructions recommend testing the timer after setup to ensure accuracy.