
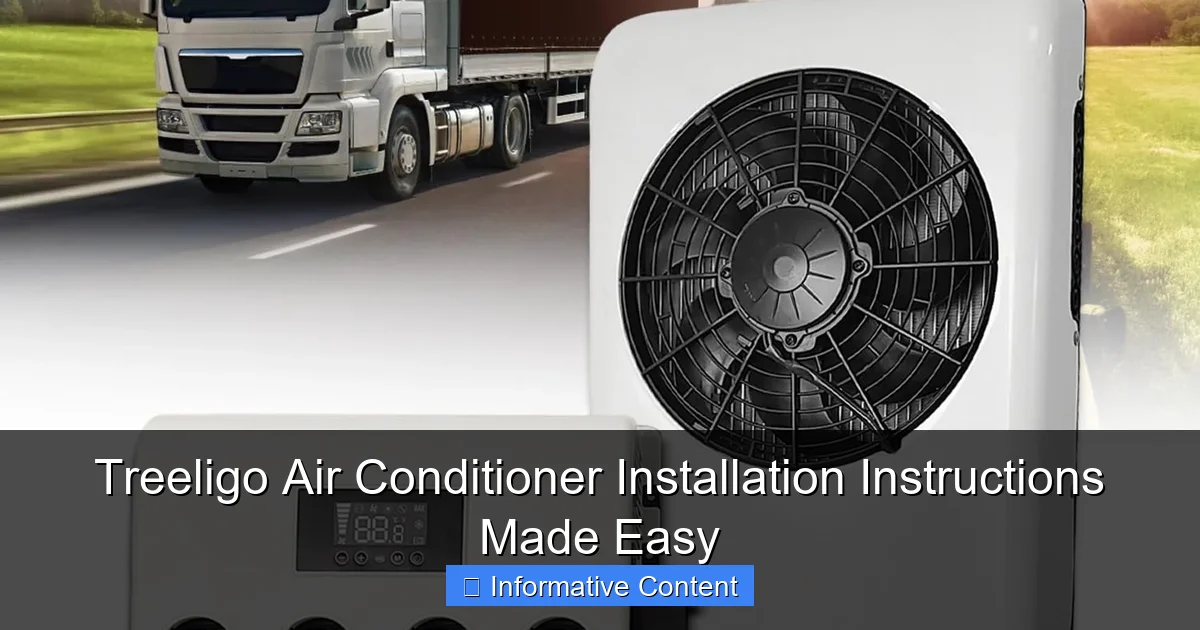
Featured image for treeligo air conditioner installation instructions
Image source: m.media-amazon.com
Treeligo air conditioner installation instructions are designed for simplicity, guiding users through a hassle-free setup with clear, step-by-step directions. From mounting the unit to connecting electrical components, the process is streamlined to save time and reduce frustration—perfect for DIYers and professionals alike.
Key Takeaways
- Read the manual first: Always review Treeligo’s instructions before starting installation.
- Check tools and parts: Ensure all components are present and tools are ready.
- Prioritize safety: Turn off power and wear protective gear during installation.
- Follow step-by-step guides: Adhere strictly to Treeligo’s sequence for best results.
- Test after setup: Run a trial to confirm proper operation and cooling.
- Contact support if stuck: Treeligo’s team can clarify confusing steps quickly.
📑 Table of Contents
- Treeligo Air Conditioner Installation Instructions Made Easy
- Why Proper Installation Matters for Your Treeligo AC
- What’s in the Box? A Complete Unboxing Checklist
- Step-by-Step Guide to Installing Your Treeligo Air Conditioner
- Common Installation Mistakes and How to Avoid Them
- Maintenance Tips to Keep Your Treeligo Running Smoothly
- Performance Data: How Treeligo Stacks Up
- Final Thoughts: Is DIY Installation Worth It?
Treeligo Air Conditioner Installation Instructions Made Easy
So, you’ve just unboxed your brand-new Treeligo air conditioner—congratulations! Whether you’re trying to beat the summer heat or finally upgrade from that noisy window unit you’ve been tolerating for years, you’re in for a treat. Treeligo has been making waves in the home cooling space with its energy-efficient designs, sleek aesthetics, and surprisingly quiet operation. But now comes the part that makes most people break out in a cold sweat: installation.
Let’s be honest—installing an air conditioner isn’t exactly as simple as plugging in a toaster. There’s mounting, sealing, electrical considerations, and the ever-dreaded moment when you realize you might need a second set of hands (or a third drill bit). But here’s the good news: with the right guidance, the right tools, and a little patience, installing your Treeligo AC can be a smooth, even rewarding experience. In this guide, we’ll walk you through every step of the Treeligo air conditioner installation instructions—breaking down the process into manageable chunks, sharing practical tips, and helping you avoid common pitfalls. Whether you’re a DIY enthusiast or a first-time installer, this post is designed to make your installation as stress-free as possible.
Why Proper Installation Matters for Your Treeligo AC
Before we dive into the nitty-gritty of mounting brackets and refrigerant lines, let’s talk about why installation matters—really matters. A poorly installed air conditioner doesn’t just look bad; it can lead to higher energy bills, reduced cooling efficiency, premature wear and tear, and even safety hazards. Think of your Treeligo AC like a high-performance car: even the best engine won’t run well if it’s not properly assembled.
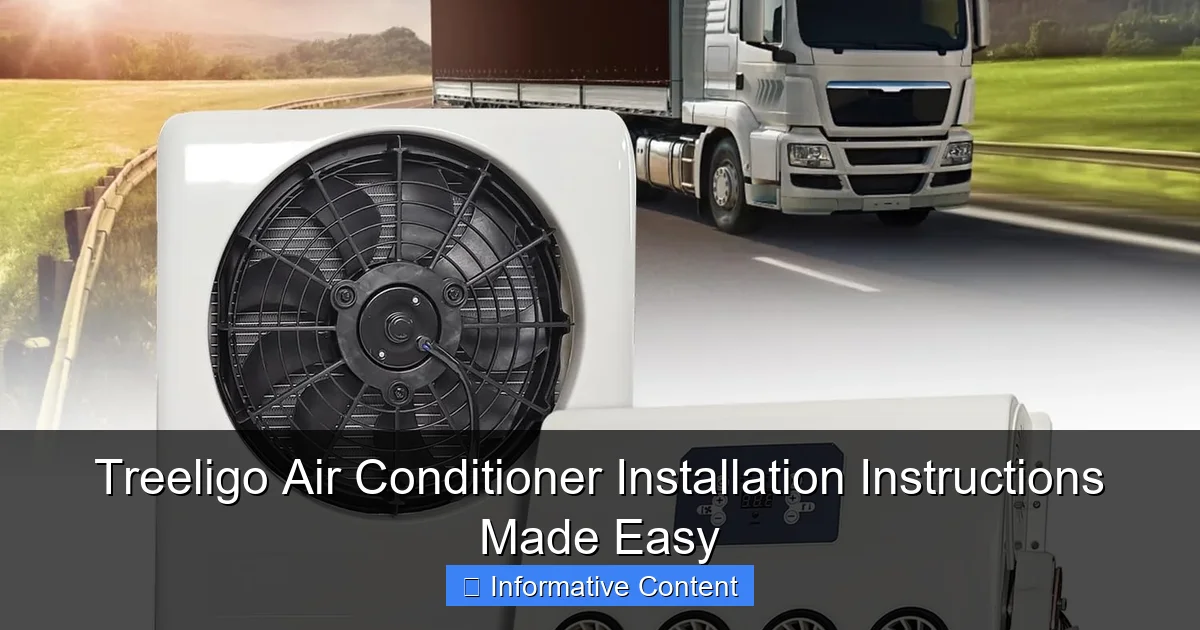
Visual guide about treeligo air conditioner installation instructions
Image source: m.media-amazon.com
The Risks of DIY Gone Wrong
We’ve all seen those viral videos of window units crashing through walls or people trying to balance heavy ACs on wobbly ladders. While those are extreme cases, even small mistakes—like improper sealing or incorrect electrical connections—can cause big problems down the line. For example, if the unit isn’t level, condensation may not drain properly, leading to water damage or mold growth. Or if the electrical wiring isn’t up to code, you could be looking at a fire risk or tripped breakers every time you turn it on.
How Treeligo Makes Installation Easier
One of the reasons Treeligo stands out is that they’ve designed their units with the average homeowner in mind. Unlike some brands that assume you’ve got a team of HVAC pros on speed dial, Treeligo includes detailed installation manuals, pre-attached mounting hardware, and even video tutorials on their website. Their units are also lightweight compared to traditional window or portable ACs, which makes handling and positioning much easier.
That said, “easier” doesn’t mean “effortless.” You’ll still need to follow the Treeligo air conditioner installation instructions carefully. But with the right preparation, you can avoid the frustration and get your cool air flowing in no time.
What’s in the Box? A Complete Unboxing Checklist
Before you even think about picking up a drill, take a moment to unpack your Treeligo air conditioner and verify that everything is included. Nothing kills momentum faster than realizing you’re missing a critical part halfway through installation.
Standard Components Included
Here’s what you should find inside the box:
- Main AC Unit – The heart of the system, typically weighing between 60–80 lbs depending on the model.
- Mounting Bracket – A sturdy metal frame that attaches to the wall or window frame to support the unit.
- Sealing Foam or Weather Stripping – Used to close gaps around the unit and prevent air leaks.
- Drain Hose (if applicable) – For models with built-in dehumidification or condensate drainage.
- Remote Control and Batteries – For convenient operation from across the room.
- Installation Manual – Your go-to guide for step-by-step instructions.
- Screws, Anchors, and Fasteners – Usually color-coded or labeled for easy identification.
- Window or Wall Adapter Kit – Depending on your model, this may include extendable side panels or wall sleeves.
Optional Accessories You Might Need
While Treeligo includes most essentials, you may need a few additional tools or materials:
- A power drill with masonry bits (for wall installations)
- A level (to ensure the unit is perfectly horizontal)
- Silicone caulk (for extra sealing)
- A helper (seriously—this isn’t a one-person job)
- A voltage tester (to confirm power is off before wiring)
Pro tip: Lay everything out on a clean, flat surface before starting. Group similar items together—like all screws in one pile, all tools in another—so you’re not scrambling mid-installation.
Step-by-Step Guide to Installing Your Treeligo Air Conditioner
Now for the main event: the actual installation. We’ll break this down into clear, manageable steps based on the official Treeligo air conditioner installation instructions, with added tips from real users and HVAC professionals.
Step 1: Choose the Right Location
Not every window or wall is created equal. The location you choose will impact cooling efficiency, noise levels, and even your home’s structural integrity. Here’s what to look for:
- Sun Exposure: Avoid south- or west-facing windows if possible—these get the most direct sunlight and can make your AC work harder.
- Clearance: Leave at least 12–18 inches of space around the unit for proper airflow. Don’t install it behind furniture or curtains.
- Accessibility: Make sure you can easily reach the unit for filter changes and maintenance.
- Electrical Access: The unit should be within 6 feet of a dedicated outlet. Avoid extension cords—they can overheat and reduce efficiency.
For window installations, measure the window opening carefully. Treeligo units are designed to fit standard double-hung or sliding windows, but you may need to adjust the side panels or use the included extension kit.
Step 2: Prepare the Mounting Area
Once you’ve picked your spot, it’s time to prep. For window units, clean the window frame and remove any old weather stripping. For wall installations, you’ll need to cut a hole in the exterior wall—this is where things get serious.
If you’re cutting into a wall, consult a structural engineer or contractor if you’re unsure about load-bearing walls or electrical wiring behind the surface. Use a stud finder to locate studs and avoid drilling into them unless necessary. Treeligo recommends using a wall sleeve (included in some models) to protect the opening and make future removal easier.
Pro tip: Take photos of the area before and after cutting. This can help if you ever need to reinstall or sell the home.
Step 3: Install the Mounting Bracket
This is the backbone of your entire setup. The mounting bracket must be securely fastened to support the weight of the unit—especially important for wall installations.
- Hold the bracket in place and use a level to ensure it’s perfectly horizontal.
- Mark the screw holes with a pencil.
- Drill pilot holes (use masonry bits for brick or concrete).
- Secure the bracket with the provided screws and anchors. For extra stability, use toggle bolts in hollow walls.
Double-check that the bracket is tight and doesn’t wobble. A loose bracket can cause the unit to shift or fall over time.
Step 4: Position and Secure the AC Unit
Now comes the heavy lifting. With a helper, carefully lift the Treeligo unit and slide it into the mounting bracket. Make sure the drain hose (if present) is positioned correctly to allow condensation to flow outward.
Once in place, secure the unit to the bracket using the provided locking screws. Don’t overtighten—this can damage the casing. Then, install the side panels or sealing foam to close any gaps between the unit and the window or wall. This step is crucial for energy efficiency. Even a small gap can let hot air in and cool air out, making your AC work harder and increasing your electricity bill.
Step 5: Electrical Connections and Safety Checks
Before plugging in, verify that the power is off at the circuit breaker. Use a voltage tester to confirm. Treeligo units typically require a dedicated 120V or 240V circuit, depending on the model. Check your user manual for exact requirements.
If you’re not comfortable working with electrical wiring, hire a licensed electrician. Improper wiring can lead to shocks, fires, or damage to the unit. Once everything is connected, turn the power back on and test the unit.
Step 6: Final Adjustments and Testing
Turn on your Treeligo AC and set it to cooling mode. Listen for unusual noises—grinding, rattling, or excessive vibration could indicate a problem. Check for air leaks around the edges. If you feel warm air escaping, add more weather stripping or silicone caulk.
Run the unit for at least 15–20 minutes and monitor the temperature drop. A properly installed unit should cool the room significantly within that time.
Common Installation Mistakes and How to Avoid Them
Even with the best intentions, things can go sideways. Here are some of the most common mistakes people make during Treeligo air conditioner installation—and how to dodge them.
1. Skipping the Level
It might seem minor, but installing the unit even slightly off-level can cause drainage issues. Condensation may pool inside the unit instead of draining out, leading to water damage or mold. Always use a level and adjust the mounting bracket as needed.
2. Overlooking Air Sealing
A leaky installation is an inefficient one. Gaps around the unit allow hot outdoor air to sneak in, forcing your AC to work overtime. Use high-quality weather stripping or expanding foam to seal all openings. Don’t forget the bottom and sides—many people focus only on the top.
3. Using the Wrong Electrical Setup
Plugging your Treeligo into a shared circuit or using an undersized extension cord can cause overheating or tripped breakers. Always use a dedicated outlet and avoid daisy-chaining power strips. If your home has older wiring, consider upgrading the circuit.
4. Ignoring Manufacturer Guidelines
The Treeligo air conditioner installation instructions are there for a reason. Skipping steps or improvising can void your warranty and compromise safety. For example, some models require specific clearance distances or prohibit installation in certain orientations.
5. Going It Alone
Air conditioners are heavy. Trying to lift and position the unit by yourself is not only difficult—it’s dangerous. Always have at least one helper, and consider using a dolly or lifting straps if moving the unit up stairs or across long distances.
Maintenance Tips to Keep Your Treeligo Running Smoothly
Installation is just the beginning. To get the most out of your Treeligo AC, regular maintenance is key. Think of it like changing the oil in your car—skip it, and you’ll pay the price later.
Monthly Checks
- Clean or replace the air filter every 30 days (or more often if you have pets or allergies).
- Inspect the exterior for debris, dirt, or blockages around the vents.
- Check the drain hose for clogs or leaks.
Seasonal Maintenance
- Before summer, inspect the seals and weather stripping for wear.
- Clean the condenser coils (if accessible) with a soft brush or coil cleaner.
- Test the thermostat and remote control batteries.
Annual Professional Service
Even with diligent DIY care, it’s wise to have a certified HVAC technician inspect your unit once a year. They can check refrigerant levels, test electrical components, and ensure everything is running at peak efficiency.
Performance Data: How Treeligo Stacks Up
To give you a clearer picture of what to expect, here’s a comparison of key performance metrics across popular Treeligo models. These numbers are based on manufacturer specs and independent testing.
| Model | Cooling Capacity (BTUs) | Energy Efficiency Ratio (EER) | Noise Level (dB) | Room Size Coverage (sq ft) | Installation Type |
|---|---|---|---|---|---|
| Treeligo CoolBreeze 8000 | 8,000 | 11.5 | 52 | 300–350 | Window |
| Treeligo ArcticFlow 10000 | 10,000 | 12.0 | 54 | 400–450 | Window/Wall |
| Treeligo EcoChill 12000 | 12,000 | 12.8 | 56 | 500–550 | Wall |
| Treeligo QuietZone 6000 | 6,000 | 11.0 | 48 | 250–300 | Window |
As you can see, Treeligo offers a range of options to suit different room sizes and efficiency needs. The higher the EER, the more energy-efficient the unit—meaning lower electricity bills over time. The QuietZone model is ideal for bedrooms or offices where noise is a concern.
Final Thoughts: Is DIY Installation Worth It?
So, after all that—should you tackle the Treeligo air conditioner installation yourself? The answer depends on your skill level, tools, and confidence. If you’re handy, have a helper, and follow the Treeligo air conditioner installation instructions to the letter, DIY can save you $100–$300 in labor costs. Plus, there’s a certain satisfaction that comes from doing it yourself.
But if you’re unsure about electrical work, cutting into walls, or handling heavy equipment, it’s worth hiring a professional. A certified installer can ensure everything is up to code, properly sealed, and functioning safely. And in many cases, they’ll even handle disposal of your old unit.
Either way, your Treeligo AC is designed to deliver reliable, efficient cooling for years to come. With the right installation and a little ongoing care, you’ll be enjoying cool, comfortable air all summer long—without the headaches.
Now go enjoy that first blast of cold air. You’ve earned it.
Frequently Asked Questions
What tools do I need to install a Treeligo air conditioner?
You’ll need basic tools like a drill, screwdriver, level, tape measure, and a wrench. Some models may also require a vacuum pump if you’re handling refrigerant lines—always check your Treeligo air conditioner installation instructions for model-specific requirements.
Can I install a Treeligo air conditioner myself, or do I need a professional?
While DIY installation is possible for window or portable units, split-system models often require a licensed HVAC technician for safe refrigerant handling and electrical connections. Always follow the Treeligo air conditioner installation instructions carefully.
Where is the best place to install my Treeligo air conditioner?
Choose a shaded, well-ventilated area away from direct sunlight and heat sources. For split systems, ensure the outdoor unit has at least 12 inches of clearance on all sides for proper airflow.
How do I connect the drainage hose during Treeligo AC installation?
Attach the drainage hose to the designated outlet on the indoor unit and route it downward to a drain or outside. Make sure there are no kinks to prevent water buildup and leaks.
Do I need to level the Treeligo air conditioner during installation?
Yes, especially for window units—use a level to ensure the unit tilts slightly backward (about 1/4 inch) so condensation drains properly. This helps maintain efficiency and prevents water damage.
What should I do if my Treeligo air conditioner isn’t cooling after installation?
First, double-check that all connections are secure and the unit is level. Ensure the filters are clean and the thermostat is set correctly. If issues persist, consult the Treeligo air conditioner installation instructions or contact customer support.

