
This guide walks you through safely removing the front panel of your LG air conditioner for cleaning, filter access, or repairs. Follow our detailed steps to avoid damage and ensure a smooth reassembly.
Key Takeaways
- Always unplug the unit first: Safety is critical—never work on an LG air conditioner while it’s plugged in to prevent electric shock or injury.
- Identify your model type: LG offers window, split, and portable ACs—each has a slightly different front panel removal process. Check your model number before starting.
- Use the right tools: Most front panels require only your hands or a soft cloth, but some may need a Phillips screwdriver or flathead tool for hidden latches.
- Handle clips and hinges gently: The front panel is held by plastic clips and hinges that can break if forced. Work slowly and evenly to avoid damage.
- Clean while it’s open: Take advantage of the exposed interior to clean the air filter, evaporator coils, and fan blades for better performance.
- Reattach securely: Ensure all clips snap back into place and screws are tightened to prevent rattling or misalignment during operation.
- Consult the manual if unsure: LG’s 2026 models may include updated designs—always refer to the user manual or LG’s online support for model-specific instructions.
How to Take the Front Off an LG Air Conditioner
If you’ve noticed your LG air conditioner isn’t cooling as well as it used to, or you’re due for routine maintenance, you might need to remove the front panel. Whether you’re cleaning the air filter, inspecting internal components, or preparing for a repair, knowing how to safely take the front off your LG AC is essential. In this comprehensive 2026 guide, we’ll walk you through the entire process—step by step—so you can do it confidently, safely, and without damaging your unit.
LG air conditioners are known for their sleek design, energy efficiency, and smart features. But like any appliance, they require regular upkeep. The front panel is your gateway to the internal parts that keep your AC running smoothly. Removing it correctly ensures you can clean, maintain, or troubleshoot without causing accidental damage.
This guide covers LG window units, split-system indoor units, and portable air conditioners—three of the most common types in homes and offices in 2026. While the exact steps may vary slightly depending on your model, the core principles remain the same: safety first, work gently, and follow the design.
By the end of this guide, you’ll know exactly how to remove the front panel, what to look for inside, and how to put everything back together. Let’s get started.
Why You Might Need to Remove the Front Panel
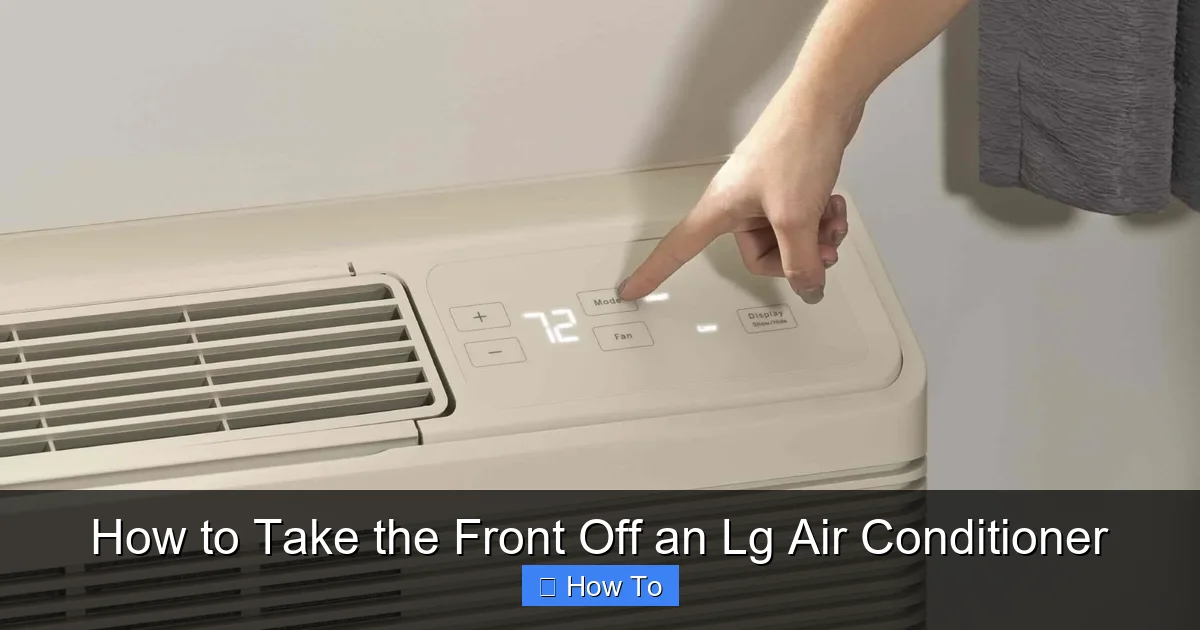
Visual guide about How to Take the Front Off an Lg Air Conditioner
Image source: storables.com
Before diving into the steps, it’s helpful to understand why you’d want to remove the front of your LG air conditioner in the first place. There are several common reasons:
- Cleaning the air filter: This is the most frequent reason. A dirty filter reduces airflow, makes the unit work harder, and can lead to higher energy bills. Most LG models allow quick filter access once the front is off.
- Deep cleaning the interior: Over time, dust and debris can accumulate on the evaporator coils, fan blades, and drainage tray. Removing the front panel gives you access to these areas.
- Inspecting for damage: If your AC is making unusual noises, leaking water, or not cooling properly, you may need to inspect internal components like the fan motor or coils.
- Replacing parts: If a component like the filter, fan, or sensor needs replacement, the front panel must be removed first.
- Preparing for professional service: If you’re calling a technician, having the front panel removed can save time and labor costs.
In 2026, many LG models also include smart diagnostics that can alert you via the LG ThinQ app when maintenance is needed. If you receive a notification about reduced airflow or filter clogging, it’s a clear sign it’s time to open up the unit.
Safety First: Precautions Before You Begin
Safety should always be your top priority when working with any electrical appliance. Air conditioners contain electrical components, moving parts, and refrigerants—handling them improperly can lead to injury or damage.
Here’s what you need to do before touching your LG air conditioner:
1. Turn Off and Unplug the Unit
Never attempt to remove the front panel while the AC is plugged in. Even if it’s turned off at the remote or control panel, power may still be flowing to internal circuits. Locate the power cord and unplug it from the wall outlet. For window or split units hardwired into your home’s electrical system, turn off the circuit breaker that controls the AC.
2. Let the Unit Cool Down
If the AC has been running, give it at least 15–20 minutes to cool down. Internal components, especially the compressor and coils, can get very hot. Handling them while warm increases the risk of burns or accidental damage.
3. Work in a Clean, Well-Lit Area
Choose a flat, stable surface near the unit—like a table or the floor—where you can lay out tools and parts. Good lighting helps you see small clips, screws, or connectors. Avoid working in dim or cluttered spaces.
4. Wear Protective Gear (Optional but Recommended)
While not always necessary, wearing gloves can protect your hands from sharp edges or dust. Safety glasses are also a good idea if you’re cleaning coils or fans, as debris can dislodge unexpectedly.
5. Gather Your Tools
Most LG front panels can be removed by hand, but it’s smart to have a few tools on hand:
- Soft cloth or microfiber towel
- Phillips screwdriver (size #2)
- Flathead screwdriver (small)
- Flashlight (if needed)
- Small container for screws (like a cup or bowl)
Having these ready will make the process smoother and prevent frustration.
Identifying Your LG Air Conditioner Model
LG produces several types of air conditioners, and the front panel removal process varies slightly between them. Before proceeding, identify which type you have:
Window Air Conditioners
These are self-contained units that fit into a window or wall sleeve. They have a single housing with the front grille covering the indoor side. Popular 2026 models include the LG LW1223ERSM and LW1523ERSM.
Split-System Indoor Units
These consist of an indoor unit (mounted on the wall) and an outdoor compressor. The indoor unit has a sleek front panel that hides the air intake and fan. Models like the LG LSU122S2 and LSU182S2 are common in 2026 homes.
Portable Air Conditioners
These freestanding units roll from room to room and vent hot air through a hose. The front panel typically covers the air intake and filter. The LG LP1419IVSM is a popular 2026 model.
To find your exact model number, check:
- The label on the side or back of the unit
- The original packaging or user manual
- The LG ThinQ app (if your unit is connected)
Once you know your model, you can refer to the user manual or LG’s online support for specific instructions. However, the general steps below apply to most LG units.
Step-by-Step: Removing the Front Panel
Now that you’re prepared, let’s walk through the actual removal process. We’ll cover each type of LG air conditioner separately for clarity.
Removing the Front of a LG Window Air Conditioner
Window units are the most straightforward. Here’s how to do it:
Step 1: Unplug the Unit
As emphasized earlier, unplug the power cord from the wall. This is non-negotiable.
Step 2: Locate the Front Grille
The front grille is the plastic panel with horizontal or vertical slats that covers the air intake. It’s usually held in place by clips or screws.
Step 3: Check for Screws
Some LG window models have two small screws at the bottom or sides of the grille. Use a Phillips screwdriver to remove them. Place the screws in your container so you don’t lose them.
Step 4: Release the Clips
If there are no screws, the grille is likely held by plastic clips. Gently pull the bottom edge of the grille outward with your fingers. You should feel it pop free. Work your way along the sides, applying even pressure. Do not force it—if it doesn’t budge, double-check for hidden screws.
Step 5: Tilt and Remove
Once the clips are released, tilt the grille forward and lift it slightly to disengage it from the top hinges. Set it aside carefully.
Step 6: Access the Filter
Behind the grille, you’ll see the air filter. Pull it out gently—it’s usually a flat, mesh panel that slides out from a slot.
Removing the Front of a LG Split-System Indoor Unit
Split-system units are more complex due to their wall-mounted design and internal components.
Step 1: Turn Off Power
Unplug the unit or turn off the circuit breaker. Split systems often have a disconnect switch near the outdoor unit—make sure it’s off.
Step 2: Open the Front Panel
Most LG split units have a front panel that swings open like a door. Look for a small indentation or handle at the bottom edge. Place your fingers in the gap and gently pull the panel downward. It should swing open on hinges.
Step 3: Release the Latches
Once the panel is open, you may see two or four plastic latches on the sides or top. These hold the panel in the open position. Press the latches inward to release them, then carefully lower the panel fully.
Step 4: Disconnect the Panel (If Necessary)
On some 2026 models, the front panel is connected to the unit by a small ribbon cable (for the display or sensors). If you see a thin wire, do not pull it. Instead, locate the connector near the hinge and gently unplug it by pressing the release tab.
Step 5: Remove the Filter
With the panel open, you’ll see the air filter. Slide it out from its track. Some models have two filters—check both sides.
Removing the Front of a LG Portable Air Conditioner
Portable units are similar to window units but often have a more integrated design.
Step 1: Unplug the Unit
Always start by disconnecting power.
Step 2: Locate the Front Cover
The front cover is usually a single plastic panel with a grille. It may be held by clips or screws.
Step 3: Remove Screws (If Present)
Check the bottom or sides for screws. Remove them with a screwdriver.
Step 4: Release the Clips
Gently pull the bottom edge outward. The panel should pop free. Work slowly to avoid breaking the clips.
Step 5: Lift and Remove
Once the clips are free, lift the panel slightly to disengage it from the top. Set it aside.
Step 6: Access the Filter
The filter is typically behind the panel. Slide it out for cleaning.
What to Do Once the Front Is Off
Now that the front panel is removed, you have access to the internal components. Here’s how to make the most of it:
Clean the Air Filter
The air filter is the most important part to clean. Rinse it under lukewarm water, using a mild detergent if needed. Let it air dry completely before reinserting. A clogged filter reduces efficiency by up to 15%, according to LG’s 2026 maintenance guidelines.
Inspect the Evaporator Coils
These are the thin, finned coils behind the filter. If they’re dusty, use a soft brush or coil cleaner spray. Avoid bending the fins—they’re delicate.
Check the Fan Blades
Look at the fan inside the unit. If it’s covered in dust, wipe it gently with a damp cloth. Do not spray water directly into the motor.
Clear the Drainage Tray
If your unit has a visible drainage tray, check for standing water or debris. Wipe it clean with a cloth.
Look for Signs of Damage
Inspect for frayed wires, loose connections, or corrosion. If you notice anything unusual, contact LG support or a certified technician.
Reassembling the Front Panel
Once you’ve cleaned and inspected everything, it’s time to put the unit back together.
Reinsert the Filter
Make sure the filter is completely dry and properly aligned in its slot. Push it in until it clicks or sits flush.
Reattach the Front Panel
For window and portable units, align the top of the grille with the hinges, then press the bottom into place until the clips snap. For split systems, reconnect the ribbon cable (if applicable), then lift the panel and engage the latches.
Secure with Screws
If you removed screws, replace them and tighten gently—don’t overtighten, as this can crack the plastic.
Test the Unit
Plug the AC back in and turn it on. Listen for unusual noises and check that air flows properly. If the panel rattles, double-check that all clips are secure.
Troubleshooting Common Issues
Even with careful handling, problems can arise. Here’s how to fix common issues:
Panel Won’t Come Off
If the front panel won’t budge, don’t force it. Check for hidden screws, especially under stickers or trim. Some 2026 models have magnetic latches—try sliding a credit card along the edges to release them.
Clips Are Broken
If a clip breaks, you may still be able to reattach the panel, but it could rattle. Contact LG support for a replacement part. Avoid using tape or glue—this can damage the unit.
Panel Doesn’t Snap Back
Ensure the filter is properly seated. A misaligned filter can prevent the panel from closing. Also, check that no wires are caught in the hinges.
Unit Doesn’t Turn On After Reassembly
Double-check that the power is restored and all connections are secure. If the unit still doesn’t work, there may be an internal issue—consult a technician.
Maintenance Tips for 2026 LG Models
To keep your LG air conditioner running efficiently in 2026, follow these tips:
- Clean the filter monthly: Especially during peak usage seasons.
- Schedule professional maintenance annually: A technician can check refrigerant levels and electrical components.
- Use the LG ThinQ app: It can send maintenance reminders and help diagnose issues.
- Keep the area around the unit clear: Ensure at least 12 inches of space for airflow.
- Avoid DIY refrigerant handling: Only certified professionals should service refrigerant lines.
Conclusion
Removing the front panel of your LG air conditioner is a simple but important task that can improve performance, extend the life of your unit, and save you money on energy bills. By following this 2026 guide, you’ve learned how to safely access the interior, clean critical components, and reassemble everything correctly.
Remember: always unplug the unit first, work gently with clips and hinges, and consult your manual if you’re unsure. With regular maintenance, your LG air conditioner will keep you cool and comfortable for years to come.
Whether you’re a first-time DIYer or a seasoned homeowner, this skill is worth mastering. Now that you know how to take the front off an LG air conditioner, you’re ready to tackle routine upkeep with confidence.

