
This guide walks you through the process of safely removing the back panel of your LG LW8016ER air conditioner. Whether you’re cleaning the unit, troubleshooting, or preparing it for storage, these clear, step-by-step instructions will help you do it right—without damaging your AC or voiding the warranty.
Key Takeaways
- Safety first: Always unplug the unit and wear protective gear before handling internal components.
- Use the right tools: A Phillips screwdriver and socket wrench are essential for removing screws and brackets.
- Document the process: Take photos or notes during disassembly to make reassembly easier.
- Clean while you’re in: Use this opportunity to clean the coils, fan, and filters for better performance.
- Check for damage: Inspect wiring and components for wear, corrosion, or loose connections.
- Reassemble carefully: Ensure all screws are tightened and panels are securely fastened to avoid air leaks.
- Test after reassembly: Run a quick test cycle to confirm everything is working properly.
How to Take Back of LG LW8016ER Air Conditioner
If you own an LG LW8016ER window air conditioner, you may eventually need to access the back of the unit for cleaning, maintenance, or troubleshooting. Whether you’re dealing with reduced cooling, strange noises, or just want to give your AC a deep clean, knowing how to safely remove the back panel is a valuable skill. This comprehensive guide will walk you through the entire process—step by step—so you can confidently take back of your LG LW8016ER air conditioner in 2026 and beyond.
By the end of this guide, you’ll understand not only how to remove the back panel but also how to inspect, clean, and reassemble your unit safely. We’ll cover the tools you need, safety precautions, troubleshooting tips, and best practices to keep your air conditioner running efficiently. Let’s get started!
Why You Might Need to Access the Back of Your LG LW8016ER
Before diving into the removal process, it’s important to understand why you might need to access the back of your air conditioner. The back panel of the LG LW8016ER houses critical components like the compressor, condenser coils, fan motor, and electrical connections. Over time, dust, debris, and moisture can accumulate, leading to reduced efficiency, louder operation, or even system failure.
Common reasons to remove the back panel include:
- Deep cleaning: Dust buildup on the condenser coils can restrict airflow and reduce cooling power.
- Fan maintenance: The fan blades may become unbalanced or clogged with debris, causing noise or vibration.
- Compressor inspection: If your AC isn’t cooling properly, the compressor (located at the back) might need checking.
- Electrical troubleshooting: Loose wires or corroded connections can cause power issues or safety hazards.
- Preparing for storage: If you’re removing the unit for the winter, accessing the back allows for thorough cleaning and inspection.
Understanding these scenarios will help you determine whether removing the back panel is necessary—and whether you should attempt it yourself or call a professional.
Tools and Materials You’ll Need
Before you begin, gather the following tools and materials to ensure a smooth and safe process:
- Phillips head screwdriver: Most screws on the LG LW8016ER are Phillips-head.
- Socket wrench set (optional): Useful for stubborn or hard-to-reach bolts.
- Work gloves: Protect your hands from sharp edges and dust.
- Safety goggles: Prevent dust or debris from getting into your eyes.
- Flashlight or work light: The back of the unit can be dark and cramped.
- Vacuum with brush attachment: For cleaning coils and fan blades.
- Soft brush or old toothbrush: Helps dislodge stubborn dirt.
- Microfiber cloth: For wiping down surfaces.
- Camera or smartphone: Take photos during disassembly to aid reassembly.
- Zip-top bags or small containers: Store screws and small parts so they don’t get lost.
Having these tools ready will save you time and frustration. It’s also a good idea to work in a well-lit, clean area—ideally outdoors or in a garage—to avoid making a mess inside your home.
Safety Precautions Before Starting
Working on any electrical appliance comes with risks, especially when dealing with high-voltage components. The LG LW8016ER is a 115-volt unit, and while it’s designed with safety features, you should still take precautions.
Follow these safety steps before beginning:
1. Unplug the Unit
Always disconnect the air conditioner from the power source. Simply turning off the thermostat or switching the unit off isn’t enough—unplug the power cord from the wall outlet. This prevents accidental shocks or short circuits.
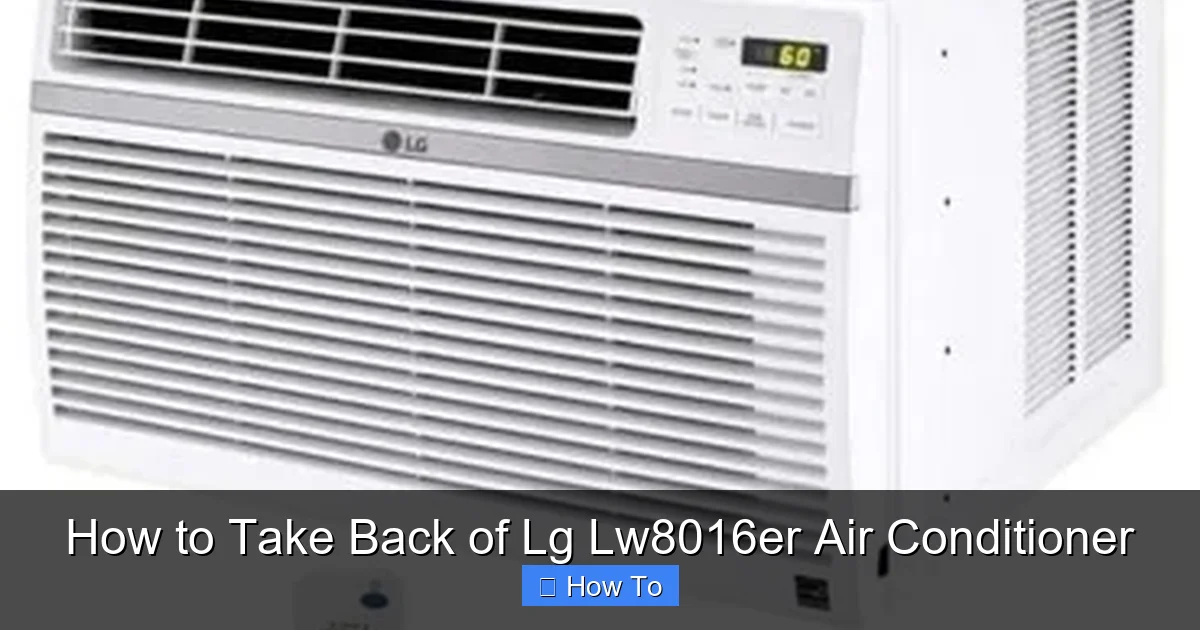
Visual guide about How to Take Back of Lg Lw8016er Air Conditioner
Image source: i.ebayimg.com
2. Let the Unit Cool Down
If the AC has been running, allow it to sit for at least 30 minutes. Components like the compressor can get very hot and may cause burns if touched too soon.
3. Wear Protective Gear
Put on work gloves and safety goggles. The back panel may have sharp metal edges, and dust or debris can irritate your eyes and skin.
4. Work in a Safe Environment
Avoid working on wet or damp surfaces. If you’re working indoors, place a drop cloth or towel under the unit to catch any water or debris.
5. Never Force Components
If a screw won’t budge or a panel feels stuck, don’t force it. Forcing parts can damage the unit or cause injury. Instead, check for hidden screws or clips.
Taking these precautions will help ensure a safe and successful experience.
Step-by-Step Guide to Removing the Back Panel
Now that you’re prepared, let’s walk through the process of removing the back panel of your LG LW8016ER air conditioner.
Step 1: Position the Unit for Access
Carefully slide the air conditioner out of the window or wall sleeve just enough to access the back. You don’t need to remove it completely—just enough to reach the rear panel. If the unit is heavy, ask someone to help you. Use a stable surface like a table or workbench to support the back of the unit while you work.
Step 2: Locate the Back Panel Screws
The back panel is held in place by several screws along the top, bottom, and sides. Use your flashlight to inspect the edges. Most LG LW8016ER models have 6 to 8 Phillips-head screws securing the panel. Some may be hidden under rubber grommets or plastic covers—gently pry these off with a flathead screwdriver if needed.
Step 3: Remove the Screws
Using your Phillips screwdriver, carefully unscrew each fastener. Place the screws in a labeled container or zip-top bag so you don’t lose them. Note the location of each screw—some may be longer or shorter, and they’re not always interchangeable.
Step 4: Detach the Back Panel
Once all screws are removed, gently pull the back panel away from the unit. It may be held in place by clips or a rubber gasket. Wiggle it slightly if it feels stuck, but avoid using excessive force. The panel should come off easily once all fasteners are removed.
Step 5: Inspect the Interior
With the panel off, you’ll see the condenser coils, fan motor, compressor, and wiring. Take a moment to observe the condition of these components. Look for dust buildup, rust, loose wires, or signs of overheating (like burnt smells or discolored insulation).
Step 6: Clean the Components (Optional but Recommended)
Use your vacuum with a brush attachment to remove loose dust from the coils and fan blades. For stubborn grime, use a soft brush or toothbrush. Avoid using water directly on electrical components. If the coils are very dirty, consider using a coil cleaner spray (available at hardware stores)—just follow the instructions carefully.
Step 7: Check for Damage or Wear
Inspect the fan blades for cracks or bends. Check the compressor for oil leaks or unusual noises (if the unit was recently running). Look at the wiring for fraying, corrosion, or loose connections. If you notice any serious issues, it may be best to consult a professional technician.
Step 8: Reattach the Back Panel
Once you’ve completed your inspection or cleaning, it’s time to put the panel back. Align it carefully with the unit and press it into place. Reinsert the screws in the same order you removed them. Tighten them securely, but don’t over-tighten—this can strip the threads or crack the plastic.
Step 9: Test the Unit
Plug the air conditioner back in and turn it on. Listen for unusual noises and check that it’s cooling properly. If everything sounds and works normally, you’ve successfully completed the process!
Troubleshooting Common Issues
Even with careful handling, you might encounter problems when removing or reassembling the back panel. Here are some common issues and how to fix them:
Problem: Screws Won’t Come Out
If a screw is stuck, try spraying a small amount of penetrating oil (like WD-40) around the head and let it sit for 5–10 minutes. Then gently try again. Avoid using excessive force, as this can strip the screw head.
Problem: Panel Won’t Come Off
Double-check for hidden screws or clips. Some models have additional fasteners near the bottom or behind rubber seals. Use a flashlight to inspect all edges.
Problem: Fan Doesn’t Spin After Reassembly
This could be due to a loose connection or misaligned fan blade. Turn off the power, remove the panel again, and check that the fan is seated properly and all wires are connected.
Problem: AC Leaks Water After Reassembly
This may indicate a misaligned drain pan or damaged gasket. Ensure the back panel is sealed properly and that no components are blocking the drainage path.
Problem: Strange Noises When Running
Loose screws, unbalanced fan blades, or debris in the unit can cause rattling or grinding sounds. Recheck all fasteners and clean any remaining debris.
If you’re unable to resolve an issue, consider contacting LG customer support or a certified HVAC technician.
Maintenance Tips to Reduce Future Access Needs
While accessing the back of your LG LW8016ER is sometimes necessary, regular maintenance can minimize how often you need to do it. Here are some tips to keep your unit running smoothly:
- Clean the front filter monthly: A dirty filter restricts airflow and forces the system to work harder.
- Keep the area around the unit clear: Ensure at least 12 inches of space around the AC for proper airflow.
- Use a cover during off-seasons: Protect the unit from rain, snow, and debris when not in use.
- Schedule annual professional maintenance: A technician can check refrigerant levels, electrical connections, and overall performance.
- Monitor performance: If you notice reduced cooling, longer run times, or unusual sounds, address them early.
By staying proactive, you can extend the life of your air conditioner and reduce the need for frequent disassembly.
When to Call a Professional
While many homeowners can safely remove the back panel of their LG LW8016ER, there are situations where professional help is recommended:
- You’re uncomfortable working with electrical components.
- You suspect a refrigerant leak (requires EPA certification to handle).
- The compressor or fan motor needs replacement.
- You notice burning smells, sparks, or smoke.
- The unit is still under warranty—DIY repairs may void it.
If any of these apply, it’s best to contact a qualified HVAC technician. They have the tools, training, and experience to handle complex repairs safely and effectively.
Conclusion
Taking back of your LG LW8016ER air conditioner may seem intimidating at first, but with the right tools, safety precautions, and step-by-step guidance, it’s a manageable task for most homeowners. Whether you’re cleaning the coils, inspecting the fan, or preparing the unit for storage, this process gives you valuable insight into your AC’s inner workings.
Remember to always prioritize safety—unplug the unit, wear protective gear, and work carefully. Take photos during disassembly, clean components as needed, and reassemble everything securely. And if you’re ever unsure, don’t hesitate to call a professional.
By following this guide, you’ll not only maintain your air conditioner more effectively but also potentially save money on repairs and extend the life of your unit. In 2026 and beyond, a well-maintained LG LW8016ER will keep your home cool, comfortable, and energy-efficient for years to come.

