
Taking apart a LG window air conditioner may seem daunting, but with the right tools and careful steps, it’s a manageable DIY task. This guide walks you through the entire process—from safety prep to reassembly—so you can clean, repair, or replace parts with confidence.
Key Takeaways
- Safety first: Always unplug the unit and wear protective gear before starting disassembly to avoid electrical shock or injury.
- Use the right tools: A screwdriver set, socket wrench, and needle-nose pliers are essential for removing panels and components.
- Document each step: Take photos or label parts as you go to make reassembly easier and prevent mistakes.
- Handle refrigerant carefully: Only certified technicians should handle refrigerant lines; do not cut or disconnect them unless trained.
- Clean while you’re in: Use the disassembly opportunity to clean coils, filters, and fans for better efficiency.
- Check for wear and tear: Inspect belts, motors, and seals during disassembly to spot issues early.
- Reassemble in reverse: Follow the same steps backward, ensuring all screws and clips are secure before testing.
Introduction: Why Take Apart Your LG Window Air Conditioner?
If you own a LG window air conditioner, you know how reliable and efficient these units can be. But like any appliance, they need maintenance to keep running smoothly. Over time, dust builds up on coils, filters get clogged, and internal components may wear out. Taking apart your LG window AC isn’t just for repairs—it’s also a great way to deep clean and inspect the unit for potential problems.
In this comprehensive guide, we’ll walk you through how to take apart a LG window air conditioner safely and effectively in 2026. Whether you’re troubleshooting a cooling issue, replacing a faulty fan motor, or simply doing seasonal maintenance, this step-by-step tutorial will help you get the job done right. We’ll cover everything from safety precautions to reassembly tips, so you can tackle the project with confidence—even if you’re a beginner.
By the end of this guide, you’ll understand the internal layout of your LG window AC, know which tools to use, and feel comfortable disassembling and reassembling the unit. Plus, we’ll share expert tips to help you avoid common mistakes and extend the life of your air conditioner.
Tools and Materials You’ll Need
Before you begin, gather all the necessary tools and materials. Having everything ready will save time and prevent frustration during the disassembly process. Here’s what you’ll need:
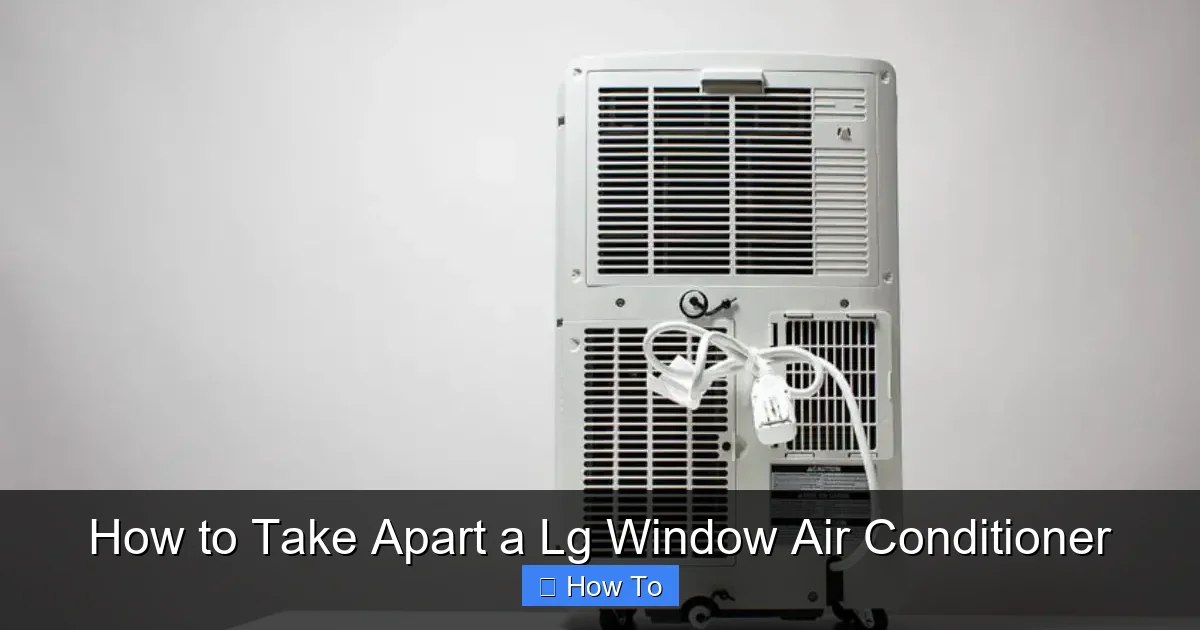
Visual guide about How to Take Apart a Lg Window Air Conditioner
Image source: smartacsolutions.com
- Phillips and flathead screwdrivers: Most LG window ACs use Phillips-head screws, but some panels may have flathead screws.
- Socket wrench set: Useful for removing larger bolts, especially around the compressor or mounting brackets.
- Needle-nose pliers: Helpful for gripping small clips, wires, or stubborn screws.
- Adjustable wrench: Needed if you’re working near refrigerant lines (though we don’t recommend disconnecting them).
- Work gloves: Protect your hands from sharp edges and dust.
- Safety goggles: Prevent dust or debris from getting into your eyes.
- Vacuum with brush attachment: For cleaning coils and fans during disassembly.
- Soft cloth or microfiber towel: To wipe down surfaces without scratching.
- Camera or smartphone: To take reference photos of wiring and component placement.
- Labeling tape and marker: To mark wires and parts for easy reassembly.
- Replacement parts (if needed): Such as filters, fan blades, or capacitors.
Having these tools on hand ensures a smooth process. If you’re missing something, most items are available at hardware stores or online. Now that you’re prepared, let’s move on to safety.
Safety First: Preparing to Disassemble Your LG Window AC
Safety is the most important part of taking apart any electrical appliance. Air conditioners contain electrical components, moving parts, and potentially hazardous materials. Follow these steps to protect yourself and your home:
1. Turn Off and Unplug the Unit
Before doing anything, make sure the air conditioner is completely powered off. Start by switching off the unit using the control panel. Then, unplug it from the wall outlet. This is critical—even if the unit appears off, it could still be receiving power.
If your LG window AC is hardwired into your home’s electrical system, turn off the circuit breaker that controls it. Use a voltage tester to confirm there’s no electricity flowing to the unit before proceeding.
2. Wear Protective Gear
Put on your work gloves and safety goggles. The interior of an air conditioner can be dusty and may have sharp metal edges. Gloves protect your hands from cuts and irritation, while goggles shield your eyes from debris.
3. Work in a Clean, Well-Lit Area
Choose a flat, stable surface to work on—like a garage floor or large table. Make sure the area is well-lit so you can see small screws and connectors clearly. Avoid working outdoors on windy days, as dust and debris can blow into the unit.
4. Let the Unit Cool Down
If the air conditioner has been running recently, give it at least 30 minutes to cool down. Hot components can cause burns, and refrigerant lines may still be under pressure.
5. Check for Refrigerant Leaks
While you should never attempt to handle refrigerant yourself, it’s important to be aware of signs of leaks, such as oily residue or a sweet smell near the unit. If you suspect a refrigerant leak, contact a certified HVAC technician immediately. Do not proceed with disassembly.
Once you’ve completed these safety steps, you’re ready to begin taking apart your LG window air conditioner.
Step 1: Remove the Front Panel and Air Filter
The first step in disassembling your LG window AC is accessing the interior. Most models have a front panel that covers the air filter and control panel. Here’s how to remove it safely:
1. Locate the Front Panel
The front panel is the plastic cover on the front of the unit, usually featuring the LG logo and control buttons. It’s held in place by clips or screws, depending on the model.
2. Remove the Air Filter
Before removing the panel, pull out the air filter. It’s typically located behind a grille at the top or bottom of the front panel. Slide it out gently—most filters are washable and reusable. Set it aside for cleaning later.
3. Unclip or Unscrew the Front Panel
Look for small tabs or screws along the edges of the panel. On many LG models, the panel is held by plastic clips that snap into place. Use a flathead screwdriver to gently pry the clips loose, starting from the bottom and working your way up.
If your model uses screws, use a Phillips screwdriver to remove them. Keep the screws in a small container so you don’t lose them.
4. Carefully Remove the Panel
Once all clips or screws are removed, gently pull the front panel away from the unit. Be careful—there may be wires connected to the control buttons or display. Do not yank the panel off.
5. Disconnect Wires (If Necessary)
If the panel has wires attached, locate the connectors. Most are simple plug-in types. Press the release tab and gently pull the connector apart. Take a photo of the wiring before disconnecting to help with reassembly.
Set the front panel and filter aside in a safe place. You now have access to the internal components.
Step 2: Remove the Top and Side Panels
With the front panel off, you’ll need to remove the top and side covers to access the compressor, fan, and other internal parts. This step varies slightly by model, but the general process is the same.
1. Locate the Screws on the Top Panel
The top panel is usually held in place by 4–6 screws along the front and back edges. Use your Phillips screwdriver to remove them. Some models may also have screws hidden under rubber feet or labels—check carefully.
2. Lift Off the Top Panel
Once all screws are removed, lift the top panel straight up. It should come off easily. If it feels stuck, double-check for hidden screws or clips.
3. Remove the Side Panels
Side panels are typically attached with screws along the edges and may also be secured to the window mounting bracket. Remove all visible screws, then gently pull the panel away from the unit.
On some LG models, the side panels are one piece with the top. In that case, remove both together.
4. Set Panels Aside Safely
Place the removed panels on a soft surface to avoid scratches. Keep screws organized in labeled bags or containers.
Now the main internal components—like the evaporator coil, fan motor, and compressor—are exposed. Proceed with caution.
Step 3: Access the Internal Components
With the outer panels removed, you can now see the core parts of your LG window air conditioner. This is where you’ll perform cleaning, inspection, or repairs. Let’s go through each major component.
1. Inspect the Evaporator Coil
The evaporator coil is located behind the front grille and is responsible for cooling the air. Over time, it collects dust and mold, reducing efficiency. Use your vacuum’s brush attachment to gently clean the fins. Avoid bending them—they’re delicate.
2. Check the Fan Blade and Motor
The fan blade is attached to the motor shaft and blows air over the coils. Spin it gently by hand—it should turn smoothly. If it’s stiff or makes noise, the motor bearings may need lubrication or replacement.
Look for signs of wear, such as cracks in the blade or burnt smells from the motor. If the motor is faulty, you’ll need to replace it.
3. Examine the Compressor
The compressor is the heart of the AC unit, usually located at the back. It’s a large, cylindrical component with refrigerant lines connected. Do not touch or disconnect these lines unless you’re certified.
Check for oil stains or rust, which could indicate a leak. If you see any, stop and call a professional.
4. Locate the Capacitor and Relay
The capacitor helps start the motor and compressor. It’s a small, cylindrical component near the motor. Look for bulging, leaking, or burnt marks—these are signs it needs replacement.
The relay is usually nearby and controls power to the compressor. If the unit won’t start, a faulty relay could be the cause.
5. Inspect the Drain Pan and Drain Hole
The drain pan collects condensation and directs it outside. Check for clogs or standing water. Use a pipe cleaner or compressed air to clear the drain hole if needed.
Standing water can lead to mold and odors, so keeping this area clean is essential.
Step 4: Remove the Fan Motor and Blade (If Needed)
If you’re replacing the fan motor or cleaning the blade thoroughly, you’ll need to remove it. Follow these steps carefully.
1. Disconnect the Motor Wires
Locate the wires connected to the fan motor. Take a photo of the connections, then use needle-nose pliers to gently disconnect them. Label the wires if necessary.
2. Remove the Mounting Screws
The motor is usually held in place by 3–4 screws on a bracket. Use your socket wrench or screwdriver to remove them. Support the motor as you remove the last screw to prevent it from falling.
3. Slide Out the Motor and Blade
Gently pull the motor and attached fan blade out of the housing. The blade may be secured with a setscrew—use an Allen wrench to loosen it if needed.
4. Clean or Replace
Clean the blade with a damp cloth and inspect for damage. If the motor is faulty, replace it with a compatible LG model. Reinstall in reverse order.
Step 5: Clean and Maintain Internal Parts
Now that everything is accessible, take the opportunity to clean and maintain your LG window AC. This will improve performance and extend its lifespan.
1. Clean the Coils
Use a coil cleaner spray (available at hardware stores) and a soft brush to remove dirt from the evaporator and condenser coils. Rinse with water if the product allows, but make sure the unit is completely dry before reassembly.
2. Vacuum the Interior
Use the vacuum to remove dust from the fan housing, motor, and electrical components. Avoid touching wires or circuits.
3. Lubricate Moving Parts
If your motor has oil ports, add a few drops of electric motor oil. Do not over-lubricate.
4. Check Electrical Connections
Ensure all wires are secure and not frayed. Tighten any loose connections with pliers.
Troubleshooting Common Issues During Disassembly
Even with careful steps, you might run into problems. Here’s how to handle common issues:
Stuck Screws or Bolts
If a screw won’t budge, apply a drop of penetrating oil (like WD-40) and wait 10 minutes. Use the correct size screwdriver to avoid stripping the head.
Broken Plastic Clips
LG panels often use plastic clips that can break. If one snaps, you can replace it with a universal HVAC clip or secure the panel with a small screw.
Misplaced Wires
If you forget how wires were connected, refer to the photos you took. Most LG models have color-coded wires, but labeling is still helpful.
Unit Won’t Reassemble Properly
Double-check that all panels are aligned and screws are tightened evenly. Don’t force anything—misalignment can damage components.
Step 6: Reassemble Your LG Window Air Conditioner
Once cleaning and repairs are complete, it’s time to put everything back together. Follow these steps in reverse order:
1. Reinstall the Fan Motor and Blade
Slide the motor back into place, secure it with screws, and reconnect the wires. Tighten the setscrew on the fan blade.
2. Replace the Top and Side Panels
Align the panels and secure them with screws. Make sure all clips snap into place.
3. Reattach the Front Panel
Reconnect any wires, then snap or screw the front panel back on. Reinsert the air filter.
4. Test the Unit
Plug in the AC and turn it on. Listen for unusual noises and check that cool air is blowing. If something seems off, unplug it and recheck your work.
Conclusion: Maintaining Your LG Window AC for 2026 and Beyond
Taking apart your LG window air conditioner may seem like a big task, but with the right approach, it’s completely doable. Not only does it allow you to clean and repair the unit, but it also helps you understand how it works—giving you greater control over your home’s comfort.
By following this guide, you’ve learned how to take apart a LG window air conditioner safely, efficiently, and effectively. Remember to prioritize safety, use the right tools, and document each step. Regular maintenance like this can prevent costly repairs and keep your AC running smoothly for years.
In 2026, with smarter homes and more efficient appliances, staying on top of maintenance is more important than ever. Whether you’re prepping for summer or troubleshooting a problem, this skill will serve you well. So next time your LG window AC needs attention, you’ll be ready—tools in hand and confidence in your abilities.

