Removing the faceplate on your LG air conditioner is easier than you think—if you know the right steps. This guide walks you through the entire process, from gathering tools to reassembling safely, so you can clean, repair, or replace parts without damage.
Key Takeaways
- Always turn off power first: Safety is critical—unplug the unit or switch off the circuit breaker before starting.
- Use the right tools: A soft cloth, flathead screwdriver, and flashlight make removal smoother and prevent scratches.
- Identify your model type: LG window, split, and portable ACs have different faceplate designs—know yours before beginning.
- Handle clips gently: Most faceplates snap on with plastic clips; prying too hard can break them.
- Clean while it’s open: Take advantage of access to clean filters, coils, and vents for better performance.
- Reassemble carefully: Align tabs and clips properly to avoid gaps or loose fittings after reinstallation.
- When in doubt, consult the manual: LG’s official guides or support site offer model-specific instructions.
How to Remove LG Air Conditioner Faceplate: A Complete 2026 Guide
If you’ve ever noticed dust buildup, reduced airflow, or a musty smell from your LG air conditioner, the culprit might be a dirty interior—especially behind the faceplate. Whether you’re cleaning, replacing a filter, or troubleshooting a mechanical issue, knowing how to remove the LG air conditioner faceplate safely is an essential skill for any homeowner or renter in 2026.
Modern LG air conditioners—whether window units, split systems, or portable models—are designed with user-friendly access in mind. However, the faceplate removal process varies slightly depending on the model. Some snap off with gentle pressure, while others require tool-assisted disassembly. The good news? With the right approach, you can do it in under 15 minutes—without calling a technician.
In this comprehensive guide, we’ll walk you through every step of removing the faceplate on your LG air conditioner. You’ll learn how to identify your model type, gather the necessary tools, safely disconnect power, and carefully detach the faceplate without damaging delicate components. We’ll also cover cleaning tips, common mistakes to avoid, and how to reassemble everything securely.
By the end of this guide, you’ll feel confident handling your LG AC’s faceplate like a pro—saving time, money, and frustration.
Why Remove the Faceplate?
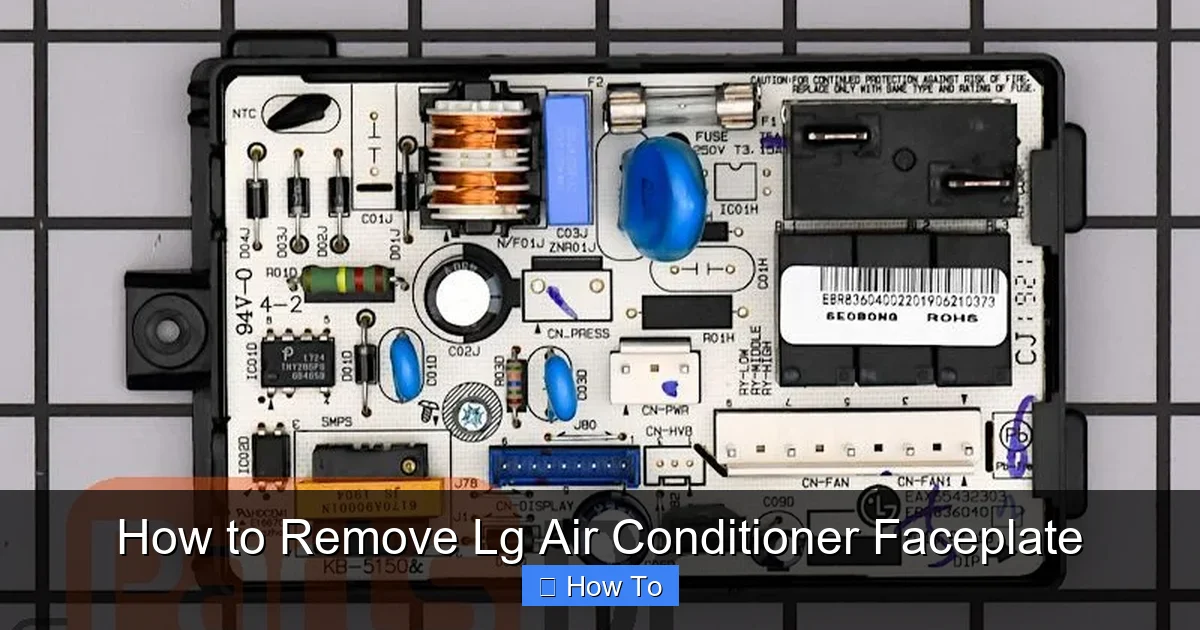
Visual guide about How to Remove Lg Air Conditioner Faceplate
Image source: media.partsdr.com
Before diving into the steps, it’s important to understand why you might need to remove the faceplate in the first place. The faceplate is the front panel of your air conditioner that covers the internal components, including the air filter, evaporator coils, and fan assembly. Over time, dust, pet dander, and mold can accumulate behind it, reducing efficiency and air quality.
Common reasons to remove the faceplate include:
- Cleaning the air filter: Most LG models have washable filters that need monthly cleaning.
- Deep cleaning the interior: Removing dust and debris from coils and vents improves cooling performance.
- Replacing parts: If the filter is damaged or you’re upgrading to a high-efficiency model, access is needed.
- Troubleshooting issues: Strange noises, poor airflow, or water leaks may require internal inspection.
- Routine maintenance: Regular access helps extend the lifespan of your unit.
In 2026, LG has continued to prioritize energy efficiency and smart features in their AC units. Many newer models include Wi-Fi connectivity, voice control, and auto-clean functions. However, even with advanced technology, physical maintenance remains essential. Removing the faceplate gives you direct access to the heart of your system.
Tools and Materials You’ll Need
You don’t need a full toolbox to remove an LG air conditioner faceplate. Most jobs require just a few basic items. Here’s what to gather before you begin:
- Soft microfiber cloth: Prevents scratches when handling the faceplate.
- Flathead screwdriver (small): Useful for gently prying clips or releasing latches.
- Flashlight or phone light: Helps you see hidden clips or screws in dim areas.
- Gloves (optional): Protect your hands from sharp edges or dust.
- Vacuum with brush attachment: For cleaning once the faceplate is off.
- User manual (digital or printed): Model-specific instructions are invaluable.
Avoid using metal tools like pliers or large screwdrivers, as they can crack plastic components. If your model has screws, a Phillips-head screwdriver may be needed—but most LG faceplates are clip-based.
Safety First: Power Down Your Unit
Before touching any part of your air conditioner, safety must come first. Air conditioners operate on high voltage, and even when turned off via the remote, internal capacitors can retain a charge.
Step 1: Turn Off the Remote and Unit
Use the remote control to power down the air conditioner. Wait a few seconds to ensure it’s fully off.
Step 2: Unplug the Power Cord
Locate the power cord and unplug it from the wall outlet. For window or portable units, this is usually straightforward. For split systems, the indoor unit may have a dedicated plug or be hardwired.
Step 3: Switch Off the Circuit Breaker (If Applicable)
If your LG AC is connected to a dedicated circuit, go to your electrical panel and turn off the corresponding breaker. This adds an extra layer of safety, especially for hardwired units.
Pro Tip: Place a note on the breaker or outlet saying “AC Maintenance in Progress” to prevent someone from accidentally turning it back on.
Identify Your LG Air Conditioner Model
LG offers several types of air conditioners, and the faceplate removal method depends on your model. Here’s how to identify which type you have:
Window Air Conditioners
These are single units installed in a window or wall sleeve. The faceplate is typically the front grille that covers the airflow vents. Models like the LG LW8016ER or LW1216ER fall into this category.
Split System Air Conditioners
Split systems have an indoor unit mounted on the wall and an outdoor compressor. The indoor unit’s faceplate is usually a sleek panel with hidden clips. Popular models include the LG Dual Inverter Split (e.g., LS1216D3).
Portable Air Conditioners
These freestanding units on wheels often have a front panel that doubles as an air intake. Models like the LG LP1419IVSM feature removable faceplates for filter access.
Smart and Inverter Models (2026 Features)
In 2026, LG’s latest models include enhanced inverter technology, AI-powered cooling, and self-diagnostic systems. While the core design remains similar, some newer units have magnetic faceplates or touch-sensitive latches. Check your model number (usually on a sticker inside the filter compartment) to confirm features.
How to Find Your Model Number:
- Look inside the filter compartment.
- Check the side or back of the indoor unit.
- Refer to the original packaging or user manual.
- Use the LG ThinQ app (if connected) to view model details.
Knowing your model helps you follow the correct removal steps and avoid damaging proprietary components.
Step-by-Step: Removing the Faceplate on a Window LG AC
Window units are among the easiest to service. Here’s how to remove the faceplate on a typical LG window air conditioner.
Step 1: Open the Front Grille
Most LG window ACs have a front grille that swings open like a door. Look for a small latch or handle at the bottom or side of the faceplate.
Gently lift or pull the grille outward. It should pivot on hinges at the top. Support it with one hand to prevent it from falling.
Step 2: Locate the Filter
Once the grille is open, you’ll see the air filter. This is usually a removable mesh or foam panel.
Pull the filter straight out. Some models have a tab or handle to make this easier.
Step 3: Remove the Faceplate (If Needed)
On some window models, the faceplate is attached with clips behind the grille. If you need full access (e.g., to clean coils), proceed:
- Use a flathead screwdriver to gently press the plastic clips along the top and sides.
- Work from one corner, applying even pressure.
- Once clips release, tilt the faceplate forward and lift it off.
Caution: Do not force it. If it doesn’t come off easily, double-check for hidden screws or additional clips.
Step 4: Clean and Inspect
With the faceplate removed, use a vacuum to clean dust from the evaporator coils and fan blades. Wipe the interior with a damp cloth if needed.
Pro Tip: Take a photo before removing the faceplate. This helps you remember how to reassemble it correctly.
Step-by-Step: Removing the Faceplate on a Split System LG AC
Split systems are more complex but still manageable. The indoor unit’s faceplate is usually flush with the wall and secured with hidden clips.
Step 1: Open the Front Panel
Look for a small indentation or groove at the bottom of the faceplate. Insert your fingers or a flat tool and gently pull the panel downward.
The panel should swing open on hinges. Support it to avoid strain on the wires connected to the display or sensors.
Step 2: Locate the Filter and Release Clips
Once open, you’ll see the air filter. Remove it by pulling it out.
Now, examine the edges of the faceplate. Most LG split systems have two or four plastic clips along the top and sides.
Step 3: Release the Clips
Use a flathead screwdriver wrapped in cloth to avoid scratches. Insert it gently into the gap between the faceplate and the unit.
Press inward to release each clip. Work slowly and methodically—start from one side and move across.
Once all clips are disengaged, the faceplate will loosen. Carefully tilt it forward and disconnect any ribbon cables if present (some models have display or sensor wires).
Important: If you see wires, do not pull them. Most are connected with a plug that can be unplugged by pressing a tab. Refer to your manual for guidance.
Step 4: Set the Faceplate Aside
Place the faceplate on a soft surface, face down, to avoid scratching the finish.
Now you have full access to the interior for cleaning or repairs.
Step-by-Step: Removing the Faceplate on a Portable LG AC
Portable air conditioners are compact but can be tricky due to limited space. The faceplate often doubles as the air intake.
Step 1: Turn the Unit Off and Unplug
Ensure the unit is completely powered down and unplugged.
Step 2: Locate the Front Panel
The faceplate is usually the front section with the air vent. Look for seams or tabs indicating where it separates.
Step 3: Press the Release Buttons or Clips
Many portable models have push-button releases on the sides or top. Press them simultaneously while pulling the panel forward.
If there are no buttons, use a flathead screwdriver to gently pry the edges. Start at the bottom and work your way up.
Step 4: Remove the Panel
Once clips release, lift the faceplate straight off. Some models have a filter attached to the back—remove it separately.
Note: Portable units may have drainage components nearby. Be careful not to disturb the water tank or hose.
Cleaning and Maintenance Tips
Now that the faceplate is off, take the opportunity to give your LG AC a thorough cleaning.
Clean the Air Filter
Rinse the filter under lukewarm water. Use mild soap if needed. Let it air dry completely before reinstalling.
Vacuum the Interior
Use a vacuum with a brush attachment to remove dust from the evaporator coils, fan blades, and vents.
Wipe Down Surfaces
Dampen a cloth with water or a mild cleaner and wipe the interior panels. Avoid spraying liquids directly into the unit.
Check for Mold or Odors
If you notice a musty smell, use a vinegar-water solution (1:1) to wipe affected areas. Let it dry fully.
Inspect for Damage
Look for cracked clips, loose wires, or worn components. Address issues before reassembly.
Troubleshooting Common Issues
Even with careful handling, problems can arise. Here’s how to solve the most common issues:
Faceplate Won’t Come Off
- Double-check for hidden screws or clips.
- Ensure the unit is unplugged—some models have safety locks.
- Refer to the manual for model-specific instructions.
Clips Broke During Removal
- Use plastic zip ties or epoxy to reattach temporarily.
- Contact LG support for replacement parts.
- Consider upgrading to a newer model with improved design.
Wires Are Connected
- Do not yank wires. Look for a plug with a release tab.
- Take a photo before disconnecting to remember the orientation.
- If unsure, consult a technician.
Faceplate Doesn’t Fit After Reassembly
- Ensure all clips are aligned and snapped in place.
- Check that the filter is properly seated.
- Verify no components are blocking the panel.
Reassembling the Faceplate
Once cleaning or repairs are complete, it’s time to put everything back.
Step 1: Reconnect Any Wires
If you disconnected ribbon cables, plug them back in securely. Ensure the connector is fully seated.
Step 2: Align the Faceplate
Position the faceplate so the clips or tabs line up with the slots on the unit.
Step 3: Snap or Screw It Back On
Press firmly along the edges to engage the clips. For models with screws, tighten them gently—don’t overtighten.
Step 4: Close the Front Grille (Window Units)
Swing the grille back into place and ensure it latches securely.
Step 5: Reinstall the Filter
Slide the clean, dry filter back into its slot.
Step 6: Restore Power
Plug the unit back in and turn on the circuit breaker if needed.
Test the AC to ensure it’s working properly and airflow is strong.
When to Call a Professional
While most faceplate removals are DIY-friendly, some situations require expert help:
- You’re uncomfortable handling electrical components.
- The unit is under warranty, and DIY work might void it.
- You notice refrigerant leaks, burnt smells, or major damage.
- The faceplate is damaged and needs replacement.
- Your model has complex smart features or sealed systems.
In 2026, LG offers enhanced support through the ThinQ app, including remote diagnostics and service scheduling. Use these tools if you’re unsure.
Final Thoughts
Removing the faceplate on your LG air conditioner is a simple yet powerful maintenance task. It gives you access to clean filters, improve airflow, and extend the life of your unit. With the right tools, safety precautions, and a bit of patience, anyone can do it.
Remember: always power down the unit, identify your model, and handle clips gently. Take advantage of the open access to clean thoroughly, and reassemble carefully to avoid gaps or loose fittings.
By following this guide, you’ll keep your LG AC running efficiently in 2026 and beyond—saving energy, improving air quality, and avoiding costly repairs.