
Installing the LG LW8016ER window air conditioner is straightforward when you follow the right steps. This guide walks you through preparation, mounting, sealing, and testing for a secure, energy-efficient setup.
Key Takeaways
- Measure your window opening accurately before installation to ensure a proper fit and avoid gaps that reduce efficiency.
- Use the included mounting brackets and side panels to support the unit and prevent it from falling out of the window.
- Seal all gaps with foam weatherstripping or caulk to keep cool air in and hot air out, improving performance and lowering energy bills.
- Always secure the AC with safety brackets or support legs to meet safety standards and prevent accidents.
- Test the unit after installation and check for vibrations, leaks, or unusual noises that may indicate a problem.
- Follow the user manual closely and consult LG support if you’re unsure about any step.
- Never install the unit alone—having a helper makes lifting and positioning much safer and easier.
How to Install LG LW8016ER Window Air Conditioner
Installing a window air conditioner like the LG LW8016ER might seem intimidating at first, but with the right tools, preparation, and guidance, it’s a manageable DIY project. This 8,000 BTU unit is perfect for cooling rooms up to 350 square feet, and when installed correctly, it runs efficiently and quietly. In this comprehensive guide, we’ll walk you through every step—from checking your window to testing the final setup—so you can enjoy cool, comfortable air without calling a professional.
Whether you’re a first-time installer or just need a refresher, this guide is designed to be clear, practical, and easy to follow. We’ll cover everything you need to know, including safety tips, required tools, common mistakes to avoid, and troubleshooting advice. By the end, you’ll have your LG LW8016ER up and running safely and effectively.
What You’ll Need Before Starting
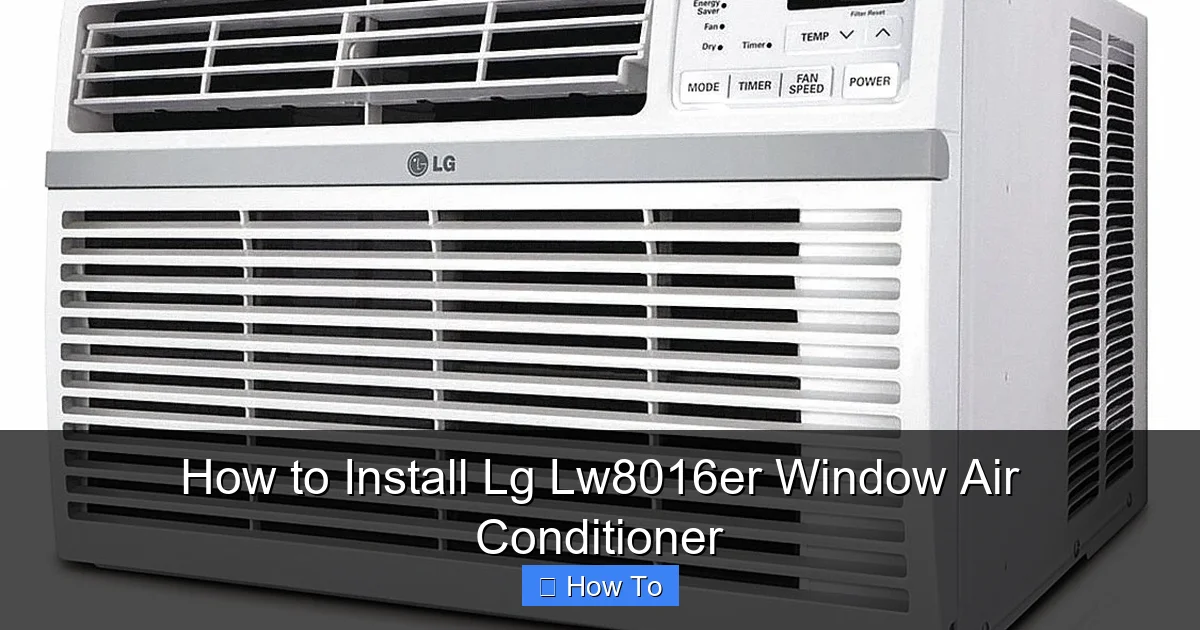
Visual guide about How to Install Lg Lw8016er Window Air Conditioner
Image source: static.grainger.com
Before you begin the installation, gather all the necessary tools and materials. Having everything ready will save time and prevent frustration.
Tools and Materials
- LG LW8016ER window air conditioner (with included mounting hardware)
- Measuring tape
- Screwdriver (Phillips and flathead)
- Drill (optional, for securing brackets)
- Level
- Foam weatherstripping or window seal kit
- Caulk and caulk gun (optional, for extra sealing)
- Pencil or marker
- Helper (strongly recommended)
- Safety goggles and gloves
- Support bracket or AC window support leg (optional but recommended)
Check the Window Compatibility
The LG LW8016ER is designed for double-hung or sliding windows. Make sure your window opens vertically (up and down) and has enough space to accommodate the unit. The minimum window width should be at least 22 inches, and the height should allow the AC to sit level with the sill.
Measure the width from the inside of the left window frame to the right. Then measure the height from the windowsill to the top of the opening. Compare these measurements to the unit’s dimensions (approximately 15.4” H x 19.6” W x 17.7” D). Leave at least 1–2 inches of clearance on each side for the side panels to extend properly.
Step 1: Prepare the Window and Area
Proper preparation ensures a smooth installation and prevents damage to your window or walls.
Clear the Window Area
Remove any curtains, blinds, or obstacles from the window. If you have window locks or latches, make sure they won’t interfere with the AC unit. Open the window fully and inspect the sill for cracks, rot, or damage. If the sill is weak, reinforce it before installing the AC.
Inspect the AC Unit
Unbox the LG LW8016ER carefully and check for any visible damage. Make sure all parts are included: the main unit, side panels, foam seals, screws, and the user manual. Do not remove the packaging from the front panel until installation is complete to protect the controls.
Position the Unit Near the Window
Place the air conditioner on a stable surface near the window. Keep it upright at all times—never lay it on its side or back, as this can damage the compressor. If you need to move it, use a dolly or ask a helper to assist.
Step 2: Install the Side Panels and Brackets
The side panels are crucial for sealing the gaps on either side of the unit and providing structural support.
Attach the Side Panels to the AC
Slide the left and right side panels into the grooves on the sides of the air conditioner. They should click into place. Use the provided screws to secure them tightly. Make sure the panels are flush with the front and back of the unit.
Extend the Panels to Fit Your Window
Once the panels are attached, extend them outward to match the width of your window opening. The panels are adjustable and should slide smoothly. Tighten the locking knobs or screws to hold them in place. The goal is to create a snug fit without forcing the panels, which could bend or break them.
Secure the Top Rail (If Included)
Some models come with a top rail that attaches to the top of the AC and slides into the window frame. If your LW8016ER includes this, attach it now using the provided screws. This helps stabilize the unit and prevents it from tipping forward.
Step 3: Position the Air Conditioner in the Window
This is the most critical step—placing the unit safely and level.
Open the Window
Lift the bottom sash of the window and rest it on the top of the air conditioner. Make sure the window is open wide enough to allow the side panels to extend fully.
Lift and Position the Unit
With a helper, carefully lift the AC and place it on the windowsill. The front of the unit should be slightly tilted downward (about 1/4 inch) to allow condensation to drain outside. Use a level to check this tilt—place the level on top of the unit; the bubble should be slightly toward the back.
Never install the unit perfectly level or tilted backward, as this can cause water to leak inside.
Lower the Window onto the Unit
Gently lower the top sash until it rests securely on the top rail or the top of the AC unit. Do not force it—if it doesn’t fit, adjust the side panels or check the window alignment.
Step 4: Secure the Unit and Seal Gaps
A secure installation prevents accidents and improves energy efficiency.
Attach the Side Panels to the Window Frame
Use the provided screws to attach the side panels to the window frame. Drill pilot holes first to avoid splitting the wood. Screw through the panel’s mounting holes into the frame. Do not overtighten—this can warp the panel.
Install the Window Lock Bracket
Most LG window ACs include a small bracket that prevents the window from being opened from the outside. Slide this bracket into the window track and secure it with a screw. This adds security and prevents the window from sliding up accidentally.
Seal All Gaps
Use foam weatherstripping to fill any gaps between the side panels and the window frame. Cut the foam to size and press it into place. For extra protection, apply a thin bead of exterior-grade caulk around the outside edges where the unit meets the window. This prevents air leaks and keeps pests out.
Install a Support Bracket (Recommended)
For added safety, especially in high-traffic areas or upper floors, install an AC support bracket or leg under the unit. These attach to the windowsill and extend to the ground or wall, taking weight off the window frame. Follow the manufacturer’s instructions for installation.
Step 5: Connect Power and Test the Unit
Now that the unit is in place, it’s time to power it up and make sure everything works.
Plug In the AC
Plug the power cord into a dedicated outlet. Do not use an extension cord—LG recommends plugging the unit directly into a wall outlet to prevent overheating or voltage drops. If you must use an extension cord, ensure it’s heavy-duty (14-gauge or thicker) and rated for window ACs.
Turn On the Unit
Press the power button on the front panel. Set the mode to “Cool,” choose a temperature (e.g., 72°F), and select a fan speed. Listen for the compressor to start—this may take a minute. You should feel cool air coming from the vents within a few minutes.
Check for Proper Operation
- Ensure the unit is running quietly without excessive vibration.
- Check that air is blowing out the front and hot air is exhausting out the back.
- Look for water dripping outside—this is normal condensation.
- Verify that the remote control (if included) works properly.
Adjust Settings for Comfort
Use the remote or front panel to adjust temperature, fan speed, and timer settings. The LG LW8016ER features energy-saving modes like “Energy Saver” and “Sleep Mode,” which can help reduce electricity use.
Troubleshooting Common Installation Issues
Even with careful installation, problems can arise. Here’s how to fix the most common issues.
Unit Won’t Turn On
- Check that the power cord is plugged in securely.
- Ensure the outlet is working—test it with another device.
- Verify the circuit breaker hasn’t tripped.
- Make sure the unit isn’t in “Sleep Mode” or set to a very high temperature.
Water Leaking Inside the Room
This usually means the unit isn’t tilted correctly. Turn off the AC, remove it from the window, and reinstall it with a slight downward tilt (front lower than back). Also, check that the drain holes on the bottom rear are not blocked.
Excessive Vibration or Noise
- Ensure the unit is level and securely fastened.
- Check that the side panels are tight and not rattling.
- Make sure nothing is touching the outdoor side of the unit (like tree branches).
- If the noise persists, the compressor may be faulty—contact LG support.
Air Not Cooling Enough
- Check that the air filter is clean—replace or clean it if dirty.
- Ensure the room isn’t too large for the 8,000 BTU capacity.
- Close curtains and blinds to reduce heat from sunlight.
- Verify that the unit is set to “Cool” mode and the temperature is lower than room temperature.
Unit Keeps Shutting Off
This could be due to overheating. Make sure the outdoor side has at least 12 inches of clearance for airflow. Clean the coils if they’re dirty. Also, check that the thermostat isn’t set too low, causing short cycling.
Safety Tips and Best Practices
Safety should always come first when installing a window air conditioner.
- Never install the unit alone. The LW8016ER weighs about 60 pounds—lifting it requires two people.
- Wear gloves and safety goggles to protect your hands and eyes from sharp edges and debris.
- Do not install in a window that opens outward or in a weak or damaged frame.
- Never block the outdoor vents with plants, furniture, or walls.
- Unplug the unit before cleaning or servicing.
- Have a fire extinguisher nearby just in case, especially when drilling or using power tools.
Maintenance Tips for Long-Term Performance
To keep your LG LW8016ER running efficiently, follow these maintenance steps:
Clean the Air Filter Monthly
A dirty filter restricts airflow and reduces cooling. Remove the filter from the front panel, rinse it with warm water, let it dry, and reinstall it.
Clean the Coils Annually
Dust and debris can build up on the evaporator and condenser coils. Use a soft brush or vacuum with a brush attachment to gently clean them.
Check the Drainage System
Make sure the drain holes are clear so condensation can escape. If water pools inside, it can cause leaks or mold.
Inspect Seals and Panels
Over time, weatherstripping can wear out. Replace it if you notice drafts or reduced cooling.
Store Properly in Winter
If you remove the unit during colder months, clean it thoroughly, cover it with a breathable cover, and store it indoors in a dry place.
Conclusion
Installing the LG LW8016ER window air conditioner is a practical and rewarding project that can save you money and improve your home’s comfort. By following this step-by-step guide, you’ve learned how to prepare your window, mount the unit securely, seal gaps, and test for proper operation. Remember to prioritize safety, use the right tools, and don’t hesitate to ask for help when lifting the unit.
With proper installation and regular maintenance, your LG LW8016ER will deliver reliable cooling for many seasons. Whether you’re beating the summer heat or just improving indoor air quality, this window AC is a smart, energy-efficient choice. Enjoy your cool, comfortable space—you’ve earned it!

