
This guide walks you through the complete installation process for the LG LW1216ER air conditioner, from preparation to final testing. Whether you’re a DIY enthusiast or a first-time installer, you’ll find clear, easy-to-follow instructions to ensure a secure and efficient setup.
Key Takeaways
- Prepare your space: Choose the right window location and ensure structural support before installation.
- Gather the right tools: You’ll need a drill, level, screwdriver, tape measure, and safety gear like gloves and goggles.
- Follow the manual: Always refer to the LG LW1216ER user manual for model-specific details and safety warnings.
- Seal gaps properly: Use foam insulation panels and weather stripping to prevent air leaks and improve efficiency.
- Test before use: Run a test cycle to check for proper cooling, drainage, and unusual noises.
- Safety first: Never install the unit alone—have a helper, and avoid electrical work if you’re not qualified.
- Maintain regularly: Clean filters monthly and inspect seals seasonally to extend the unit’s lifespan.
How to Install LG LW1216ER Air Conditioner
Installing your LG LW1216ER air conditioner doesn’t have to be a stressful or complicated task. With the right preparation, tools, and a bit of patience, you can set up this powerful 12,000 BTU window unit in under an hour. Whether you’re cooling a bedroom, home office, or living room, the LW1216ER is designed for easy DIY installation—no professional help required.
In this comprehensive guide, we’ll walk you through every step of the installation process, from choosing the perfect window to testing your newly installed AC unit. We’ll cover safety precautions, required tools, detailed instructions, and troubleshooting tips to ensure your air conditioner runs efficiently and safely all summer long.
By the end of this guide, you’ll not only have a cool and comfortable space but also the confidence that comes from completing a successful DIY project. Let’s get started!
What You’ll Need Before You Begin
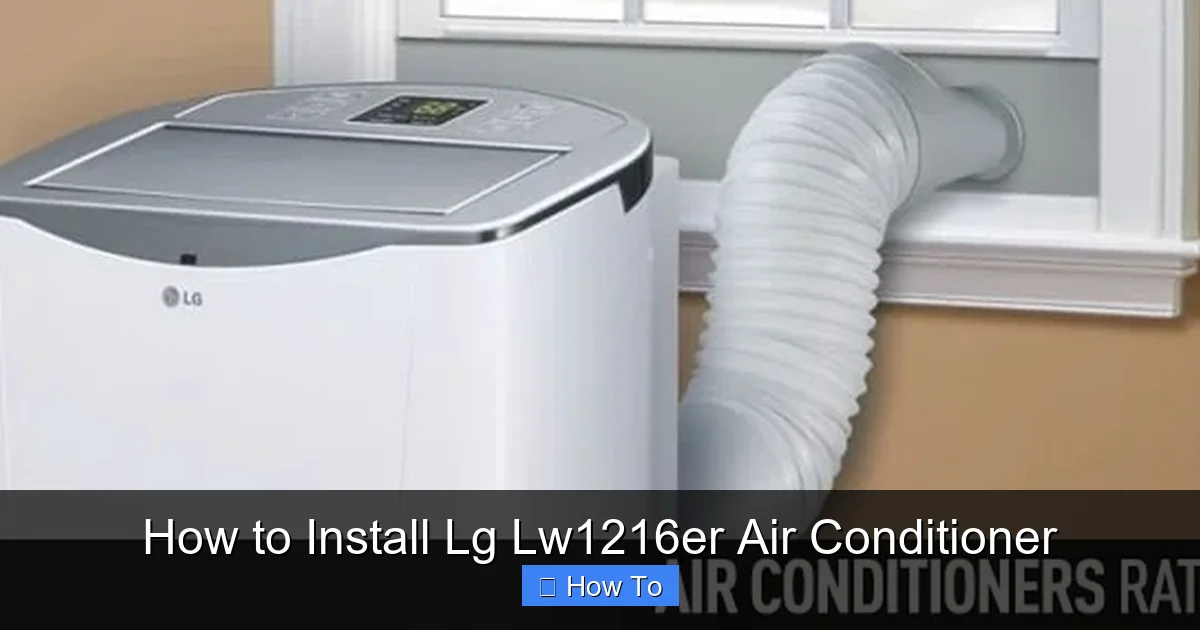
Visual guide about How to Install Lg Lw1216er Air Conditioner
Image source: airconditioner.reviews
Before you even think about lifting the air conditioner, it’s essential to gather all the necessary tools and materials. Having everything ready will save you time and prevent mid-installation trips to the hardware store.
Tools Required
- Power drill with drill bits
- Phillips and flathead screwdrivers
- Tape measure
- Level (a 12-inch bubble level works best)
- Pencil or marker
- Adjustable wrench
- Safety gloves and safety goggles
Materials Included with the Unit
The LG LW1216ER comes with most of what you need for installation. Check the box to confirm you have:
- Window mounting brackets
- Sash support brackets
- Foam insulation panels (top and side)
- Screws and anchors
- Weather stripping
- Installation manual and warranty card
Additional Materials You May Need
Depending on your window type and wall material, you might need:
- Wood shims (for uneven windowsills)
- Exterior caulk (to seal outdoor gaps)
- Extension cord (only if outlet is too far—use a heavy-duty, grounded cord rated for AC units)
- Support bracket or L-bracket (optional, for added stability on heavy units)
Safety Gear
Never skip safety. Always wear:
- Gloves to protect your hands from sharp edges
- Safety goggles to shield your eyes from dust and debris
- Closed-toe shoes to protect your feet
Step 1: Choose the Right Window Location
The success of your installation starts with selecting the best window for your LG LW1216ER. Not all windows are created equal, and choosing the wrong one can lead to poor performance, air leaks, or even safety hazards.
Ideal Window Characteristics
- Single or double-hung window: The LW1216ER is designed for standard vertical-sliding windows. Casement or sliding horizontal windows may require additional adapters.
- Sturdy frame: The window frame and sill must support the weight of the unit (about 70–80 pounds).
- Clear access: Ensure there’s enough space to open and close the window, and that the unit won’t block emergency exits.
- Near an electrical outlet: The unit must be plugged into a dedicated 115V, 15-amp grounded outlet. Avoid using extension cords if possible.
Avoid These Locations
- Windows exposed to direct sunlight all day (can reduce efficiency)
- Areas near heat sources like ovens or radiators
- Windows that open onto busy streets (noise and pollution)
- Locations where the unit would block airflow from fans or vents
Measure Your Window
Use your tape measure to check:
- Window width (minimum 23 inches, maximum 36 inches)
- Window height (must allow for full extension of the accordion panels)
- Sill depth (should be at least 8 inches deep for stability)
If your window is too narrow or too wide, you may need to purchase additional extension panels or consult LG for compatibility.
Step 2: Prepare the Window and Area
Once you’ve chosen the right window, it’s time to prepare the area for installation. This step ensures a secure fit and prevents future issues like air leaks or water damage.
Clean the Window Frame and Sill
Use a damp cloth to wipe down the window frame, sill, and surrounding area. Remove dust, dirt, and old caulk. A clean surface helps the weather stripping adhere better and improves insulation.
Check for Structural Integrity
Inspect the window frame and wall for cracks, rot, or weakness. If the frame is damaged, repair it before installing the AC. A wobbly or weak frame can cause the unit to shift or fall.
Remove Window Screens
Take out any window screens to make room for the air conditioner. Store them safely so you can reinstall them later.
Open the Window
Carefully raise the lower sash of the window. Most double-hung windows will allow you to open just the bottom half. Make sure it opens smoothly and stays in place.
Step 3: Install the Window Mounting Brackets
The mounting brackets are crucial for securing the LG LW1216ER to the window frame. They prevent the unit from sliding or falling out.
Position the Brackets
1. Place the unit (still in the box or on a soft surface) near the window to access the brackets.
2. Attach the side brackets to the outer edges of the air conditioner using the provided screws. These will slide into the window frame.
3. Slide the top bracket into the groove at the top of the unit. This bracket will rest on the windowsill.
Secure the Brackets
1. With the unit still on the ground or a stable surface, tighten all screws using a screwdriver or drill.
2. Double-check that the brackets are flush with the unit and aligned properly.
Step 4: Install the Air Conditioner in the Window
Now comes the most physical part of the installation—lifting and placing the unit into the window. This is where having a helper is strongly recommended.
Lift the Unit Safely
- Have one person stand on each side of the unit.
- Lift with your legs, not your back.
- Keep the unit level to avoid damaging internal components.
Position the Unit
1. Carefully slide the unit into the window opening from the inside.
2. Lower the front of the unit so the top bracket rests on the windowsill.
3. Gently push the unit back until the side brackets contact the window frame.
Lower the Window Sash
Slowly lower the upper window sash until it rests on top of the air conditioner. The unit should now be held in place by the window and brackets.
Step 5: Secure the Unit with Sash Brackets
To prevent the window from sliding down and crushing the unit—or the unit from shifting—you must install the sash support brackets.
Attach the Sash Brackets
1. Locate the two metal sash brackets included in the package.
2. Slide one bracket into the slot on each side of the unit, near the top.
3. Adjust the brackets so they press firmly against the underside of the upper window sash.
4. Secure them in place using the provided screws and a drill or screwdriver.
Check for Stability
Gently shake the unit. It should not move side to side or front to back. If it wobbles, adjust the brackets or add wood shims to fill gaps.
Step 6: Install Insulation Panels
Air leaks around the unit can reduce cooling efficiency and increase energy bills. The foam insulation panels included with the LW1216ER help seal gaps on the sides and top.
Install Side Panels
1. Measure the gap between the air conditioner and the window frame on each side.
2. Cut the foam panels to size if needed (use a sharp utility knife).
3. Slide the panels into the side brackets until they fit snugly.
4. Secure them with the provided screws or clips.
Install Top Panel
1. Place the top foam panel over the gap between the unit and the window sash.
2. Press it into place so it creates a tight seal.
3. Use weather stripping or foam tape to reinforce the seal if necessary.
Seal Exterior Gaps
From the outside, apply a bead of exterior-grade caulk around the edges where the unit meets the window frame. This prevents rain, insects, and drafts from entering.
Step 7: Connect the Exhaust Hose (If Applicable)
The LG LW1216ER is a window unit and does not use a separate exhaust hose like portable ACs. However, it does have an internal exhaust system that vents hot air out the back. Ensure the back of the unit has at least 12 inches of clearance from walls, bushes, or other obstructions for proper airflow.
Check Ventilation
- Do not cover the rear vents with tarps, plants, or furniture.
- Keep the area behind the unit clean and debris-free.
Step 8: Plug In and Test the Unit
Before you celebrate, it’s time to power up and test your installation.
Plug Into a Dedicated Outlet
- Use a grounded 115V outlet rated for at least 15 amps.
- Do not plug into an extension cord unless absolutely necessary—and if you must, use a heavy-duty, UL-listed cord.
- Never plug into a power strip or surge protector.
Turn On the Unit
1. Press the power button on the remote or control panel.
2. Set the mode to “Cool” and adjust the temperature to 72°F.
3. Set the fan speed to “High” for initial testing.
Listen and Observe
- Listen for unusual noises like grinding, rattling, or buzzing.
- Check that cool air is blowing from the front vents.
- Look for water dripping inside—this could indicate a drainage issue.
- Ensure the unit is level; if it tilts forward, condensate may not drain properly.
Check the Remote
Test all remote functions: temperature adjustment, fan speed, timer, and mode selection. Replace the batteries if needed.
Troubleshooting Common Installation Issues
Even with careful installation, problems can arise. Here’s how to fix the most common issues with the LG LW1216ER.
Unit Won’t Turn On
- Check the power outlet with another device.
- Ensure the circuit breaker hasn’t tripped.
- Verify the remote batteries are working.
- Press the reset button on the unit (if available).
Not Cooling Properly
- Make sure the temperature is set lower than the room temperature.
- Check that the air filter is clean—dirty filters block airflow.
- Ensure the unit is level; tilt can affect refrigerant flow.
- Verify that windows and doors are closed.
Water Leaking Inside
- This usually means the unit is tilted forward. Adjust the leveling feet or add shims under the front.
- Check that the drain hole at the back is not blocked.
- Ensure the window is sealed properly to prevent condensation buildup.
Excessive Noise
- Rattling: Tighten loose screws or brackets.
- Buzzing: Check for loose panels or vibrations against the window frame.
- Grinding: Stop the unit immediately—this could indicate a motor issue. Contact LG support.
Air Leaks Around the Unit
- Reinstall or replace foam insulation panels.
- Apply weather stripping to gaps.
- Use exterior caulk to seal outdoor seams.
Maintenance Tips for Long-Term Performance
Installing your LG LW1216ER is just the beginning. Regular maintenance ensures it runs efficiently for years.
Clean the Air Filter Monthly
- Remove the front panel and pull out the filter.
- Rinse it with warm water and let it dry completely.
- Reinstall before use.
Inspect Seals Seasonally
Check the foam panels and weather stripping every spring. Replace if cracked or compressed.
Clean the Exterior Coils
Once a year, gently vacuum the rear vents to remove dust and debris.
Check Drainage
Ensure the condensate drain is clear and water flows freely outside.
Schedule Professional Service
Every 2–3 years, have a technician inspect the refrigerant levels and electrical components.
Conclusion
Installing your LG LW1216ER air conditioner is a manageable DIY project when you follow the right steps. From choosing the perfect window to securing the unit and testing its performance, this guide has covered everything you need to know. With proper installation and regular maintenance, your LW1216ER will keep you cool and comfortable through even the hottest summer days.
Remember: safety comes first. Always use proper lifting techniques, wear protective gear, and don’t hesitate to ask for help. And if you run into issues, refer back to this guide or contact LG customer support.
Now that your air conditioner is installed, sit back, relax, and enjoy the cool, refreshing air. You’ve earned it!

