
Installing an LG ductless air conditioner can save energy and improve indoor comfort—without the need for ductwork. This guide walks you through every step, from planning and mounting to wiring and testing, ensuring a safe and efficient installation.
Key Takeaways
- Plan your installation carefully: Choose the right location for both indoor and outdoor units, ensuring proper clearance, drainage, and electrical access.
- Use the correct tools and materials: A drill, level, vacuum pump, manifold gauge set, and appropriate wiring are essential for a professional-grade setup.
- Follow electrical safety protocols: Always turn off power at the breaker and consult a licensed electrician if unsure about wiring or circuit requirements.
- Properly seal and insulate refrigerant lines: Prevent leaks and energy loss by using flare connections, insulation tape, and UV-resistant sleeves.
- Test the system thoroughly: After installation, run a full cycle to check cooling, heating, airflow, and error codes before finalizing.
- Schedule regular maintenance: Clean filters monthly and inspect outdoor units seasonally to maintain efficiency and extend lifespan.
- Consider professional help for complex steps: If refrigerant handling or high-voltage wiring is required, hire a certified HVAC technician.
How to Install LG Ductless Air Conditioner: A Complete Step-by-Step Guide
Installing an LG ductless air conditioner—also known as a mini-split system—can transform your home’s comfort while cutting energy costs. Unlike traditional central air systems, ductless units deliver cooled or heated air directly into specific rooms, eliminating energy losses associated with ductwork. LG’s ductless systems are known for their quiet operation, smart features, and energy efficiency, making them a popular choice for homeowners and renters alike.
But while the idea of a DIY installation is appealing, it’s important to approach the process with care. A proper installation ensures optimal performance, longevity, and safety. This comprehensive guide will walk you through every step—from planning and preparation to final testing—so you can confidently install your LG ductless air conditioner like a pro.
Whether you’re cooling a single room or multiple zones, this guide covers everything you need to know. We’ll discuss tools, safety precautions, mounting techniques, electrical connections, refrigerant line handling, and troubleshooting tips. By the end, you’ll have a fully functional, energy-efficient climate control system that keeps your space comfortable year-round.
What You’ll Need Before Starting
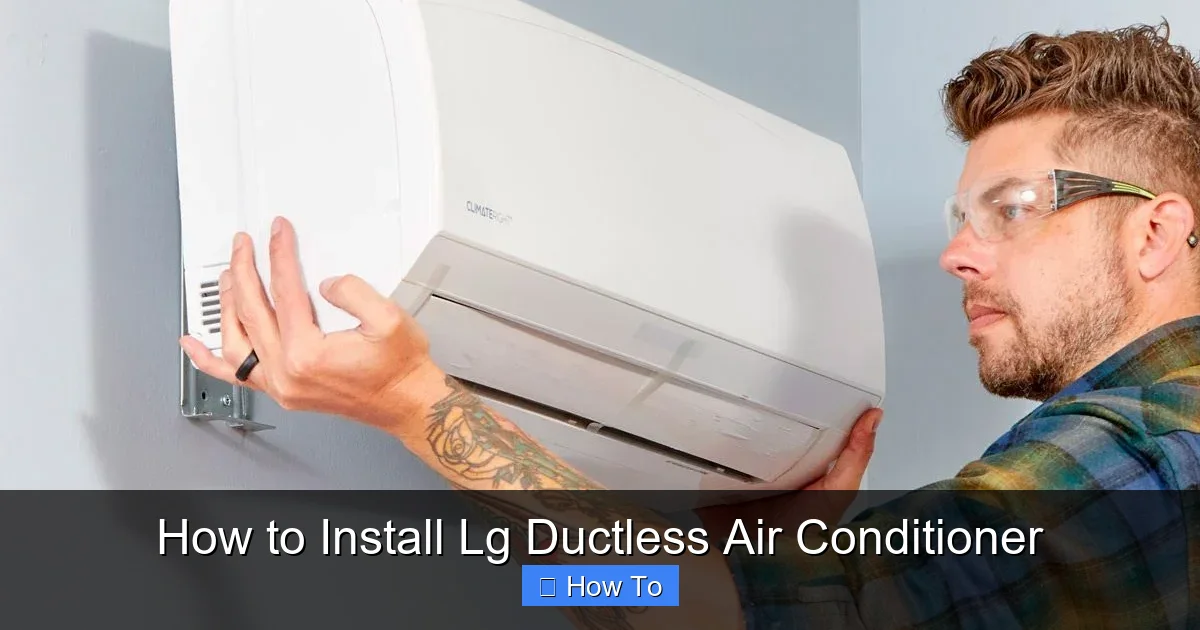
Visual guide about How to Install Lg Ductless Air Conditioner
Image source: familyhandyman.com
Before you begin, gather all the necessary tools and materials. Having everything on hand will save time and prevent mid-installation delays.
Essential Tools
- Power drill with masonry and wood bits
- Level (preferably a 24-inch bubble level)
- Measuring tape
- Screwdrivers (Phillips and flathead)
- Adjustable wrench
- Flaring tool (for refrigerant lines)
- Vacuum pump (for removing air and moisture from lines)
- Manifold gauge set (to check refrigerant pressure)
- Wire strippers and crimping tool
- Electrical tester (non-contact voltage detector)
- Hole saw (2.5 to 3 inches in diameter)
- Ladder (stable and tall enough for wall mounting)
Materials and Supplies
- LG ductless air conditioner kit (includes indoor unit, outdoor unit, remote control, and mounting hardware)
- Refrigerant lines (typically pre-charged copper lines included with the unit)
- Drain hose (usually included)
- Electrical wiring (12/2 or 10/2 NM-B cable, depending on unit size and local code)
- Conduit for protecting outdoor wiring
- Wall sleeve or grommet (to protect lines passing through the wall)
- Insulation tape and foam sleeves (for refrigerant lines)
- Screws, anchors, and wall plugs (for mounting brackets)
- Weatherproof sealant (silicone caulk)
- UV-resistant tape (for outdoor line protection)
Safety Gear
- Safety glasses
- Work gloves
- Hard hat (if working in tight or elevated spaces)
- Knee pads (for comfort during floor-level work)
Step 1: Plan Your Installation
Proper planning is the foundation of a successful installation. Rushing this step can lead to poor performance, noise issues, or even system failure.
Choose the Right Indoor Unit Location
The indoor unit should be mounted high on an interior wall, ideally 7 to 8 feet above the floor. Avoid placing it:
- Near heat sources (ovens, radiators, direct sunlight)
- In corners or behind furniture
- Above beds or seating areas (to prevent cold drafts)
- In rooms with high humidity unless the unit is rated for it
Look for a spot with:
- At least 6 inches of clearance on all sides
- Easy access for filter cleaning and maintenance
- A nearby electrical outlet or junction box
- A clear path to the outdoor unit (minimizing line length)
Select the Outdoor Unit Location
The outdoor condenser unit needs a stable, level surface with good airflow. Ideal locations include:
- A concrete pad or sturdy platform
- At least 12 inches away from walls, fences, or shrubs
- Shaded area to improve efficiency (but not under trees that drop debris)
- Accessible for maintenance and servicing
Avoid placing the outdoor unit:
- Near windows or doors (to reduce noise disturbance)
- In areas prone to flooding or standing water
- Where exhaust air can recirculate into the unit
Measure the Distance Between Units
LG ductless systems have maximum line lengths—typically between 50 and 100 feet, depending on the model. Check your user manual for exact specifications. Keep the distance as short as possible to maintain efficiency.
Also, plan the route for the refrigerant lines, drain hose, and electrical wiring. The hole through the wall should be slightly angled downward (about 1/4 inch per foot) to allow condensation to drain outside.
Step 2: Mount the Indoor Unit Bracket
The indoor unit is mounted using a metal bracket that supports its weight. Proper installation ensures stability and prevents vibration noise.
Mark the Bracket Location
Use a level to mark a straight line on the wall where the bracket will go. Hold the bracket against the wall and trace its outline. Double-check that the mounting holes align with wall studs or solid masonry. If not, use heavy-duty wall anchors.
Drill Pilot Holes
Drill pilot holes for the mounting screws. For concrete or brick walls, use a masonry bit and insert plastic anchors. For wood or drywall with studs, use appropriate screws.
Secure the Bracket
Attach the bracket using the provided screws. Ensure it’s level and tightly fastened. The bracket should support the full weight of the indoor unit—typically 20 to 40 pounds.
Prepare the Wall Opening
Using a hole saw, drill a 2.5 to 3-inch hole through the wall at the marked location. Angle it slightly downward toward the outside to facilitate drainage. Insert a wall sleeve or rubber grommet to protect the lines and prevent air leaks.
Step 3: Install the Outdoor Unit
The outdoor unit must be securely mounted to prevent movement and vibration.
Prepare the Base
Place the outdoor unit on a level concrete pad or anti-vibration mounting platform. If using a pad, ensure it’s at least 4 inches thick and extends 6 inches beyond the unit on all sides.
Secure the Unit
Use the provided mounting feet and bolts to anchor the unit to the pad. This prevents shifting during operation and reduces noise.
Check Clearance
Ensure there’s at least 12 inches of clearance on all sides, especially the front and top, for proper airflow. Trim any nearby vegetation.
Step 4: Connect the Refrigerant Lines
This is one of the most critical steps. Improper connections can lead to refrigerant leaks, reduced efficiency, or system damage.
Run the Lines Through the Wall
Feed the refrigerant lines, drain hose, and communication wire through the wall opening from inside to outside. Leave extra length on both sides for connections.
Flare the Copper Lines
Use a flaring tool to create a precise flare on each end of the copper lines. This ensures a tight, leak-free connection. Clean the flare with a lint-free cloth to remove debris.
Connect to the Indoor Unit
Attach the flared lines to the indoor unit’s service valves. Hand-tighten first, then use two wrenches—one to hold the valve and one to tighten the flare nut—to avoid twisting the pipe. Do not over-tighten.
Connect to the Outdoor Unit
Repeat the process at the outdoor unit. Ensure the lines are not kinked or bent sharply.
Insulate the Lines
Wrap the refrigerant lines with foam insulation sleeves. Seal the joints with insulation tape. For outdoor exposure, add UV-resistant tape or conduit to protect against sun damage.
Step 5: Install the Drain Hose
The drain hose removes condensation from the indoor unit. Improper installation can cause water leaks.
Connect the Hose
Attach the drain hose to the outlet on the indoor unit. Use a hose clamp to secure it.
Route the Hose
Run the hose through the wall opening and direct it downward to the outside. Ensure it has a continuous downward slope—no loops or high points that could trap water.
Test the Drain
Pour a small amount of water into the drain pan to verify proper flow. Adjust the hose if needed.
Step 6: Wire the System
Electrical connections must comply with local codes and LG’s specifications.
Turn Off Power
Shut off the main breaker to the circuit you’ll be working on. Use a voltage tester to confirm power is off.
Run the Wiring
Run the electrical cable from the indoor unit through the wall to the outdoor unit. Use conduit for outdoor protection. The cable size depends on the unit’s amperage—typically 12/2 or 10/2 NM-B wire.
Connect Indoor Unit Wiring
Open the indoor unit’s electrical panel. Connect the wires according to the wiring diagram in the manual. Typically:
- Black wire: Live (L)
- White wire: Neutral (N)
- Green or bare wire: Ground
Secure connections with wire nuts and ensure no bare wire is exposed.
Connect Outdoor Unit Wiring
Repeat the process at the outdoor unit. Match wire colors and follow the diagram precisely.
Install a Disconnect Switch (Optional but Recommended)
Mount a local disconnect switch near the outdoor unit for safety during maintenance. This allows you to cut power without going to the main panel.
Step 7: Vacuum the Refrigerant Lines
Before charging the system, you must remove air and moisture from the refrigerant lines.
Connect the Manifold Gauge
Attach the manifold gauge set to the service ports on the outdoor unit. Connect the yellow hose to the vacuum pump.
Evacuate the System
Turn on the vacuum pump and open the valves. Run the pump for at least 15–30 minutes to achieve a vacuum of 500 microns or lower. This ensures no air or moisture remains.
Close Valves and Disconnect
Close the valves, turn off the pump, and disconnect the gauges. Wait a few minutes to ensure the vacuum holds—no pressure rise indicates a tight system.
Step 8: Test the System
Now it’s time to power up and test your LG ductless air conditioner.
Turn On Power
Restore power at the breaker. The indoor unit should display a welcome message or standby light.
Set Up the Remote
Insert batteries into the remote control. Point it at the indoor unit and press the power button. The unit should respond.
Test Cooling and Heating
Set the system to cool mode and lower the temperature. Wait 5–10 minutes. You should feel cool air blowing from the indoor unit. Switch to heat mode and verify warm air output.
Check for Leaks
Inspect all refrigerant connections with a leak detector or soapy water. Bubbles indicate a leak—tighten the connection or re-flare if necessary.
Listen for Unusual Noises
The system should operate quietly. Rattling, buzzing, or grinding sounds may indicate loose parts or improper mounting.
Verify Drainage
Run the system in cool mode for 30 minutes. Check that water is draining properly outside and not pooling inside.
Troubleshooting Common Issues
Even with careful installation, problems can arise. Here’s how to address common issues.
Unit Won’t Turn On
- Check the breaker and ensure power is on.
- Verify remote batteries and signal reception.
- Inspect wiring connections for loose or incorrect links.
Insufficient Cooling or Heating
- Ensure the air filter is clean.
- Check for blocked airflow around indoor or outdoor units.
- Verify refrigerant levels—low charge reduces performance.
Water Leaking Indoors
- Confirm the drain hose is properly sloped and not clogged.
- Check for ice buildup on the evaporator coil (may indicate low refrigerant or dirty filter).
Error Codes on Display
Refer to the user manual for specific error code meanings. Common codes include:
- CH 01: Communication error between units
- CH 02: Indoor fan motor issue
- CH 09: Refrigerant leak detected
Reset the system by turning it off for 5 minutes. If the error persists, contact LG support or a technician.
Maintenance Tips for Long-Term Performance
To keep your LG ductless system running efficiently:
- Clean the air filter every 2–4 weeks.
- Wipe the indoor unit’s exterior with a damp cloth.
- Trim vegetation around the outdoor unit seasonally.
- Schedule professional maintenance every 1–2 years.
- Check refrigerant lines for damage or wear.
Conclusion
Installing an LG ductless air conditioner is a rewarding project that can enhance your home’s comfort and energy efficiency. By following this step-by-step guide, you’ve learned how to plan, mount, wire, and test your system safely and effectively. Remember, while many steps can be done DIY, don’t hesitate to consult a licensed HVAC technician for complex electrical or refrigerant work.
With proper installation and regular maintenance, your LG ductless system will provide reliable cooling and heating for years to come. Stay cool, stay comfortable, and enjoy the quiet, efficient performance that LG mini-splits are known for.

